> ## Documentation Index
> Fetch the complete documentation index at: https://docs.cassidyai.com/llms.txt
> Use this file to discover all available pages before exploring further.
# Deploy via API
> Integrate your Agent into any application using the Cassidy API for programmatic access.
Use the Cassidy API to integrate your [Agent](/agents/overview) into any custom application, internal tool, or [Workflow](/workflows/overview).
**Prerequisites:**
* An Agent created in Cassidy
* An API key (or the ability to create one)
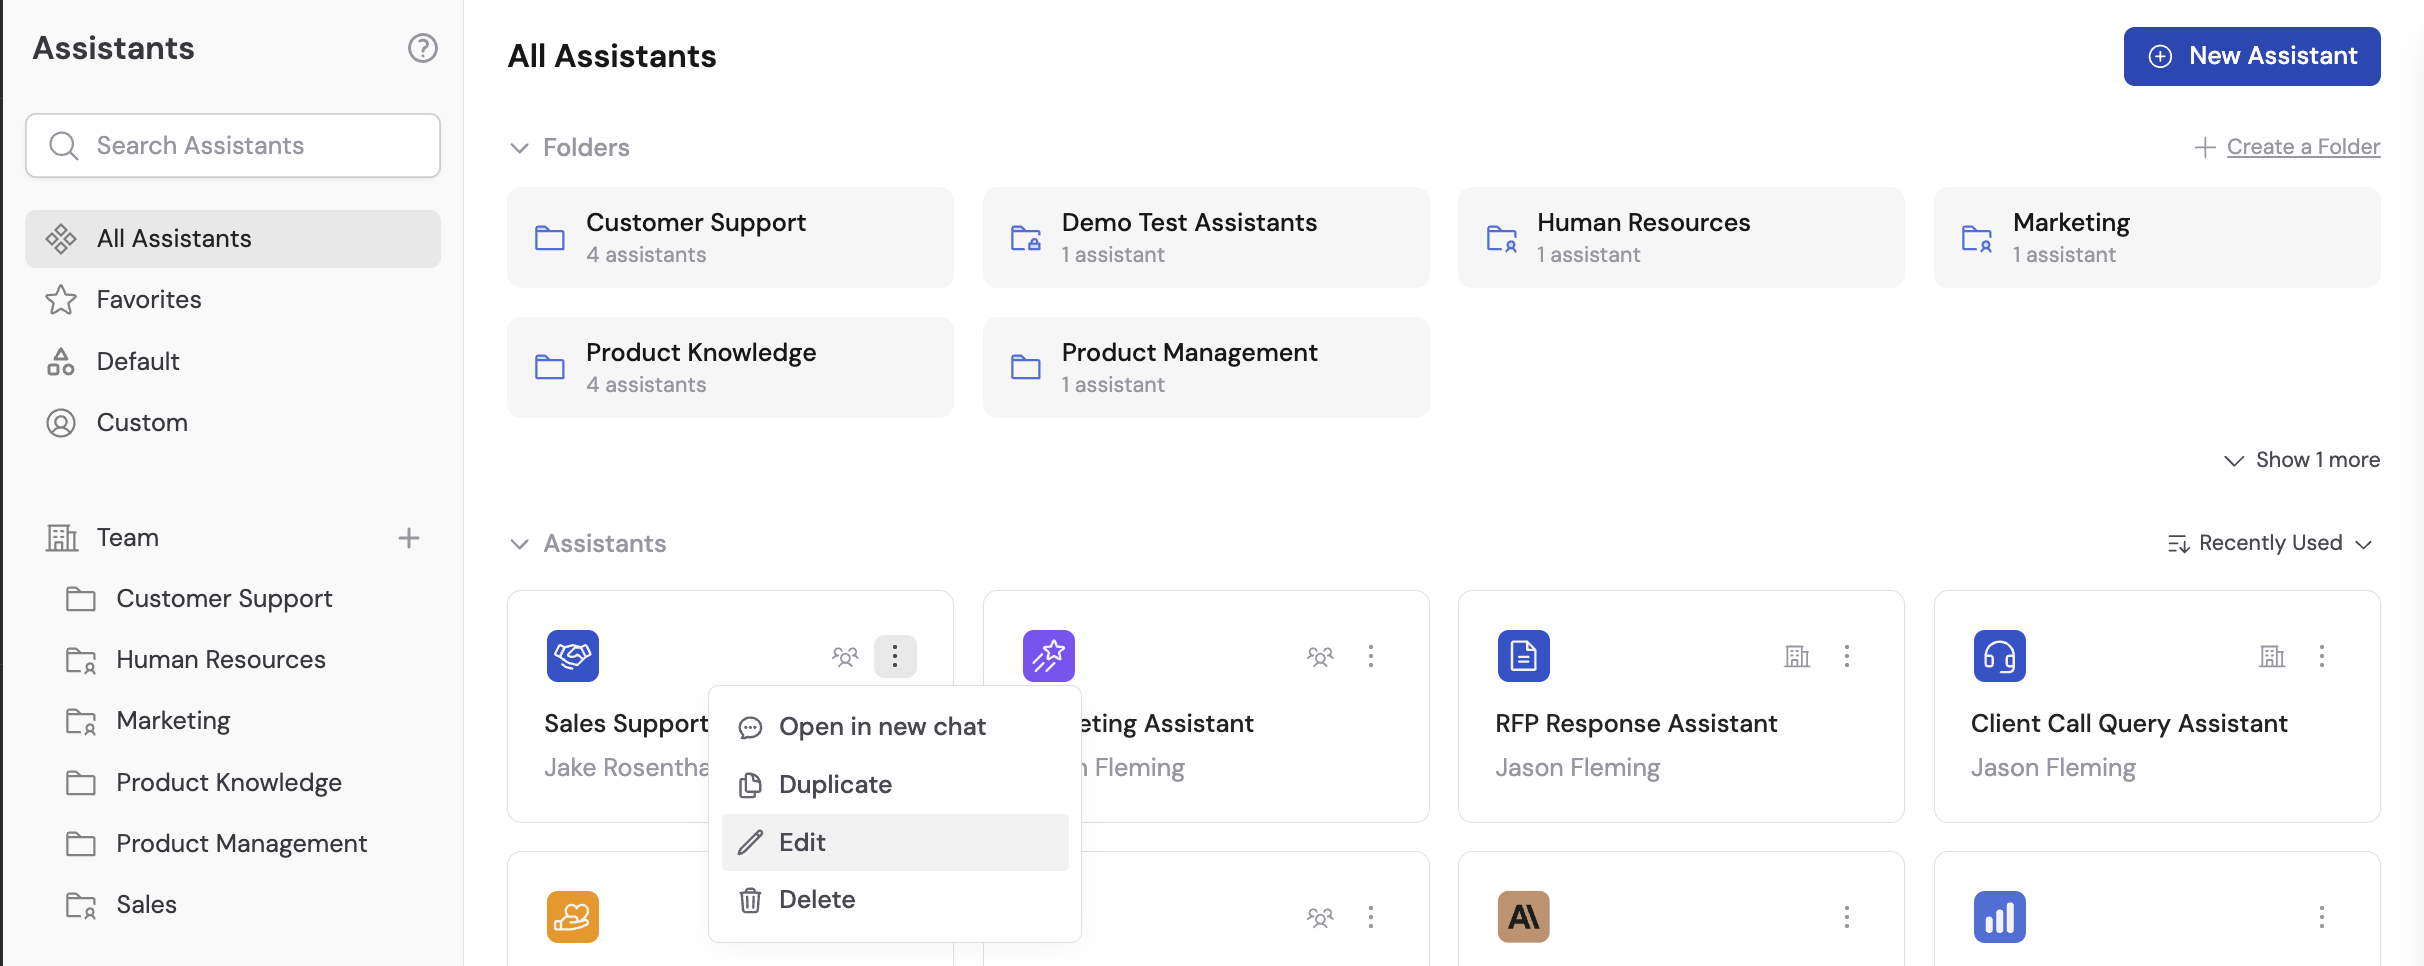
Go to **Agents** and select the Agent you want to deploy via API. Click **Edit** to open the Agent settings.
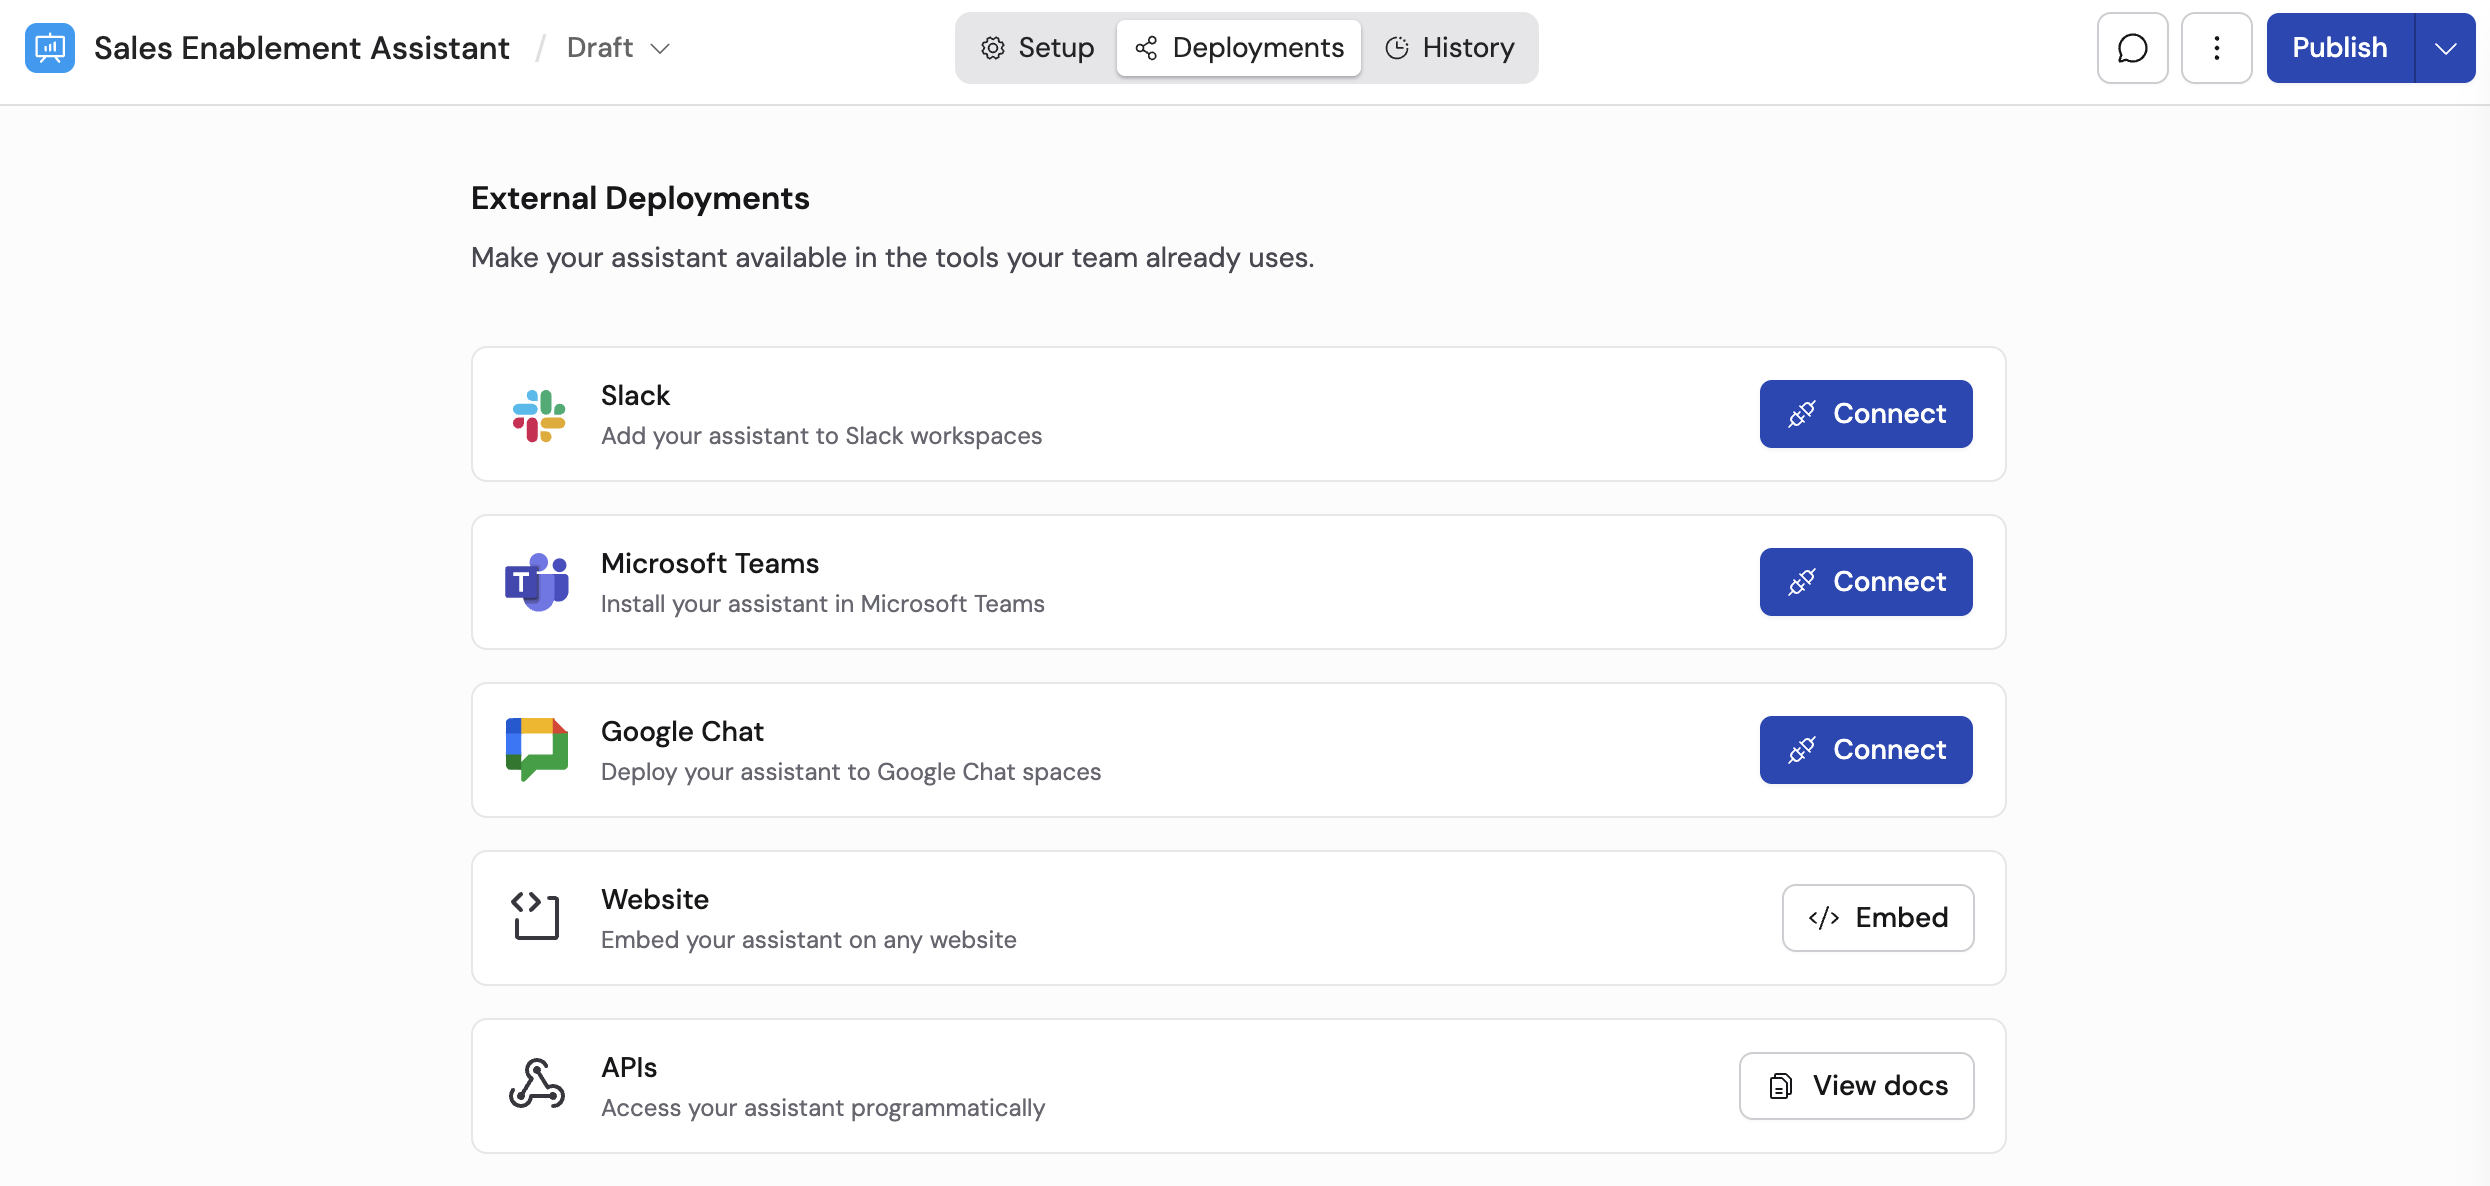
 Navigate to the **Deployments** tab and select **Deploy via API**.
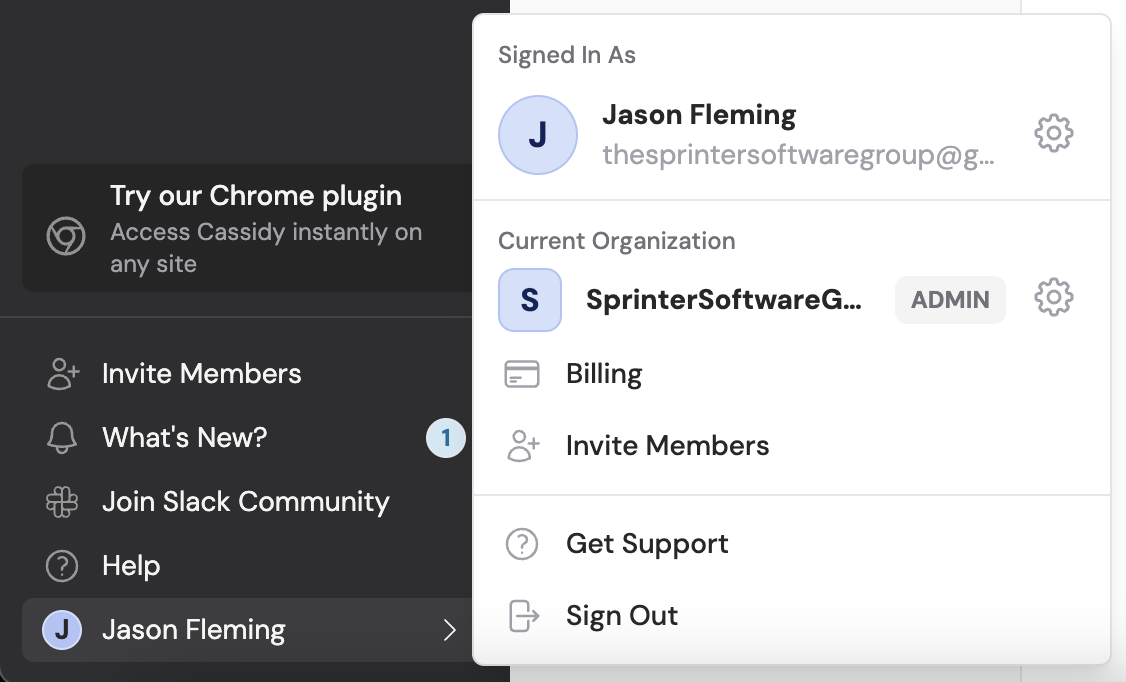
 Click the **API Keys** link in the instructions, or navigate manually: click your name in the bottom left of the sidebar, then click the settings icon for your organization.
 In the **Organization Settings** window, go to the **API Keys** tab.
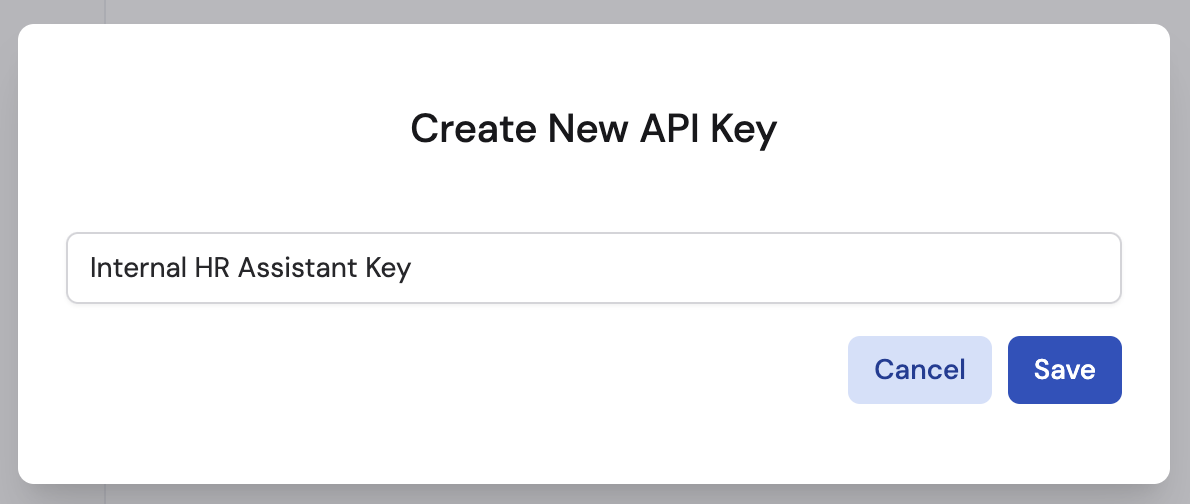
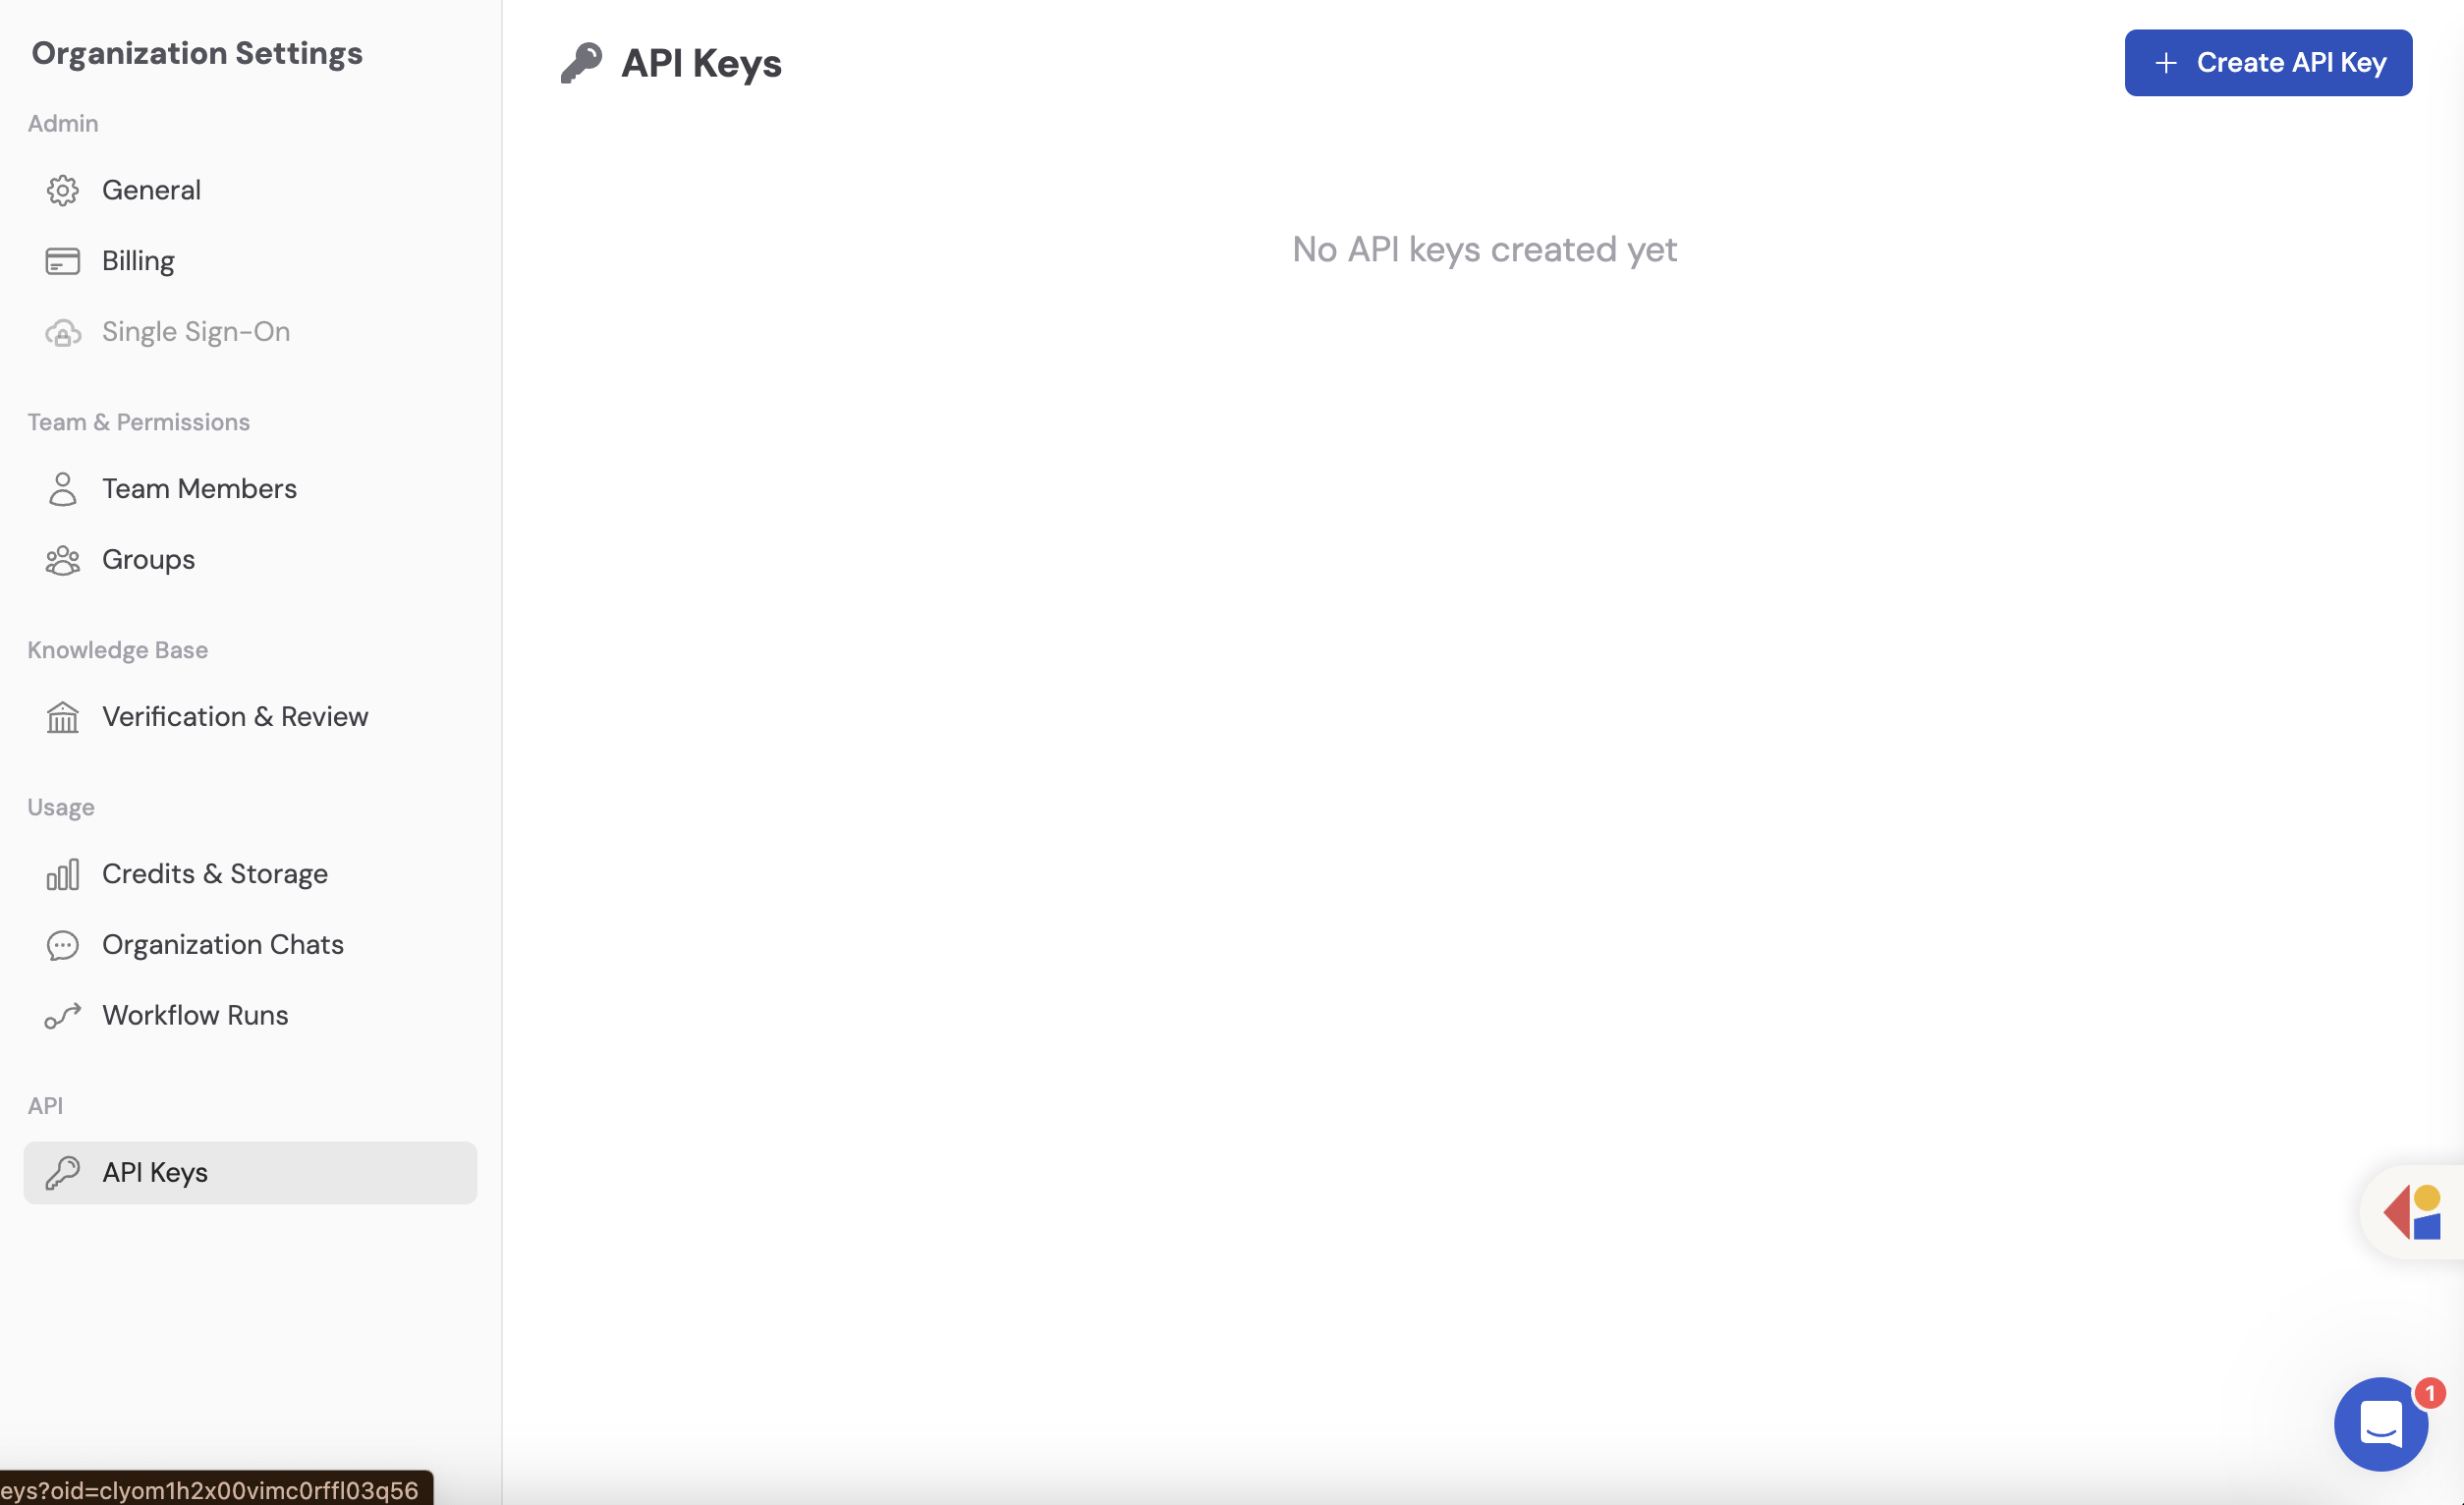 Click **+ Create API Key**, enter a name for the key, and click **Save**. Click the eye icon to reveal the key, then copy it and save it to a secure location. Click **Exit** when finished.
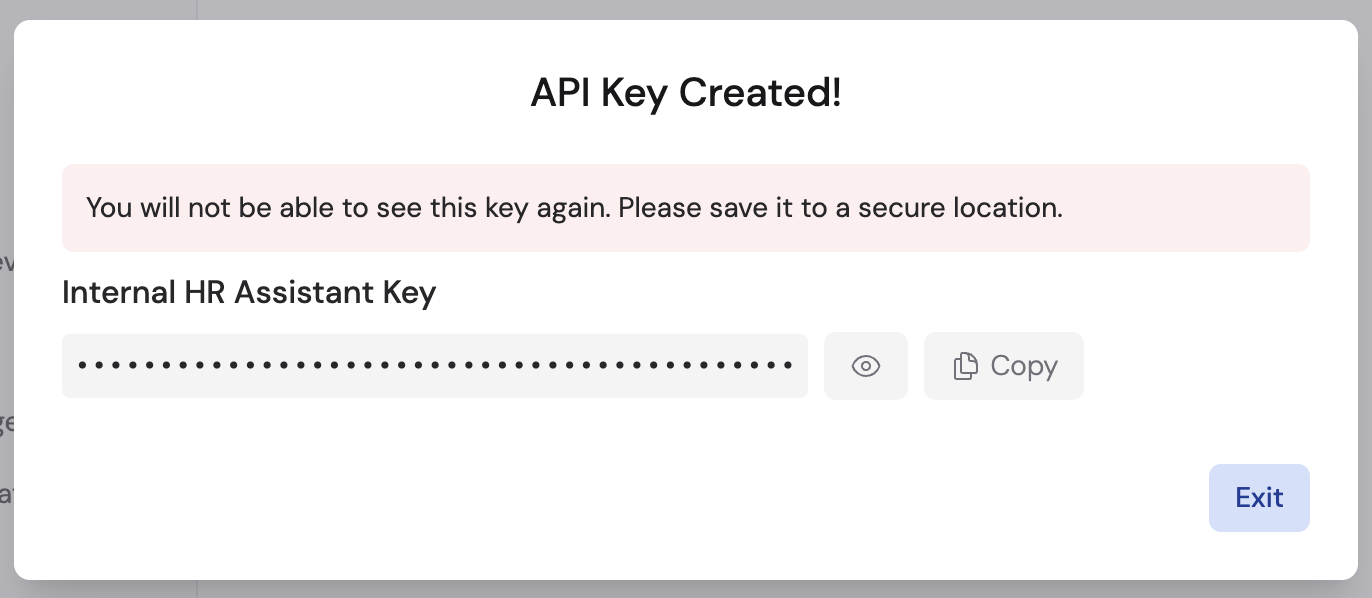 Copy and save your API key immediately — you won't be able to see it again after closing the dialog.
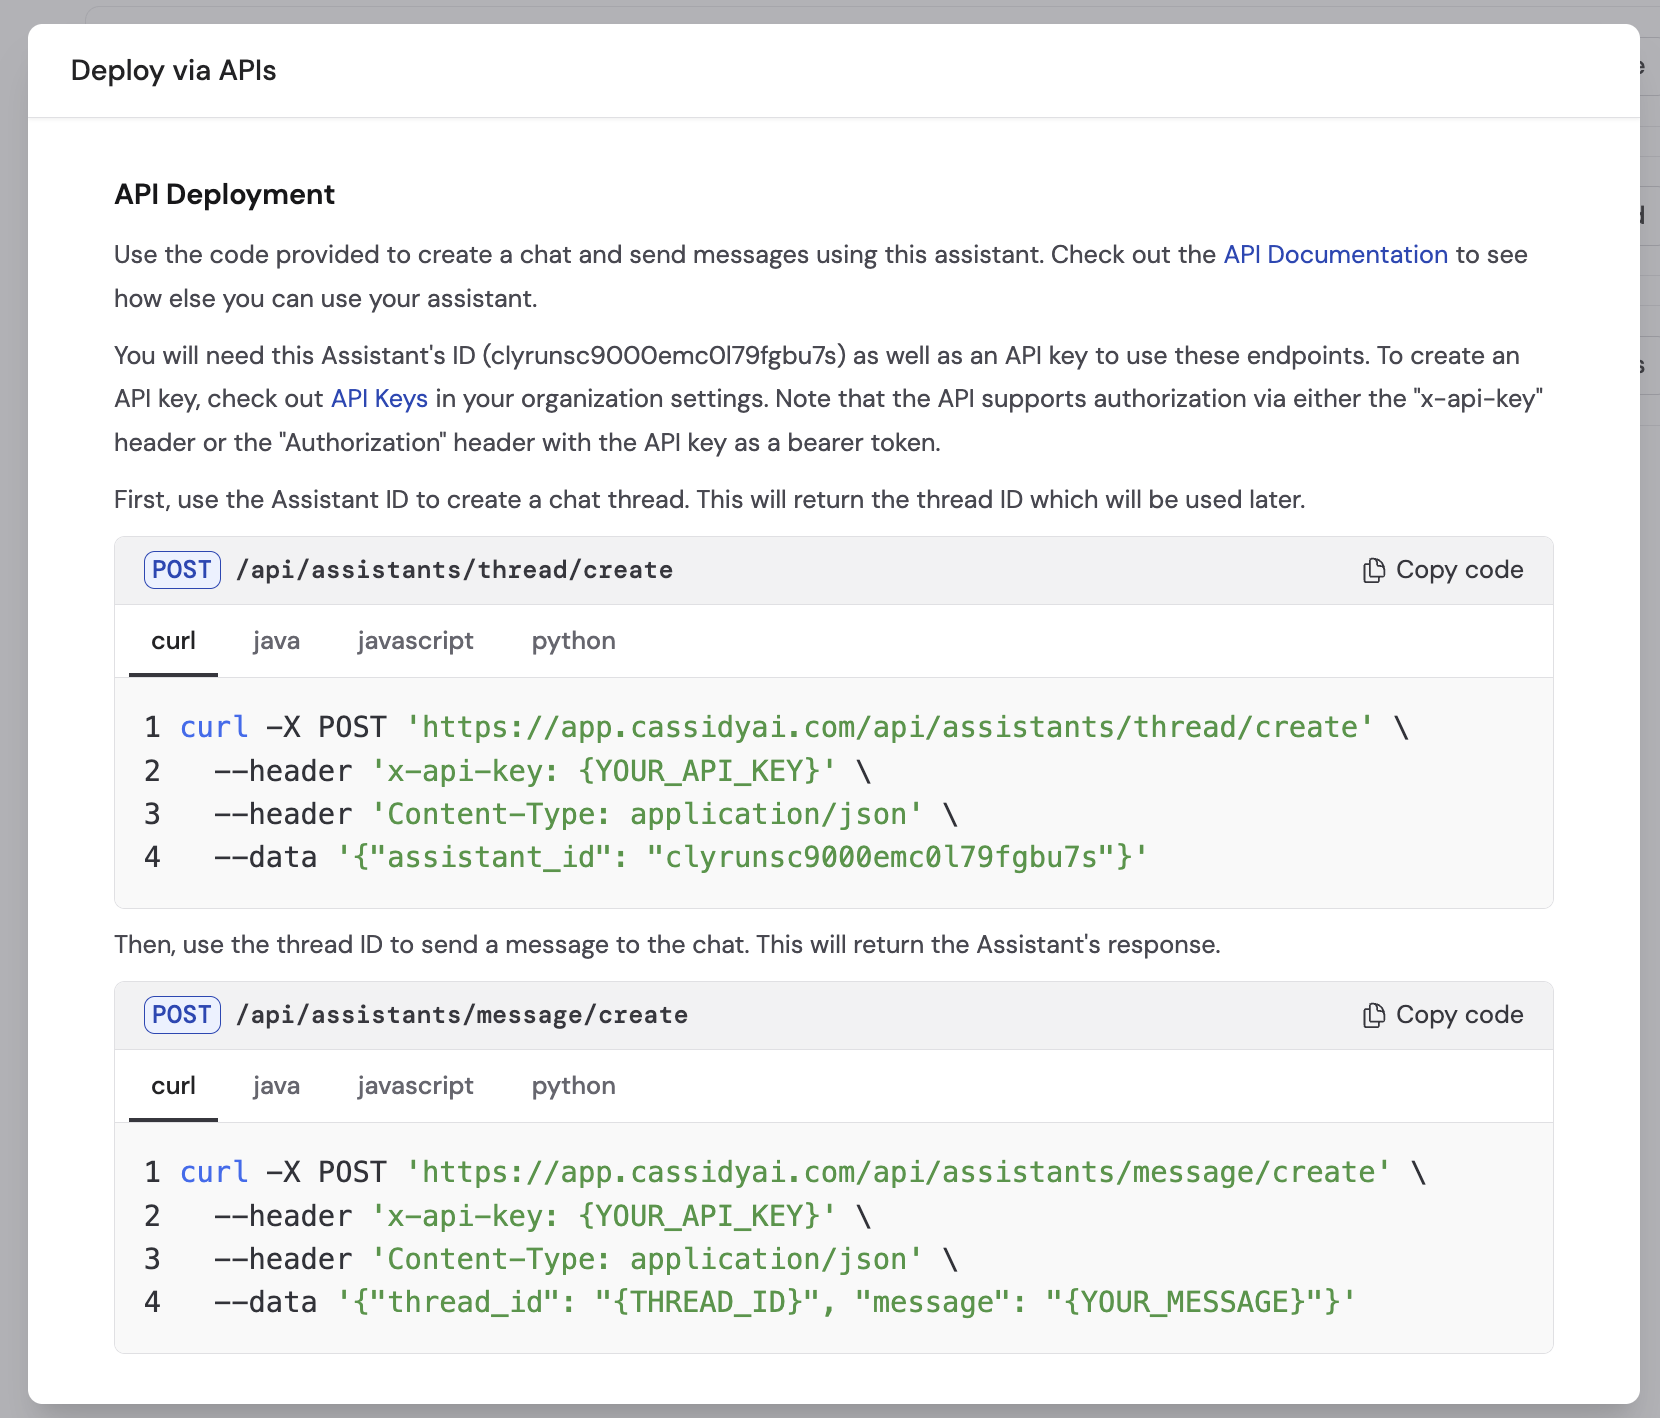
Return to the **Deploy via API** tab in your Agent's settings. Follow the sample code provided to create conversation threads and send messages programmatically.
Copy and save your API key immediately — you won't be able to see it again after closing the dialog.
Return to the **Deploy via API** tab in your Agent's settings. Follow the sample code provided to create conversation threads and send messages programmatically.
 ## API basics
The Cassidy API uses threads and messages to manage conversations:
1. **Create a thread** — start a new conversation with the Agent
2. **Send a message** — add a user message to the thread
3. **Receive a response** — the Agent processes the message and returns a reply
For detailed endpoint documentation, request formats, and authentication details, see the [Cassidy API documentation](https://app.cassidyai.com/api-docs).
Keep your API key secure. Do not share it publicly or commit it to version control.
You can delete an API key at any time from the **API Keys** tab by clicking the ellipsis menu and selecting **Delete**.
## Next steps
Learn more about creating and configuring Agents.
Deploy your Agent to a dedicated email address.
Embed your Agent on a website without writing code.
## API basics
The Cassidy API uses threads and messages to manage conversations:
1. **Create a thread** — start a new conversation with the Agent
2. **Send a message** — add a user message to the thread
3. **Receive a response** — the Agent processes the message and returns a reply
For detailed endpoint documentation, request formats, and authentication details, see the [Cassidy API documentation](https://app.cassidyai.com/api-docs).
Keep your API key secure. Do not share it publicly or commit it to version control.
You can delete an API key at any time from the **API Keys** tab by clicking the ellipsis menu and selecting **Delete**.
## Next steps
Learn more about creating and configuring Agents.
Deploy your Agent to a dedicated email address.
Embed your Agent on a website without writing code.