> ## Documentation Index
> Fetch the complete documentation index at: https://docs.cassidyai.com/llms.txt
> Use this file to discover all available pages before exploring further.
# Draft email with Outlook
> Create a draft email in Outlook without sending it from a Workflow.
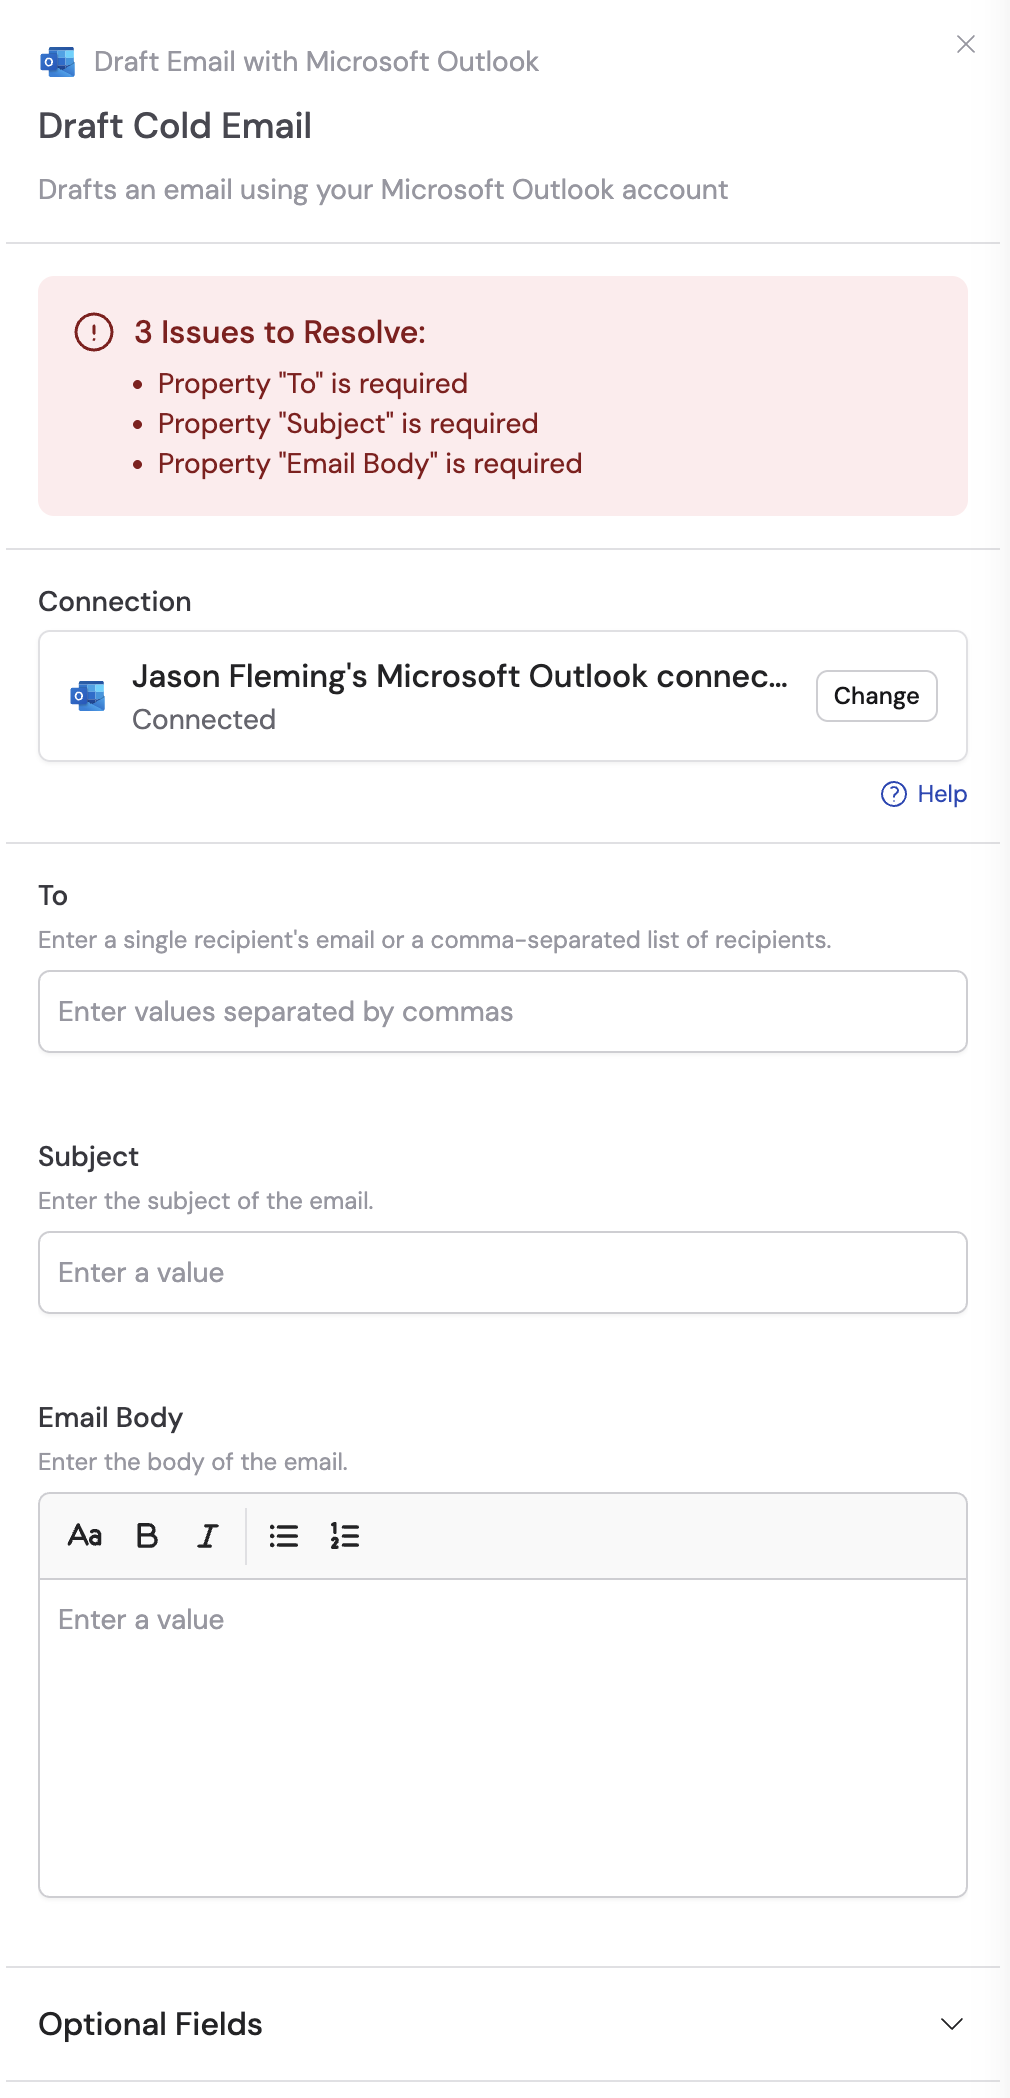
Use the **Draft Email with Microsoft Outlook** action to create a draft email in your connected Outlook account as part of a [Workflow](/workflows/overview). The draft is saved to your Outlook drafts folder for review before sending.
## Set up the action
While editing a Workflow, click the **+** button between existing blocks. Select **Draft Email with Microsoft Outlook** from the action list.
Click the action name to give it a more descriptive label for easier reference as a variable in later steps.
 If you haven't already, connect your Microsoft Outlook account to Cassidy.
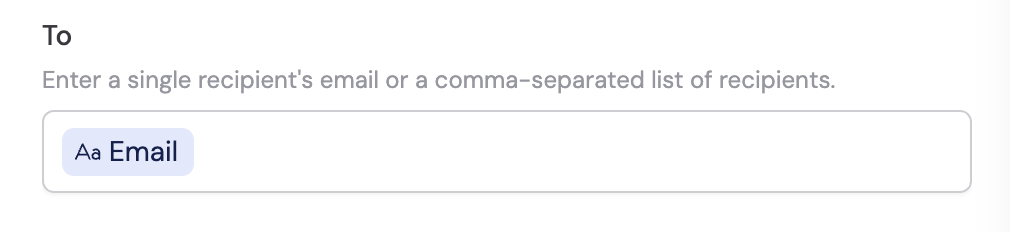
 In the **To** field, enter a single email address or a comma-separated list of recipients.
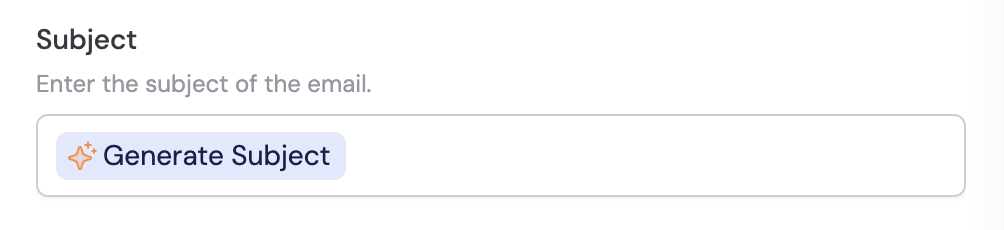
 In the **Subject** field, enter the subject line. You can reference variables from previous steps or the trigger to provide context.
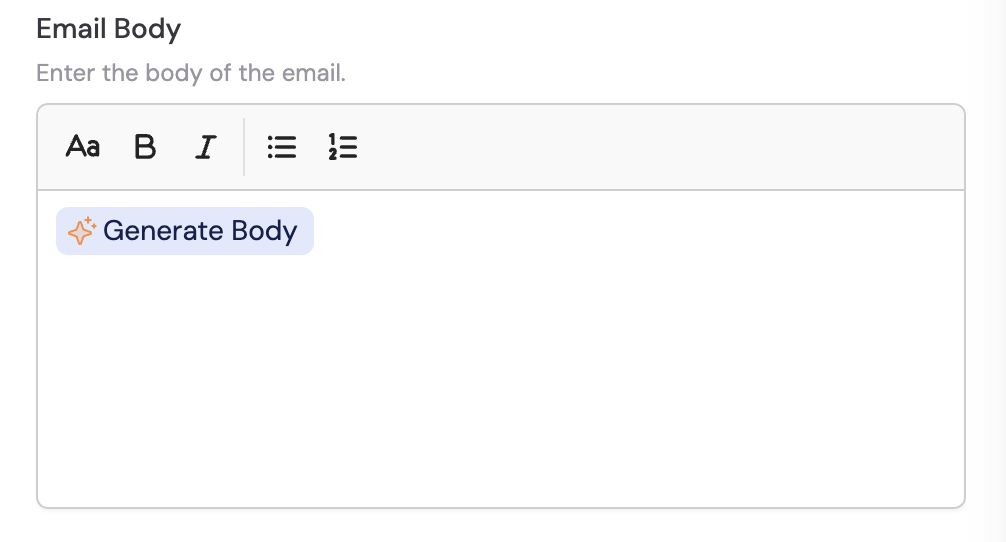
 In the **Email Body** field, enter the content of your email. You can reference variables from previous steps or the trigger to personalize the message.
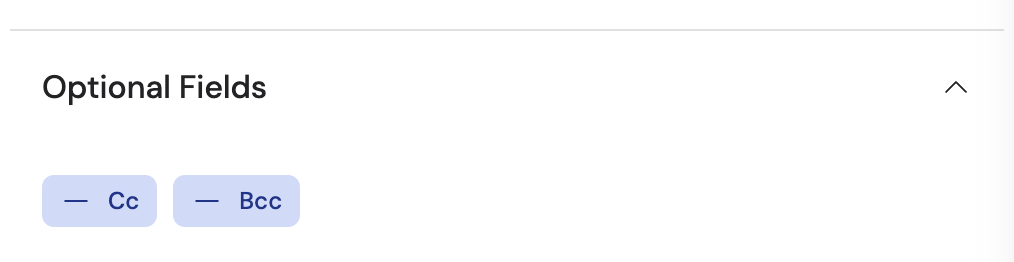
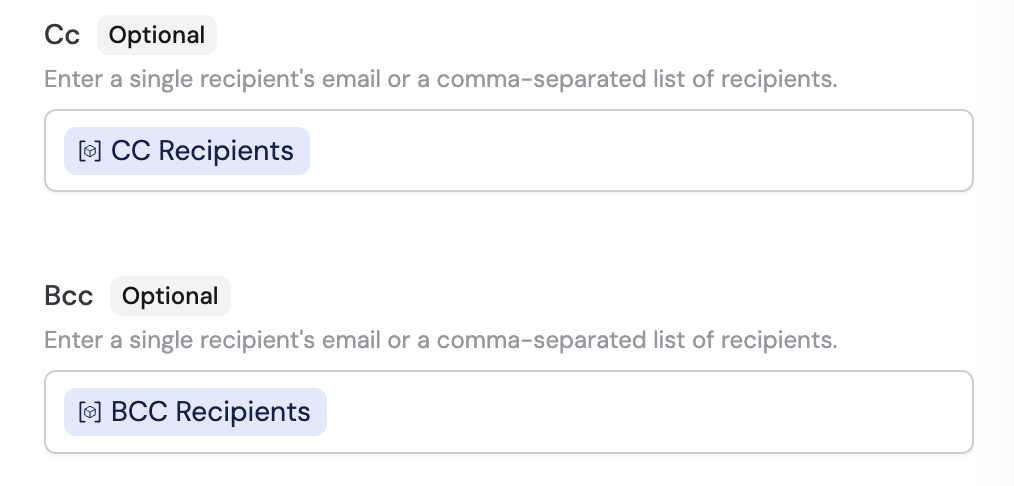
 Click on the options under **Optional Fields** to configure additional settings like **Cc** and **Bcc**, then fill out the corresponding fields.
 This action creates a draft in your Outlook account — it does not send the email. Use the [Send Email with Microsoft Outlook](/integrations/microsoft-365/outlook/send-email) action to send emails directly.
## Related
Send an email directly from a Workflow.
Reply to an existing email thread from a Workflow.
Trigger a Workflow when a new email is received.
See all Outlook Workflow triggers and actions.
This action creates a draft in your Outlook account — it does not send the email. Use the [Send Email with Microsoft Outlook](/integrations/microsoft-365/outlook/send-email) action to send emails directly.
## Related
Send an email directly from a Workflow.
Reply to an existing email thread from a Workflow.
Trigger a Workflow when a new email is received.
See all Outlook Workflow triggers and actions.