> ## Documentation Index
> Fetch the complete documentation index at: https://docs.cassidyai.com/llms.txt
> Use this file to discover all available pages before exploring further.
# Salesforce Agent Connector
> Let Agents query and update Salesforce records in real time during conversations.
The Salesforce [Connector](/agents/connectors/overview) gives your [Agents](/agents/overview) both read and write access to your Salesforce CRM. Agents can look up accounts, search for opportunities, create leads, update contacts, and more — all within a conversation. Data is queried in real time and never stored in Cassidy.
For best results with complex Connector queries, use a powerful, reasoning-capable model. Cassidy supports models from OpenAI, Anthropic, and Google — see [Choose the right AI model](/guides/choose-ai-model) for current recommendations.
## Add the Salesforce Connector
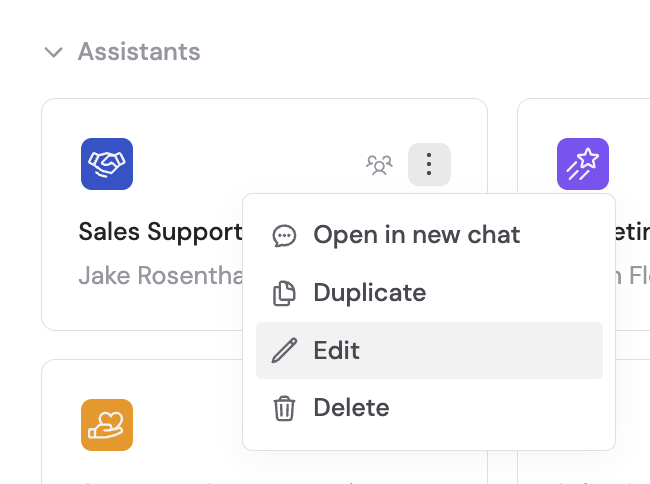
Navigate to **Agents**, find the Agent you want to configure, click **...** and select **Edit**.
 In the Agent editor, go to the **Setup** tab and scroll to the **Connectors** section.
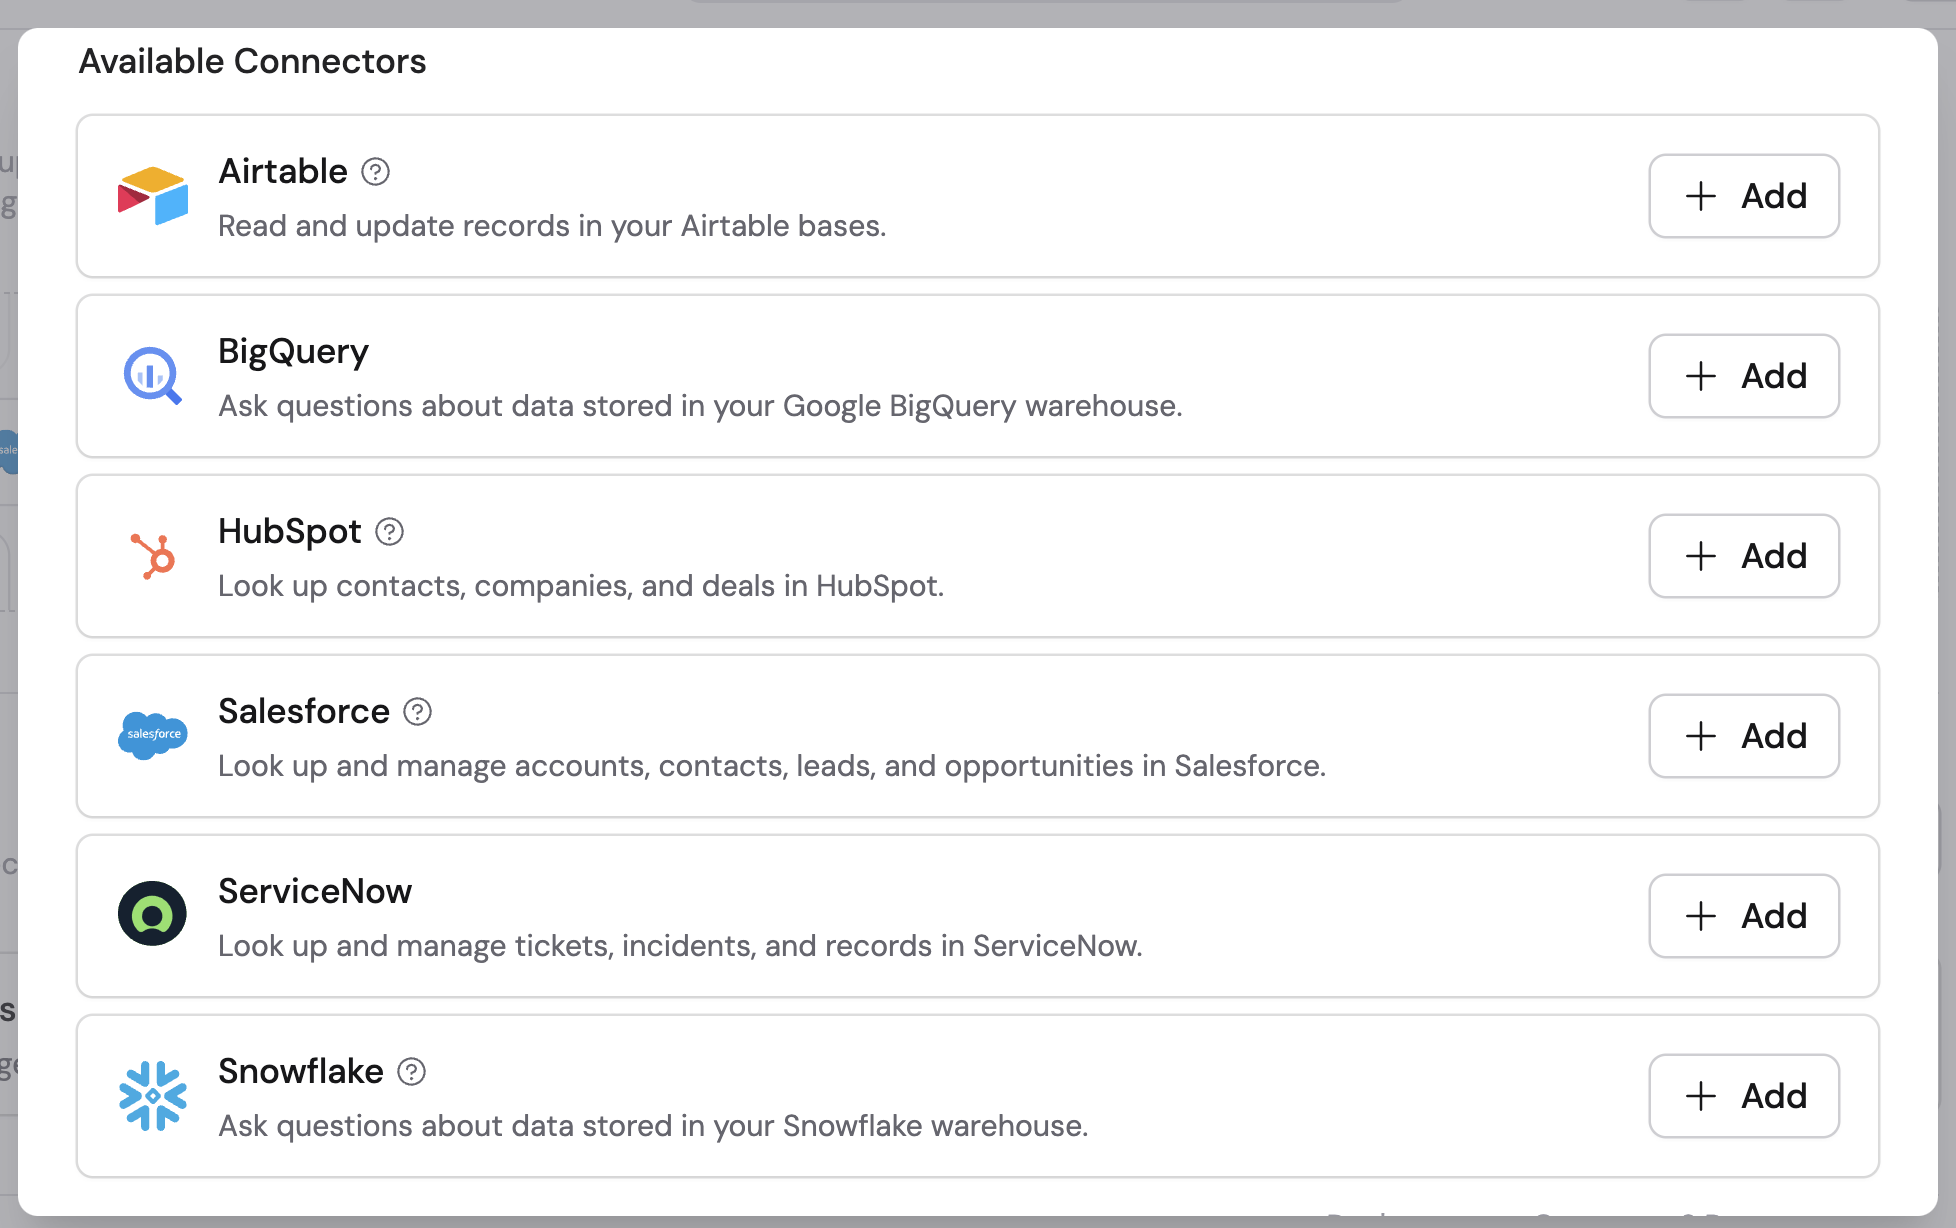
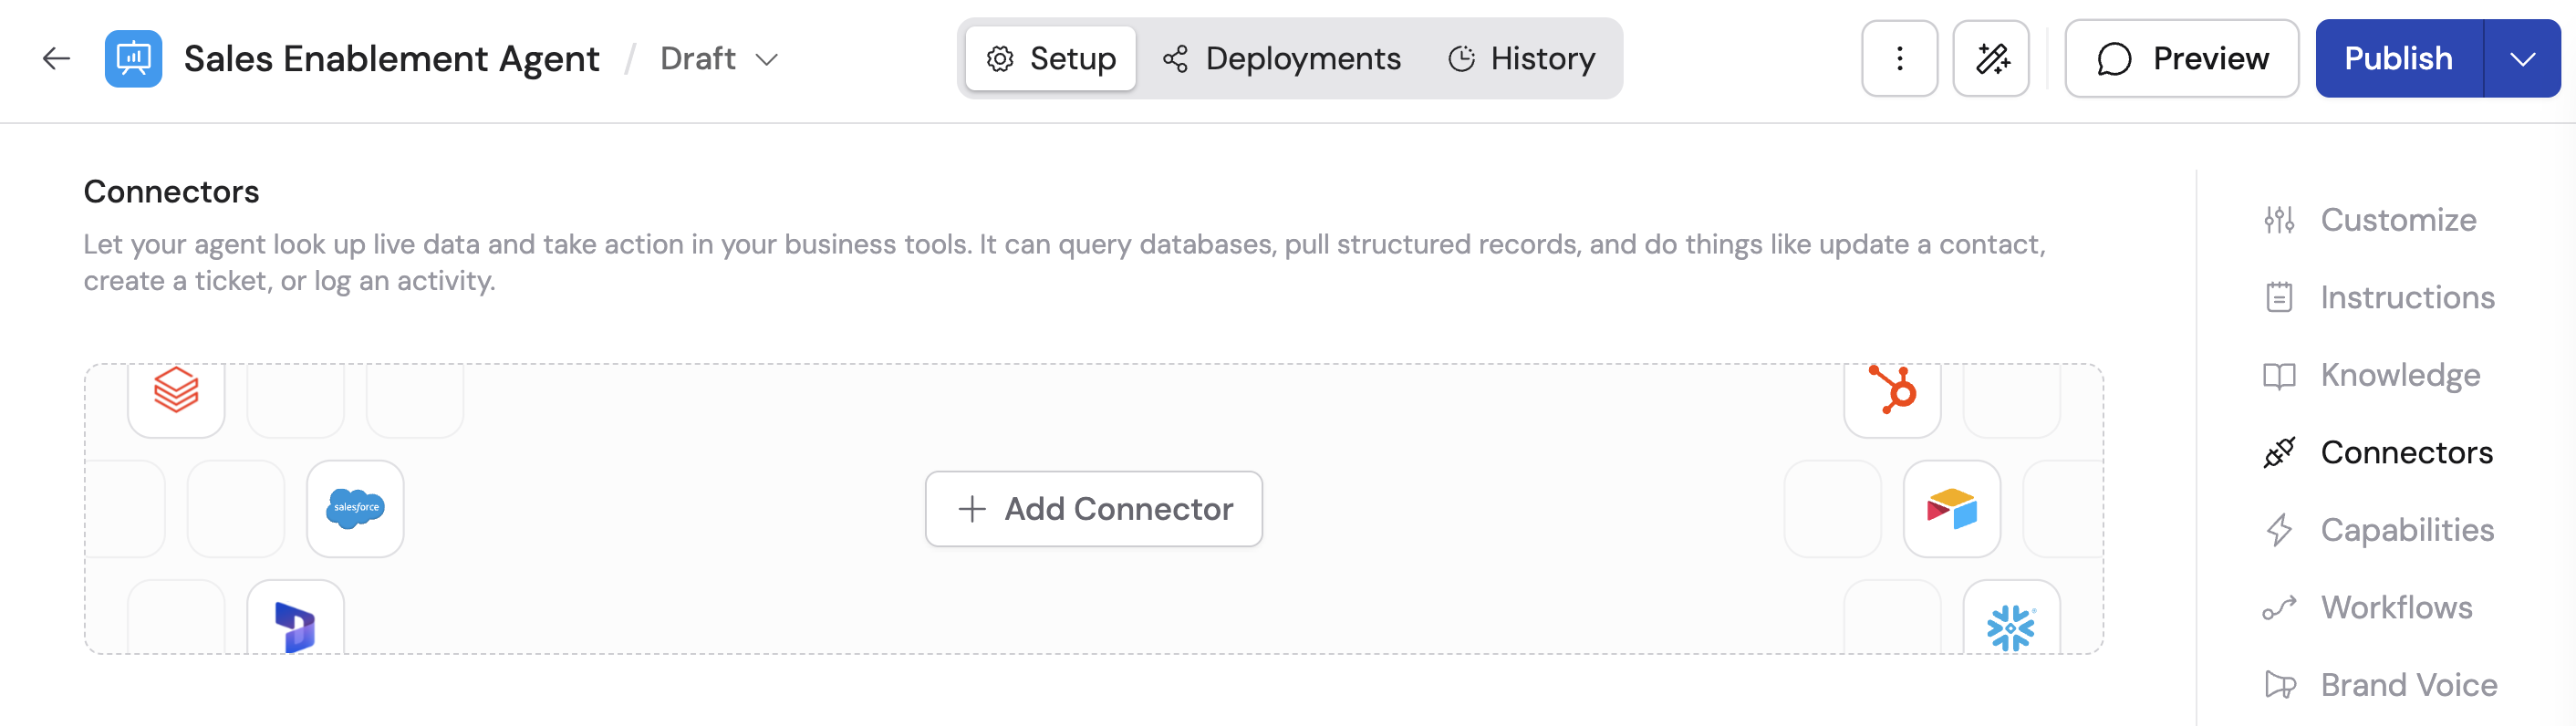 Click **+ Add Connector** and then click **+ Add** on the **Salesforce** option.
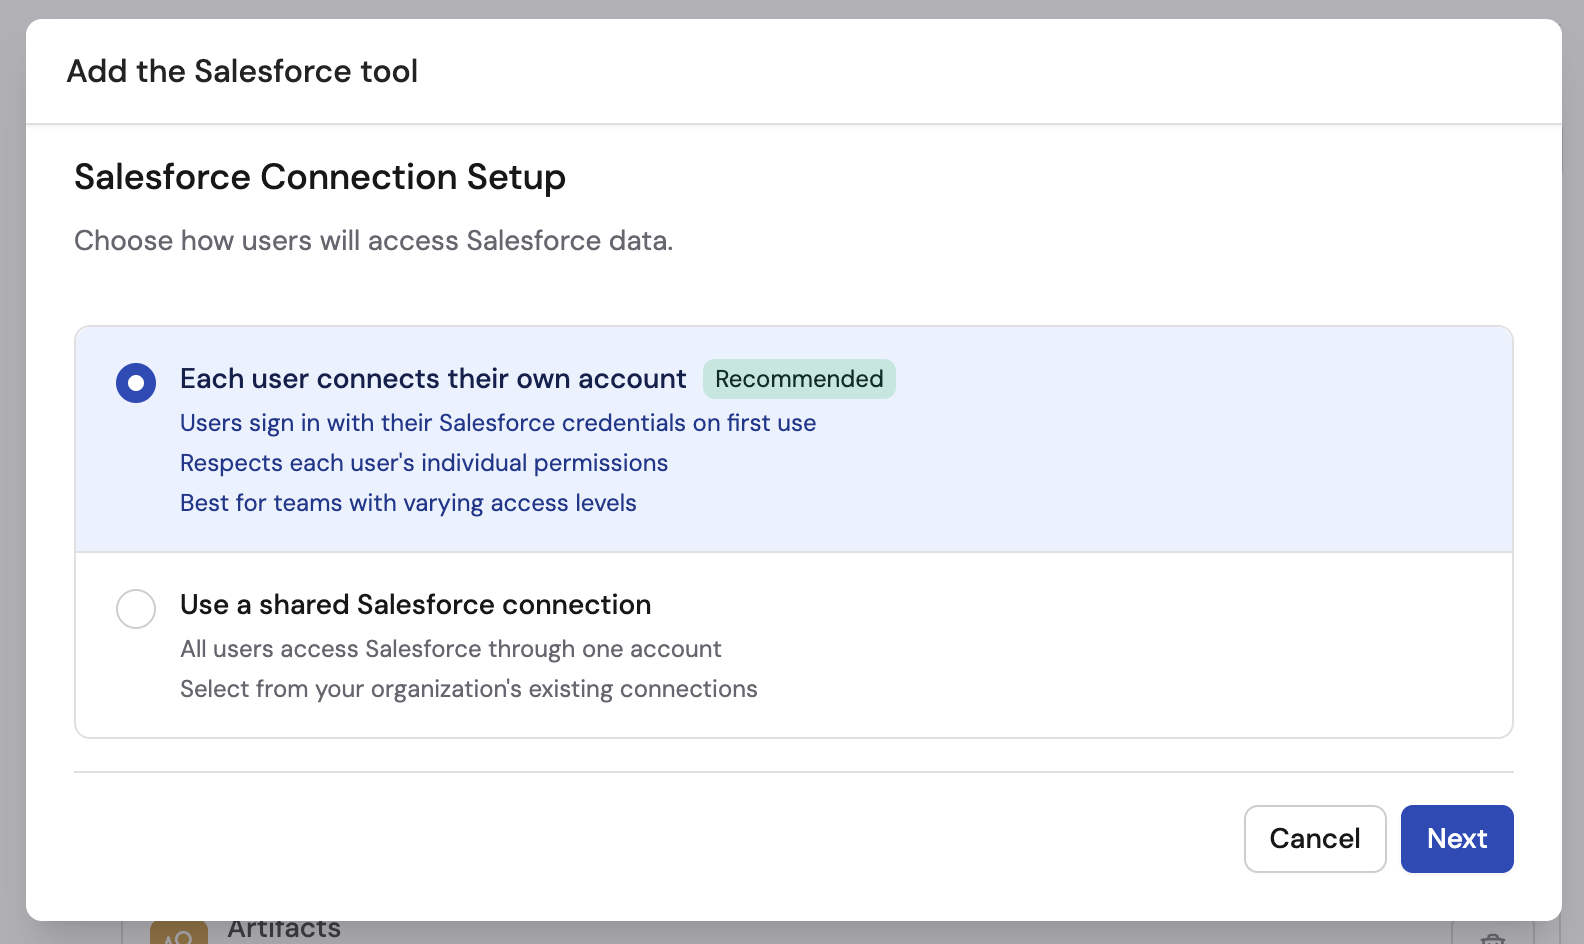
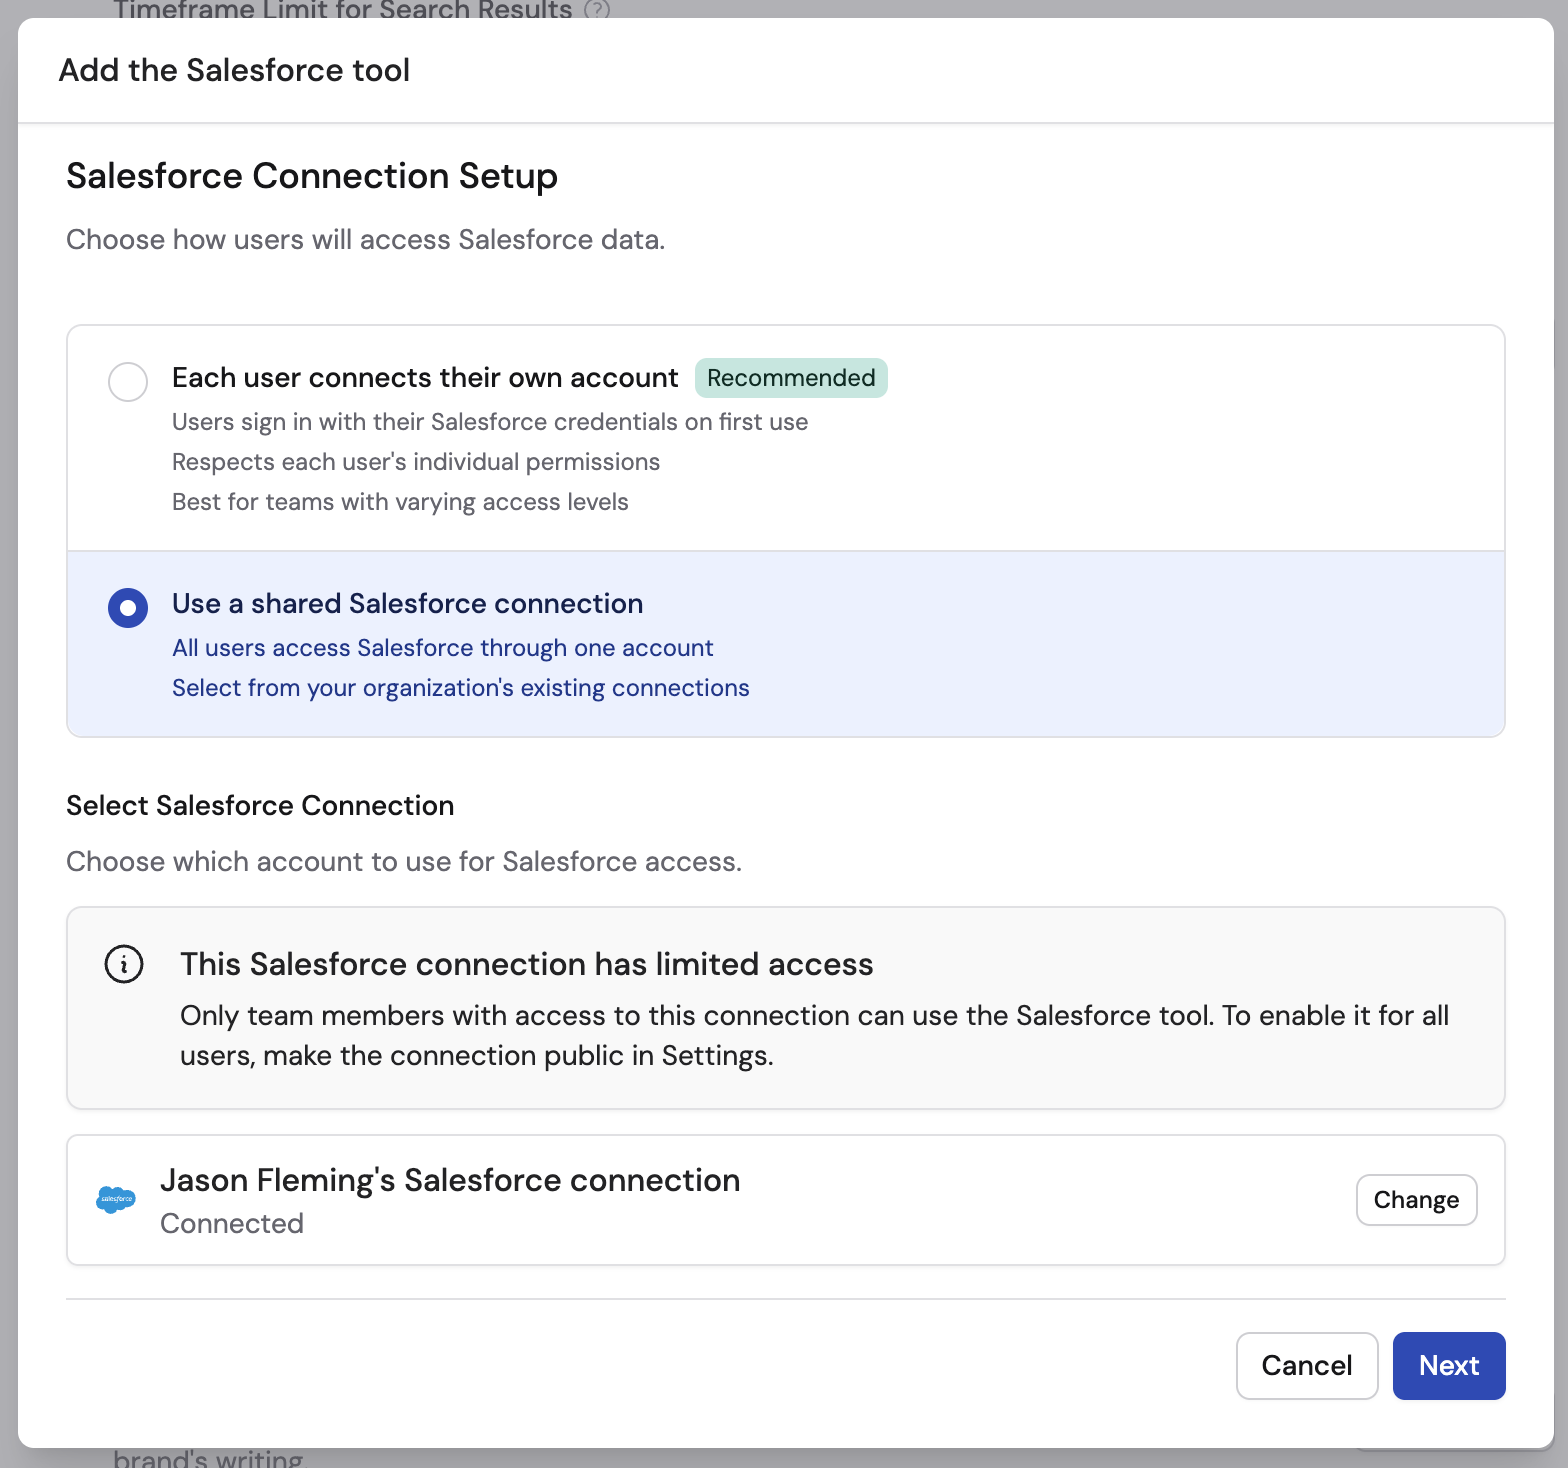
 Select how users authenticate with Salesforce:
* **Each user connects their own account** (recommended) — Each team member connects their personal Salesforce account. The Agent can only access what each user has permission to see in Salesforce.
* **Use a shared Salesforce connection** — Connect a dedicated service account that all users share. This gives centralized control over what data the Agent can access. Only workspace admins can set up shared connections.
Select how users authenticate with Salesforce:
* **Each user connects their own account** (recommended) — Each team member connects their personal Salesforce account. The Agent can only access what each user has permission to see in Salesforce.
* **Use a shared Salesforce connection** — Connect a dedicated service account that all users share. This gives centralized control over what data the Agent can access. Only workspace admins can set up shared connections.
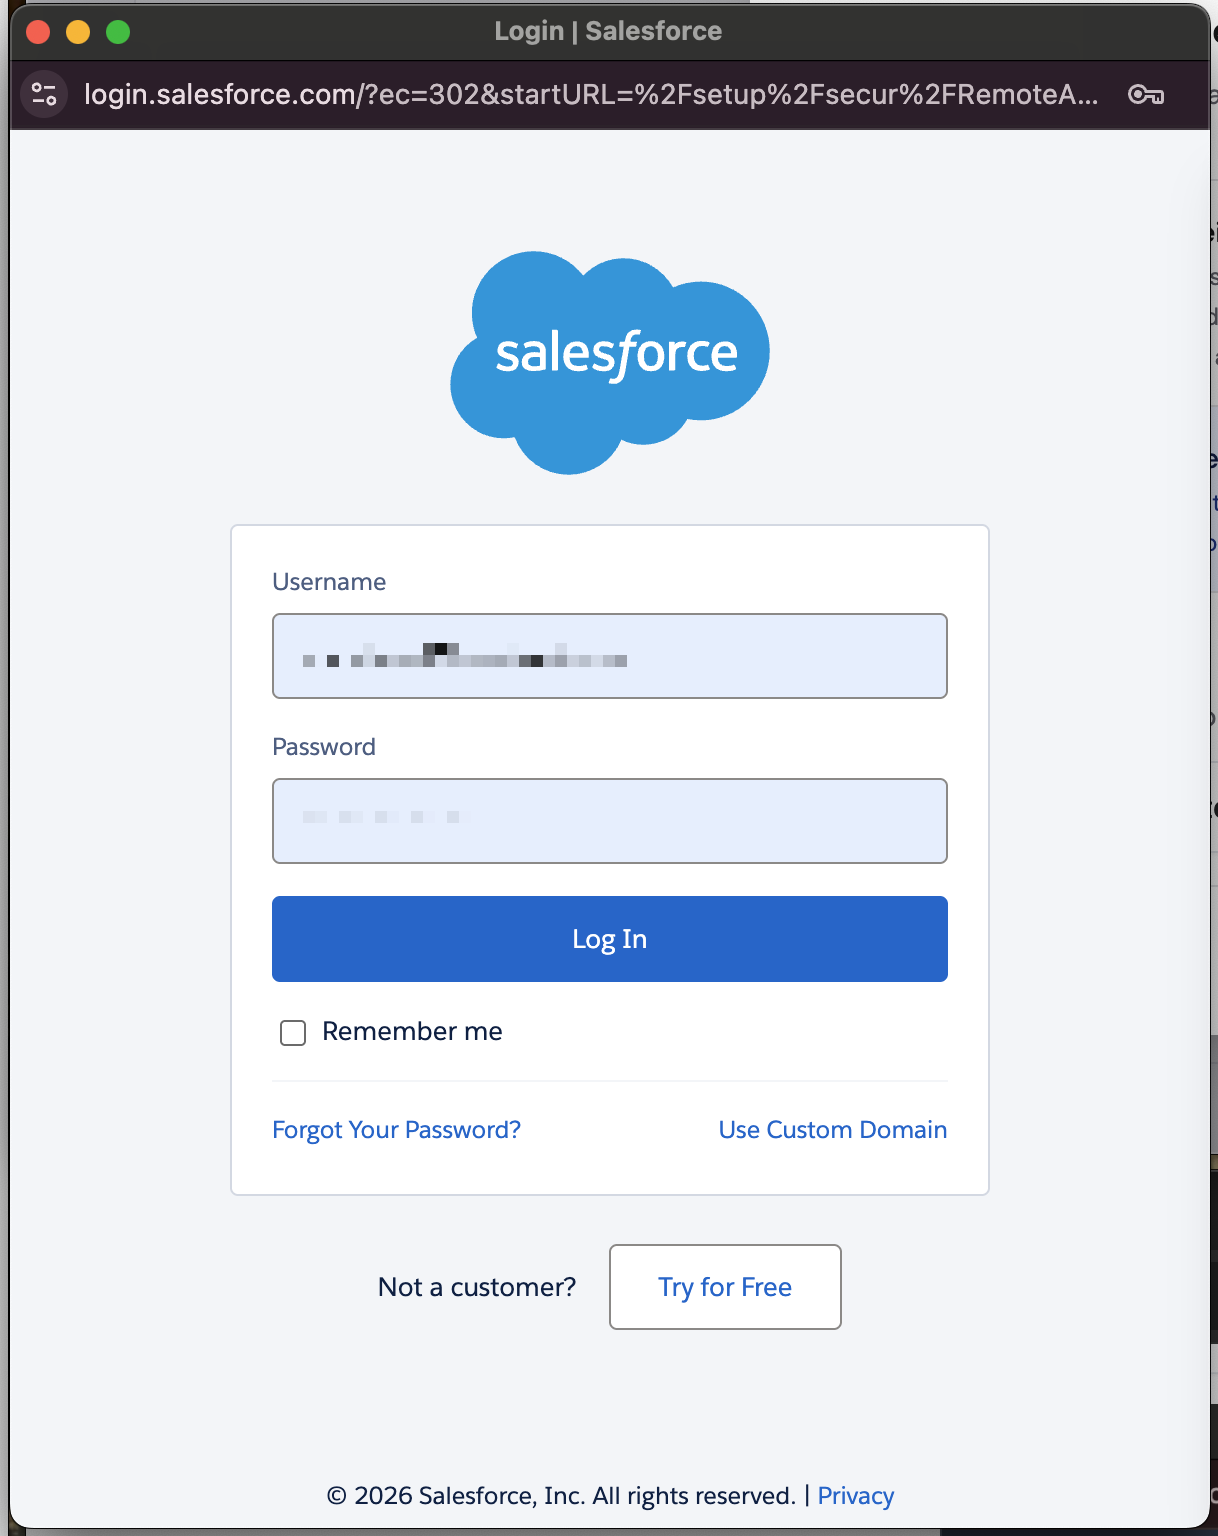
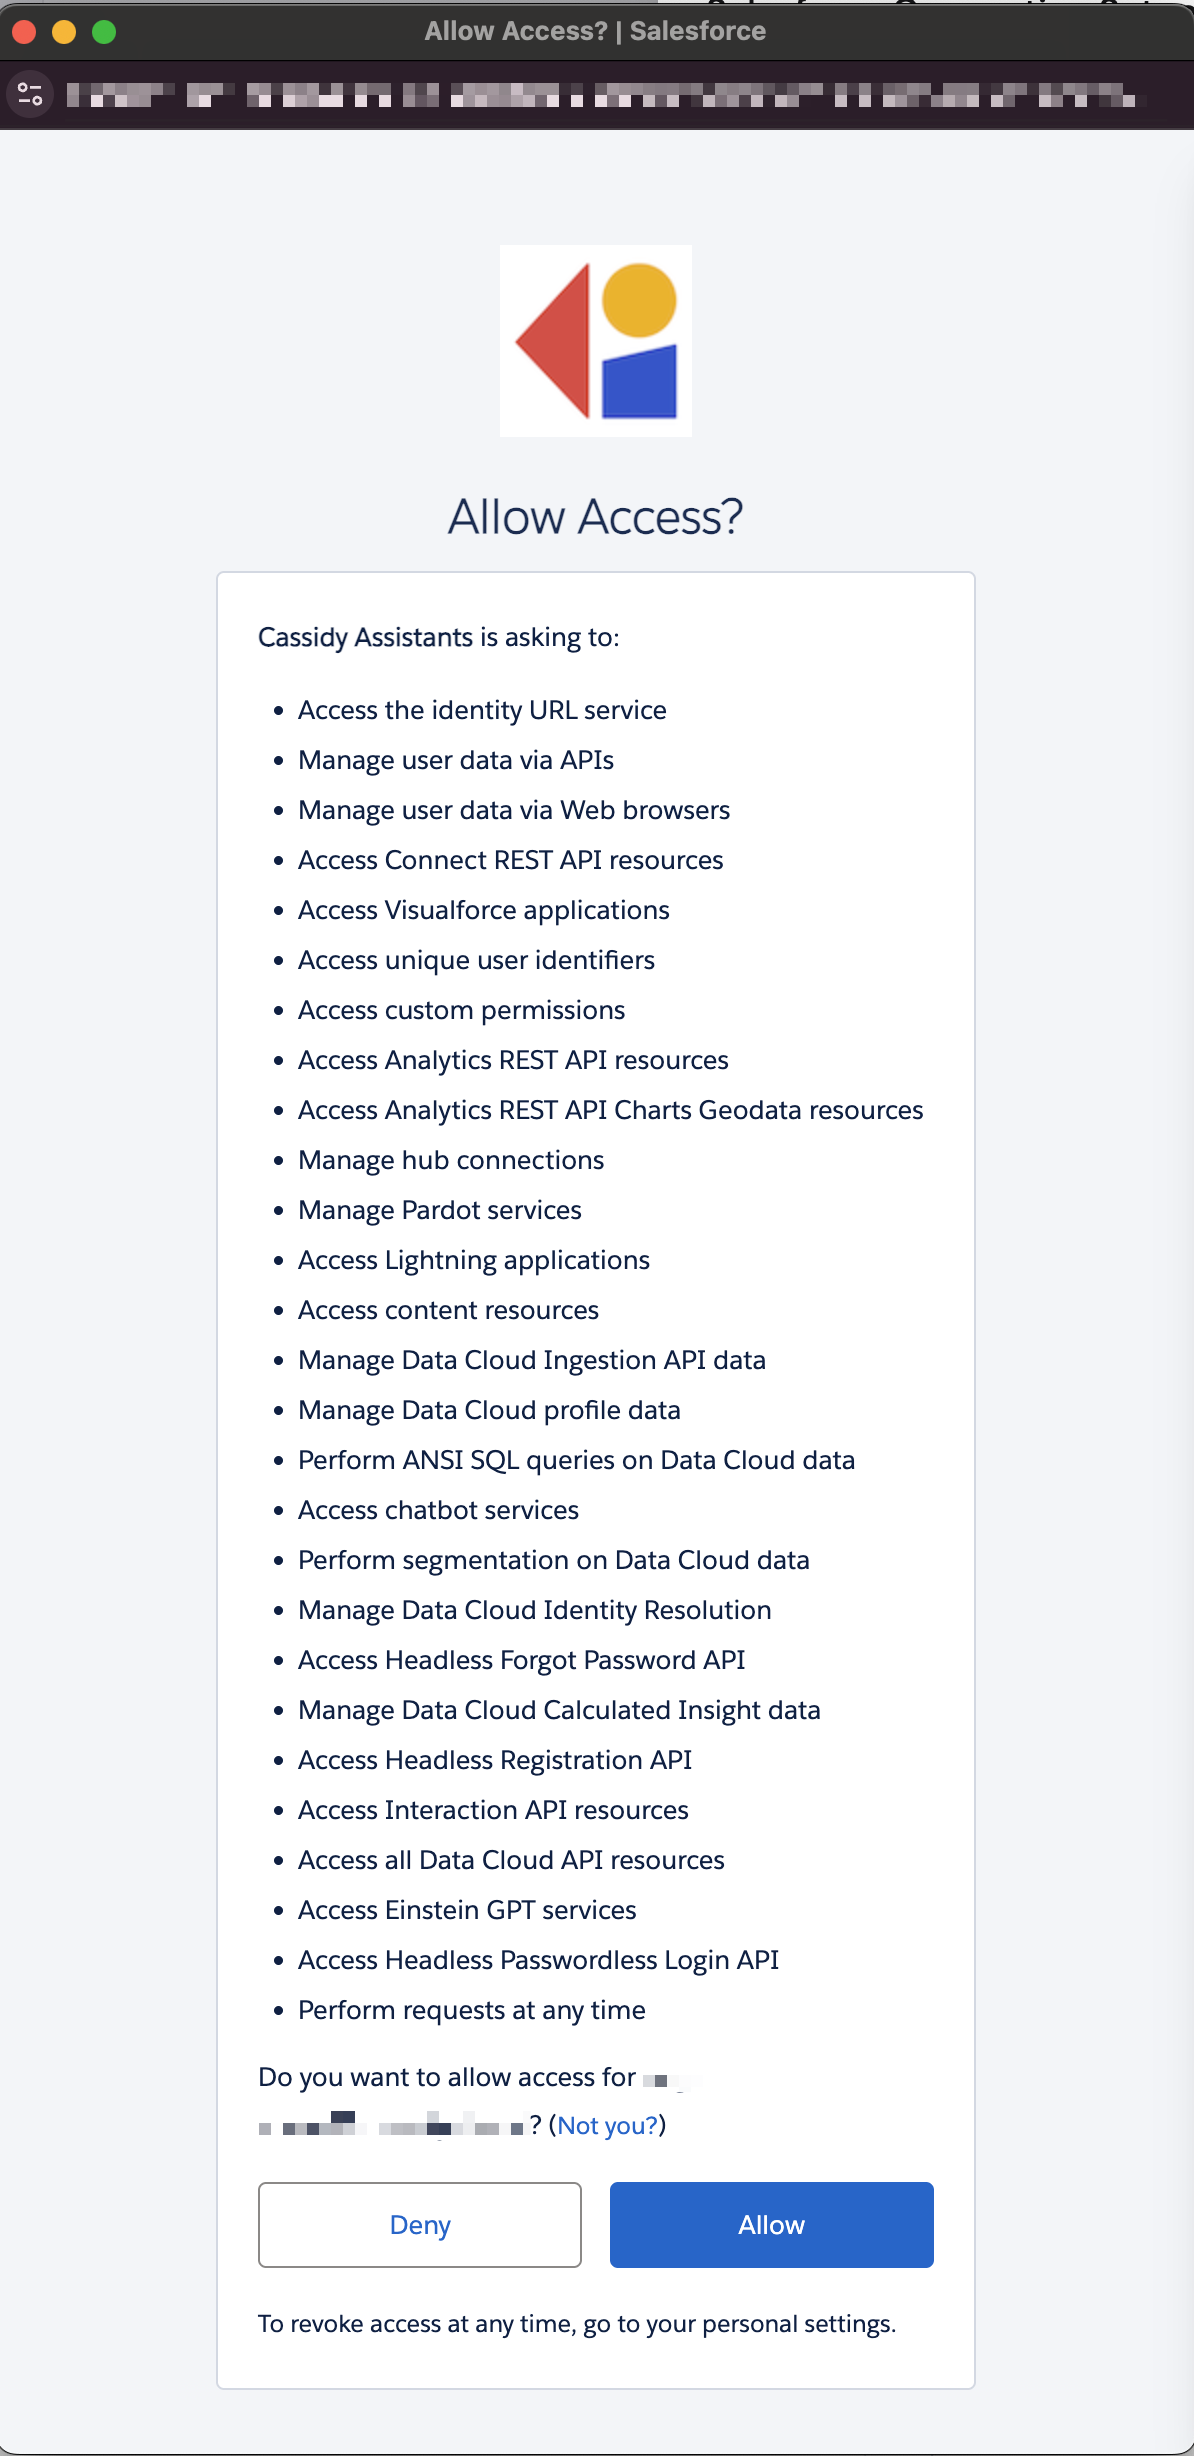
 If you chose the shared option, click **Connect** to sign in with the service account and accept the access request.

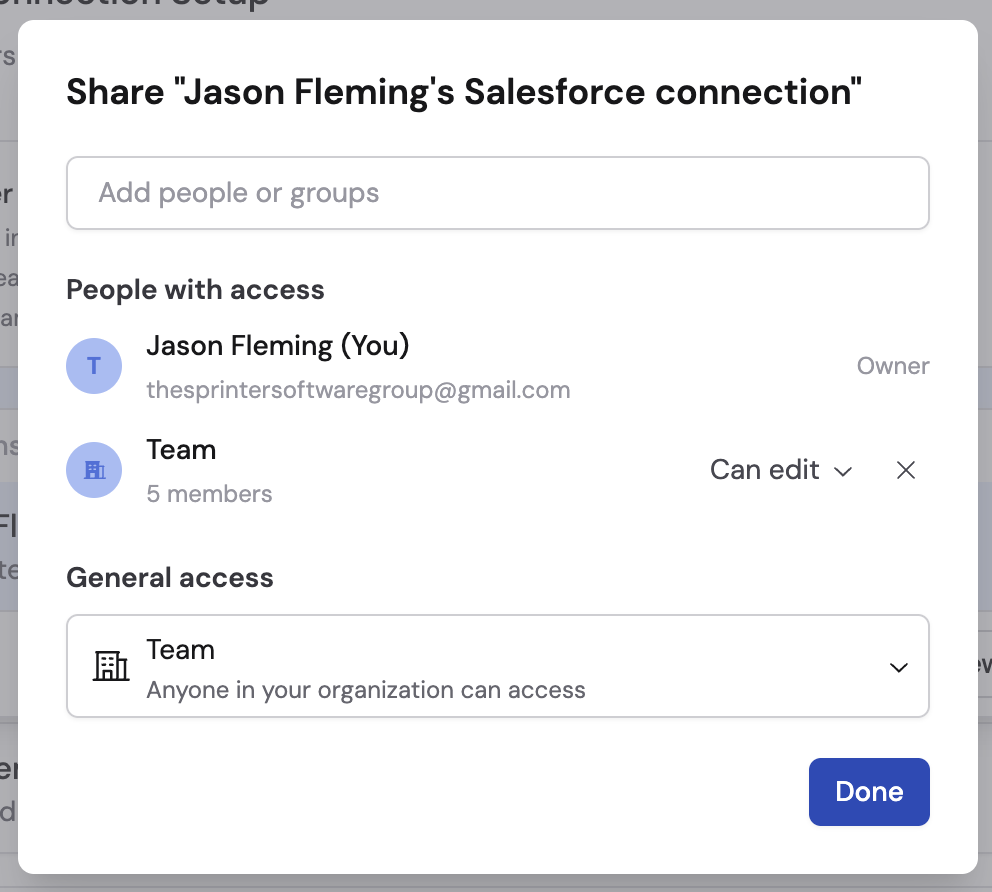
 To share the connection with other team members, click **Change** next to the newly added connection, then click the **...** menu and select **Share**.
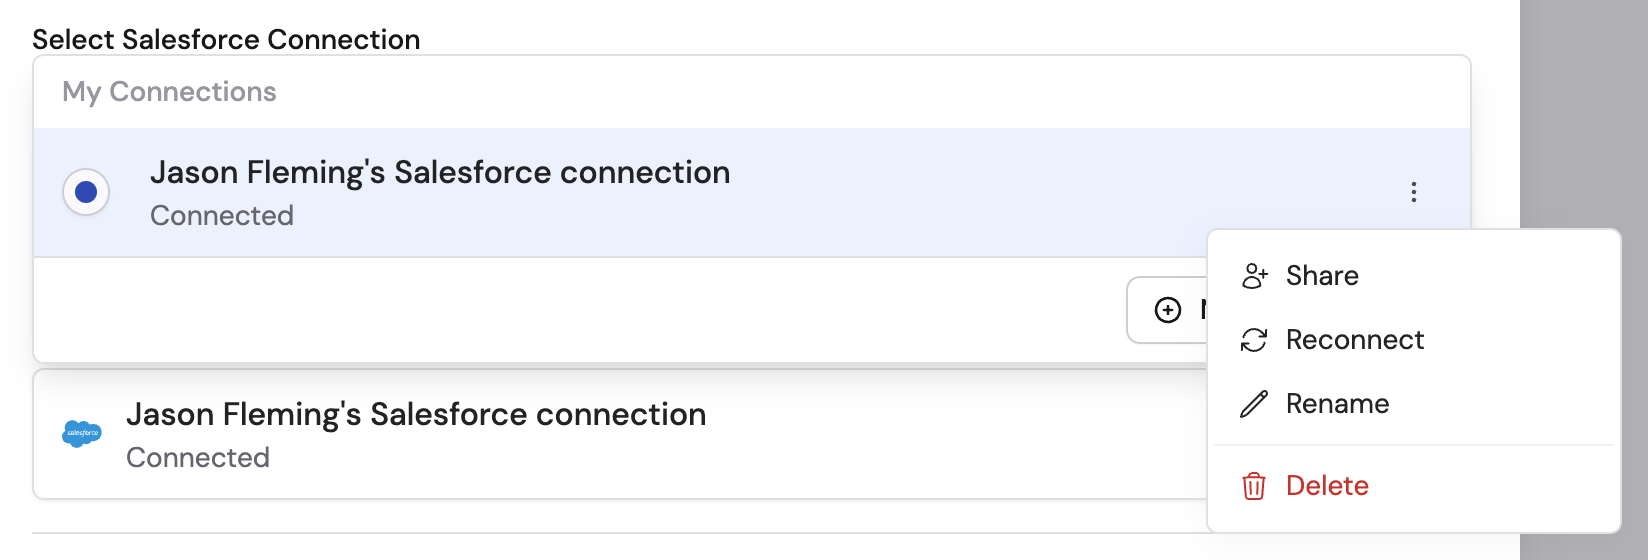 Add specific people or groups, or change the general access to **Team**.
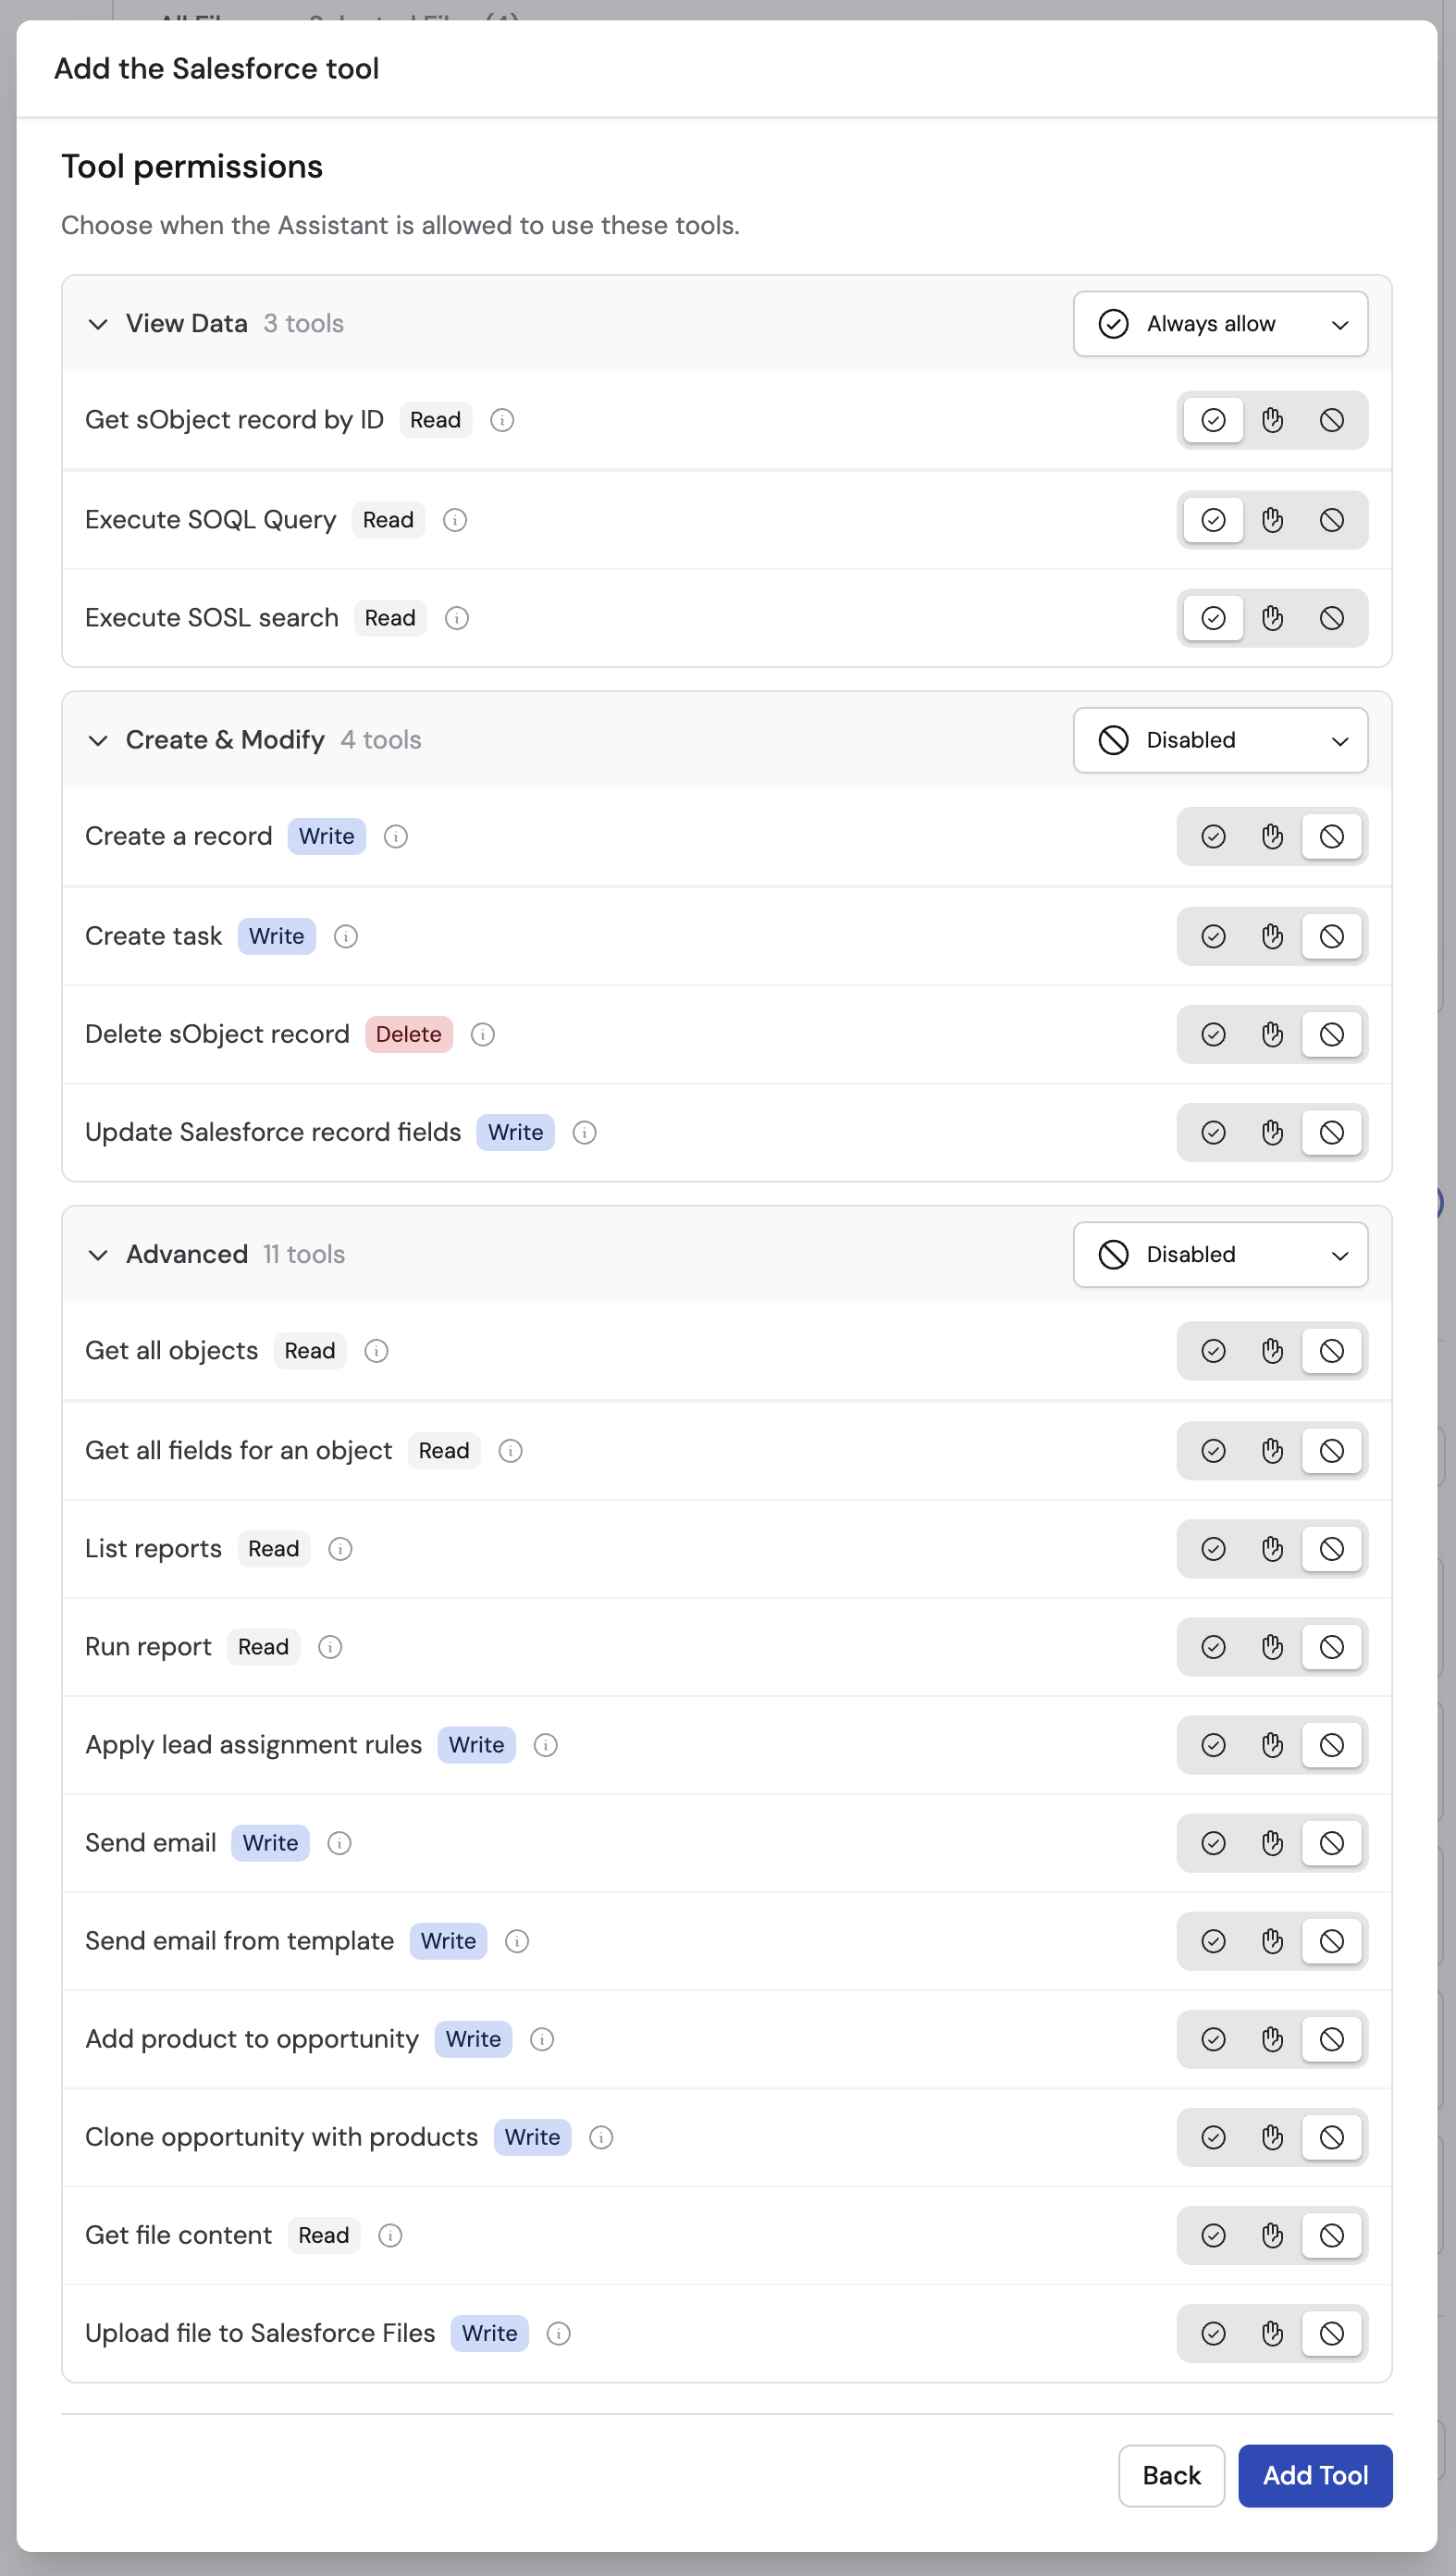
 Set permissions for each Salesforce action type. Every action is a separate tool that you control individually:
* **Always Allow** — The Agent performs the action automatically when needed
* **Needs Approval** — The Agent asks the user for permission before taking the action
* **Disabled** — The Agent cannot perform the action
Common Salesforce tools include Search records (view data), Create records (add new leads, contacts, etc.), Update records (change existing data), and Delete records (remove data). You decide the permission level for each tool separately. For example, you might set **Search records** to Always Allow but **Delete records** to Disabled. When you are done, click **Add**.
Set permissions for each Salesforce action type. Every action is a separate tool that you control individually:
* **Always Allow** — The Agent performs the action automatically when needed
* **Needs Approval** — The Agent asks the user for permission before taking the action
* **Disabled** — The Agent cannot perform the action
Common Salesforce tools include Search records (view data), Create records (add new leads, contacts, etc.), Update records (change existing data), and Delete records (remove data). You decide the permission level for each tool separately. For example, you might set **Search records** to Always Allow but **Delete records** to Disabled. When you are done, click **Add**.
 Navigate to **Chat** and select the Agent with the Salesforce Connector enabled.
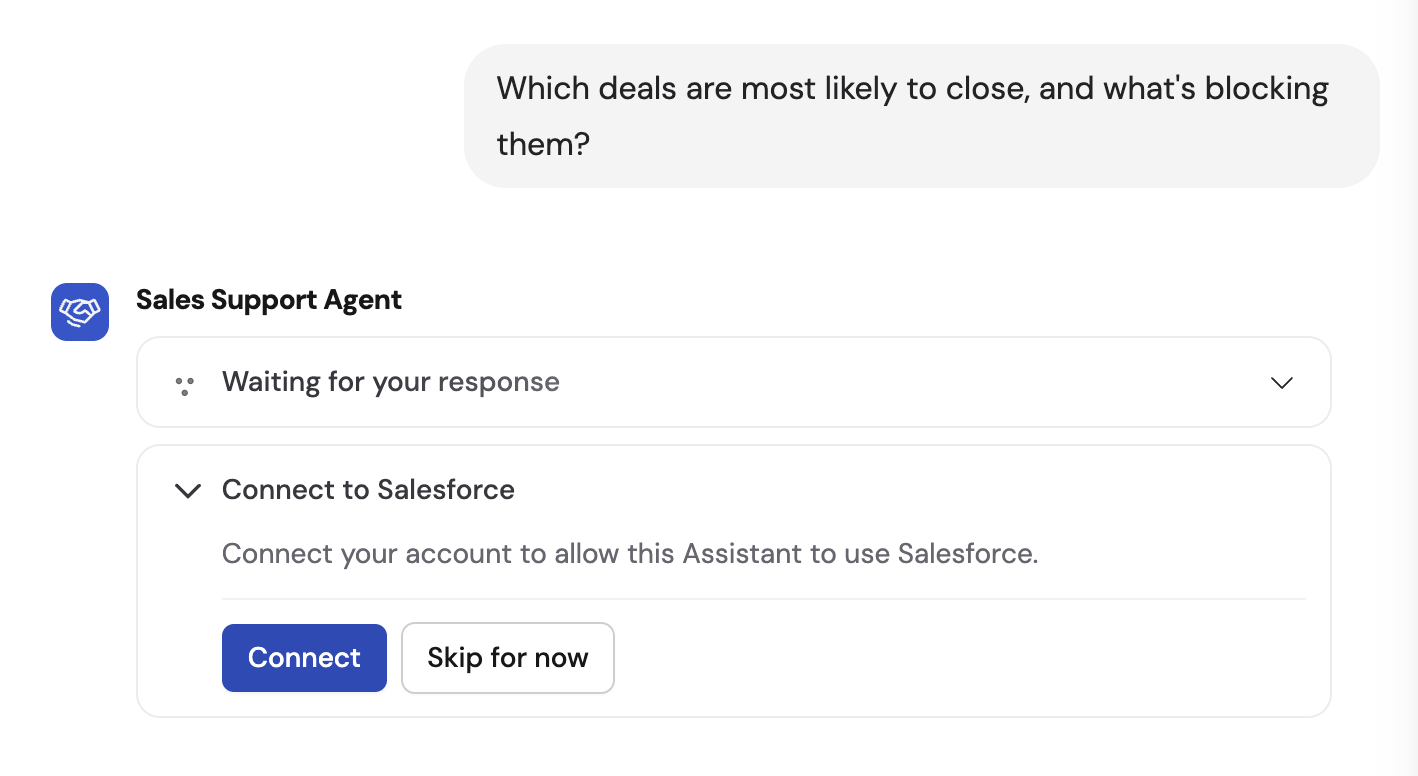 If you chose the per-user connection method, users are prompted to connect their Salesforce account from within the chat on first use.
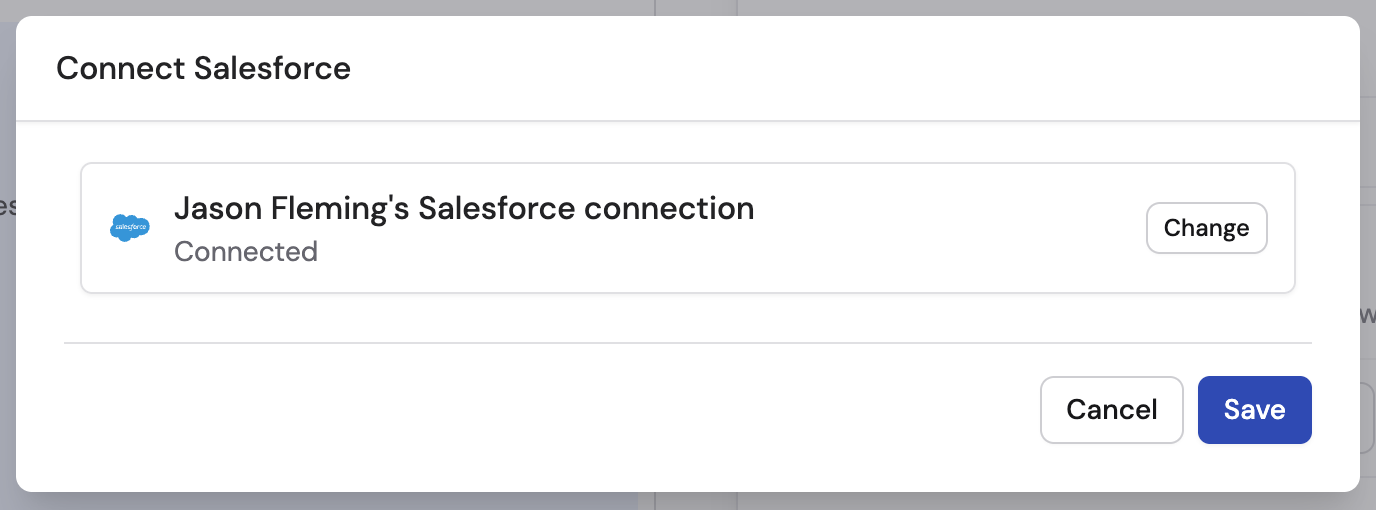 Once connected, save your settings and continue chatting. Your Agent can now access Salesforce data to answer questions about accounts, opportunities, leads, contacts, and other CRM records.
 ## Monitor Salesforce actions
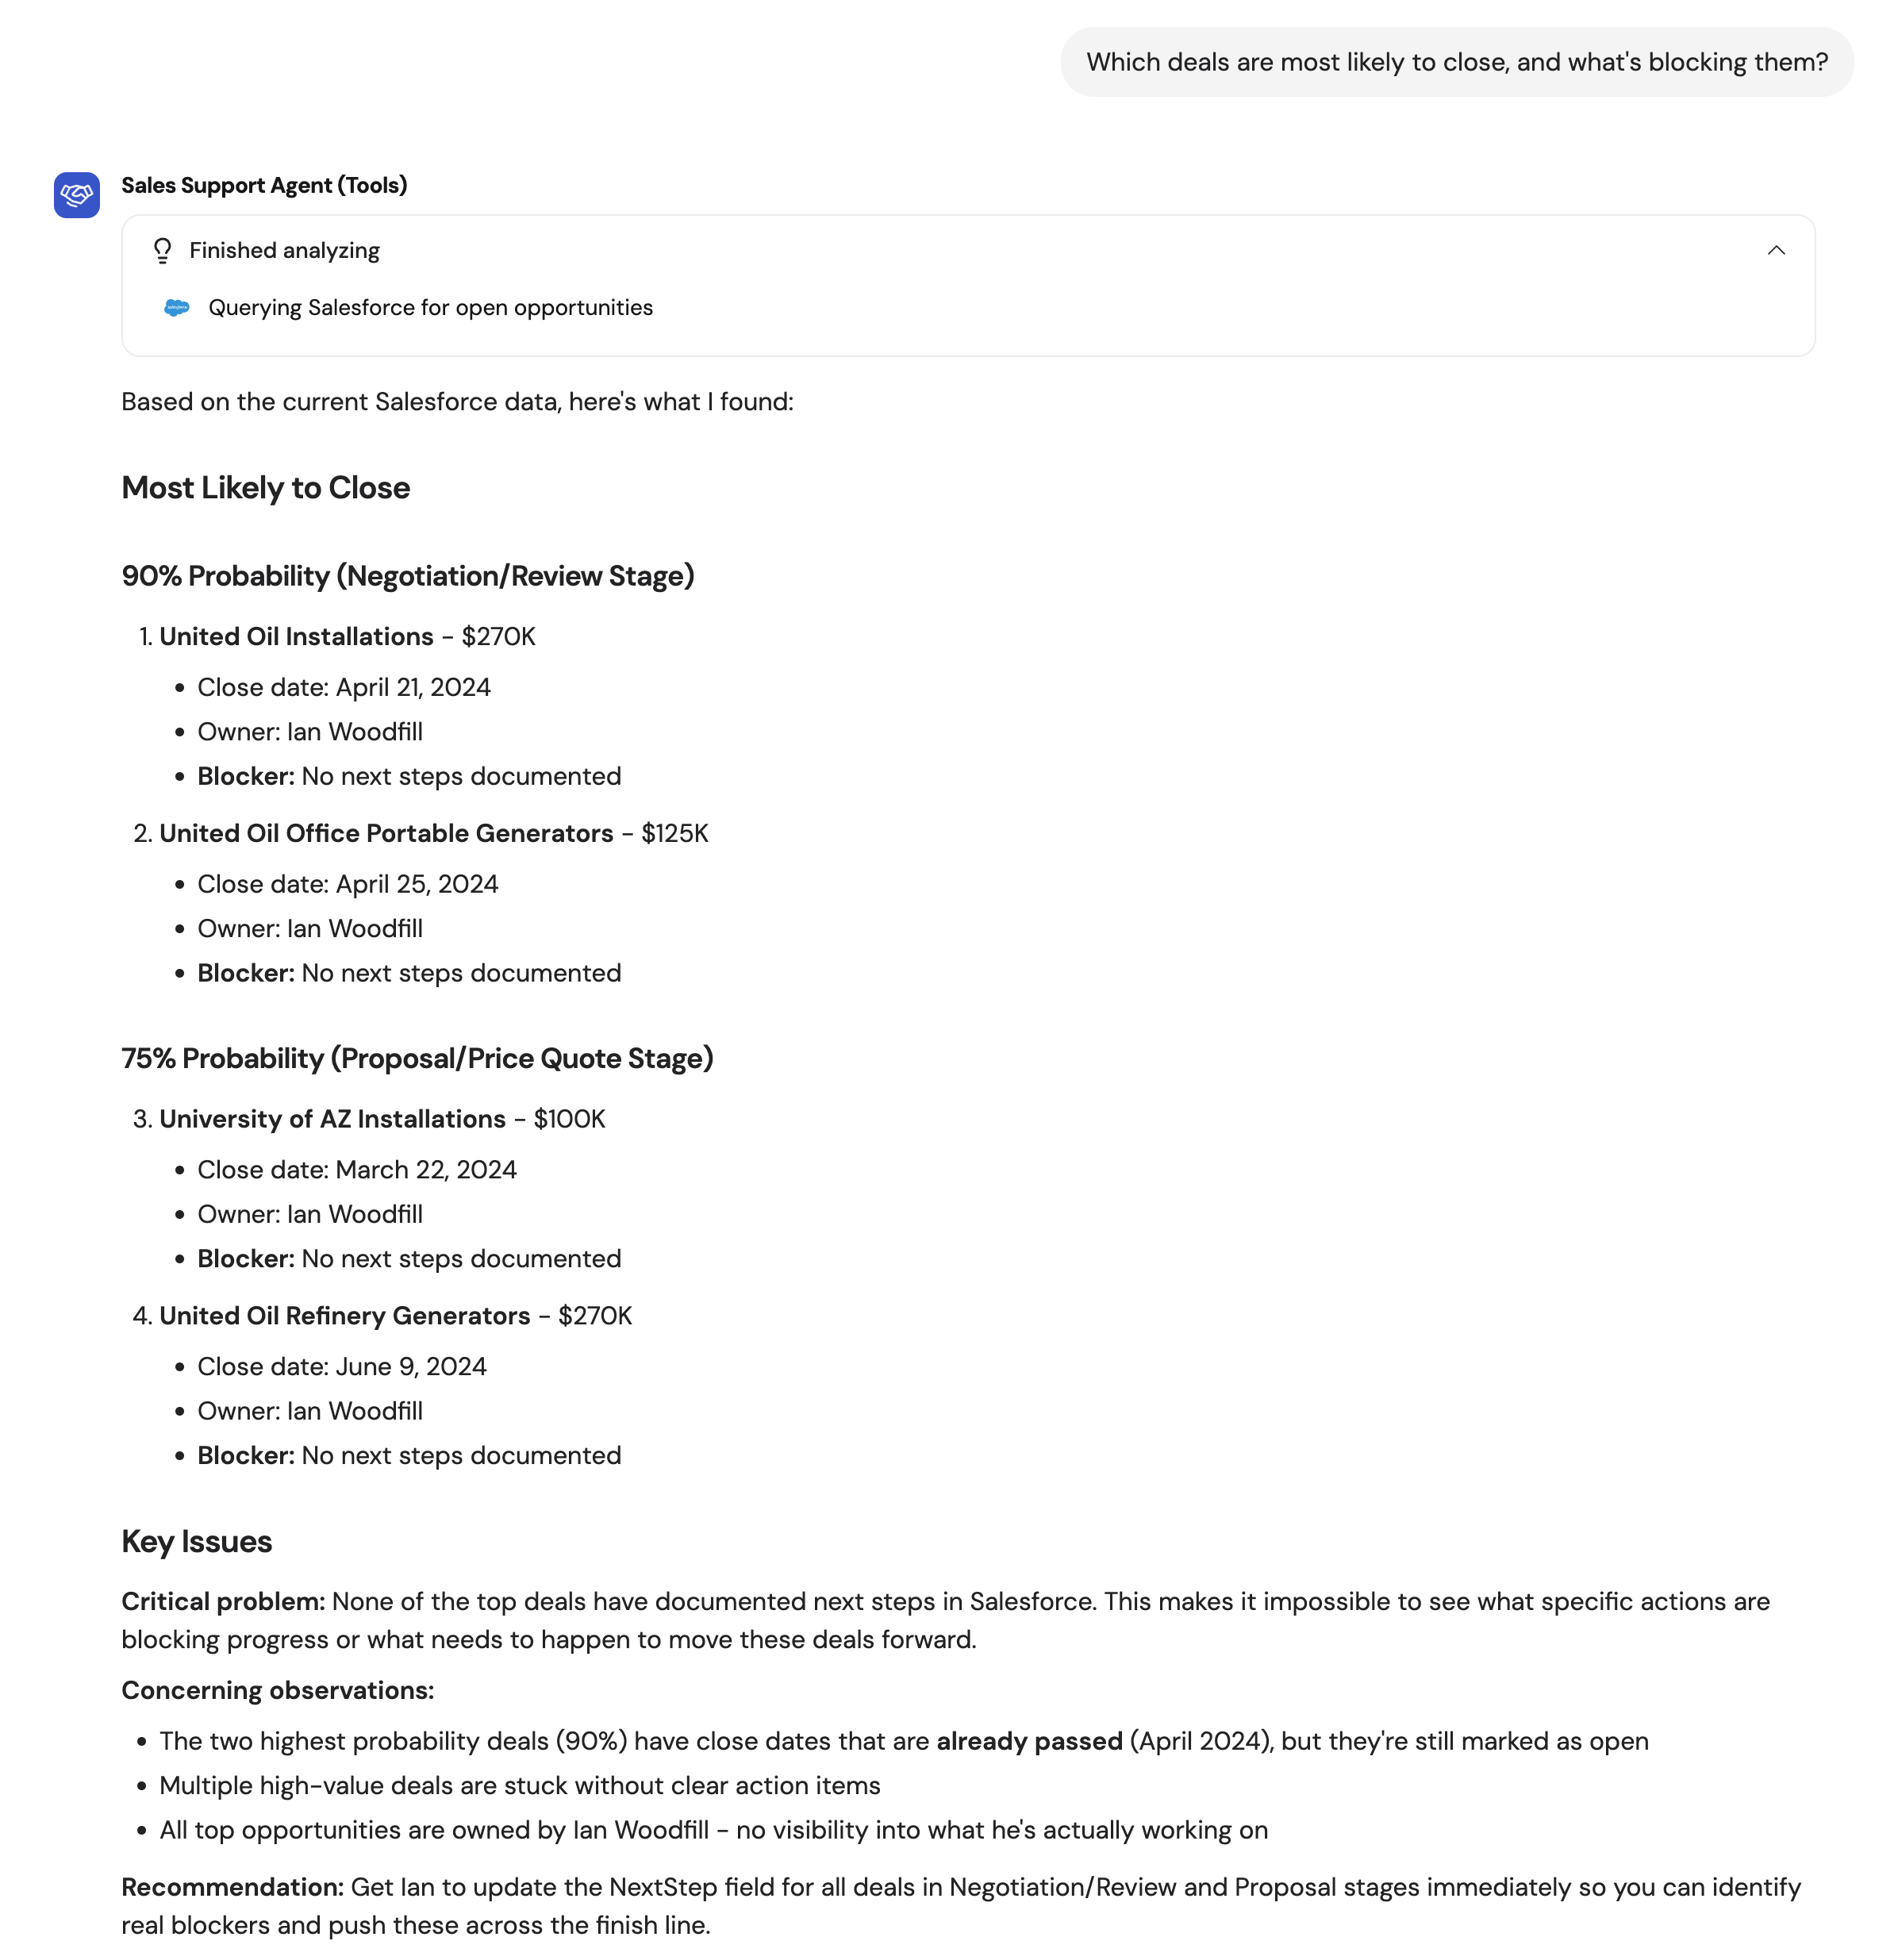
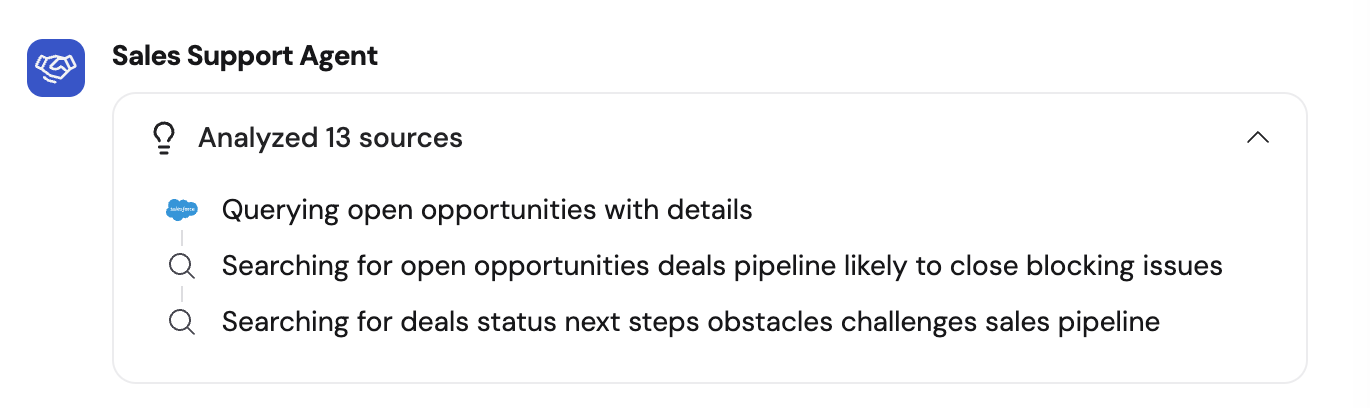
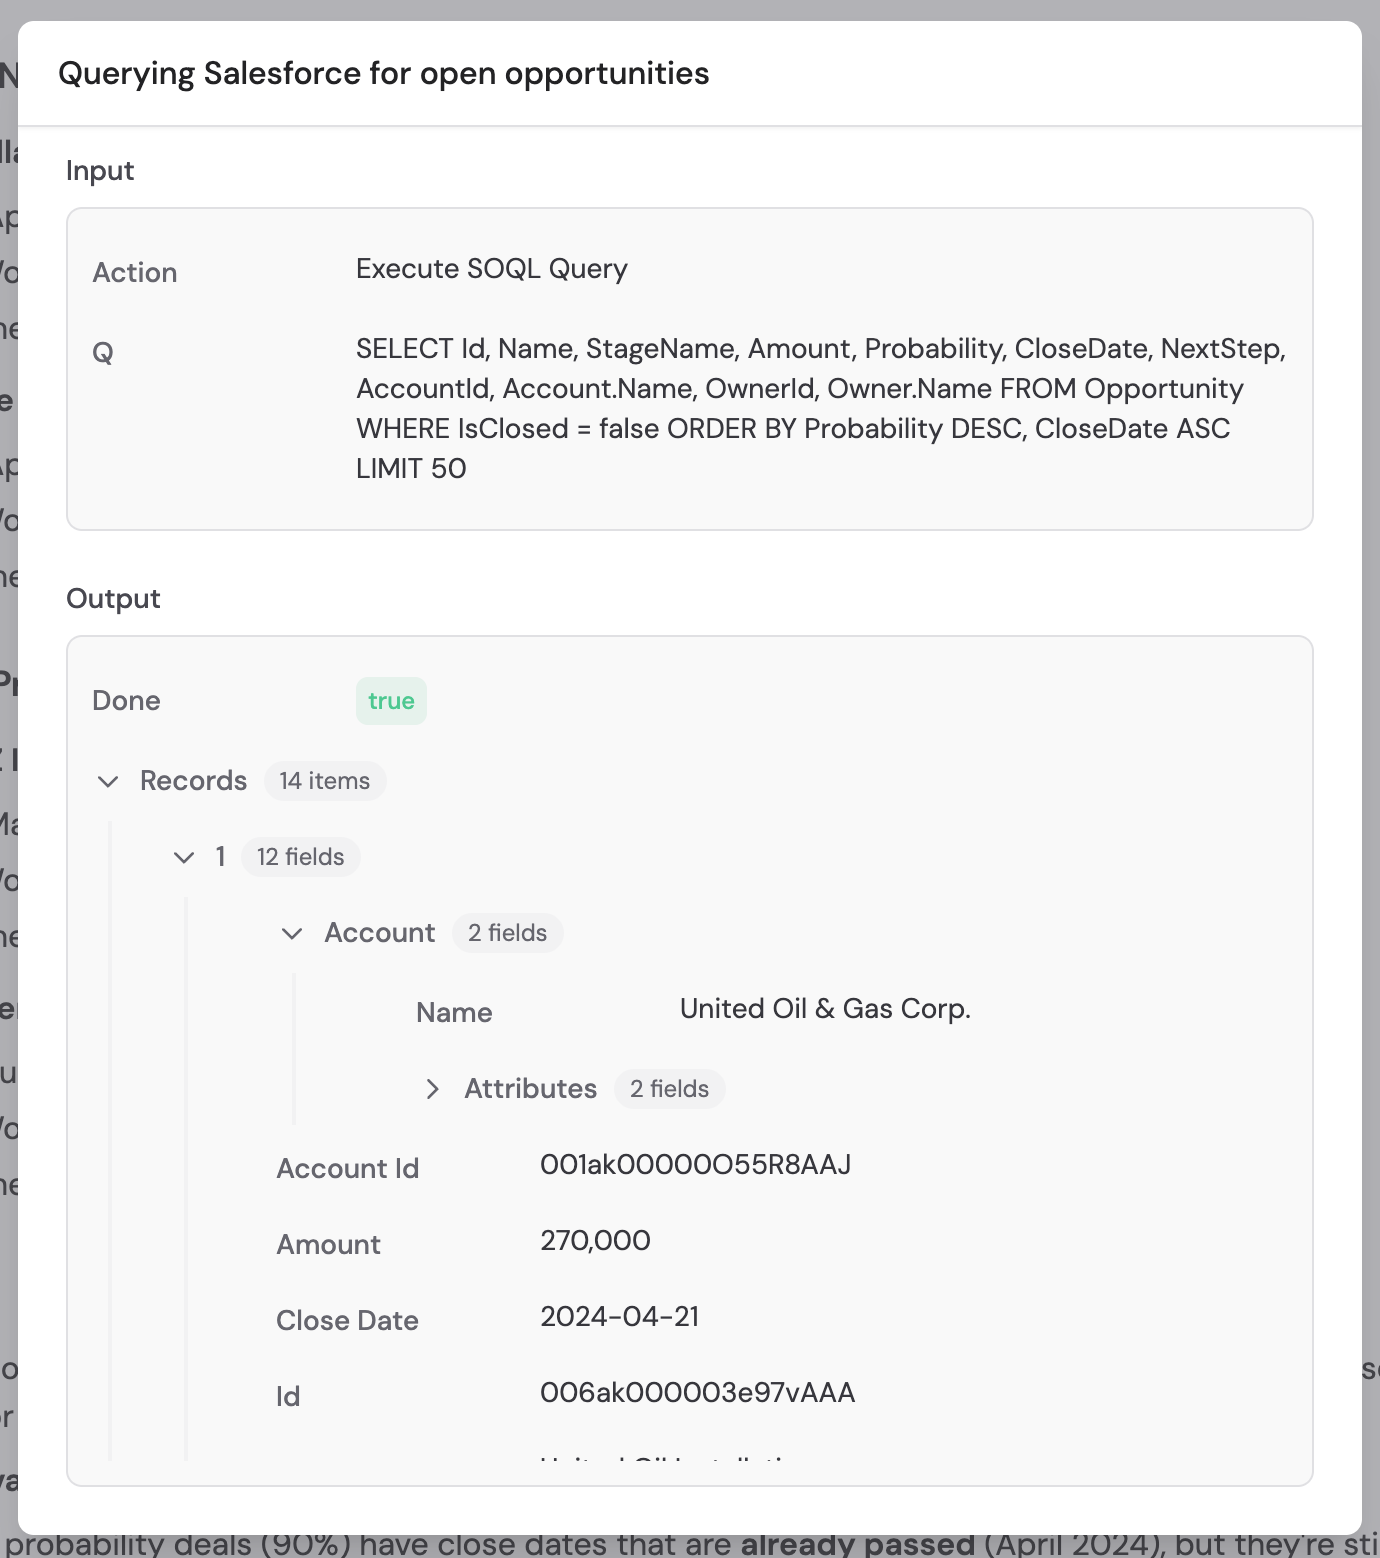
When an Agent uses the Salesforce Connector during a conversation, you can review what happened by expanding the **Analyzed Sources** dropdown and clicking any Salesforce step.
## Monitor Salesforce actions
When an Agent uses the Salesforce Connector during a conversation, you can review what happened by expanding the **Analyzed Sources** dropdown and clicking any Salesforce step.
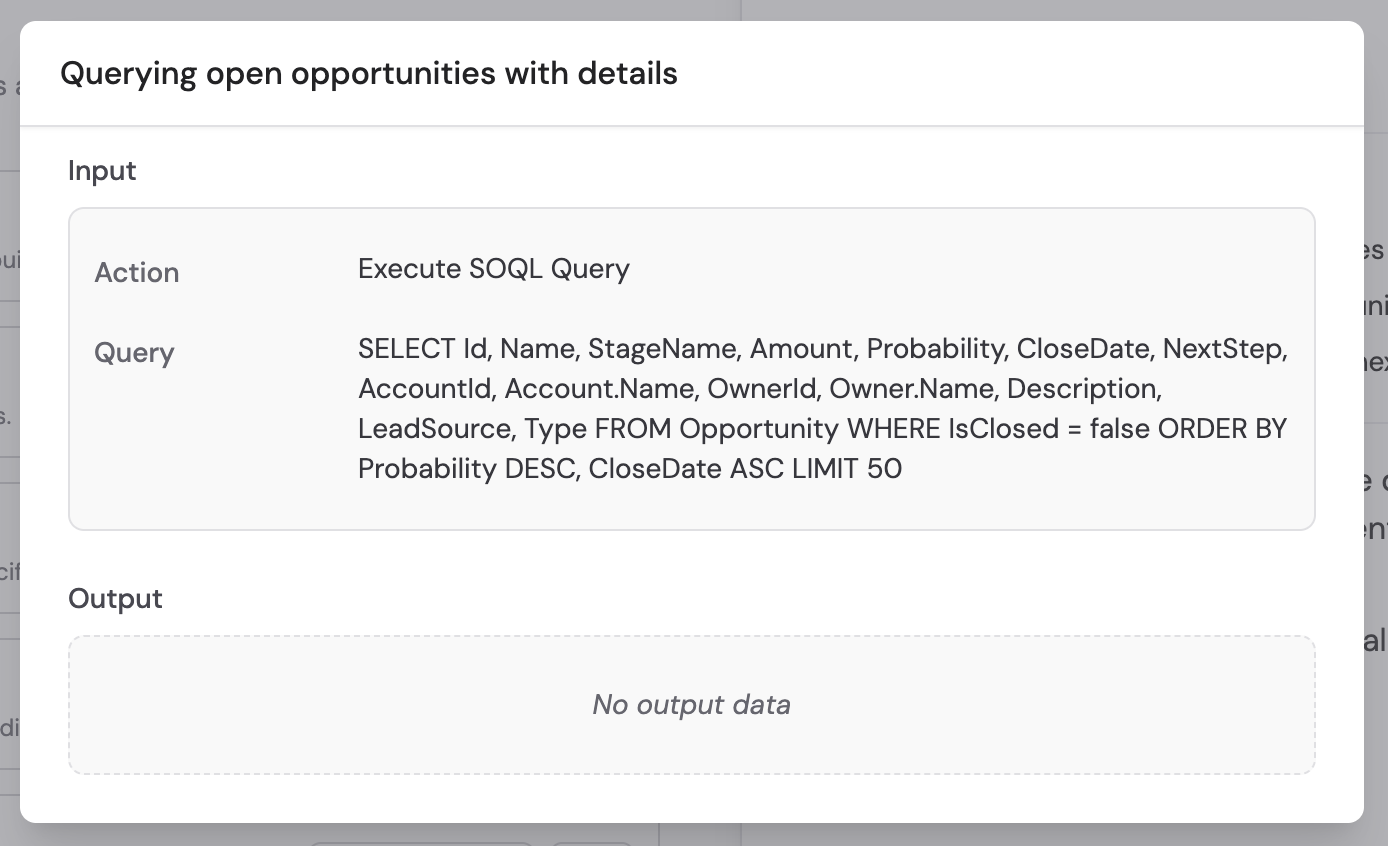
 If an action lacks the required permissions, the step shows **No output data**.
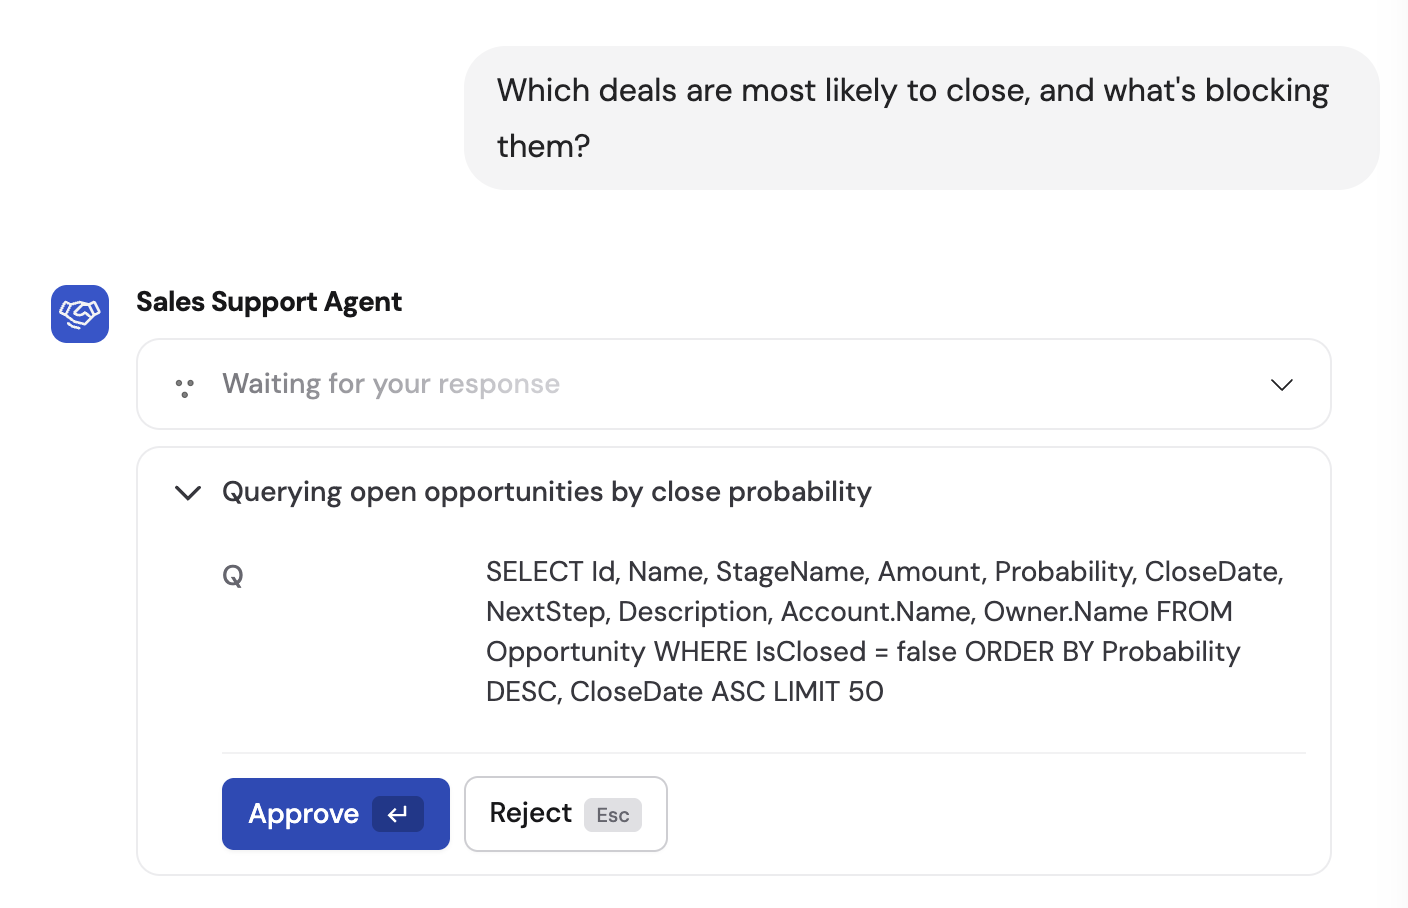
 If an action requires approval (set to **Needs Approval**), you see an approval prompt where you can click **Approve** or **Reject** before the action executes.
 ## Data security
* **Permission-based access** — The Agent can only access what the connected Salesforce account has permission to see
* **Auditability** — All queries and actions are logged in your Agent's activity history
* **Service account control** — Using a service account lets you define exactly what objects, fields, and records are accessible
* **No data stored** — Salesforce data is accessed in real time and never copied or stored in Cassidy
This integration uses standard Salesforce OAuth scopes (`full` and `refresh_token`) to securely access your data. If your organization requires custom scopes, contact [support@cassidyai.com](mailto:support@cassidyai.com).
If you see an OAuth error like `OAUTH_APPROVAL_ERROR_GENERIC`, follow these steps:
1. **Have an authorized user connect first** — Ask a user with the **Approve Uninstalled Connected Apps** permission in Salesforce to connect. Users with the System Administrator profile have this permission by default.
2. **Install the Cassidy app in Salesforce** — Once the authorized connection is made, your Salesforce admin should:
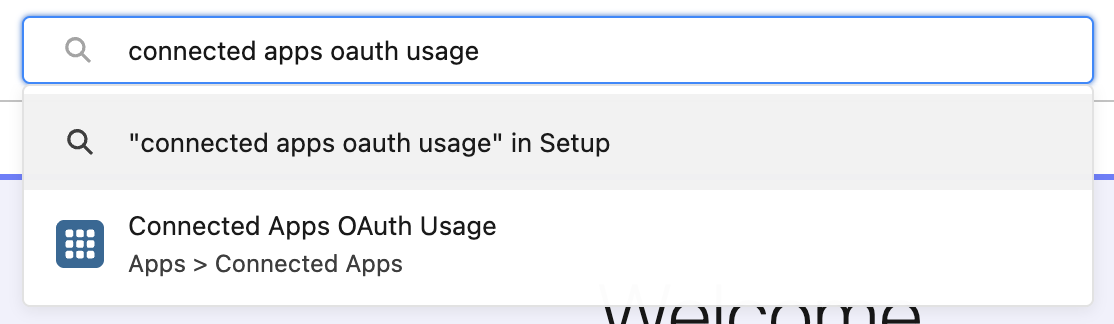
* Go to the **Connected Apps OAuth Usage** page in Salesforce Setup
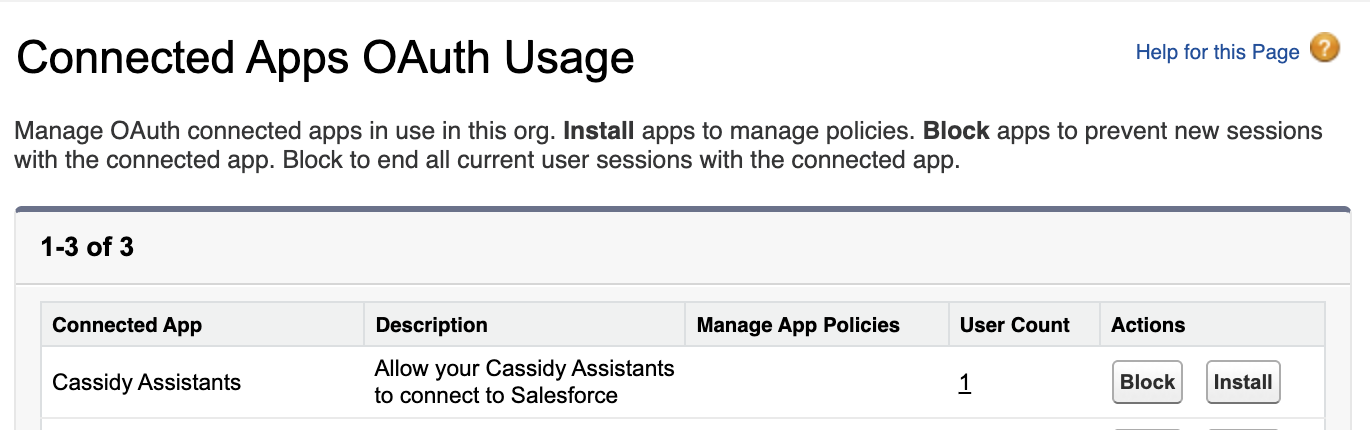
* Find the **Cassidy Assistants** app
* Click **Install**
## Data security
* **Permission-based access** — The Agent can only access what the connected Salesforce account has permission to see
* **Auditability** — All queries and actions are logged in your Agent's activity history
* **Service account control** — Using a service account lets you define exactly what objects, fields, and records are accessible
* **No data stored** — Salesforce data is accessed in real time and never copied or stored in Cassidy
This integration uses standard Salesforce OAuth scopes (`full` and `refresh_token`) to securely access your data. If your organization requires custom scopes, contact [support@cassidyai.com](mailto:support@cassidyai.com).
If you see an OAuth error like `OAUTH_APPROVAL_ERROR_GENERIC`, follow these steps:
1. **Have an authorized user connect first** — Ask a user with the **Approve Uninstalled Connected Apps** permission in Salesforce to connect. Users with the System Administrator profile have this permission by default.
2. **Install the Cassidy app in Salesforce** — Once the authorized connection is made, your Salesforce admin should:
* Go to the **Connected Apps OAuth Usage** page in Salesforce Setup
* Find the **Cassidy Assistants** app
* Click **Install**
 After completing these steps, other users should be able to connect without encountering the OAuth error.
## Next steps
Set up your Knowledge Base for AI-powered context across Agents and Workflows.
Automate Salesforce record changes with Workflow triggers and actions.
After completing these steps, other users should be able to connect without encountering the OAuth error.
## Next steps
Set up your Knowledge Base for AI-powered context across Agents and Workflows.
Automate Salesforce record changes with Workflow triggers and actions.