> ## Documentation Index
> Fetch the complete documentation index at: https://docs.cassidyai.com/llms.txt
> Use this file to discover all available pages before exploring further.
# New Zendesk ticket trigger
> Run a Workflow automatically when a new Zendesk ticket is created.
Use the **New Zendesk Ticket** trigger to start a [Workflow](/workflows/overview) whenever a new ticket is created in your Zendesk account. This is useful for automating responses, routing tickets, or enriching ticket data the moment it arrives.
## Set up the trigger
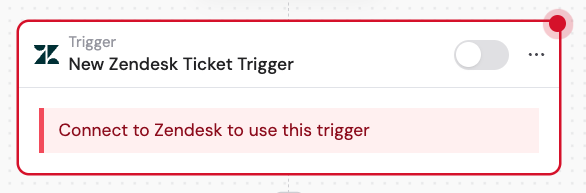
Create a new Workflow with the **New Zendesk Ticket** trigger, or change an existing Workflow's trigger type to **New Zendesk Ticket**.
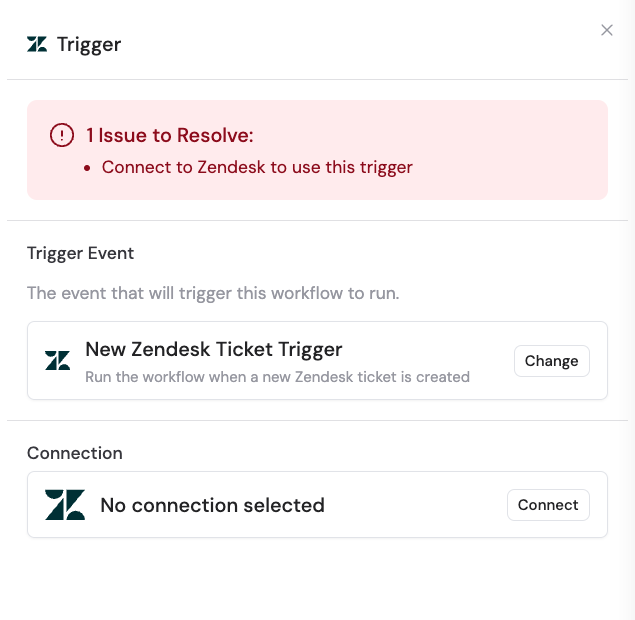
 If you haven't already, connect your Zendesk account to Cassidy. This allows Cassidy to monitor your Zendesk tickets and trigger Workflows based on new ticket creation.
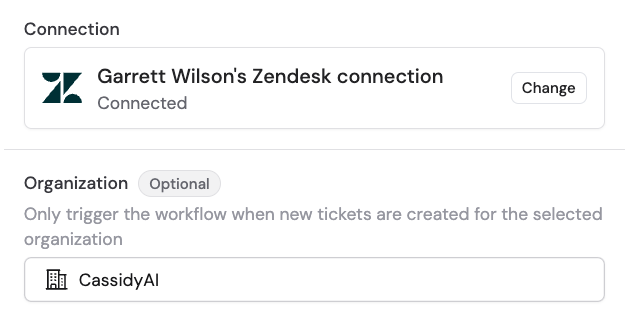
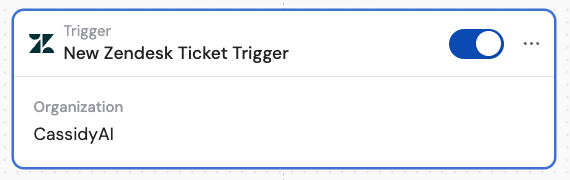
 Choose a specific Zendesk organization to monitor for new tickets. Leave this field blank to monitor tickets from all organizations.
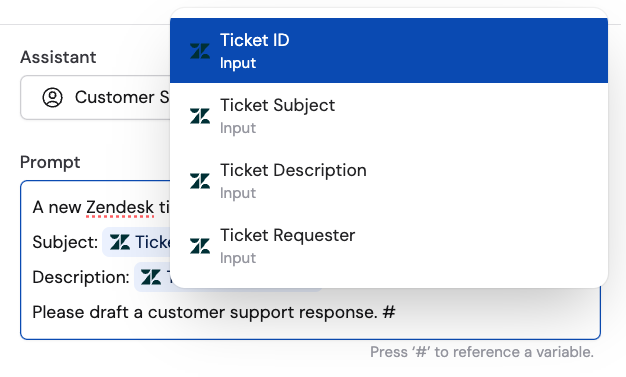
 In subsequent Workflow steps, you can reference the following variables from this trigger:
* **Ticket ID** — the unique identifier of the newly created ticket
* **Ticket Subject** — the subject line of the new ticket
* **Ticket Description** — the body of the new ticket
* **Ticket Requester** — the email address of the person who submitted the ticket
In subsequent Workflow steps, you can reference the following variables from this trigger:
* **Ticket ID** — the unique identifier of the newly created ticket
* **Ticket Subject** — the subject line of the new ticket
* **Ticket Description** — the body of the new ticket
* **Ticket Requester** — the email address of the person who submitted the ticket
 In the trigger block, click the toggle switch to turn it on.
 ## Related
Trigger a Workflow when an existing ticket is updated.
Add a comment to a Zendesk ticket from a Workflow.
## Related
Trigger a Workflow when an existing ticket is updated.
Add a comment to a Zendesk ticket from a Workflow.