> ## Documentation Index
> Fetch the complete documentation index at: https://docs.cassidyai.com/llms.txt
> Use this file to discover all available pages before exploring further.
# Permissions and structure
> Organize your Knowledge Base with collections and folders, and control who can access what.
Organize your [Knowledge Base](/knowledge-base/overview) content into collections and folders, and control access with granular permissions so the right people see the right information.
## Understanding collections and folders
**Collections** are top-level containers that group related knowledge. Each collection has its own permissions. By default, all users can access the **General Knowledge** collection.
**Folders** live inside collections and add another layer of organization — for example, "Policies", "Product Docs", or "Sales Materials". Folders inherit permissions from their parent collection.
You can nest folders within folders for deeper organization.
## Create a collection
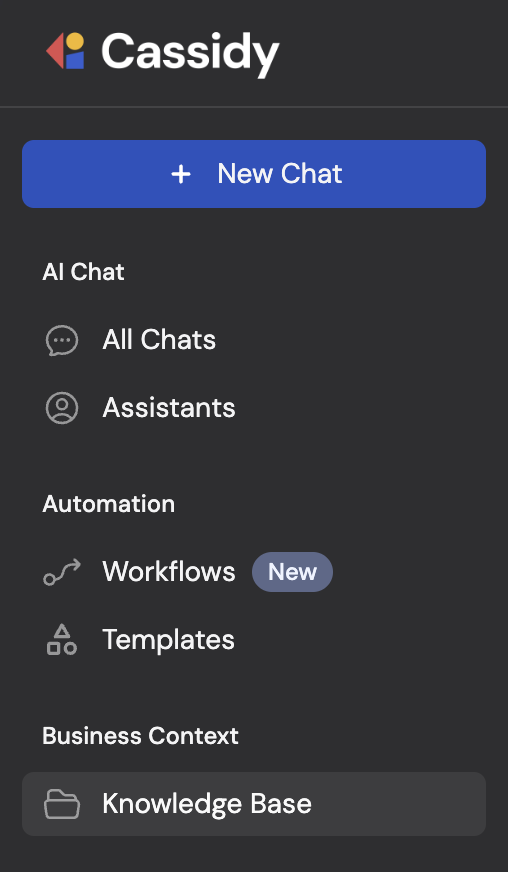
Click **Knowledge Base** in the sidebar.
 Click the current collection's name at the top of the page to open the collection dropdown.
 Click **+ Create New Collection** at the bottom of the dropdown.
Enter a name and description for the collection. Set the **General Access** level:
* **Team can edit** — anyone in your organization can view and edit
* **Team can view** — anyone can view but not edit
* **Restricted** — only specific people and groups can access
Click **+ Create New Collection** at the bottom of the dropdown.
Enter a name and description for the collection. Set the **General Access** level:
* **Team can edit** — anyone in your organization can view and edit
* **Team can view** — anyone can view but not edit
* **Restricted** — only specific people and groups can access
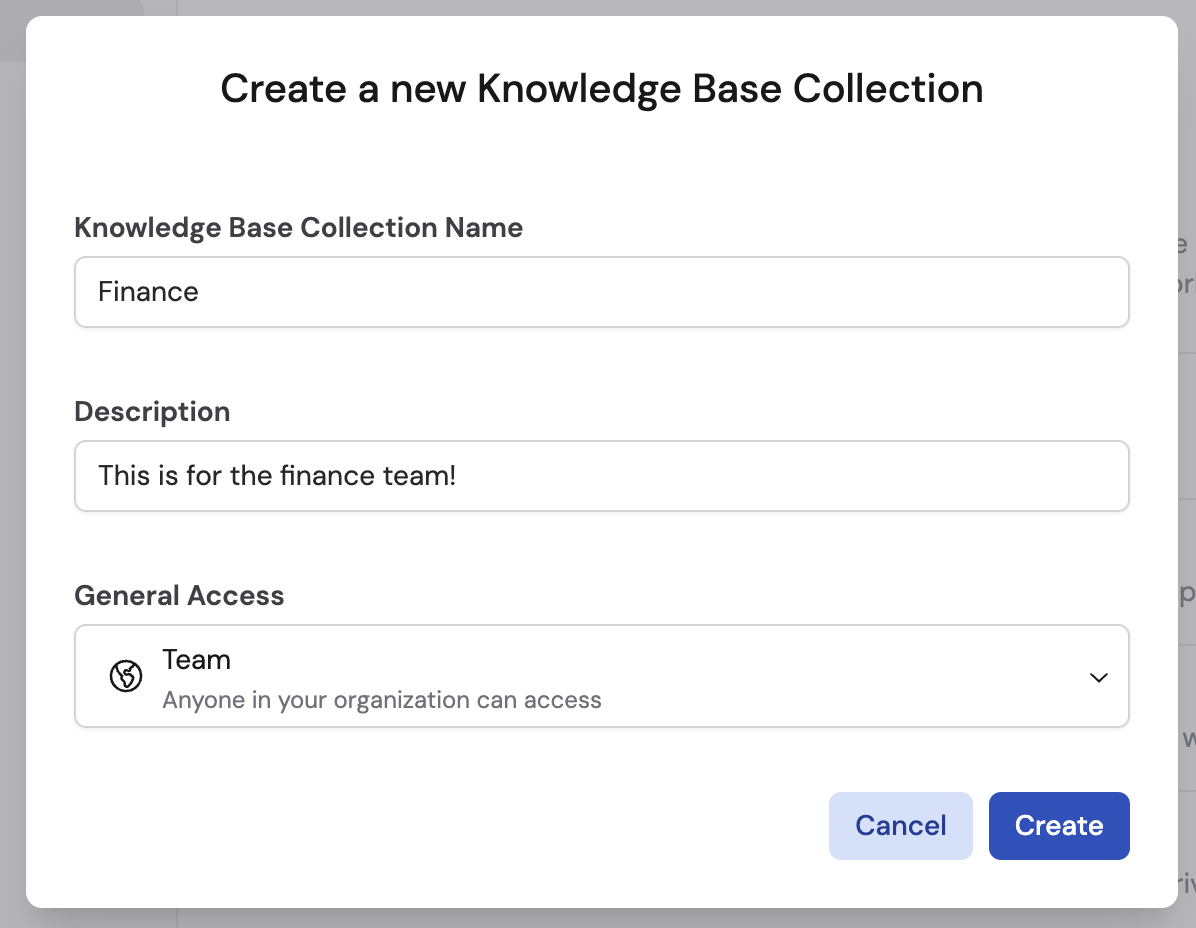 Click **Create**.
Use collections to separate content by team or department — for example, "Customer Support", "Sales", "HR".
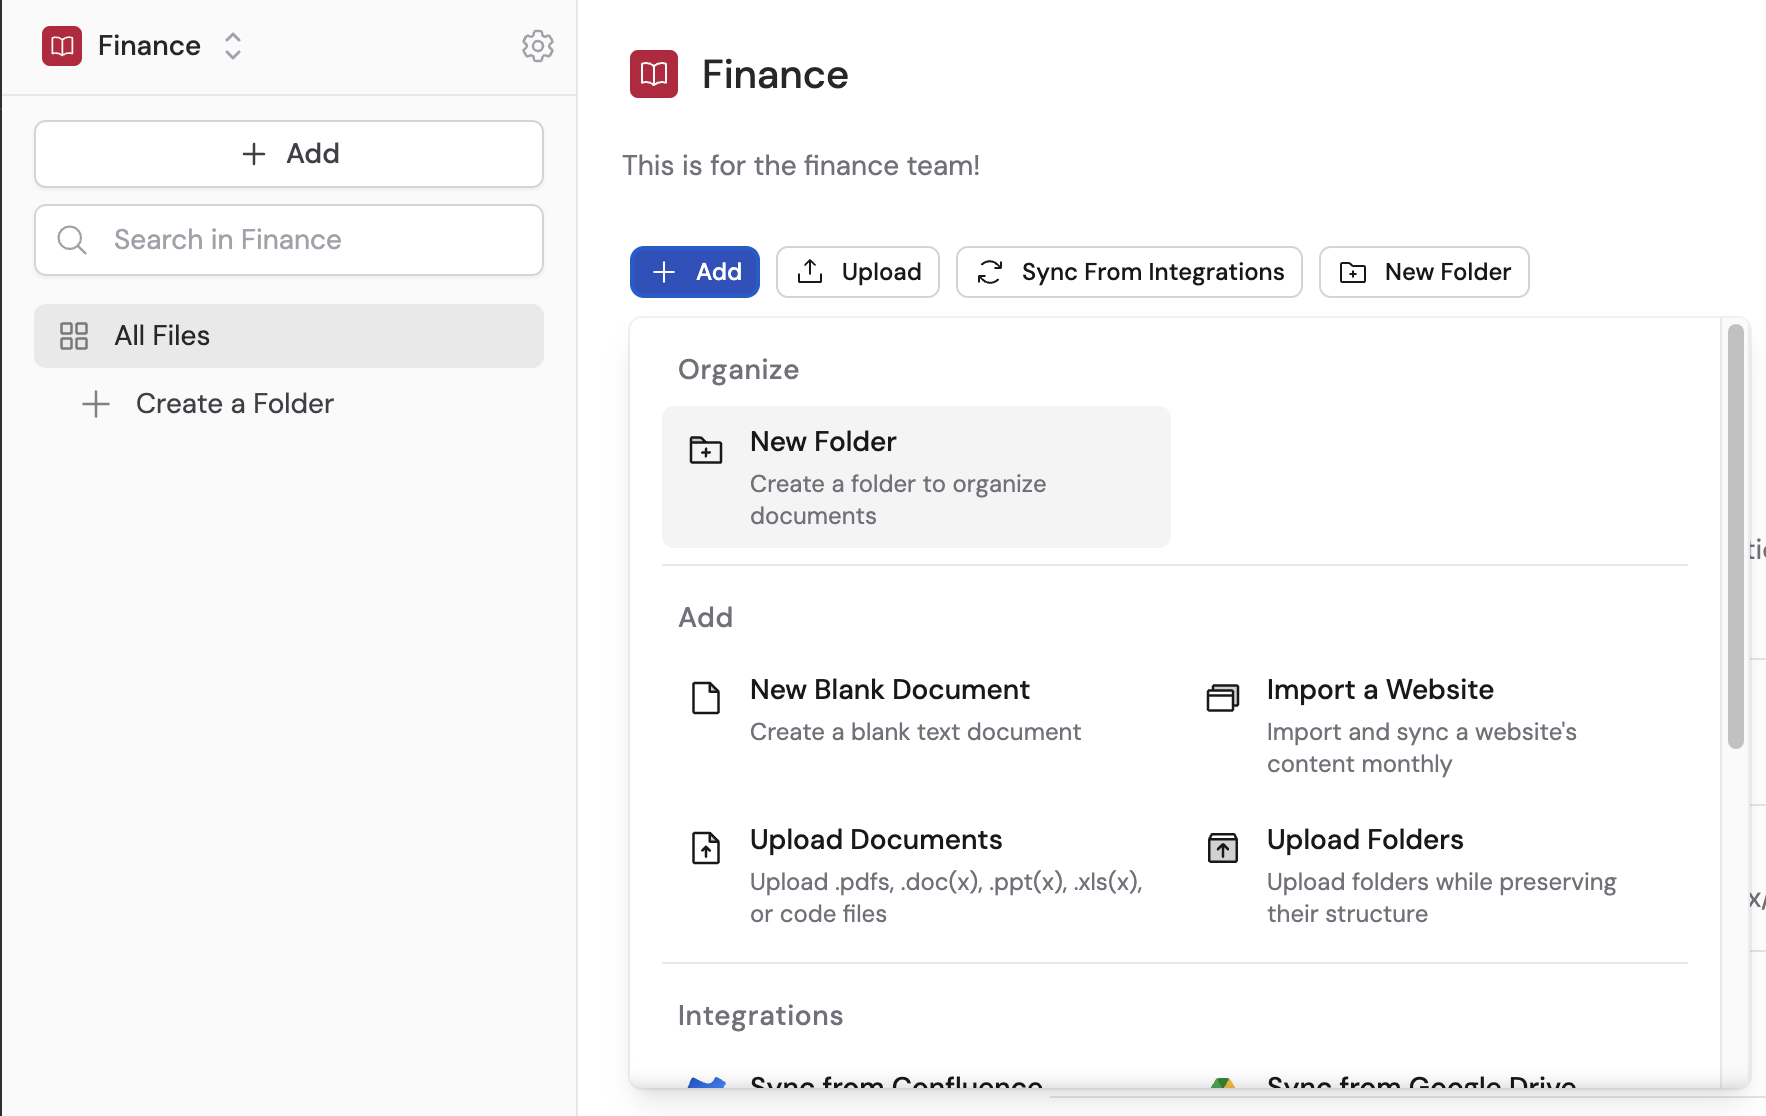
## Create folders
Open the collection where you want to add a folder.
Click **+ Add** and select **New Folder** (or click **New Folder** from the collection homepage).
Click **Create**.
Use collections to separate content by team or department — for example, "Customer Support", "Sales", "HR".
## Create folders
Open the collection where you want to add a folder.
Click **+ Add** and select **New Folder** (or click **New Folder** from the collection homepage).
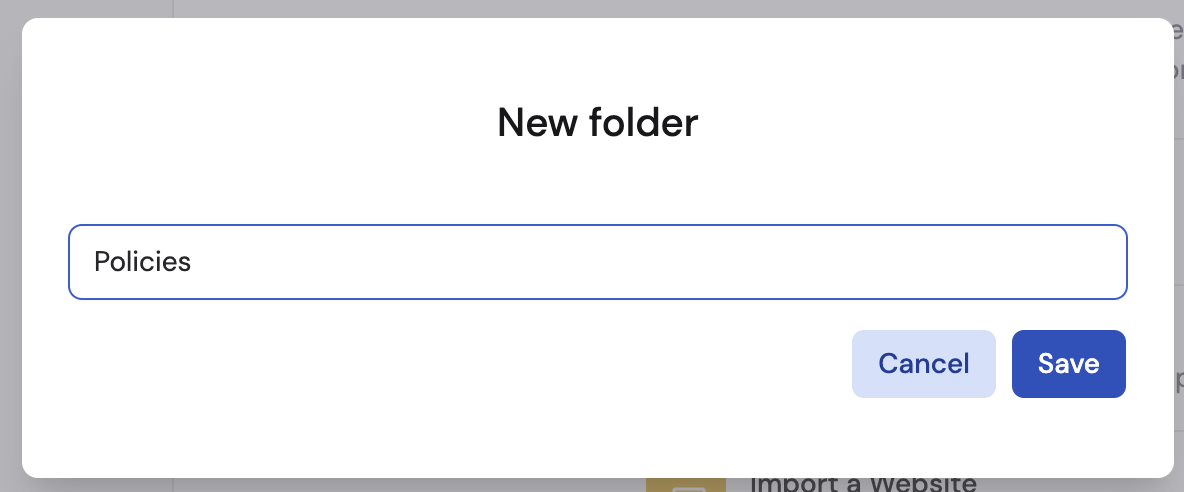
 Enter a descriptive name for the folder and click **Save**.
 You can move documents between folders by dragging and dropping, or by selecting documents and clicking **Move**.
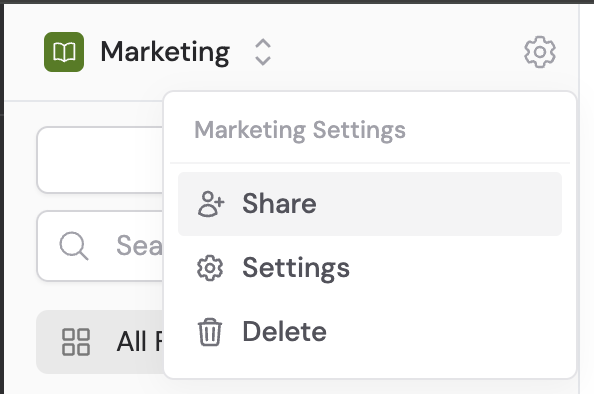
## Manage permissions
Navigate to the collection you want to manage.
Click **Settings** then click **Share**.
You can move documents between folders by dragging and dropping, or by selecting documents and clicking **Move**.
## Manage permissions
Navigate to the collection you want to manage.
Click **Settings** then click **Share**.
 Choose one of the following:
* **Team** — anyone in the organization can access the collection
* **Restricted** — only specific people and groups can access
Choose one of the following:
* **Team** — anyone in the organization can access the collection
* **Restricted** — only specific people and groups can access
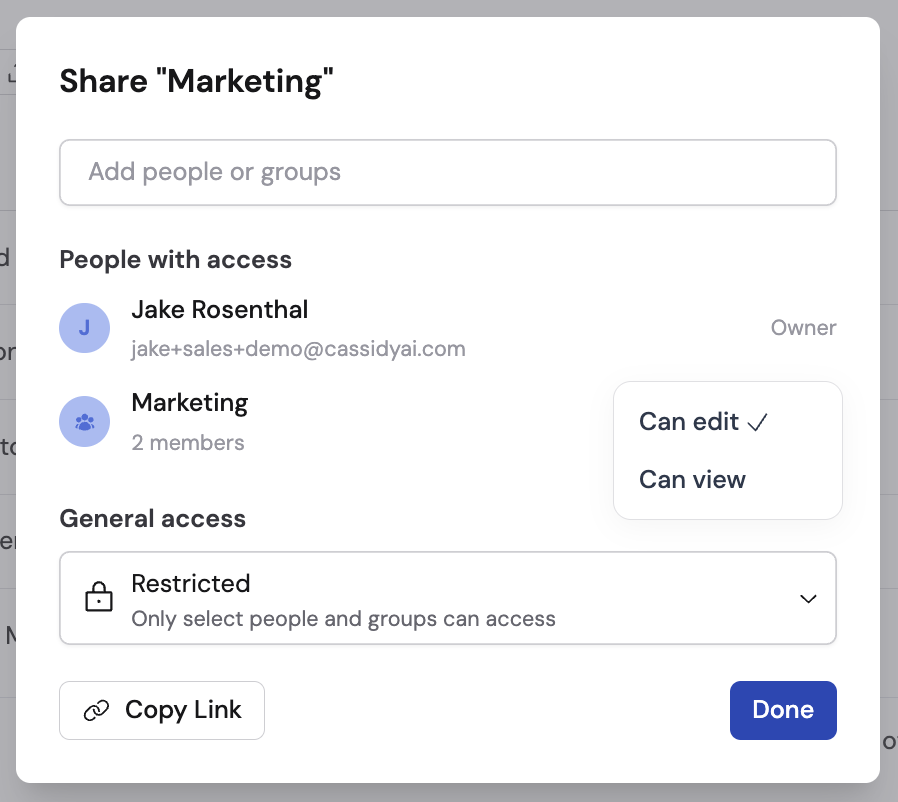 If using **Restricted** access, add people or groups by typing their names or email addresses. Set each person's or group's permission level to **Can edit** or **Can view**.
Click **Done** to save.
## How permissions affect Agents and Workflows
Understanding how collection permissions work across Cassidy:
* Users can only see Knowledge Base items within collections they have access to
* When creating an [Agent](/agents/overview) or [Workflow](/workflows/overview), users can only select Knowledge Base items they have permission to access
* If someone shares an Agent or Workflow that references collections the recipient can't access, Cassidy automatically limits the scope to prevent exposing restricted information
For more on managing what users can do with roles and what resources they can see with groups, see [Roles and groups](/settings/roles-and-groups).
## Next steps
Upload documents, import from integrations, and add content.
Review and verify your Knowledge Base content.
If using **Restricted** access, add people or groups by typing their names or email addresses. Set each person's or group's permission level to **Can edit** or **Can view**.
Click **Done** to save.
## How permissions affect Agents and Workflows
Understanding how collection permissions work across Cassidy:
* Users can only see Knowledge Base items within collections they have access to
* When creating an [Agent](/agents/overview) or [Workflow](/workflows/overview), users can only select Knowledge Base items they have permission to access
* If someone shares an Agent or Workflow that references collections the recipient can't access, Cassidy automatically limits the scope to prevent exposing restricted information
For more on managing what users can do with roles and what resources they can see with groups, see [Roles and groups](/settings/roles-and-groups).
## Next steps
Upload documents, import from integrations, and add content.
Review and verify your Knowledge Base content.