> ## Documentation Index
> Fetch the complete documentation index at: https://docs.cassidyai.com/llms.txt
> Use this file to discover all available pages before exploring further.
# Generate text
> Generate text using an AI model with a custom prompt, optional structured output, and model settings.
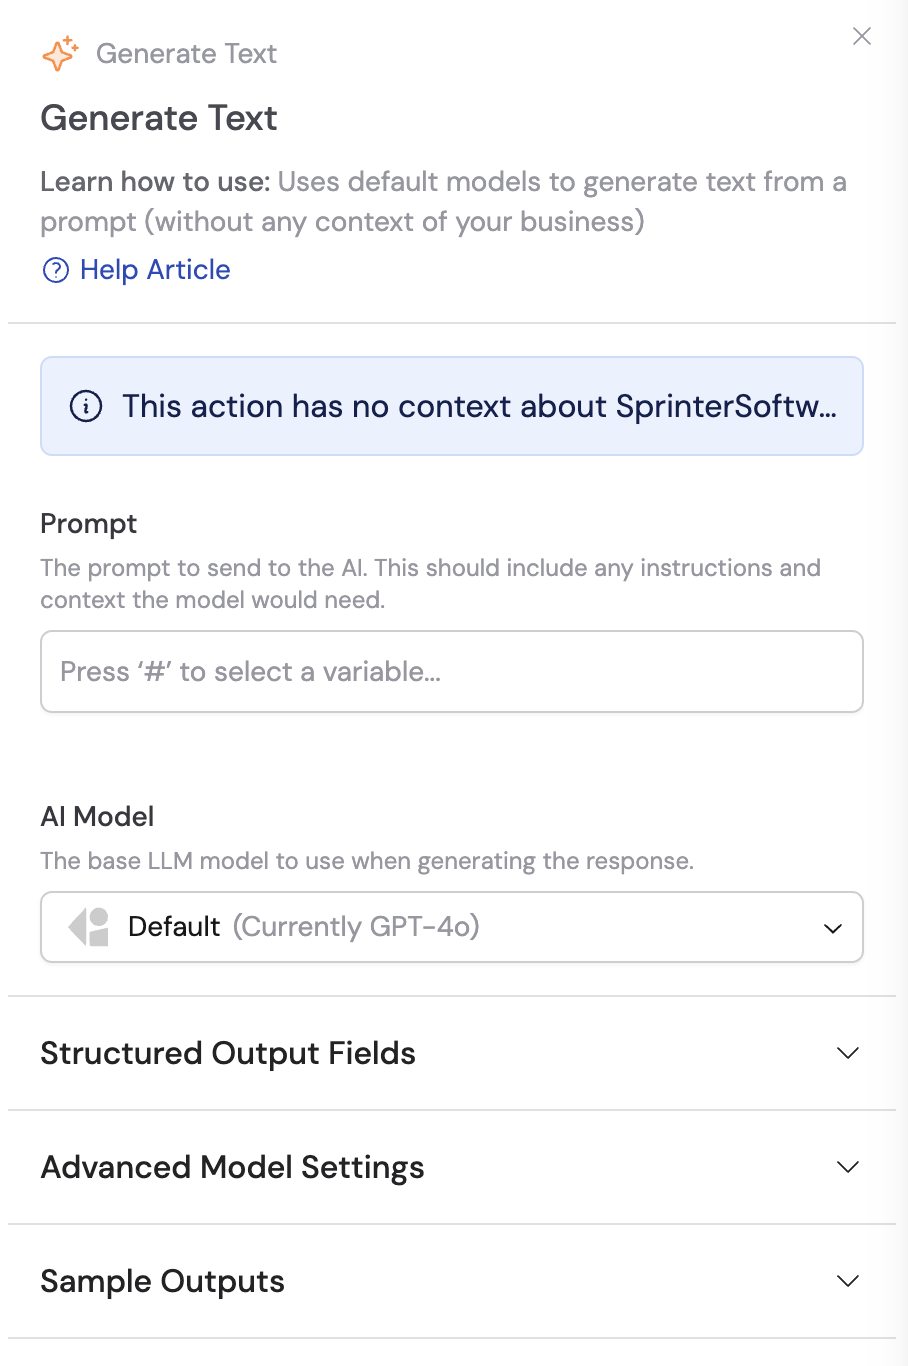
Generate text using an AI model with a custom prompt. This is the most versatile action in Cassidy — use it to write content, answer questions, transform data, or any other text generation task.
This action generates text based only on your prompt and any variables you
reference. It does not automatically access your [Knowledge
Base](/knowledge-base/overview). To include Knowledge Base context, use
[Generate Text with Agent](/reference/actions/generate-text-with-agent) or add
a [Search Knowledge Base](/reference/actions/search-knowledge-base) action
before this one.
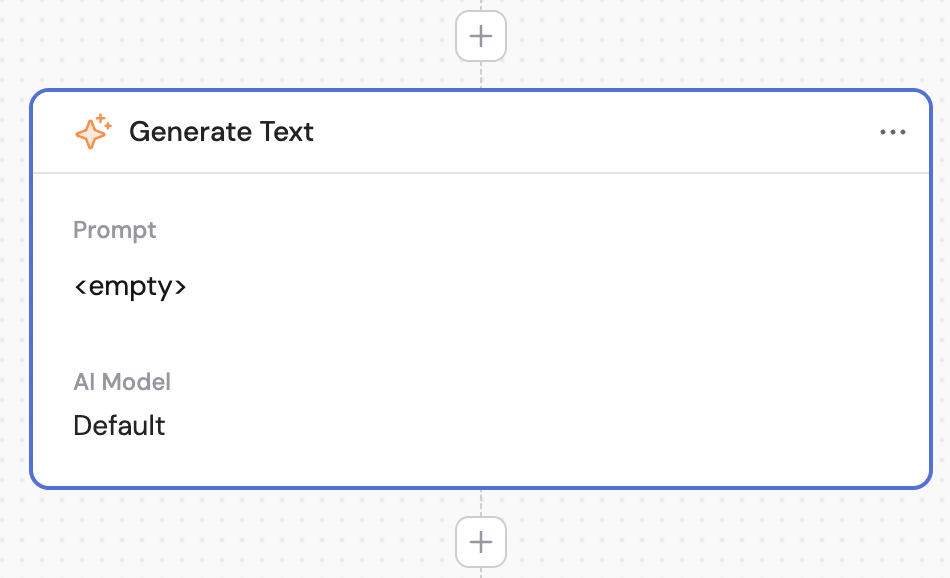
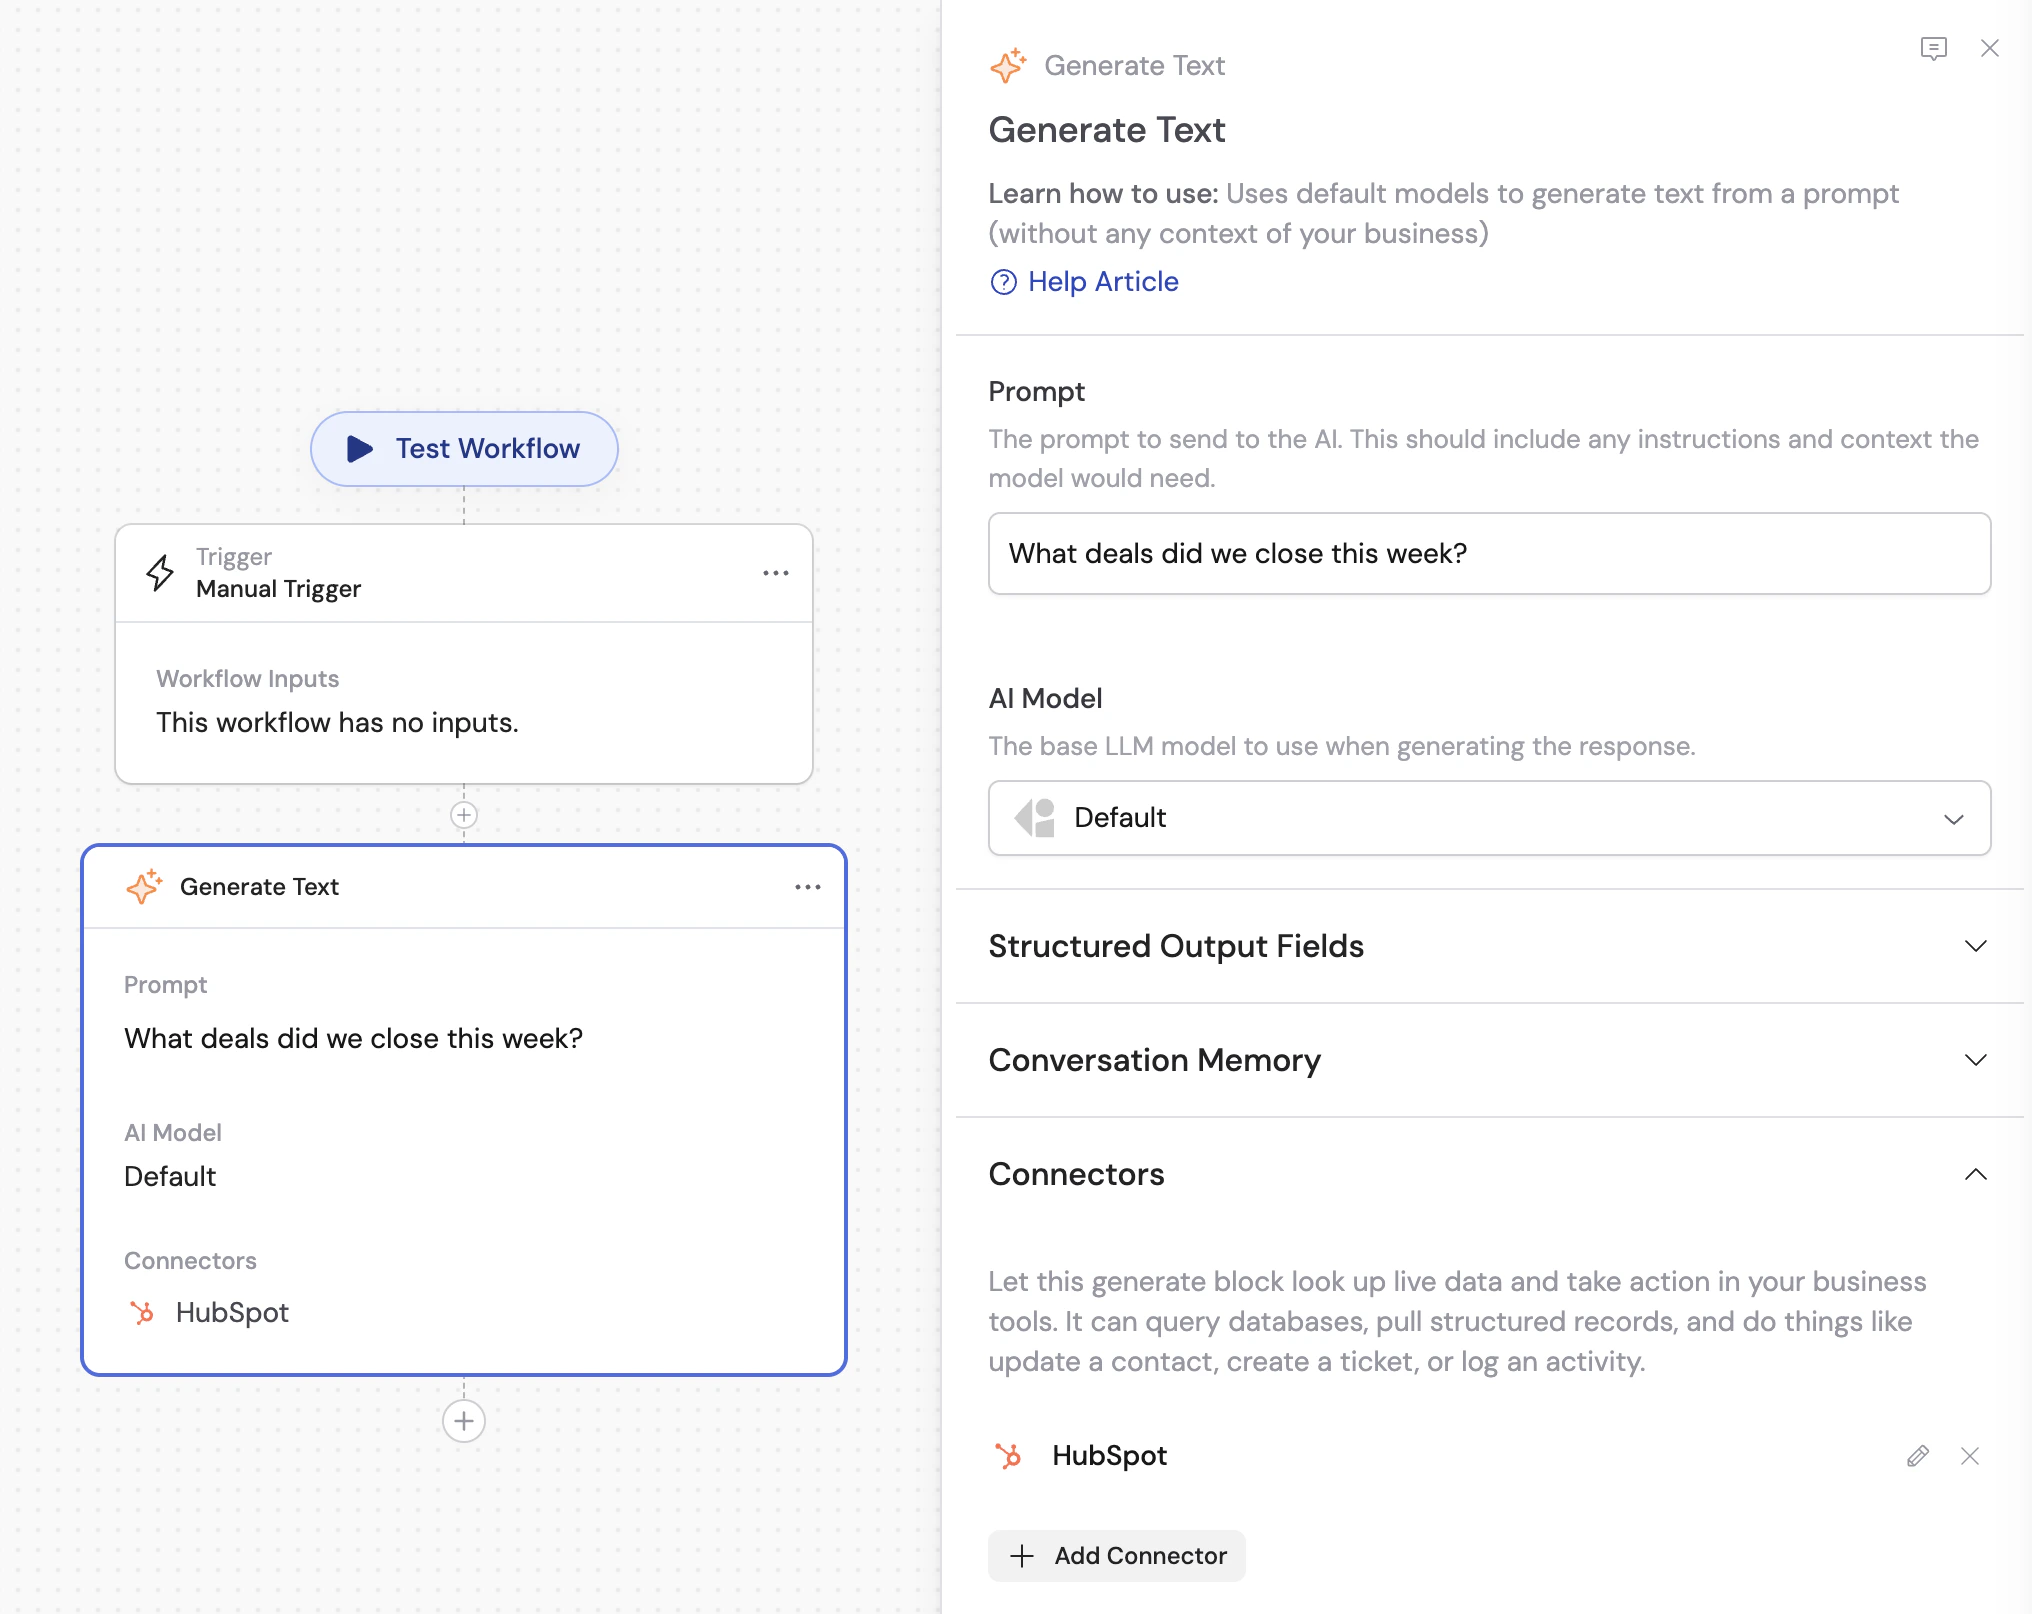
In the Workflow builder, click **+** between blocks and select **Generate Text** from the action library.
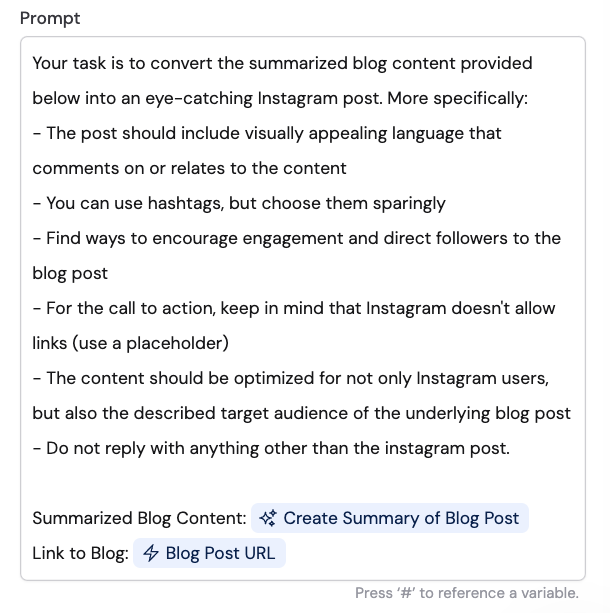
 Enter the text that guides the AI model. [Reference variables](/guides/prompt-engineering#workflow-prompts) from previous steps or the trigger using the **#** symbol to provide dynamic context.
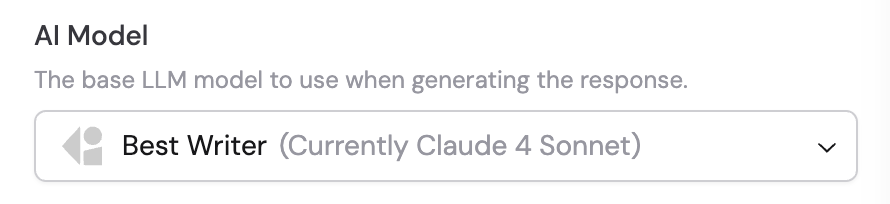
 Choose the model for this step. Each model has different strengths — select the one that best fits your task (writing, reasoning, analysis, etc.). See [Choose an AI model](/guides/choose-ai-model) for guidance.
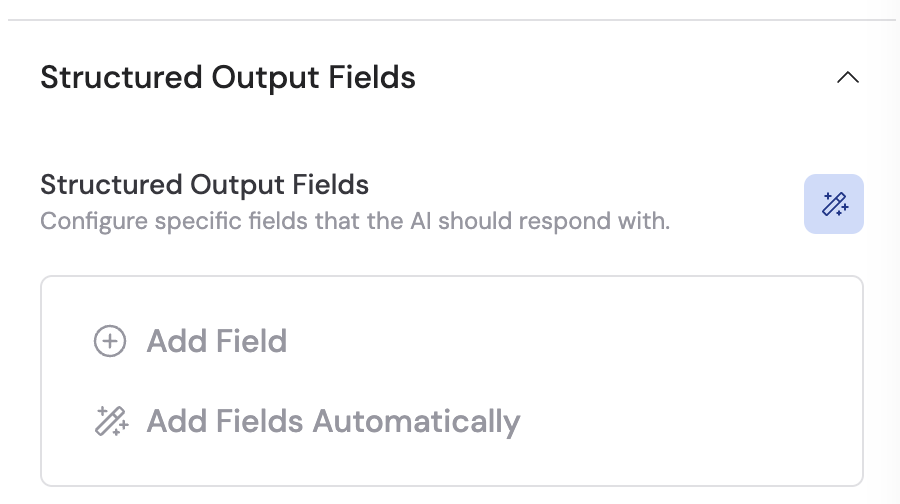
 If you need the AI to return data in a specific format with defined fields, set up [structured outputs](/workflows/advanced/structured-output-fields). This gives you named fields with specific data types you can reference individually in later steps.
 Enable [Conversation Memory](/workflows/advanced/conversation-memory) if you
want the Workflow to retain conversation history and carry context across
runs.
Expand the **Connectors** section and click **+ Add Connector** to let this action query live data from your business tools — like looking up records in [HubSpot](/integrations/hubspot/overview), [Salesforce](/integrations/salesforce/overview), or [Airtable](/integrations/airtable/overview). The AI decides when to use a connector based on your prompt.
Enable [Conversation Memory](/workflows/advanced/conversation-memory) if you
want the Workflow to retain conversation history and carry context across
runs.
Expand the **Connectors** section and click **+ Add Connector** to let this action query live data from your business tools — like looking up records in [HubSpot](/integrations/hubspot/overview), [Salesforce](/integrations/salesforce/overview), or [Airtable](/integrations/airtable/overview). The AI decides when to use a connector based on your prompt.
 Connectors on a Generate Text action work the same way as [Connectors on an Agent](/agents/connectors/overview) — the AI queries external systems in real time during execution.
Expand **Code Execution & File Creation** and turn on the setting when the
action should process file attachments, generate charts, create reports, or
edit files by writing and executing code. See [Analyze data in
Workflows](/workflows/advanced/data-analysis) for a full walkthrough.
Expand the **Capabilities** section and click **+ Add Capability** to give
this action additional skills like [Web
Search](/agents/capabilities/web-search) or [Image
Generation](/agents/capabilities/image-generation).
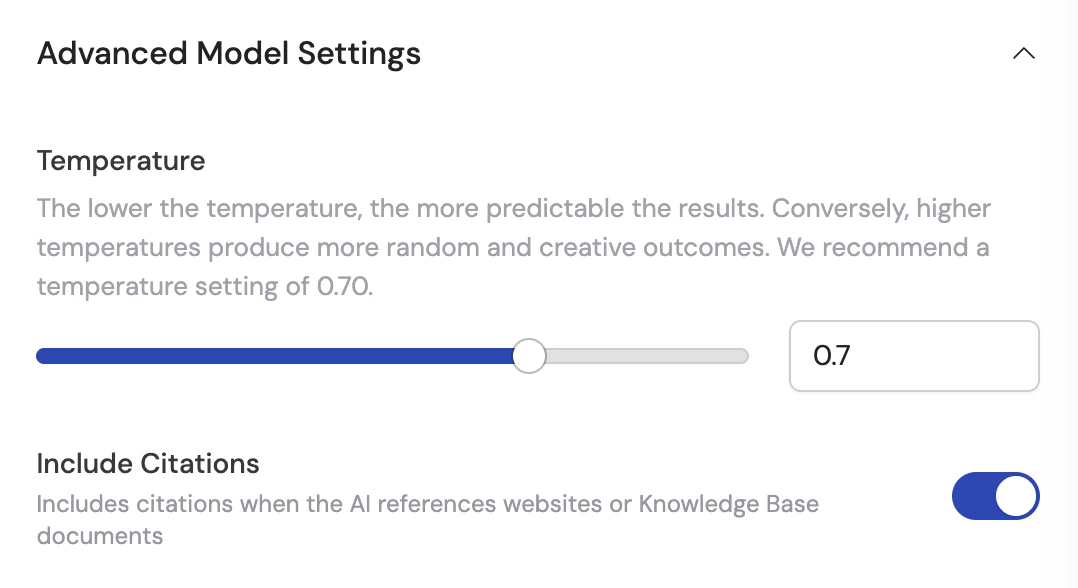
Under **Advanced Model Settings**:
* **Temperature** — Controls randomness. Lower values (e.g., 0.1) produce focused results; higher values (e.g., 1.0) produce more creative outputs. Default is 0.70.
* **Include Citations** — Toggle to include Knowledge Base citations in the output.
Connectors on a Generate Text action work the same way as [Connectors on an Agent](/agents/connectors/overview) — the AI queries external systems in real time during execution.
Expand **Code Execution & File Creation** and turn on the setting when the
action should process file attachments, generate charts, create reports, or
edit files by writing and executing code. See [Analyze data in
Workflows](/workflows/advanced/data-analysis) for a full walkthrough.
Expand the **Capabilities** section and click **+ Add Capability** to give
this action additional skills like [Web
Search](/agents/capabilities/web-search) or [Image
Generation](/agents/capabilities/image-generation).
Under **Advanced Model Settings**:
* **Temperature** — Controls randomness. Lower values (e.g., 0.1) produce focused results; higher values (e.g., 1.0) produce more creative outputs. Default is 0.70.
* **Include Citations** — Toggle to include Knowledge Base citations in the output.
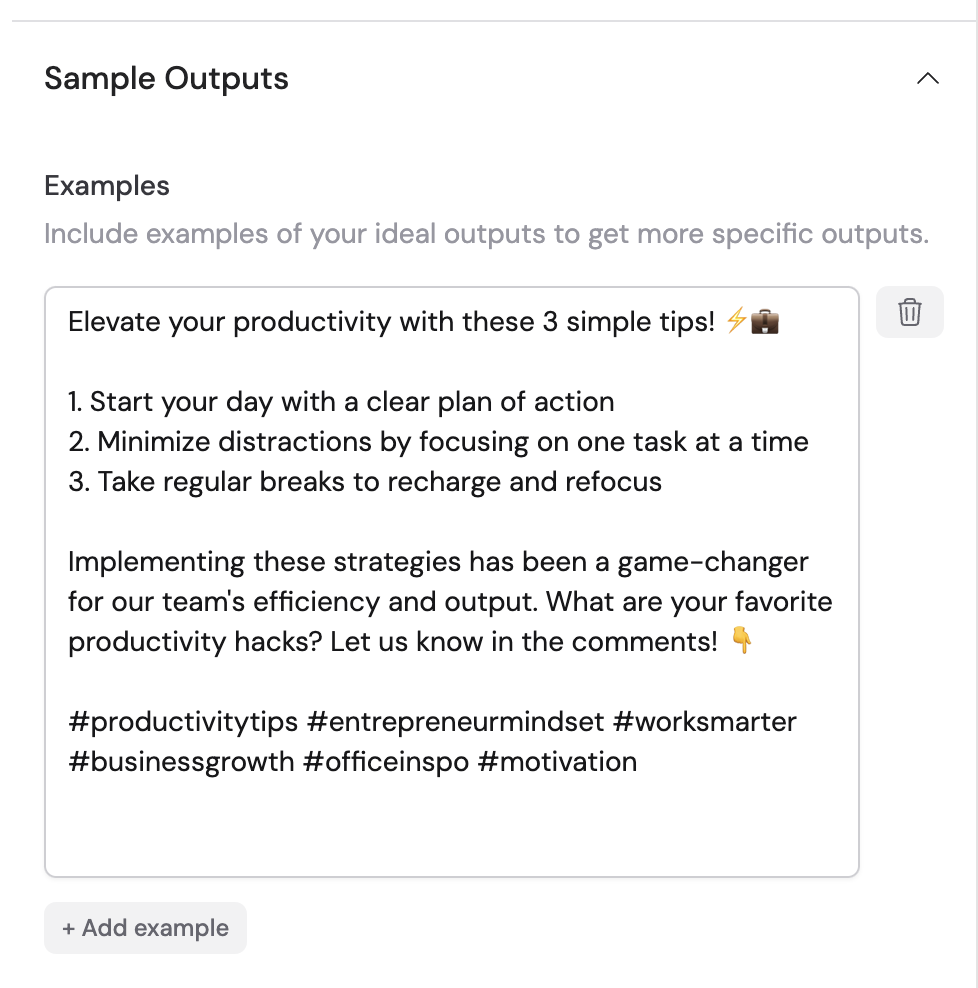
 Under the **Sample Outputs** tab, provide examples to guide the AI toward a specific style or format.
 ## Related
* [Generate Text with Agent](/reference/actions/generate-text-with-agent)
* [Connectors overview](/agents/connectors/overview)
* [Capabilities overview](/agents/capabilities/overview)
* [Analyze data in Workflows](/workflows/advanced/data-analysis)
* [Structured Output Fields](/workflows/advanced/structured-output-fields)
* [Conversation Memory](/workflows/advanced/conversation-memory)
* [Choose an AI model](/guides/choose-ai-model)
## Related
* [Generate Text with Agent](/reference/actions/generate-text-with-agent)
* [Connectors overview](/agents/connectors/overview)
* [Capabilities overview](/agents/capabilities/overview)
* [Analyze data in Workflows](/workflows/advanced/data-analysis)
* [Structured Output Fields](/workflows/advanced/structured-output-fields)
* [Conversation Memory](/workflows/advanced/conversation-memory)
* [Choose an AI model](/guides/choose-ai-model)