> ## Documentation Index
> Fetch the complete documentation index at: https://docs.cassidyai.com/llms.txt
> Use this file to discover all available pages before exploring further.
# Run code
> Execute custom JavaScript code within a Workflow to transform data, perform calculations, or implement custom logic.
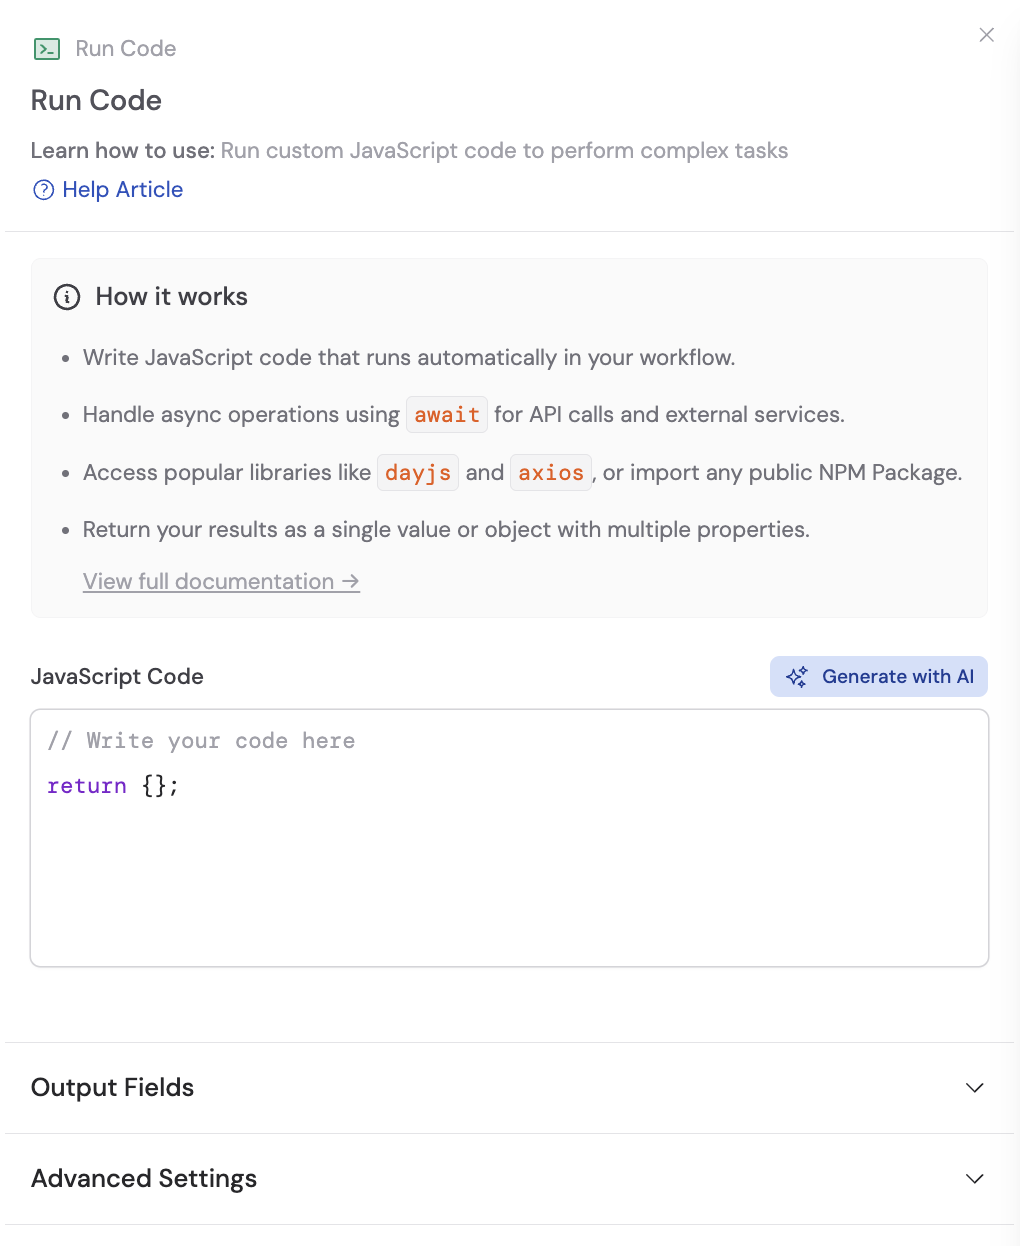
Execute custom JavaScript code within a [Workflow](/workflows/overview). Use this for data transformations, calculations, API calls, or custom logic that can't be handled by other actions. Your code runs in a secure, sandboxed environment.
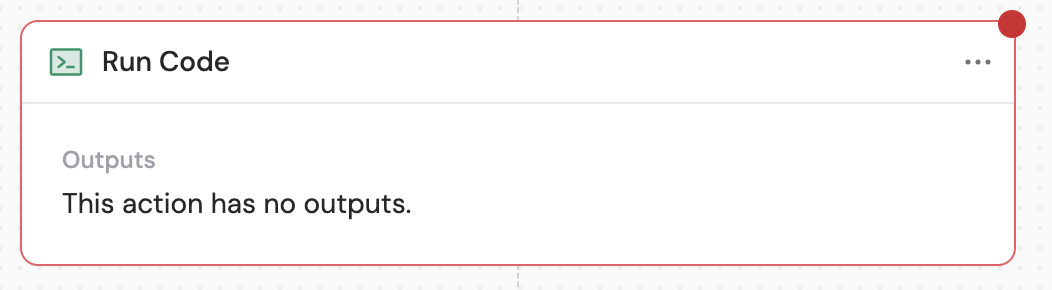
In the Workflow builder, click **+** between blocks and select **Run Code** from the action library.
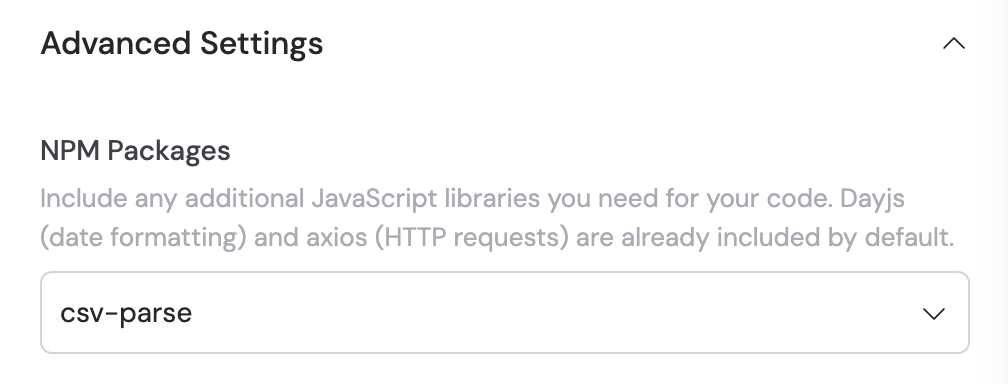
 Click **Advanced Settings** to access additional configuration. In the **NPM Packages** section, search and select any JavaScript libraries you need for your code. Dayjs (date formatting) and axios (HTTP requests) are included by default.
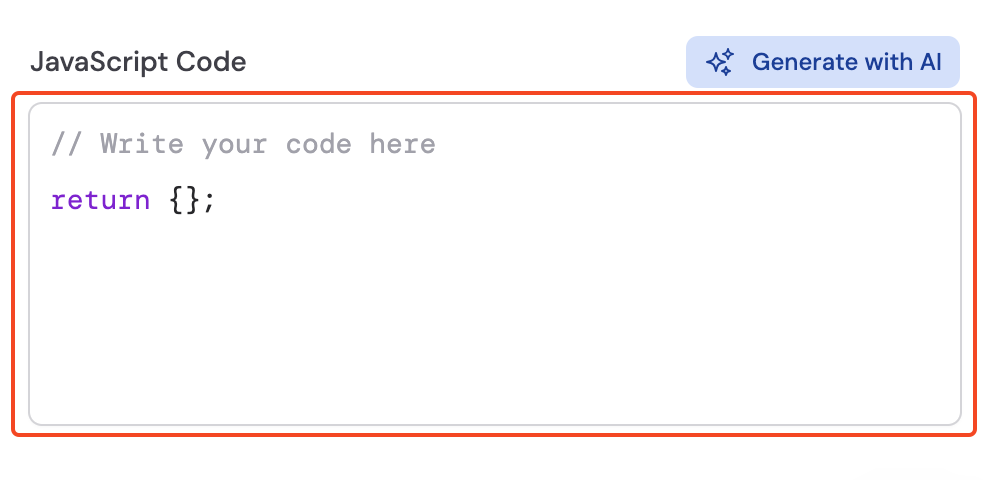
 In the code editor, write your custom JavaScript code. [Reference variables](/guides/prompt-engineering#workflow-prompts) from previous steps or the trigger using **#** to use data from earlier in the Workflow. For managing secret API keys or other secure information, see [Secret Keys](/workflows/advanced/secret-keys).
 When using NPM packages, include the import statement at the top of your code.
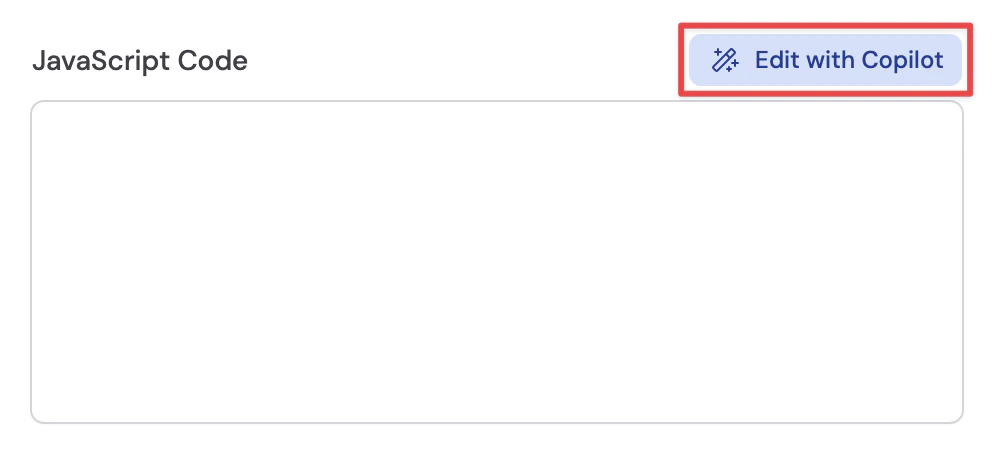
 Optionally, click **Edit with Copilot** above the code editor to have AI write or modify code for you.
 Enter a prompt describing what you want the code to do.
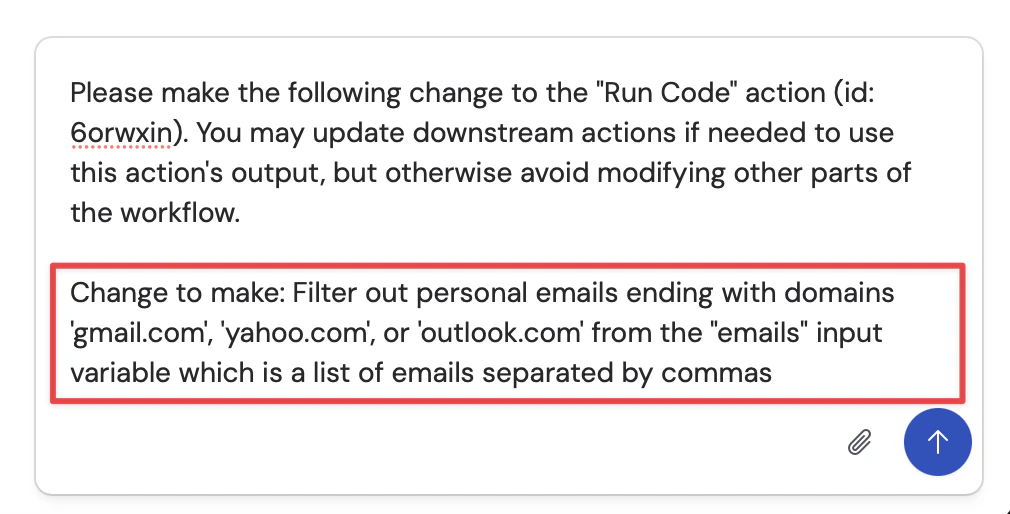 Submit your prompt and Copilot generates the code. Review the result and adjust as needed.
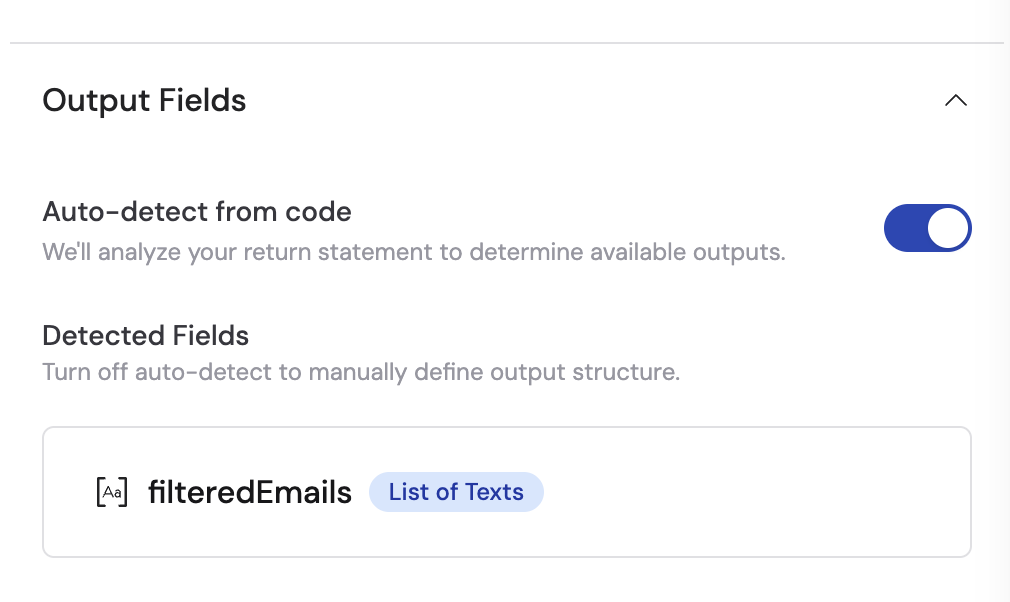
 The return value of your JavaScript code becomes the output of the action. In the **Output Fields** section, you have two options:
* **Auto-detect from code** (recommended): When enabled, Cassidy analyzes the return statement in your code to automatically determine available outputs. These detected fields appear in the **Detected Fields** section and can be referenced in later Workflow steps.
The return value of your JavaScript code becomes the output of the action. In the **Output Fields** section, you have two options:
* **Auto-detect from code** (recommended): When enabled, Cassidy analyzes the return statement in your code to automatically determine available outputs. These detected fields appear in the **Detected Fields** section and can be referenced in later Workflow steps.
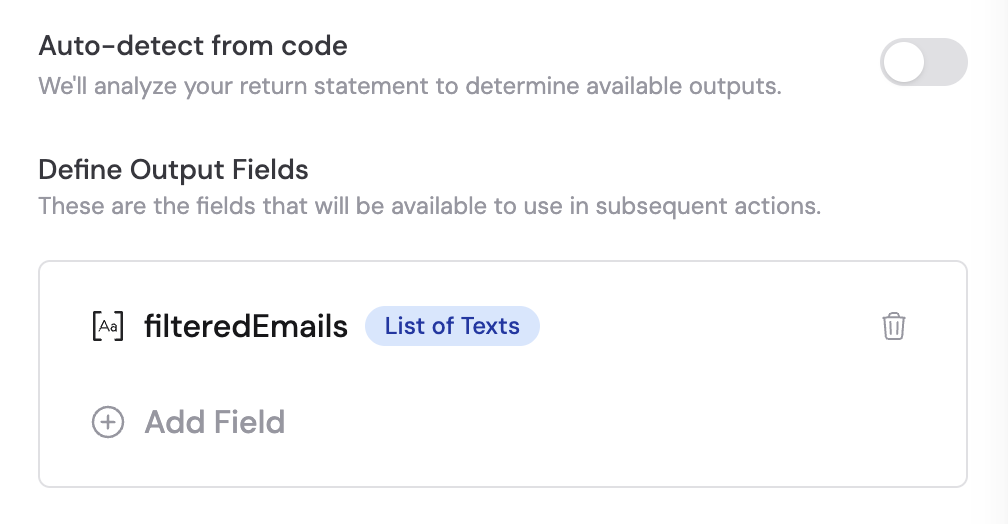
 * **Define output fields manually**: Toggle off **Auto-detect from code** to manually add fields. Click **+ Add Field** to specify the field name and data type for each output value. For more details, see [Structured Output Fields](/workflows/advanced/structured-output-fields).
 ## Working with files in Run Code
The Run Code action supports reading, creating, transforming, and outputting files using the built-in `CassidyFile` class and the `cassidy.files` helper methods. This lets you process file data, generate new files, download files from URLs, and pass files to subsequent Workflow steps.
### Inputting files
To work with a file variable from a previous Workflow step, wrap the variable in the `CassidyFile` constructor:
## Working with files in Run Code
The Run Code action supports reading, creating, transforming, and outputting files using the built-in `CassidyFile` class and the `cassidy.files` helper methods. This lets you process file data, generate new files, download files from URLs, and pass files to subsequent Workflow steps.
### Inputting files
To work with a file variable from a previous Workflow step, wrap the variable in the `CassidyFile` constructor:
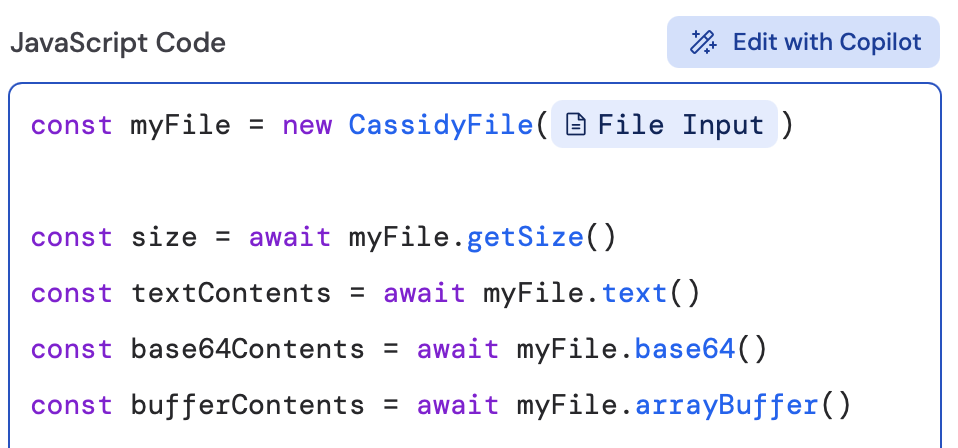
 ### Working with files
The `CassidyFile` class provides several convenience methods to get the content in different formats, including as a string, in base64, or as a buffer:
### Working with files
The `CassidyFile` class provides several convenience methods to get the content in different formats, including as a string, in base64, or as a buffer:
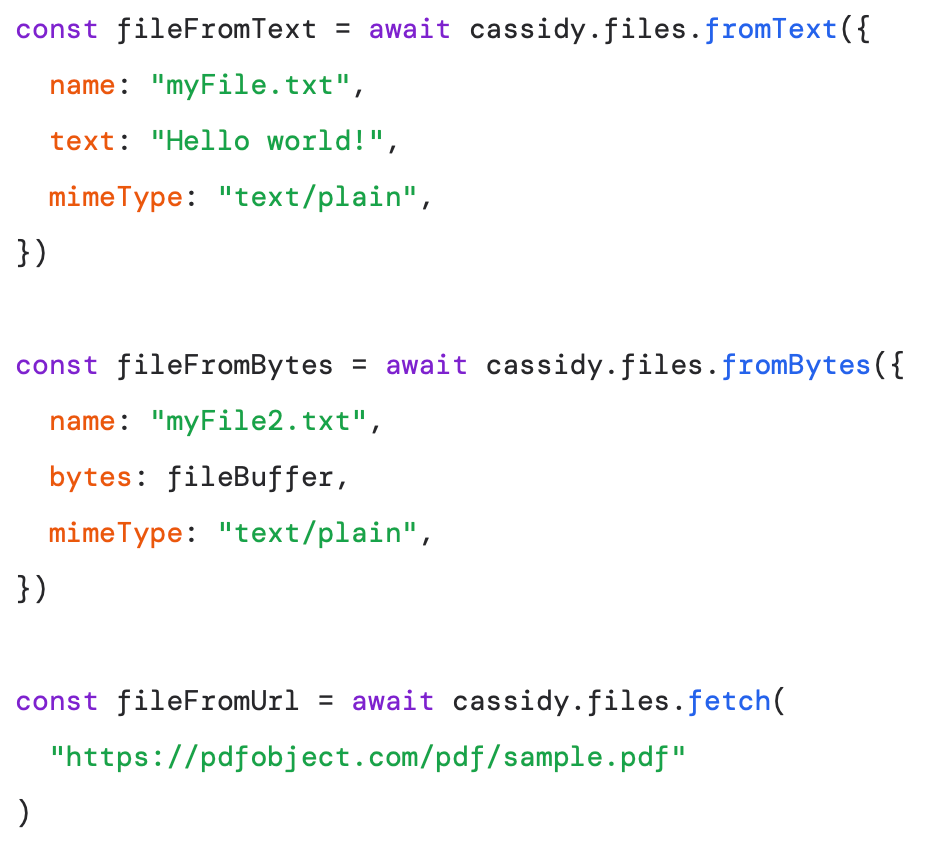
 The `cassidy.files` object also provides convenience methods for constructing and working with files:
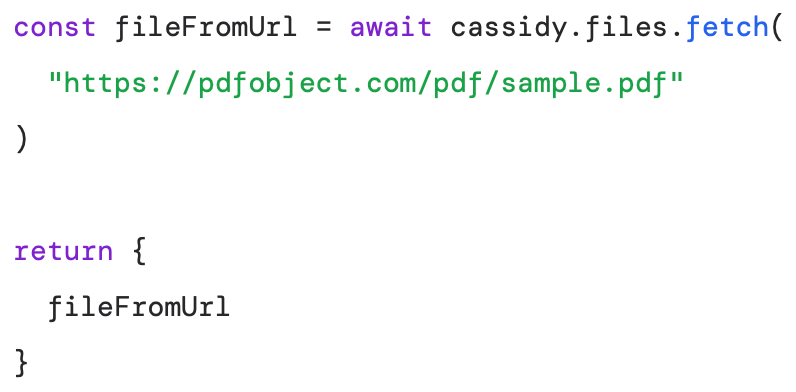
 ### Outputting files
To output files from the action, return them in the output object. These will be available to use in later actions of the Workflow:
### Outputting files
To output files from the action, return them in the output object. These will be available to use in later actions of the Workflow:
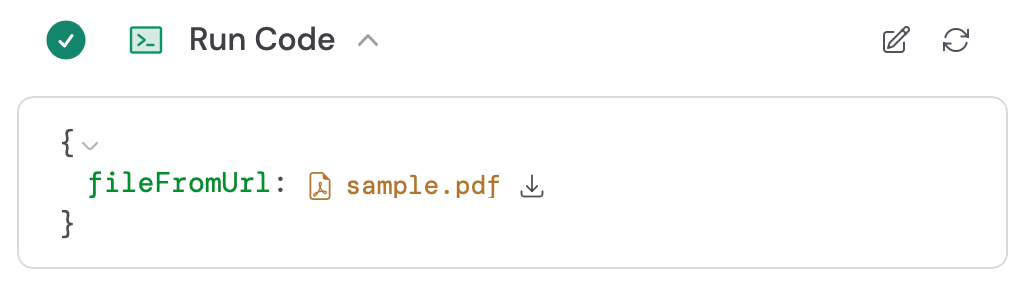 The returned file can then be referenced as a variable in subsequent Workflow steps, such as Upload Knowledge Base File or any other action that accepts file inputs.
For more information on creating files across Cassidy, see [How to create files in Cassidy](/guides/create-files).
## Related
* [Build and configure Workflows](/workflows/building)
* [Secret Keys](/workflows/advanced/secret-keys)
* [Structured Output Fields](/workflows/advanced/structured-output-fields)
* [How to create files in Cassidy](/guides/create-files)
The returned file can then be referenced as a variable in subsequent Workflow steps, such as Upload Knowledge Base File or any other action that accepts file inputs.
For more information on creating files across Cassidy, see [How to create files in Cassidy](/guides/create-files).
## Related
* [Build and configure Workflows](/workflows/building)
* [Secret Keys](/workflows/advanced/secret-keys)
* [Structured Output Fields](/workflows/advanced/structured-output-fields)
* [How to create files in Cassidy](/guides/create-files)