Choose your approach
Chat + Agent
Best for: One-off files you want to iterate on in conversation — sales follow-ups, competitor one-pagers, summaries, draft decks.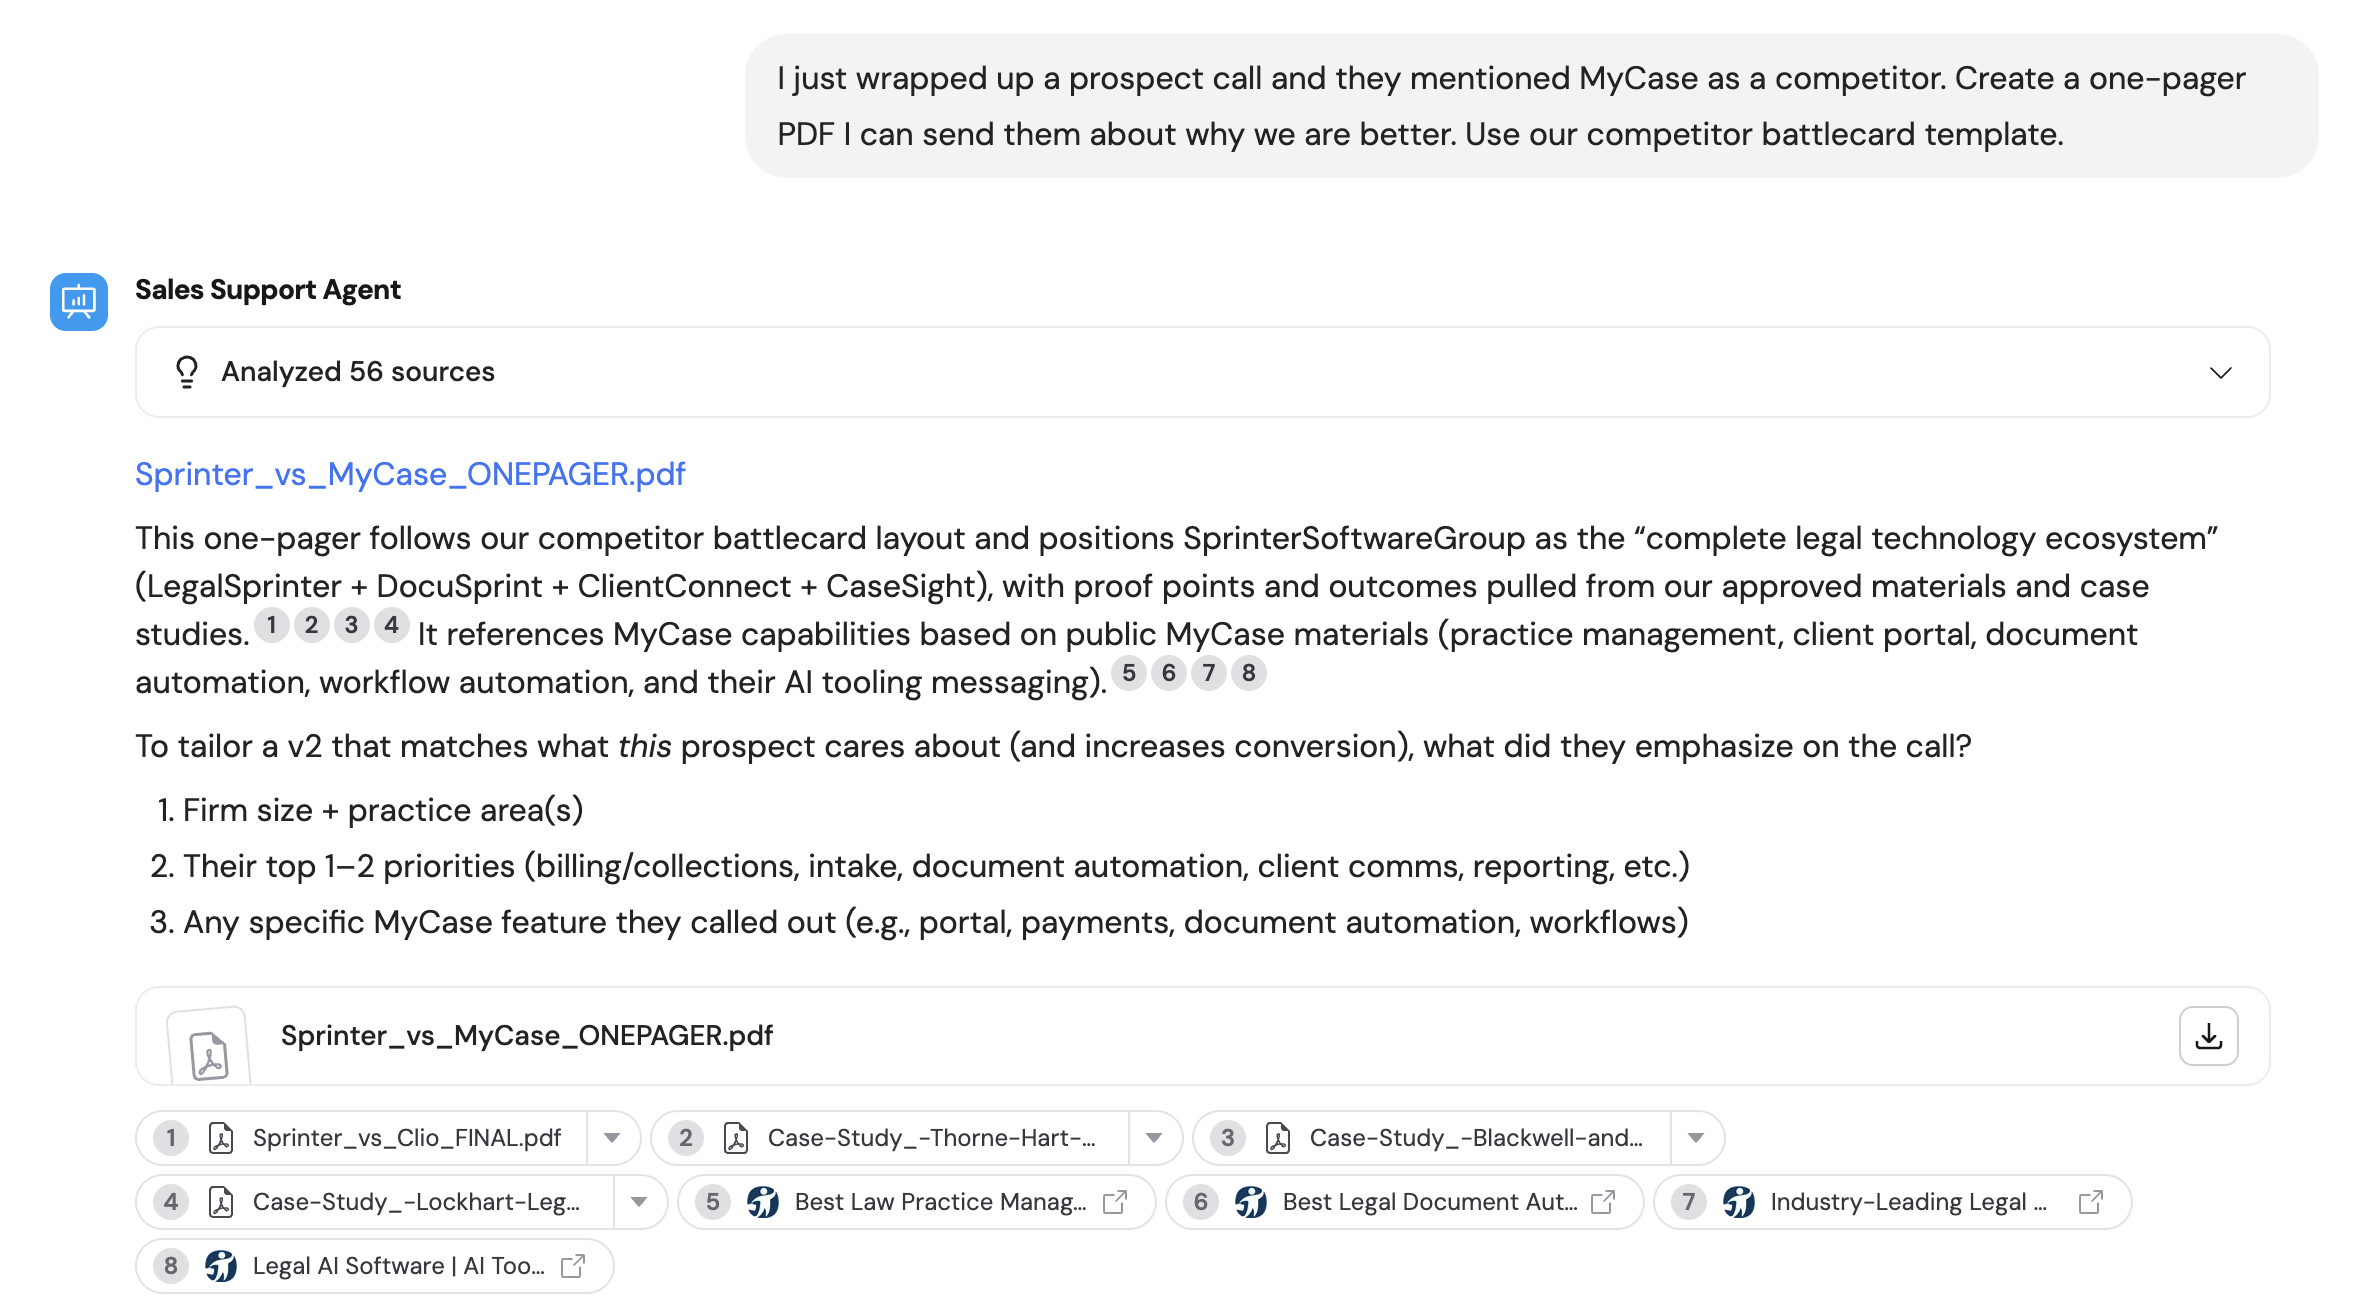
Workflow (template)
Best for: Consistent formatting every time — brand-safe decks, proposals, client reports, onboarding packets. You design the template once, and the Workflow fills it with live data on every run.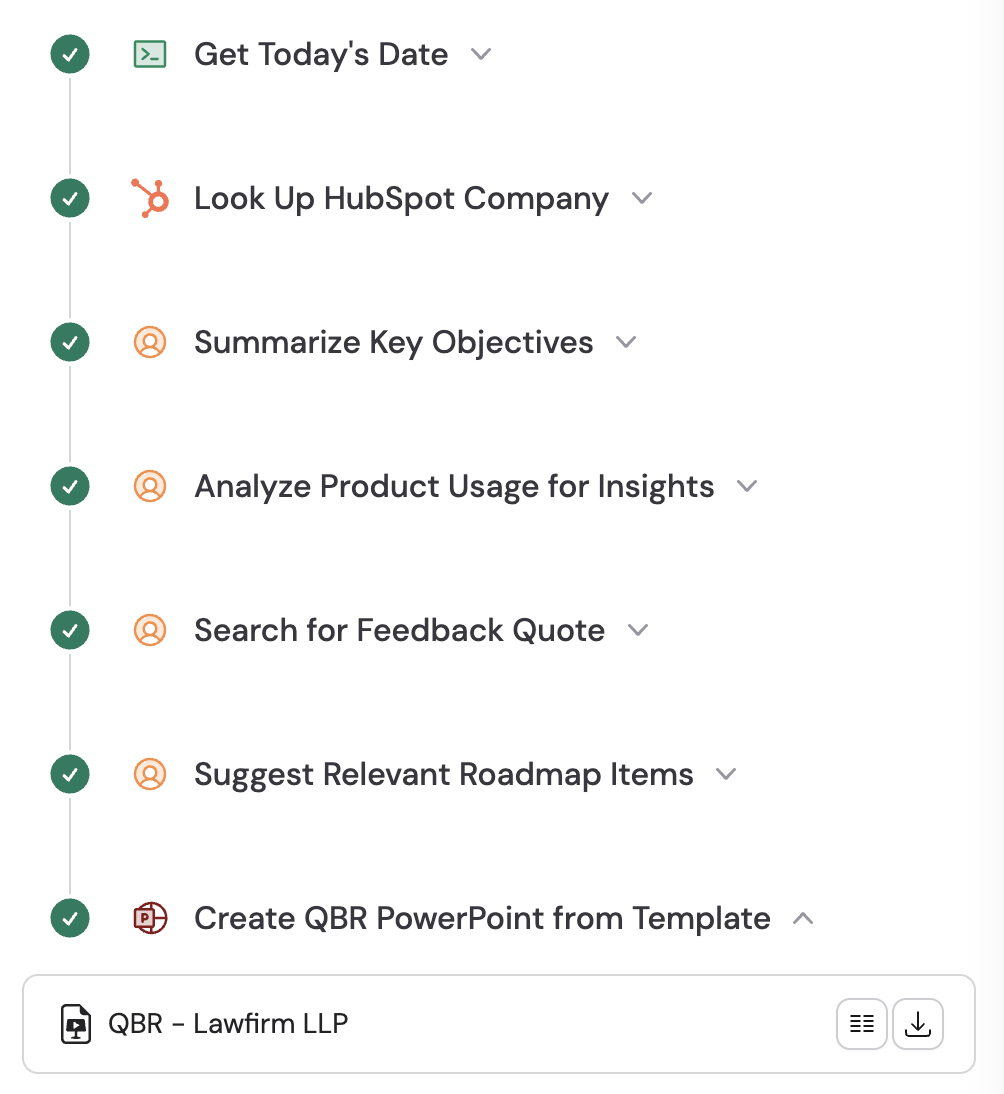
Workflow (Code Execution & File Creation)
Best for: Output that varies too much for a strict template — charts, dynamic reports, and files that need AI-generated formatting. Also the approach to use when building reusable file-generation Workflows for Call Workflow.
Create files in Chat
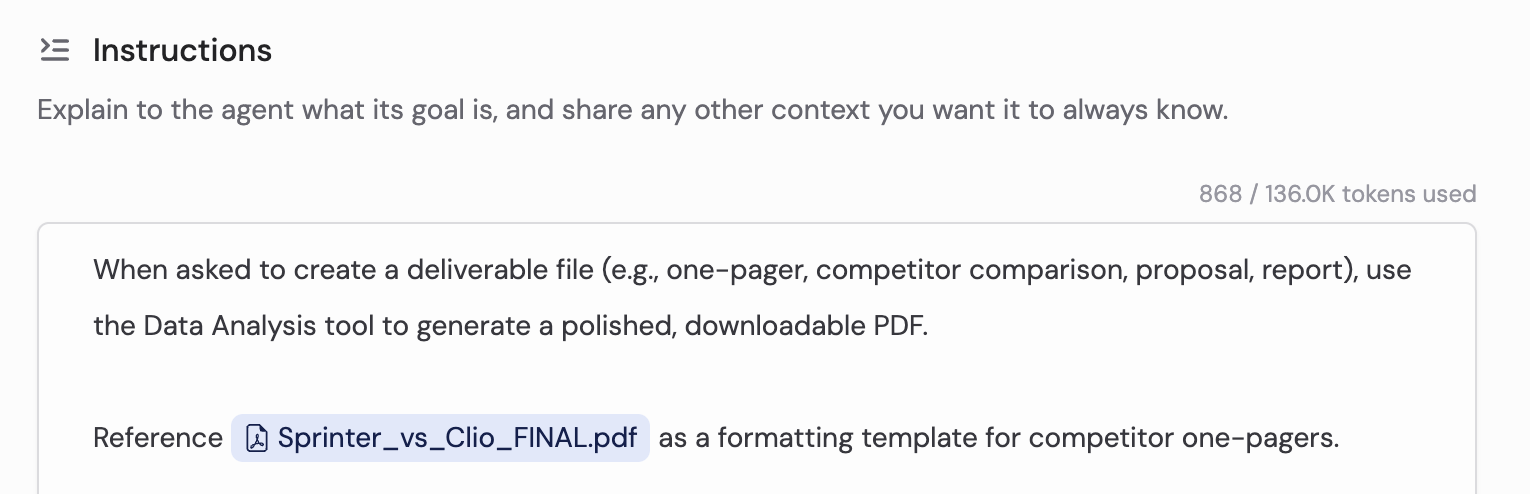
The Chat interface lets you generate downloadable files — PDFs, Word documents, spreadsheets, presentations — directly in a conversation with an Agent. Describe what you need, and the Agent automatically uses Code Execution & File Creation to build and return a polished file.The walkthrough below uses a competitor one-pager as an example, but the same flow works for any file type — reports, proposals, decks, spreadsheets, and more.
1
Start a new chat and select an Agent
Click + New Chat and choose your Agent from the dropdown:
- Default Agents (like Data Analyst) handle general file and data tasks but lack your business context
- Custom Agents configured with your Knowledge Base and domain-specific instructions produce outputs tailored to your organization. New custom Agents have Code Execution & File Creation enabled by default.
2
Attach supporting files (optional)
Click the + button and select Attach a File or Attach an Image to upload supporting materials — call notes, spreadsheets, competitor docs, etc. This is helpful when using a default Agent that does not have reference files in its instructions.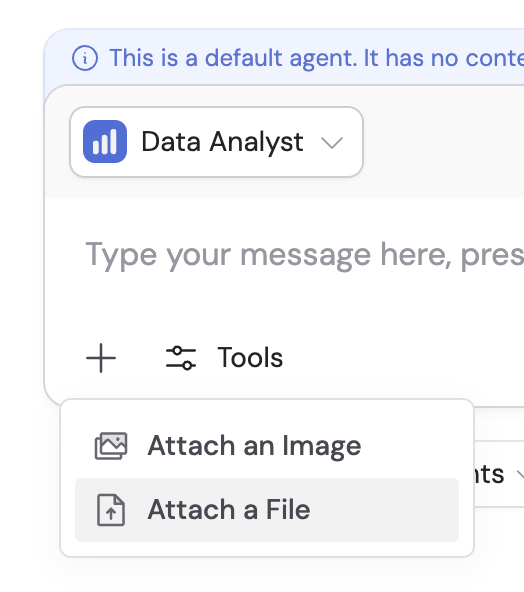
3
Describe what you need
Type your request with as much detail as possible — format, audience, length, sections, and tone. For example:“I just wrapped up a prospect call and they mentioned MyCase as a competitor. Create a one-pager PDF I can send them about why we are better. Use our competitor battlecard template.”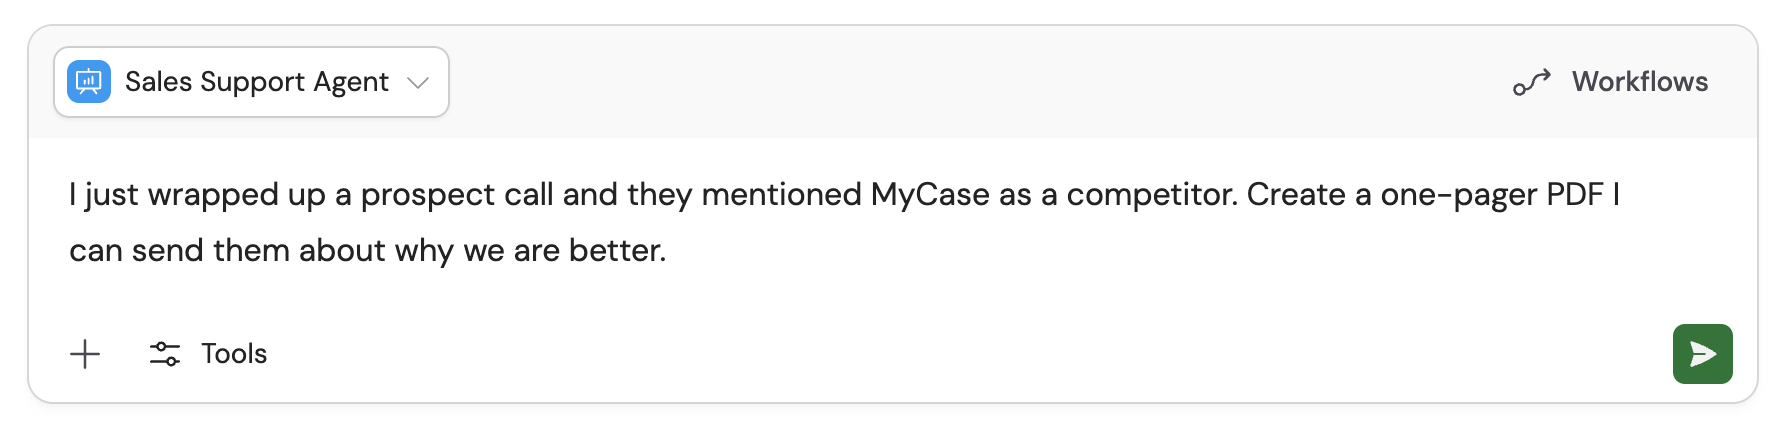
4
Wait for the file to generate
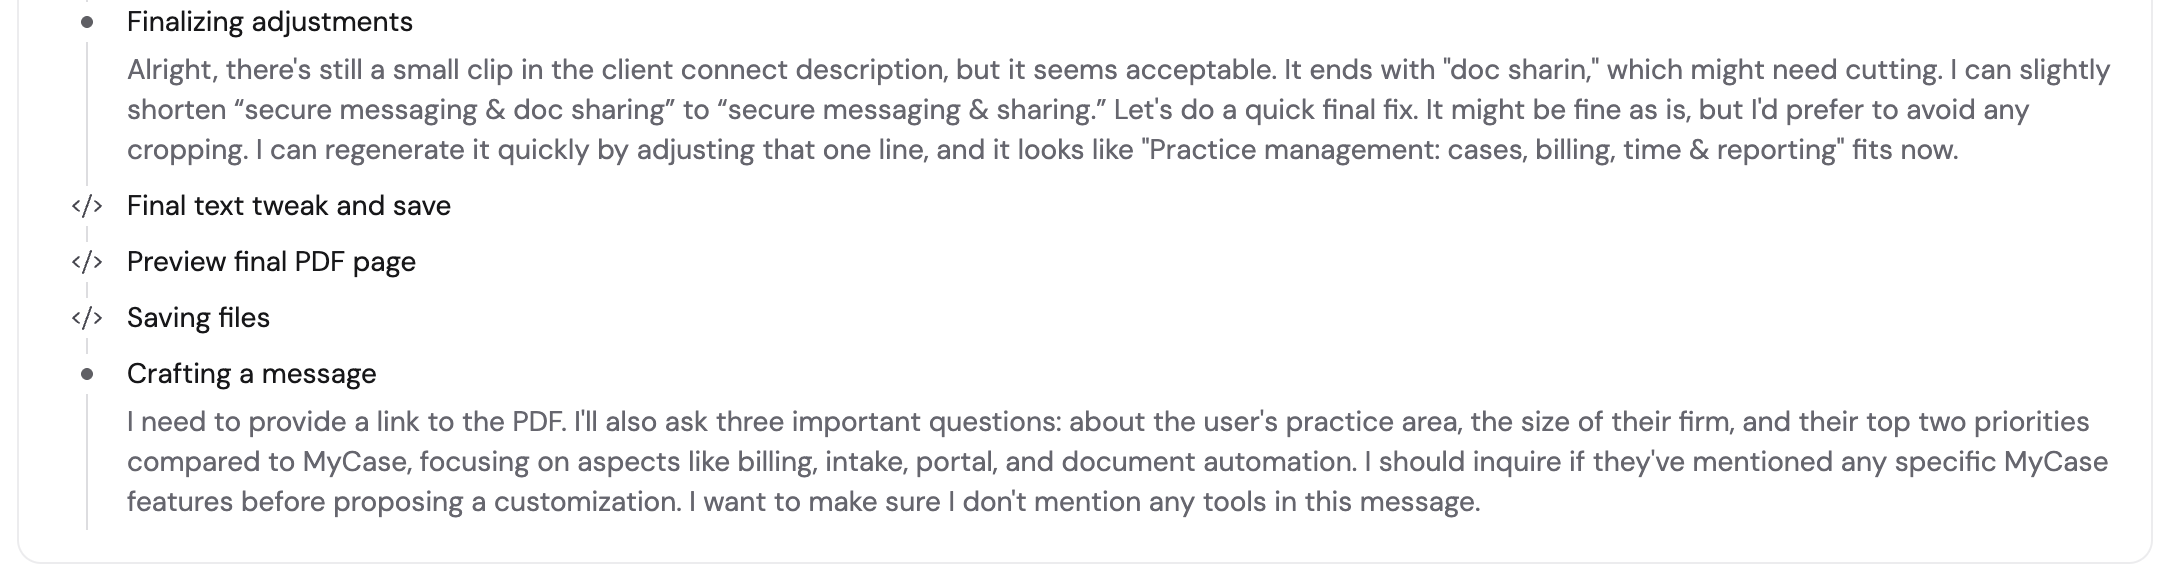
The Agent gathers relevant context, then builds the file. Progress indicators appear as it works.
5
Download and iterate
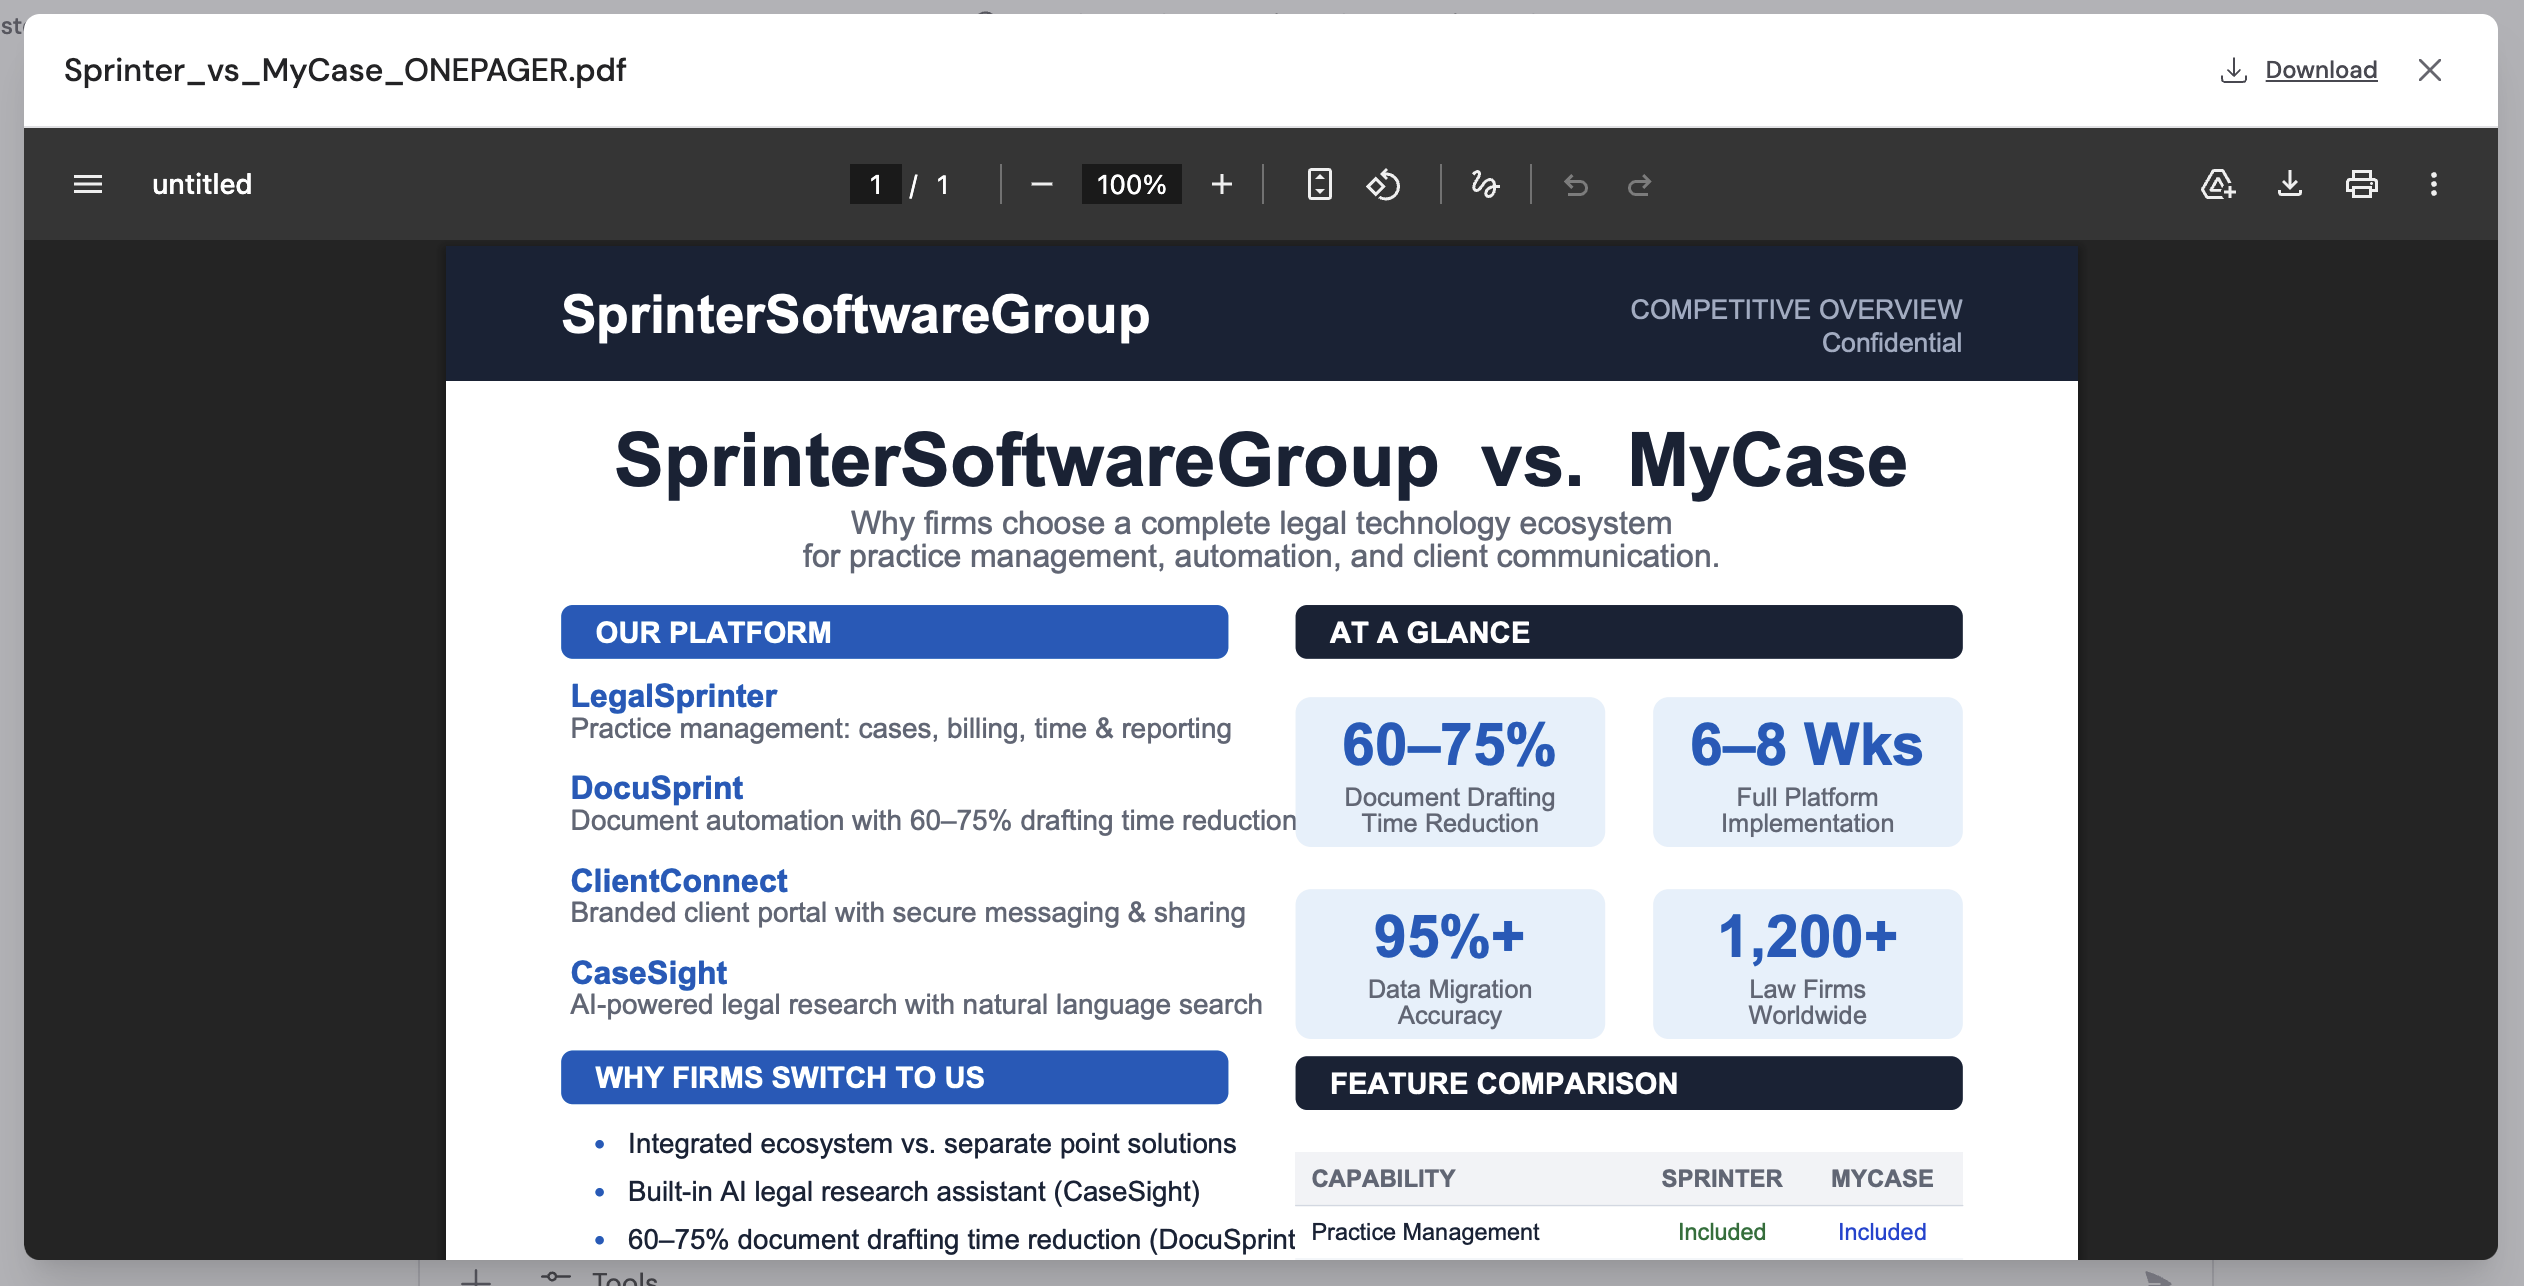
The finished file appears as a downloadable card at the bottom of the Agent’s response. Click the download icon to save it.
- “Keep it to 1 page, skimmable, and non-combative”
- “Add a 3-row comparison table: Feature / Competitor / Us”
- “Write a short email to attach this one-pager to”
Create files in Workflows (template approach)
For deliverables that need consistent formatting every time, use a Workflow with a template-based file creation action. Design the template once with placeholders, and the Workflow fills it with live data on every run.File creation actions
Cassidy offers several template-based actions you can add as Workflow steps:Build a template-based file Workflow
This walkthrough uses a Quarterly Business Review (QBR) deck as an example, but the same pattern applies to proposals, onboarding packets, client reports, and more.
1
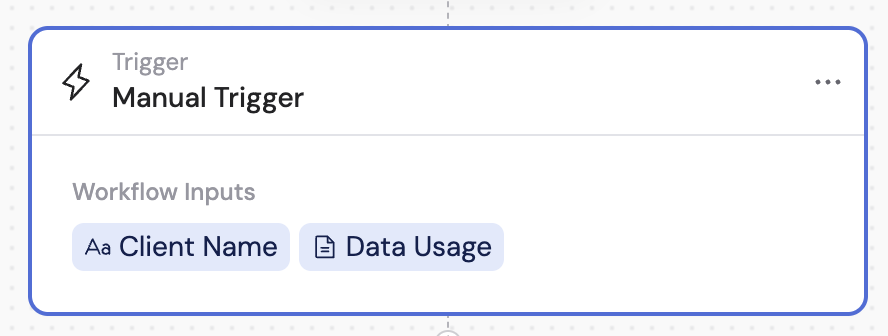
2
Gather and shape the content
Add Generate Text or integration actions to look up account information, summarize objectives, analyze product usage, or pull relevant data. Each step returns structured data that subsequent steps can reference.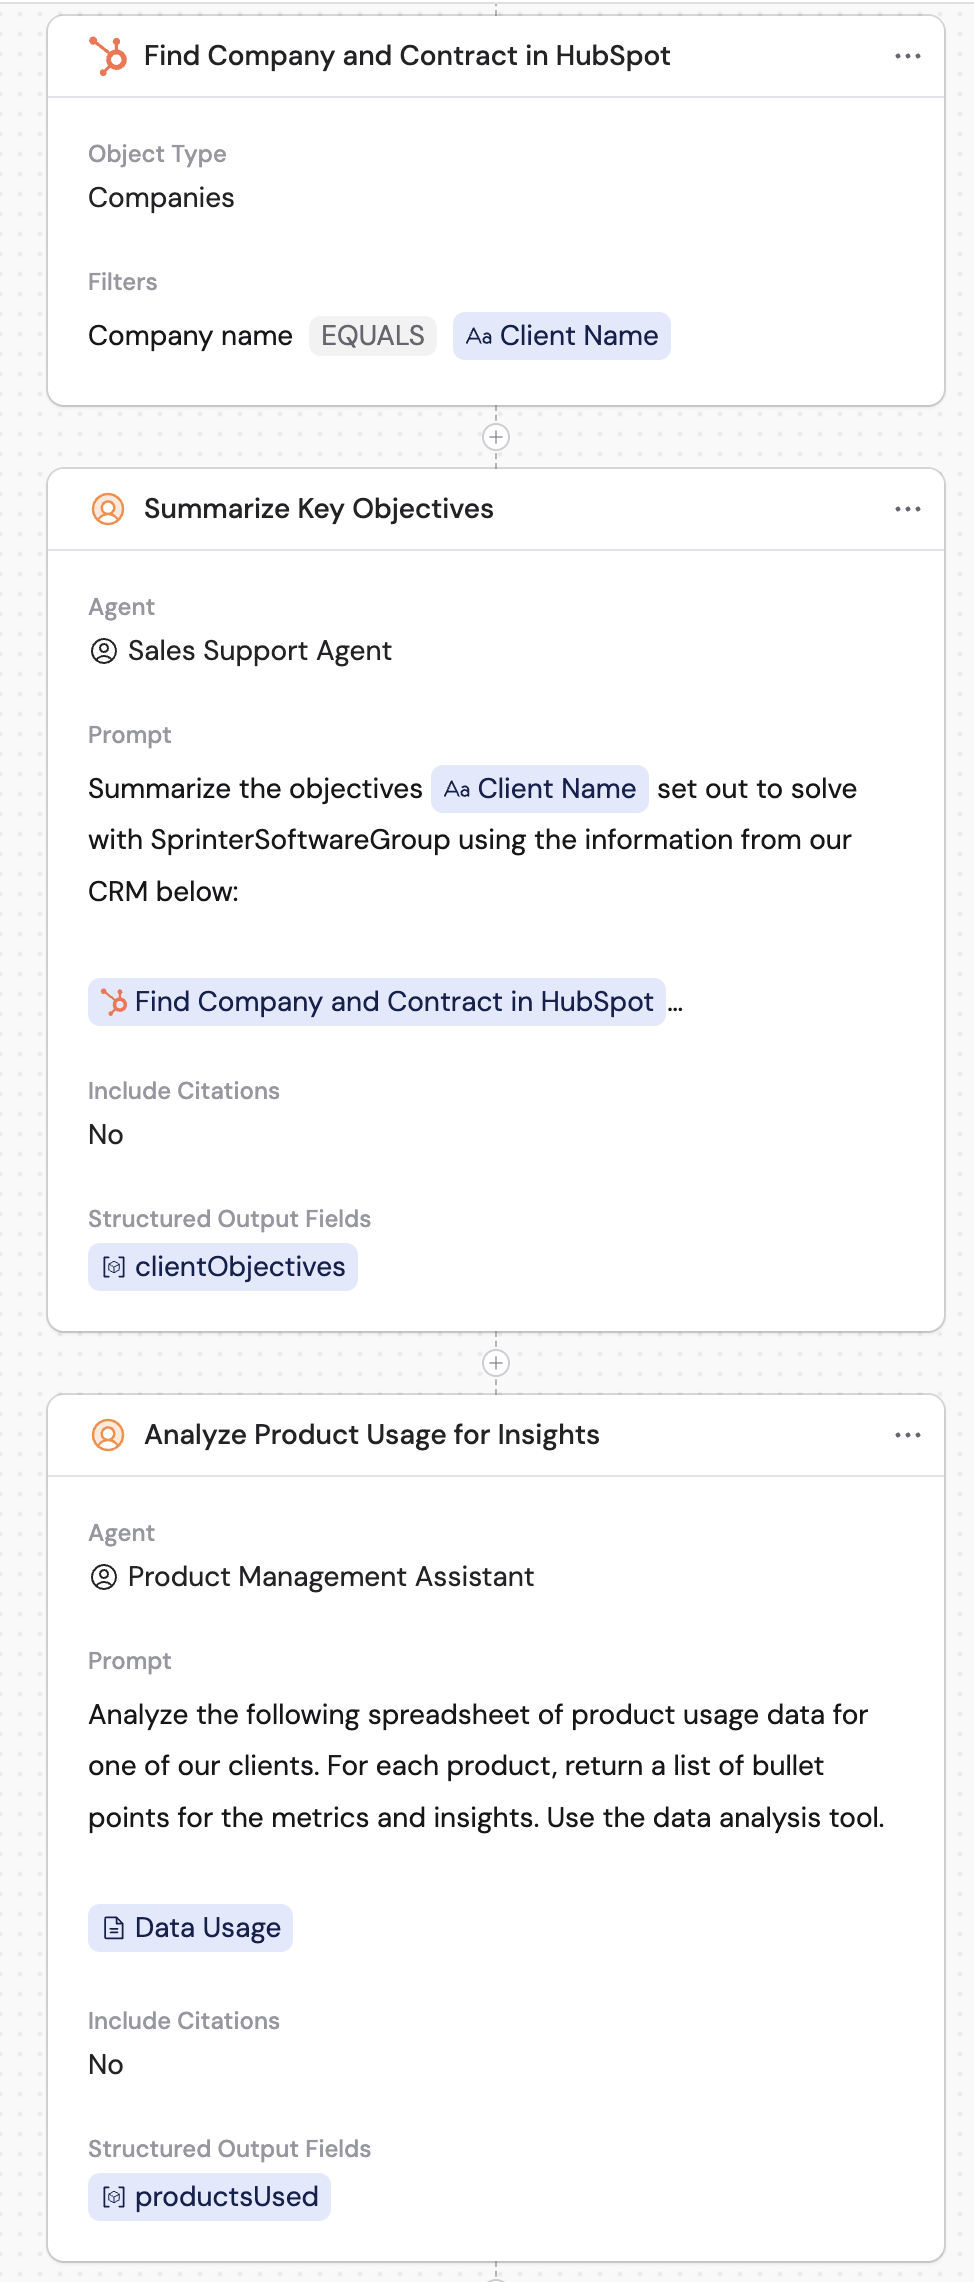
3
Generate structured outputs for the template
Use Generate Text actions with structured output fields to produce clean variables that map directly to your template placeholders — including arrays for loops and booleans for conditionals.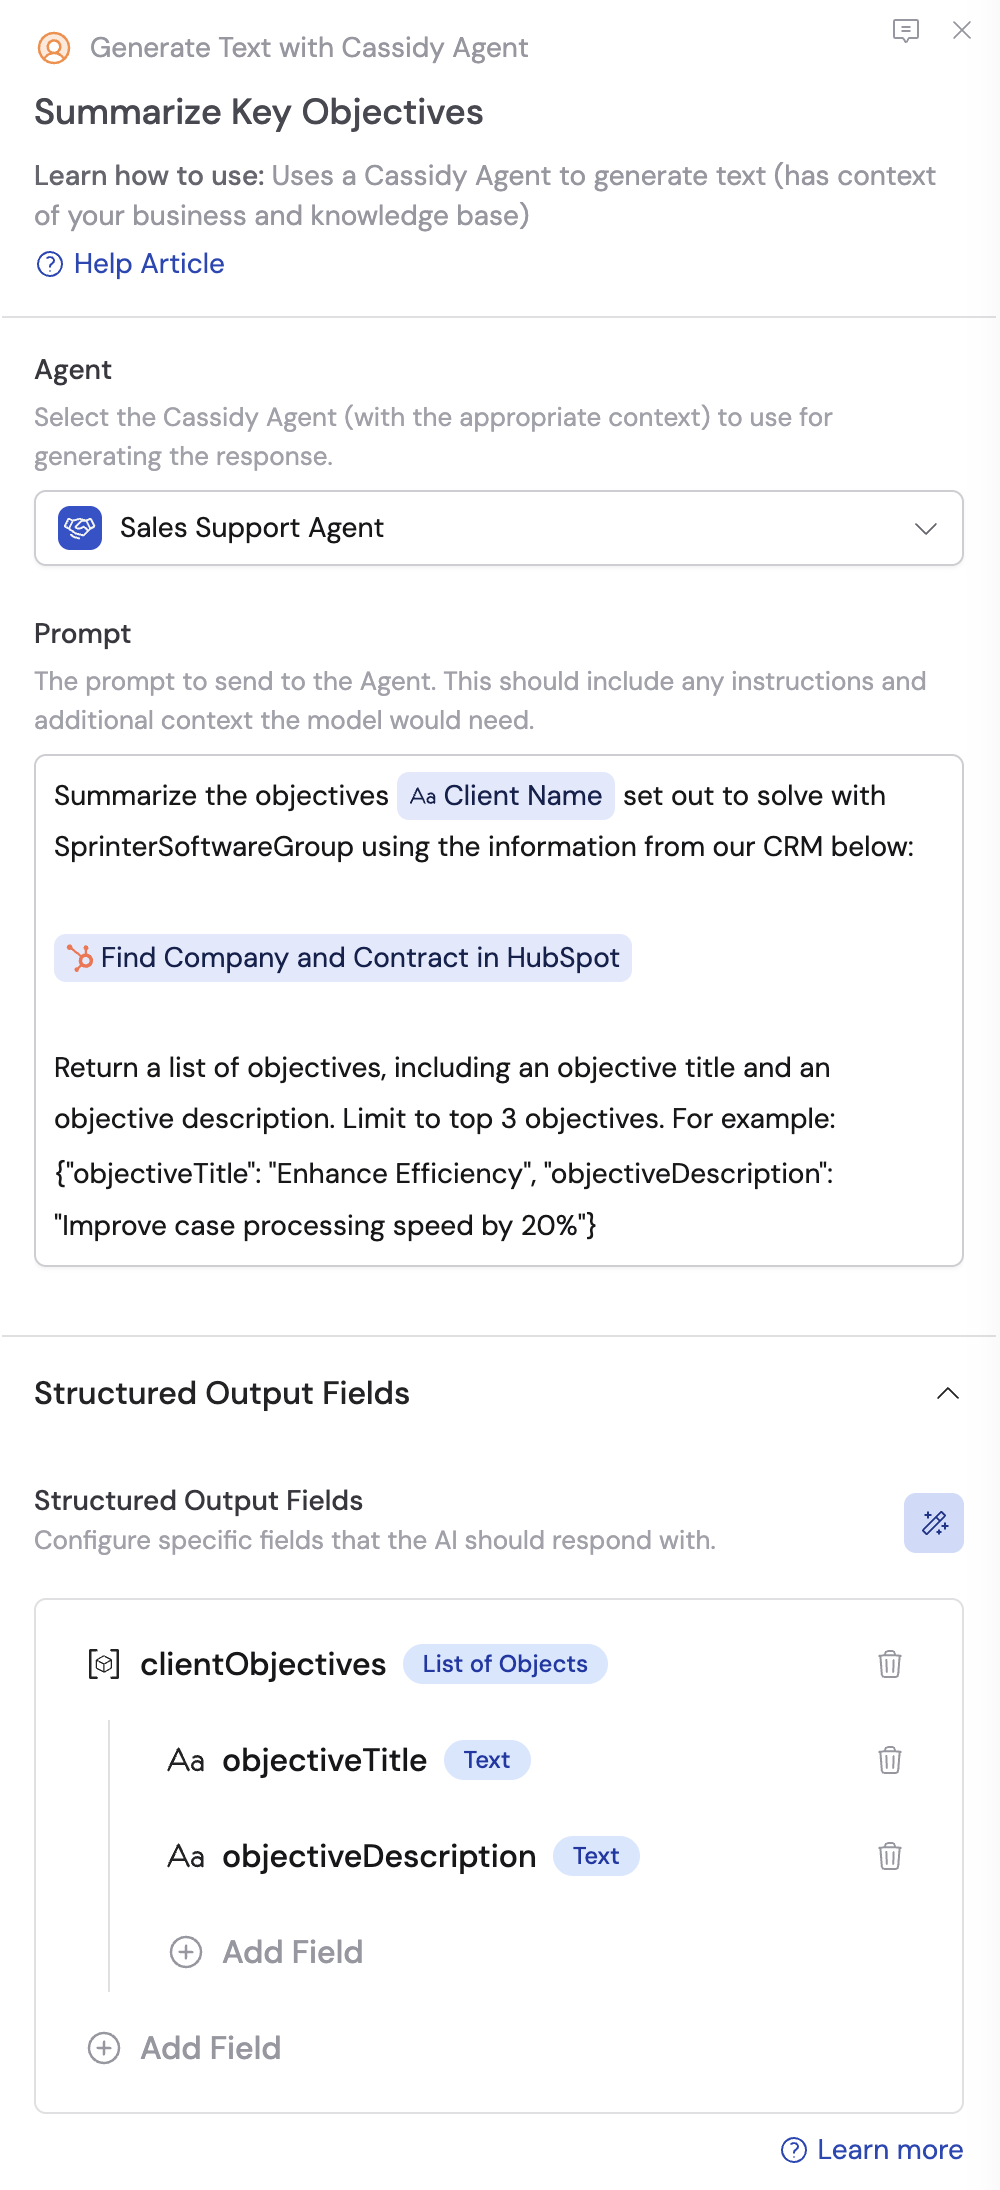
4
Add a template action
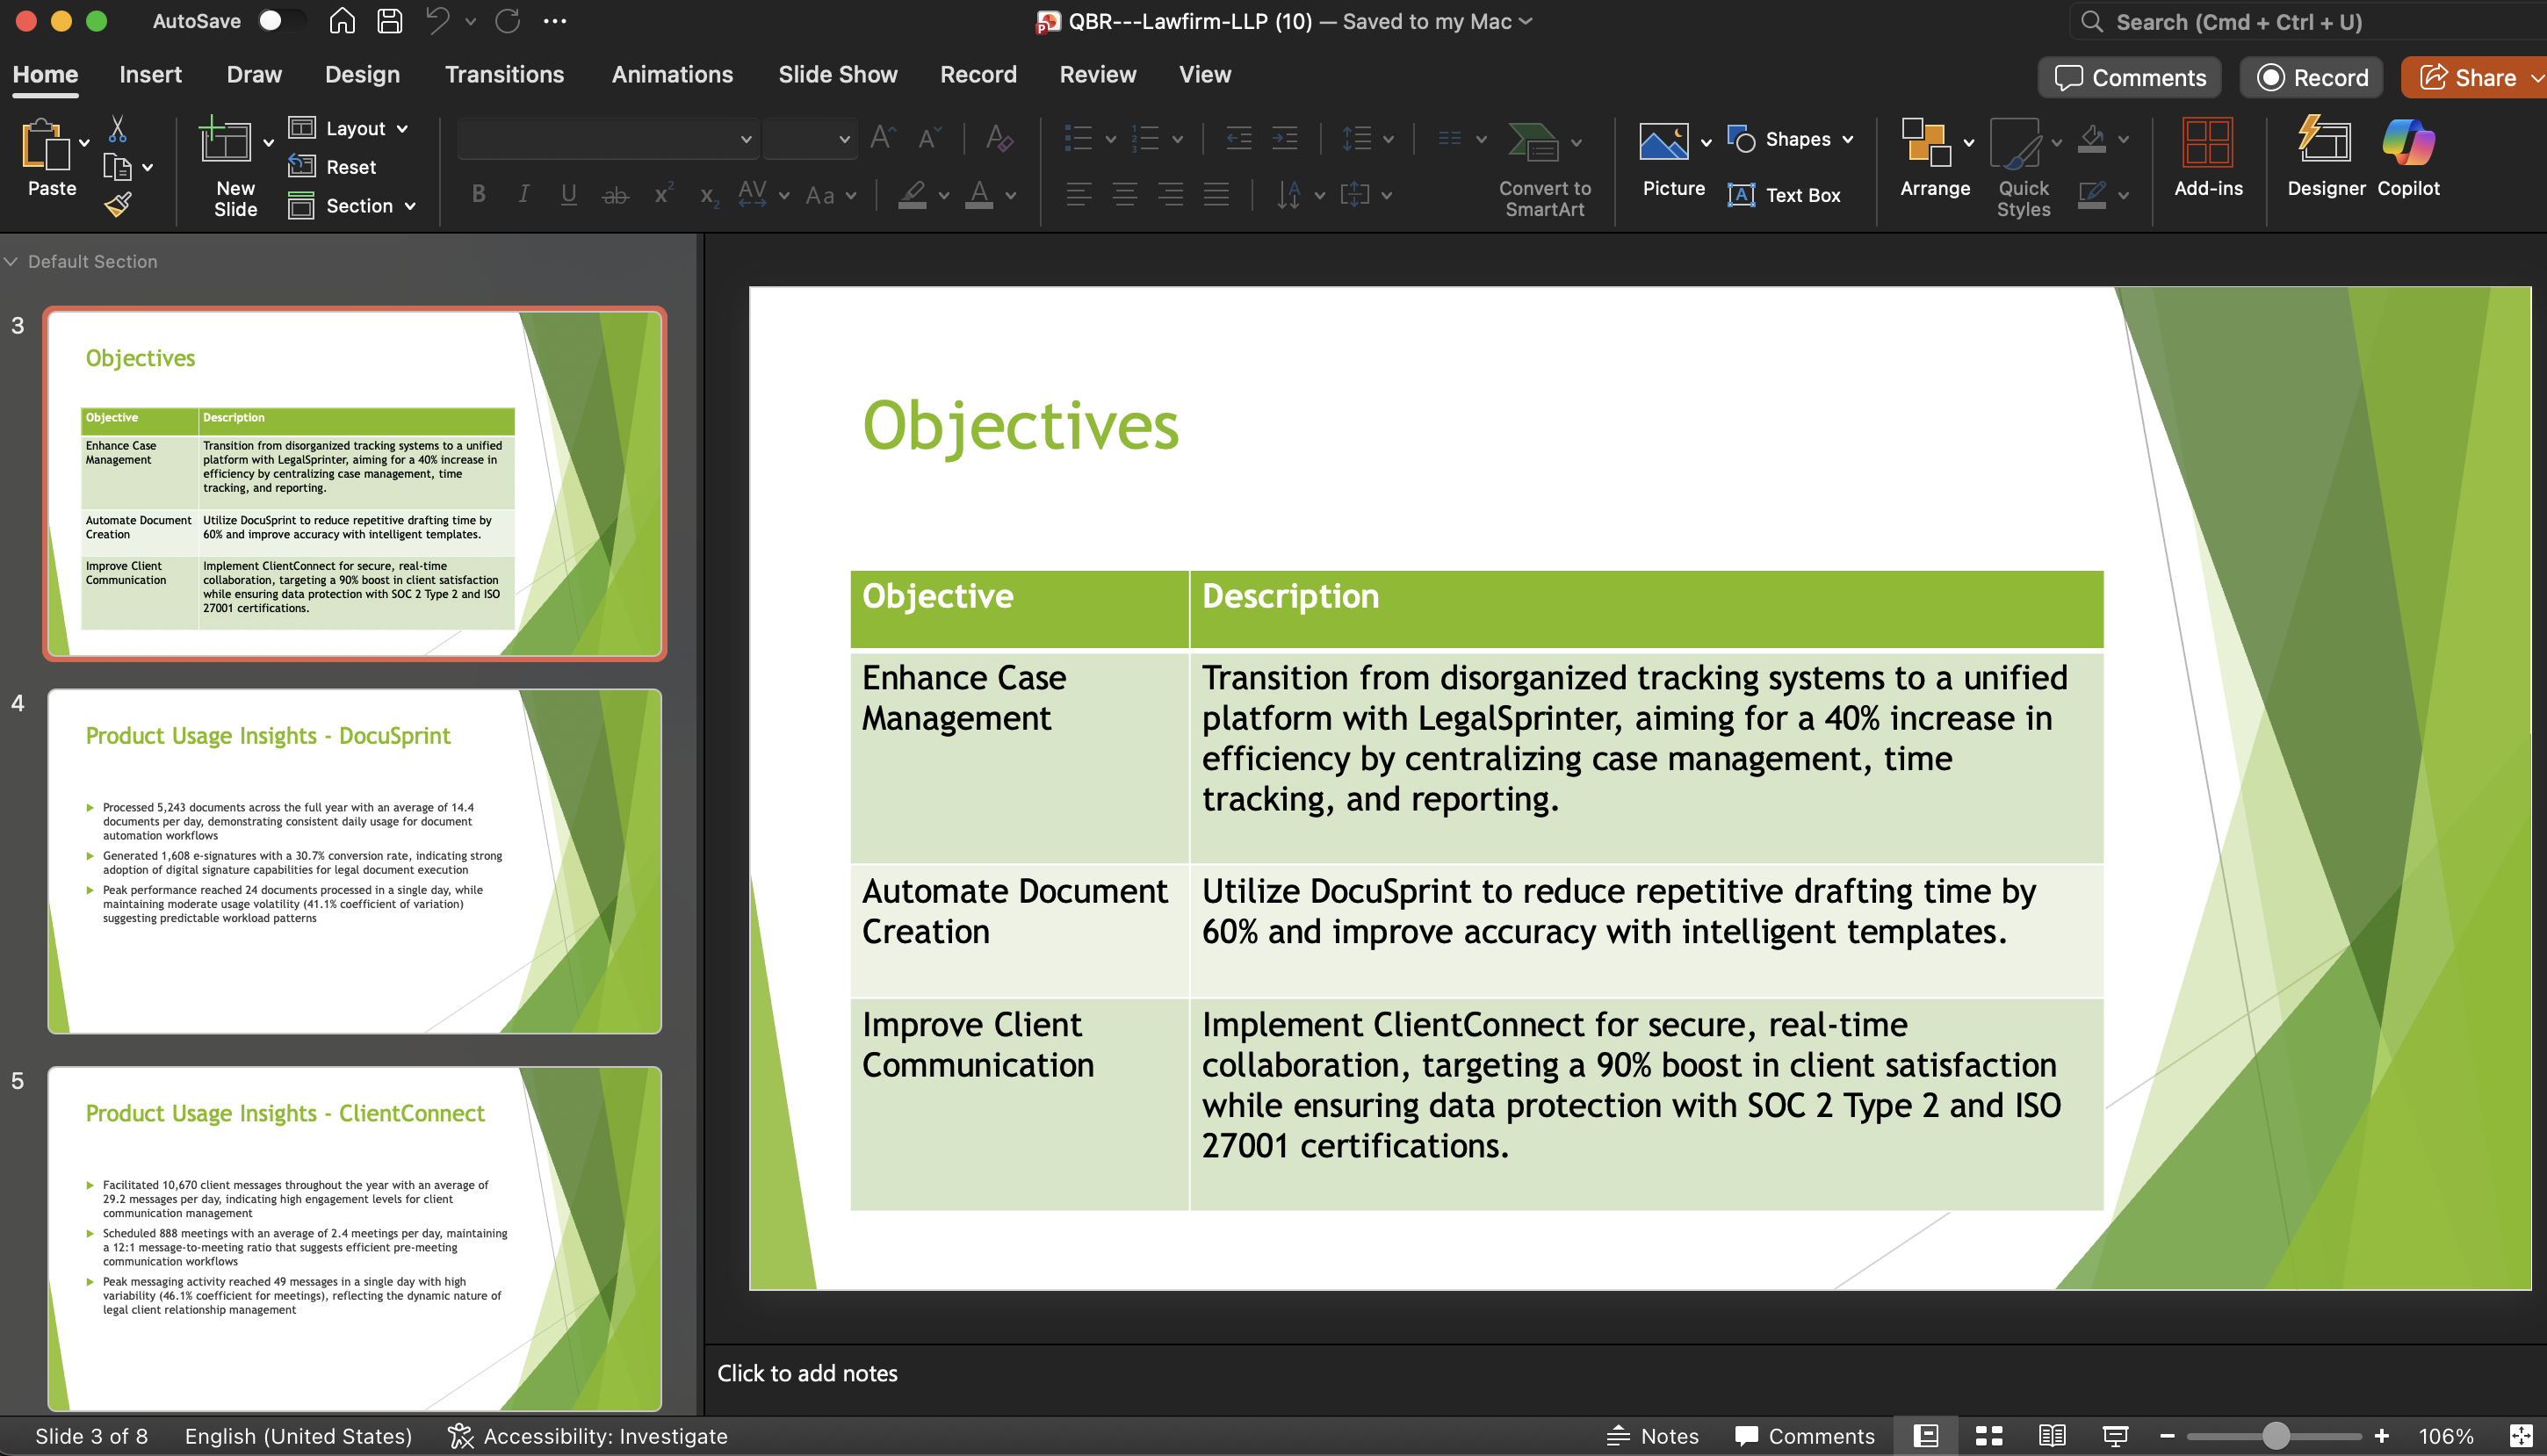
Add the appropriate file creation action (e.g., Create Microsoft PowerPoint Presentation from Template). Upload your branded template, set an output name, and map your variables into the template fields.PowerPoint and Word templates support: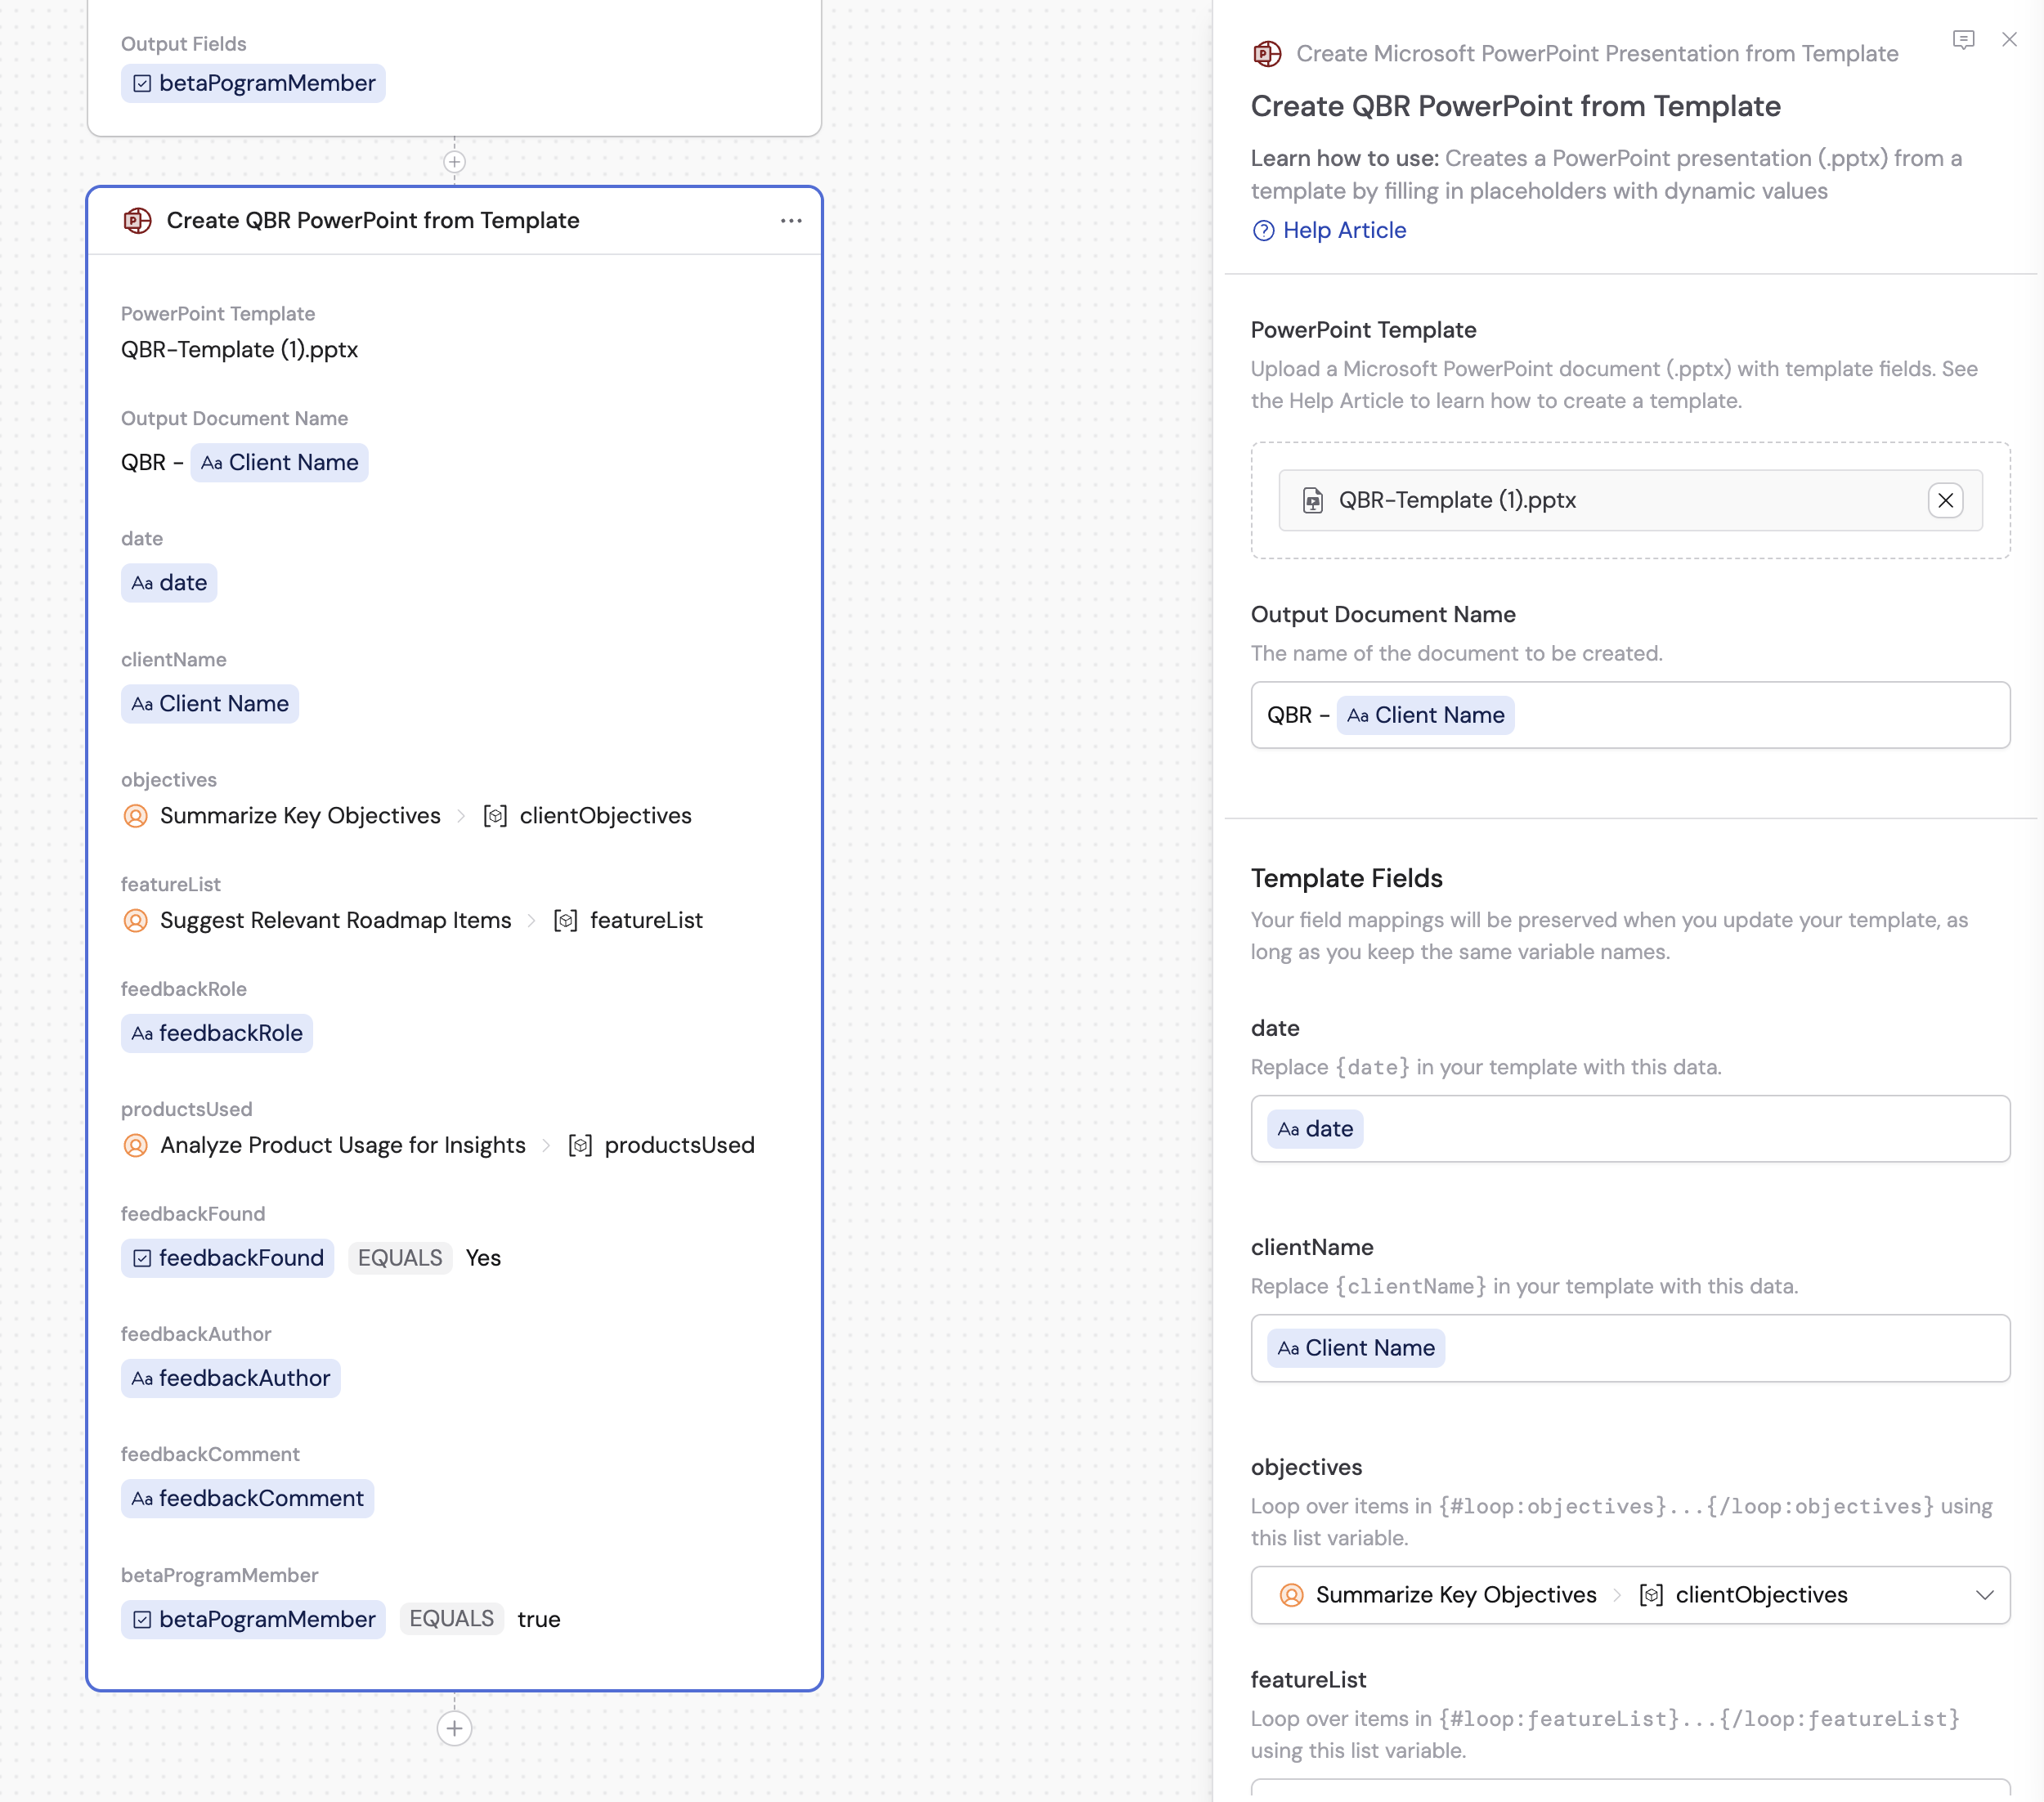
- Text placeholders:
{variableName}for dynamic content - Conditionals:
{#if:condition}…{/if:condition}to show or hide sections - Loops:
{#loop:arrayName}…{/loop:arrayName}to repeat content for lists - Slide loops / slide conditionals:
{%loop:arrayName}and{%if:conditionName}to repeat or conditionally show entire slides
5
Run and download
Execute the Workflow. The generated file appears in the results panel. You can also pass it to a subsequent action — like Send Email — to deliver it automatically.
Create files in Workflows (Code Execution & File Creation)
When the output varies too much for a fixed template — or you need the AI to generate charts, format documents, or manipulate files programmatically — enable Code Execution & File Creation on a Generate Text action. For a detailed end-to-end walkthrough, see Analyze data in Workflows.1
Add a Generate Text action
Write a prompt describing the file you need. For example: “Using the analysis results and chart from the previous step, create a professional PowerPoint presentation with key findings and an executive summary.”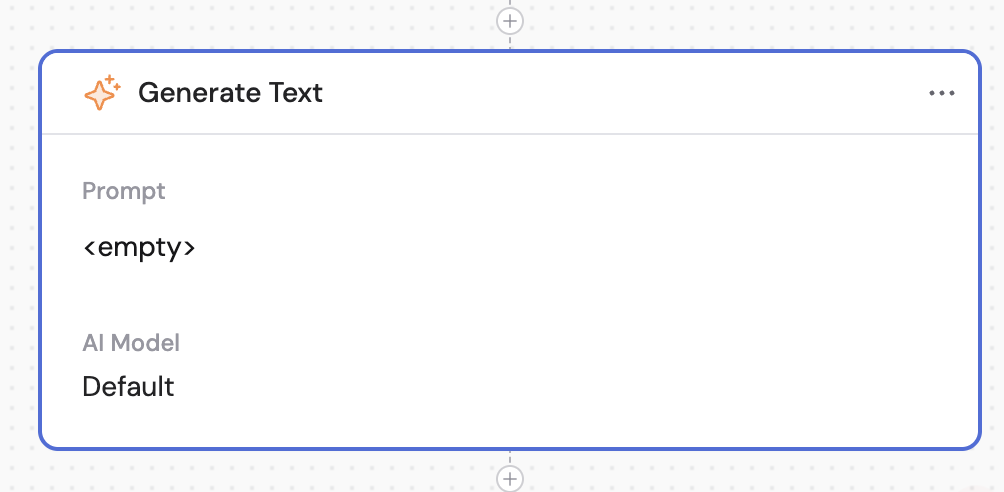
2
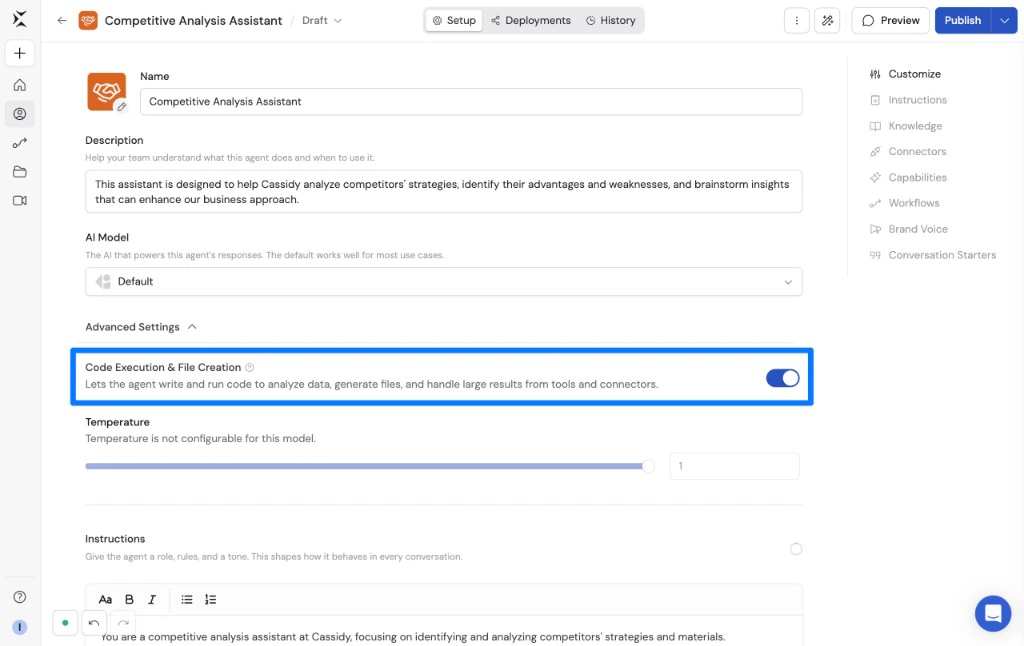
Enable Code Execution & File Creation
Expand Code Execution & File Creation and turn on the setting. This allows the AI to write and execute code to create, edit, or manipulate files.
Screenshot needed: Generate Text action settings with Code Execution & File Creation enabled.
3
Reference inputs or previous outputs
Pass in files from the trigger (like an uploaded spreadsheet) or reference outputs from earlier steps so the AI has the data it needs.
4
Use the Generated Files output
When Code Execution & File Creation is enabled, the action produces a Generated Files variable containing any files created during processing. Reference this variable in subsequent steps or download the files from the results panel.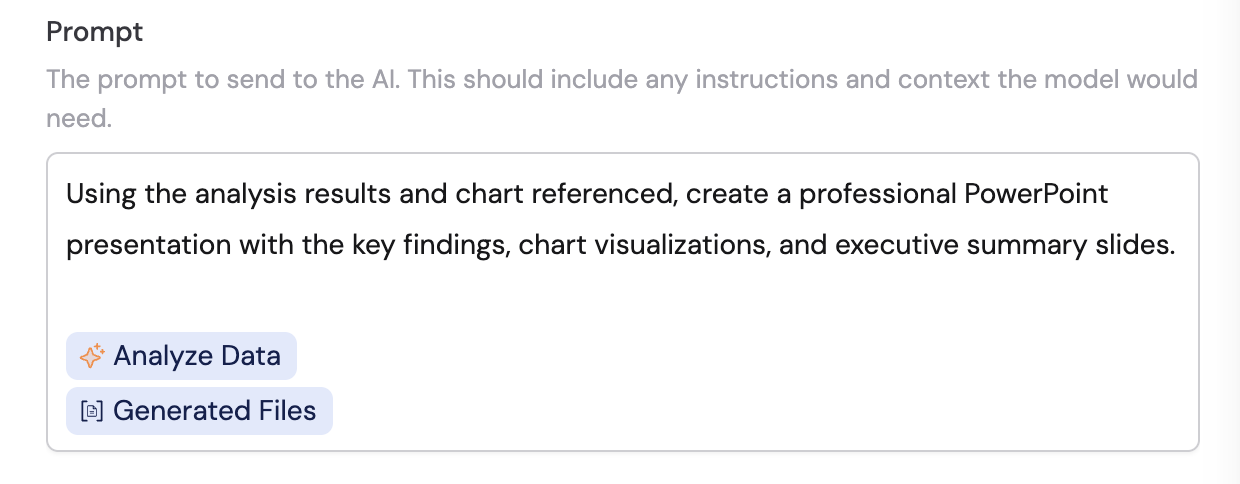
5
Chain multiple steps if needed
Use one Code Execution & File Creation step to analyze data and produce insights, then a second step to compile those insights into a formatted document or presentation.
Advanced: attach a file-creation Workflow to Agents
You can build a Workflow whose job is to generate a specific type of file, then attach it to one or more Agents using Call Workflow. When a user asks the Agent for that deliverable, the Agent automatically runs the Workflow, collects required inputs through conversation, and returns the finished file. This combines the convenience of Chat with the power of Workflows.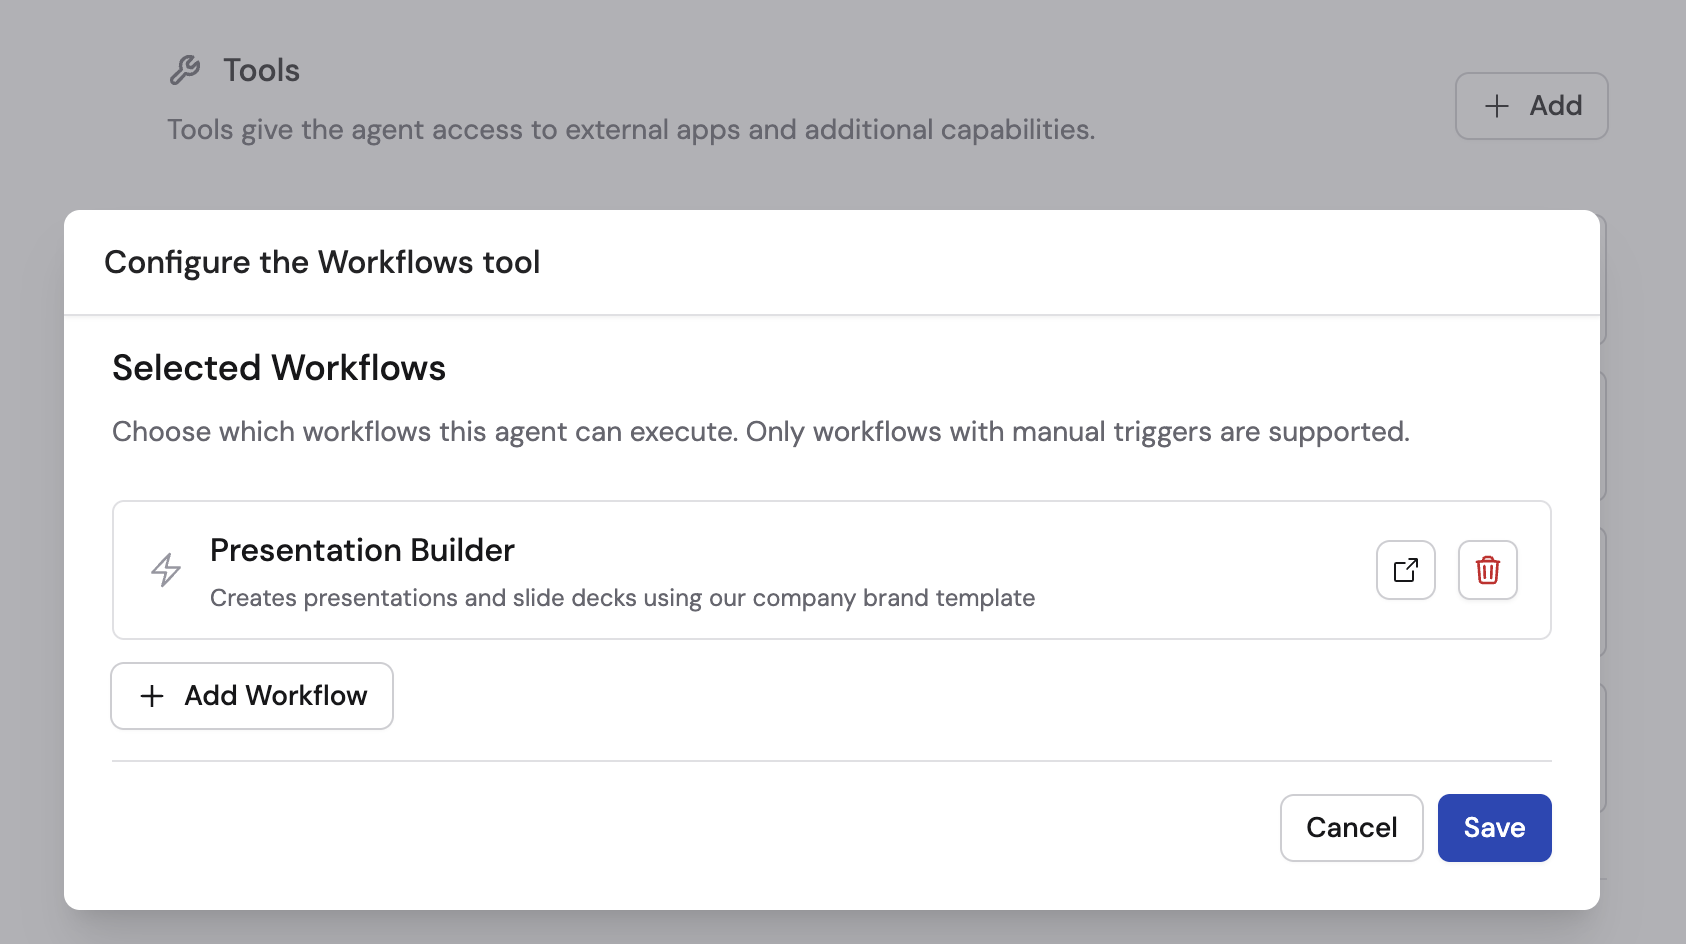
Next steps
Analyze data in Workflows
Full walkthrough of using Code Execution & File Creation in Workflows.
Analyze data with an Agent
Learn how Agents use code execution and file creation to analyze data.
Building a Workflow
Create Workflows with template actions and structured outputs.
Call Workflow
Attach Workflows to Agents so users can generate files through chat.
Chatting with an Agent
Master the Chat interface for quick file generation and more.