Set up a webhook trigger
1
Create or open a Workflow
Go to the Workflows page and create a new Workflow, or open an existing one you want to trigger via webhook.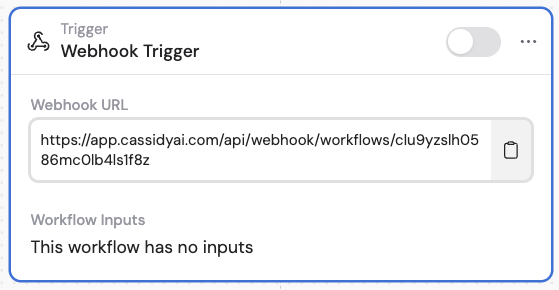
2
Select Webhook as the trigger type
In the trigger configuration panel, select Webhook as the trigger type.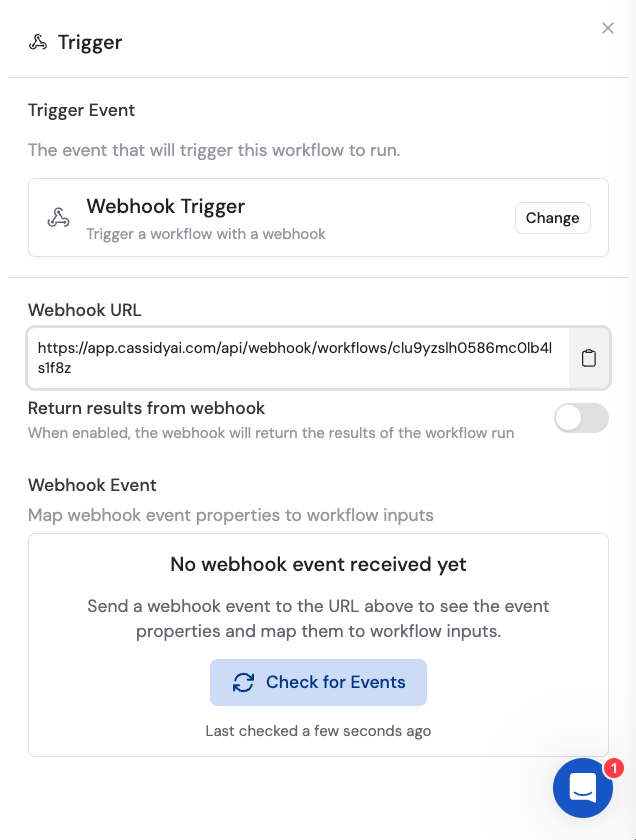
3
Configure response settings
Optionally enable Return results from webhook if you need to send data back to the calling system. This is useful when the external app expects a response — for example, a chatbot waiting for an AI-generated reply.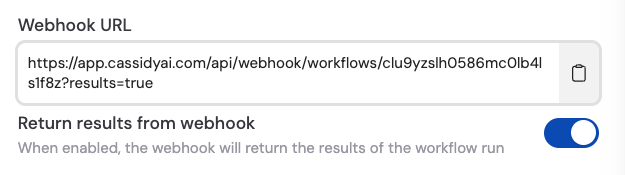
4
Set up security
In Advanced settings, optionally enable Require API Key to secure your webhook. When enabled, the calling system must include your API key in the request headers.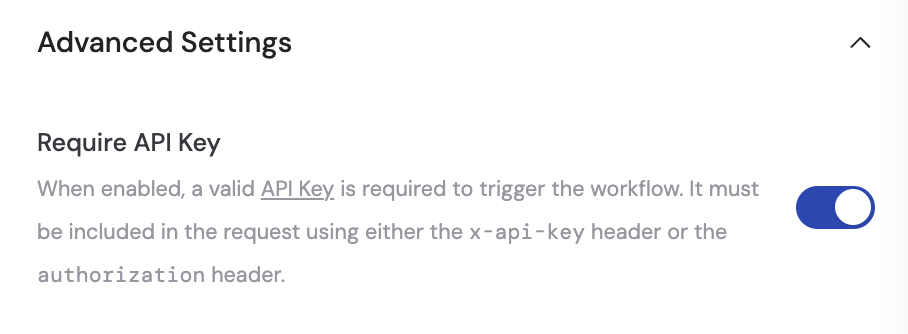
5
Copy the webhook URL
Copy the unique Webhook URL provided by Cassidy. You’ll paste this into your external system’s webhook configuration.
6
Send a test event
Configure the external system to send a POST request with a JSON body to your webhook URL. Once Cassidy receives the first event, the incoming data fields appear in the trigger settings.
7
Map event properties to variables
Map the incoming event properties to Workflow variables so you can use the data in subsequent actions.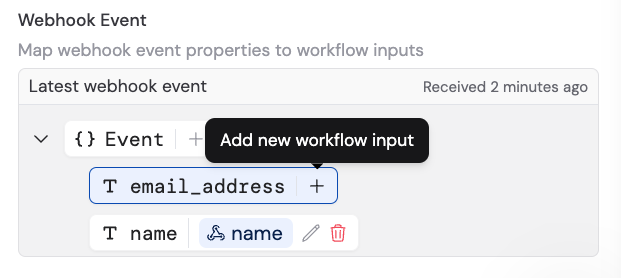
8
Activate the trigger
Toggle the trigger to active and continue building the rest of your Workflow. The Workflow now runs automatically whenever the external system sends a request to your webhook URL.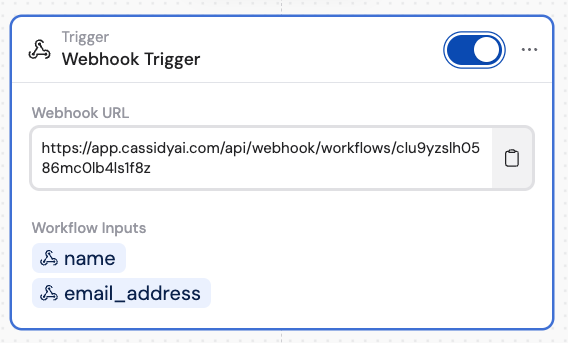
Next steps
Build a Workflow
Learn how to add actions and logic after your webhook trigger.
Connect non-native apps
Explore other methods for connecting apps without native integrations.