Only Admins can configure default Agents. This setting applies to the Chat experience only — it does not affect the base model selection when building custom Agents or the model used in Workflow actions.
Manage default Agents
1
Open organization settings
Click your account name at the bottom of the sidebar, then click the gear icon next to your organization name.
2
Go to Default Agents
In the left sidebar, click Default Agents under the Agents section.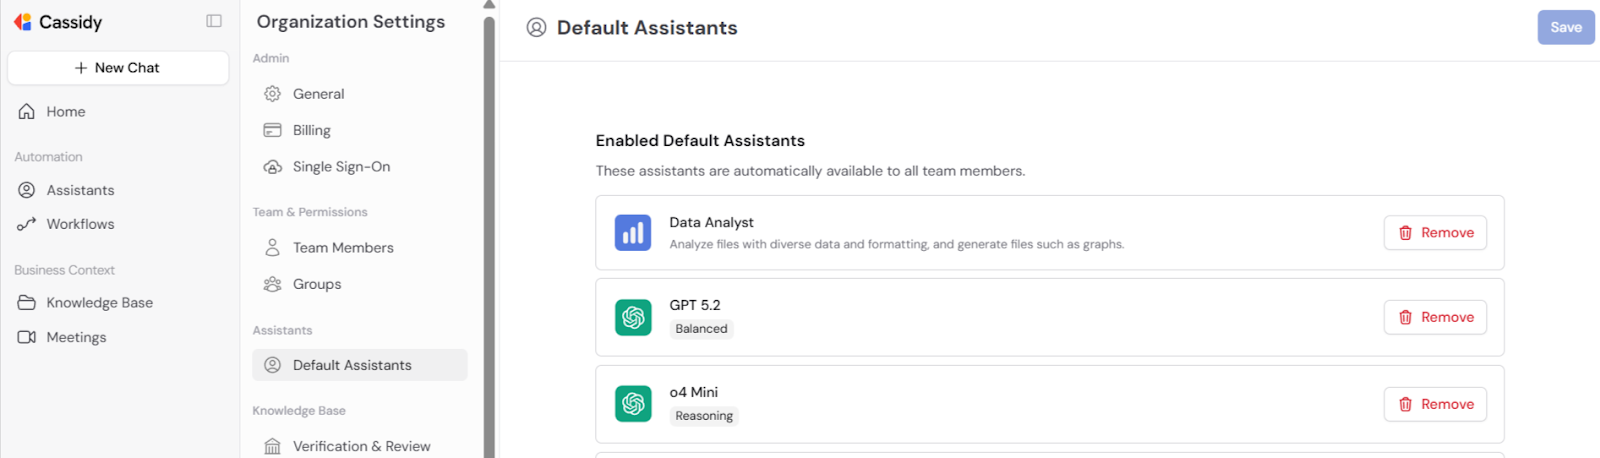
3
Remove Agents you don't need
Click the remove button next to any default Agent you want to hide from your team’s chat selector. Removing a default Agent doesn’t delete it — it simply hides it from the default list.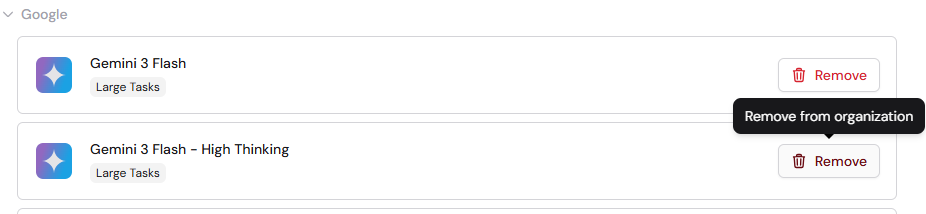
4
Add Agents
Click Add Agent to browse and select from the available default Agents. Search by name or capability to find the right ones for your team.
5
Save
Click Save to apply your changes. The Save button only becomes active after you’ve made at least one change.
Your default Agent configuration is updated. Team members will see the new set of default Agents the next time they open a chat.
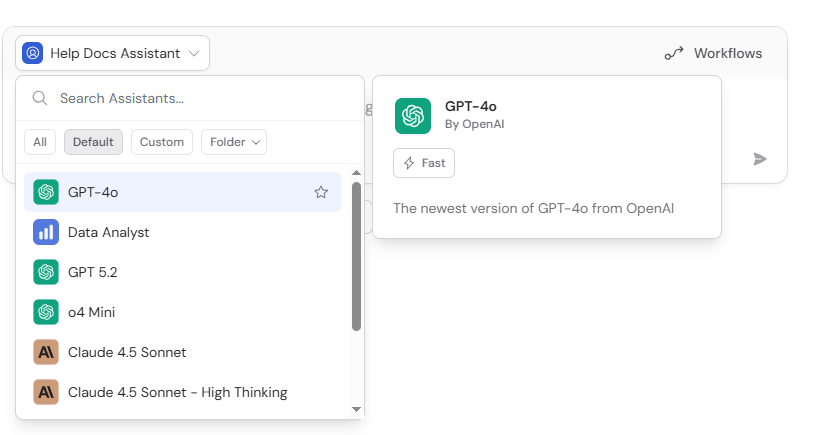
Where default Agents appear
Default Agents show up in the Agent selector when a user starts a new chat. They appear under the Default section, separate from any custom Agents the user or their team has built.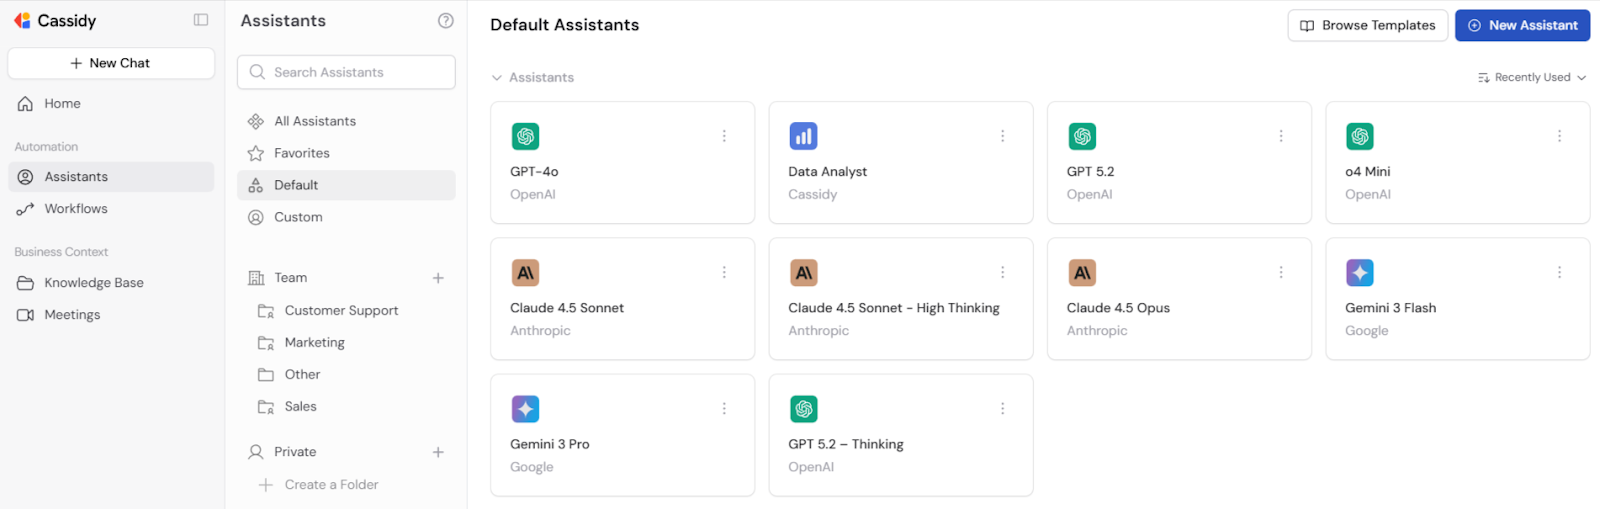
Next steps
Build and configure an Agent
Create custom Agents tailored to your team’s specific needs.
Configure global instructions
Set organization-wide AI behavior rules for all Agents.