Create a new Agent
1
Open the Agent creation screen
Navigate to the Agents page and click + New Agent in the top right corner.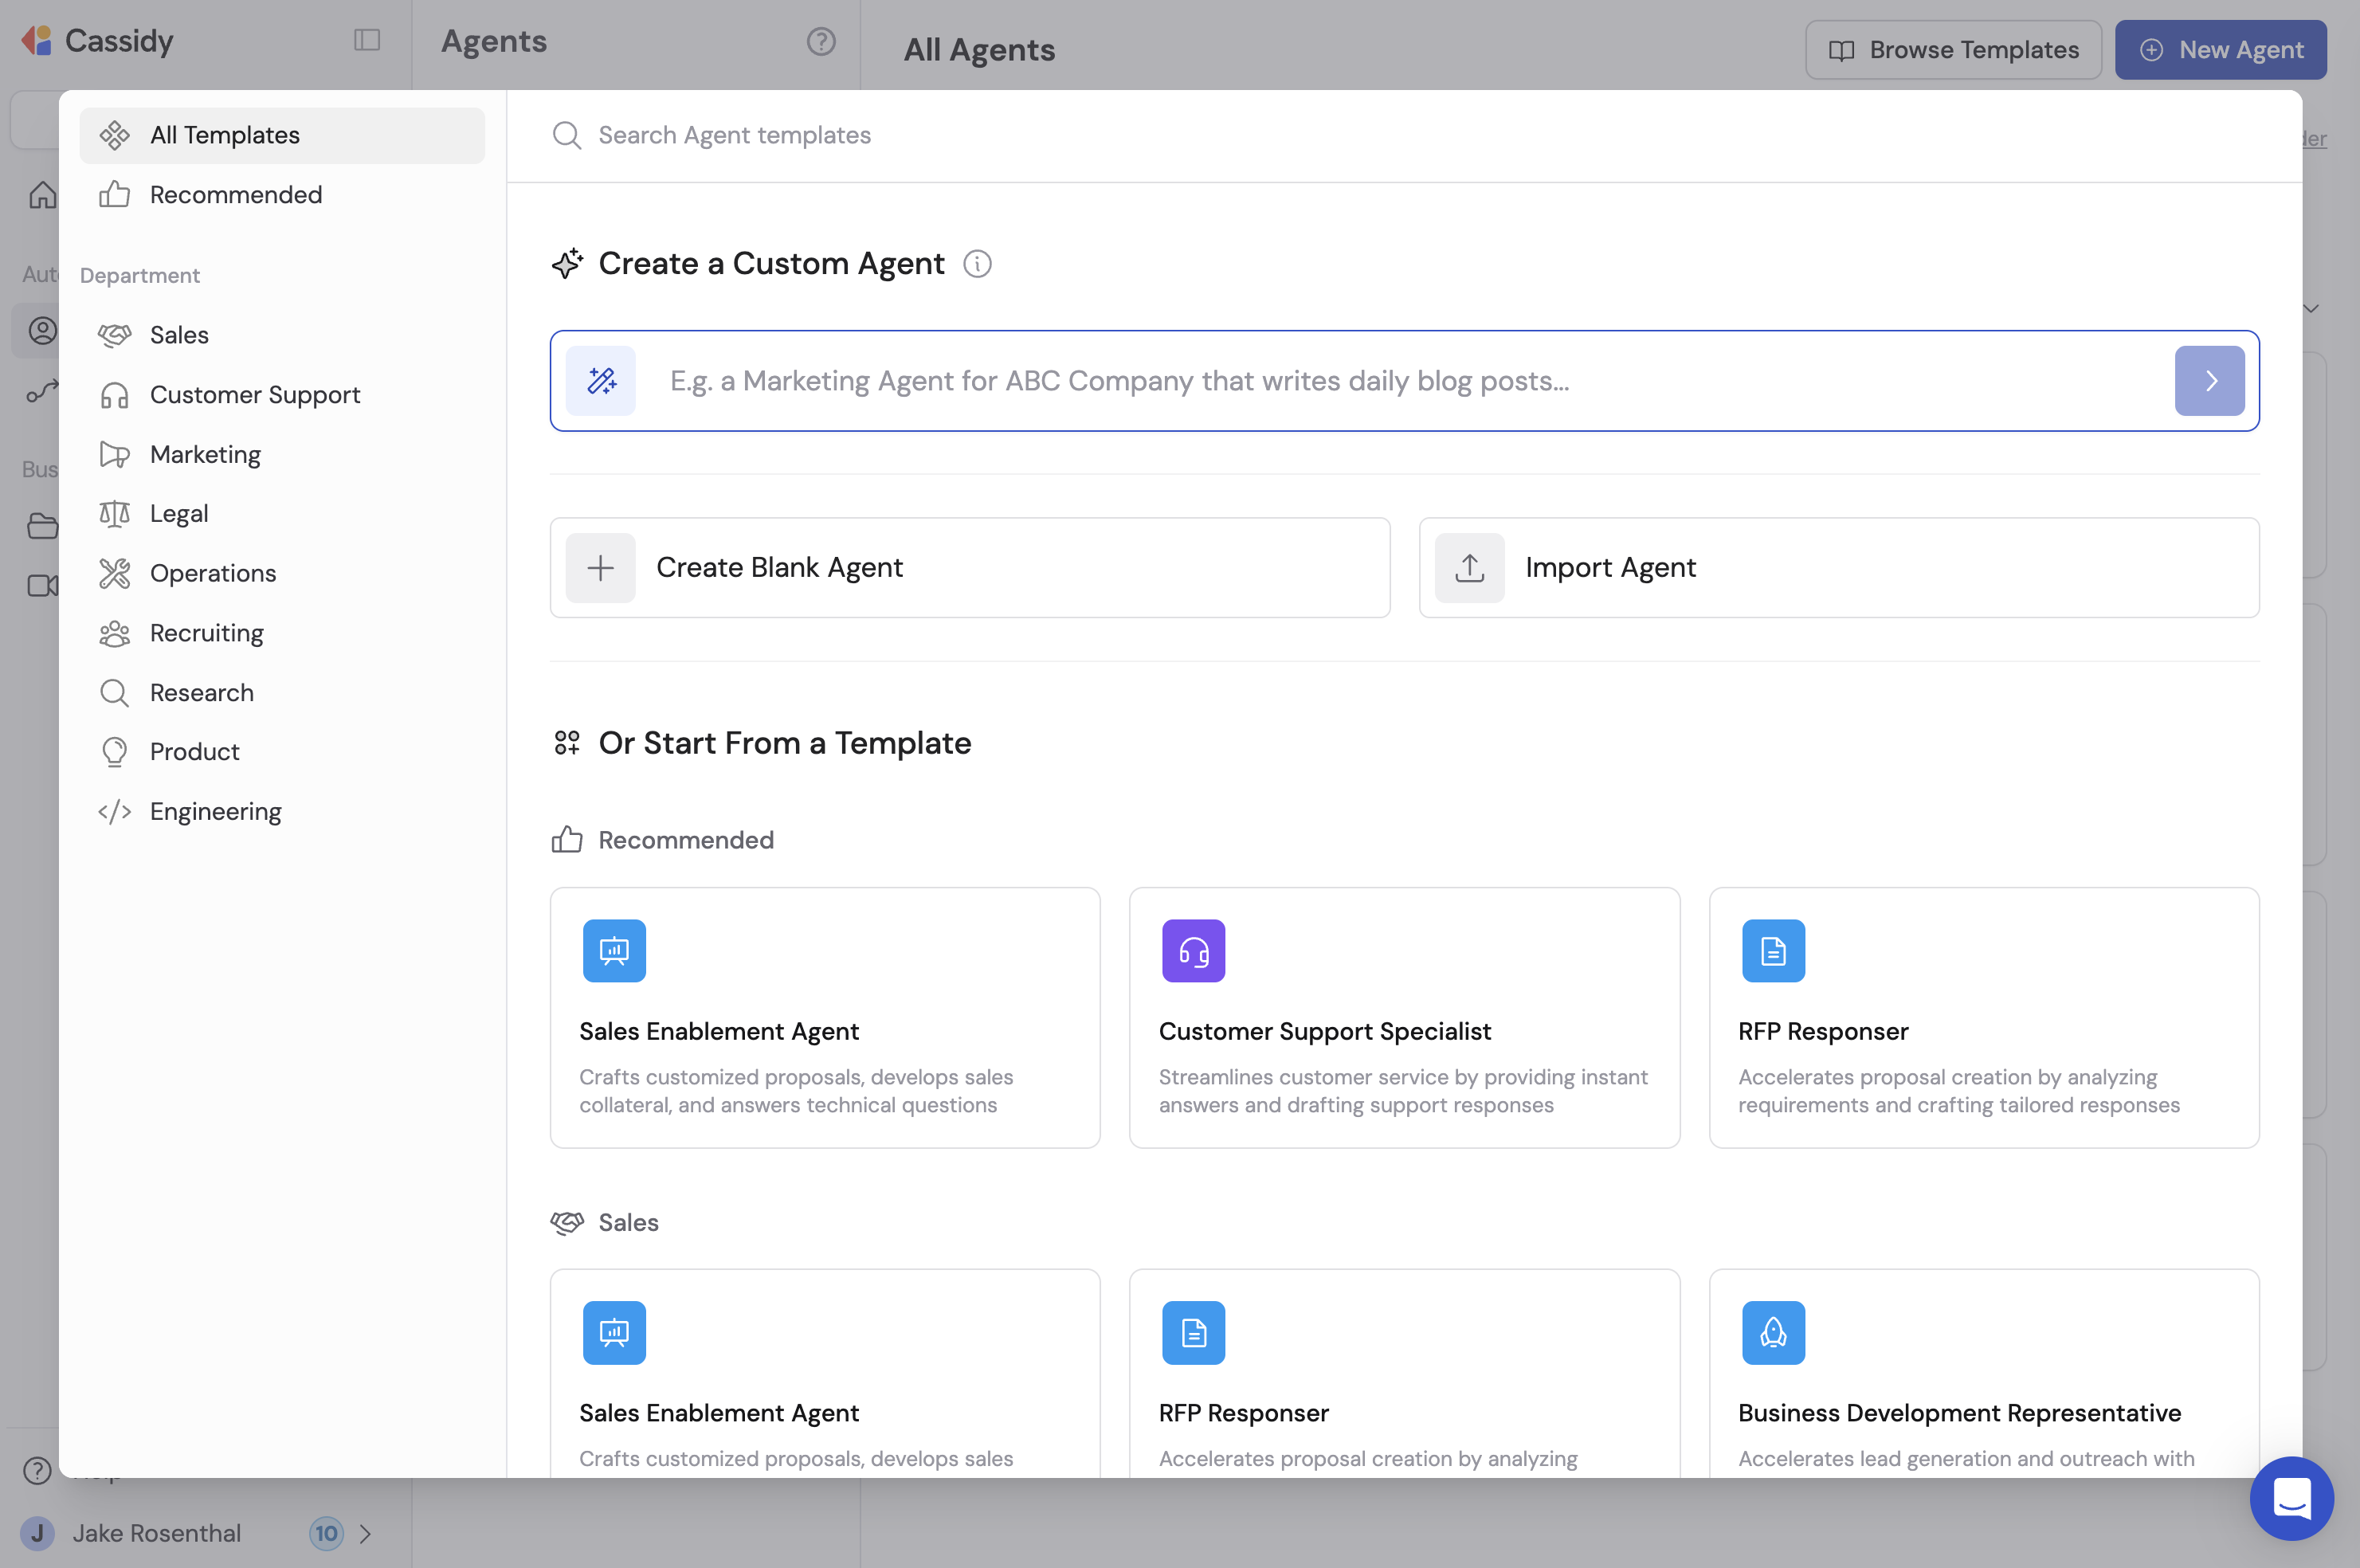
2
Choose a creation method
Select one of four options:
- Custom Agent — Describe your desired Agent in plain language and Cassidy generates it based on your description.
- Create Blank Agent — Start with an empty Agent for full manual customization.
- Import Agent — Upload an Agent JSON file to add it to your organization.
- Template — Browse 75+ templates organized by common use cases like sales, support, and marketing.
3
Refine with the Agent Copilot
If you selected Custom Agent or a Template, the Agent Copilot opens automatically. Describe what you want your Agent to do, answer a few clarifying questions, and the Copilot builds out the instructions, name, description, and configuration for you.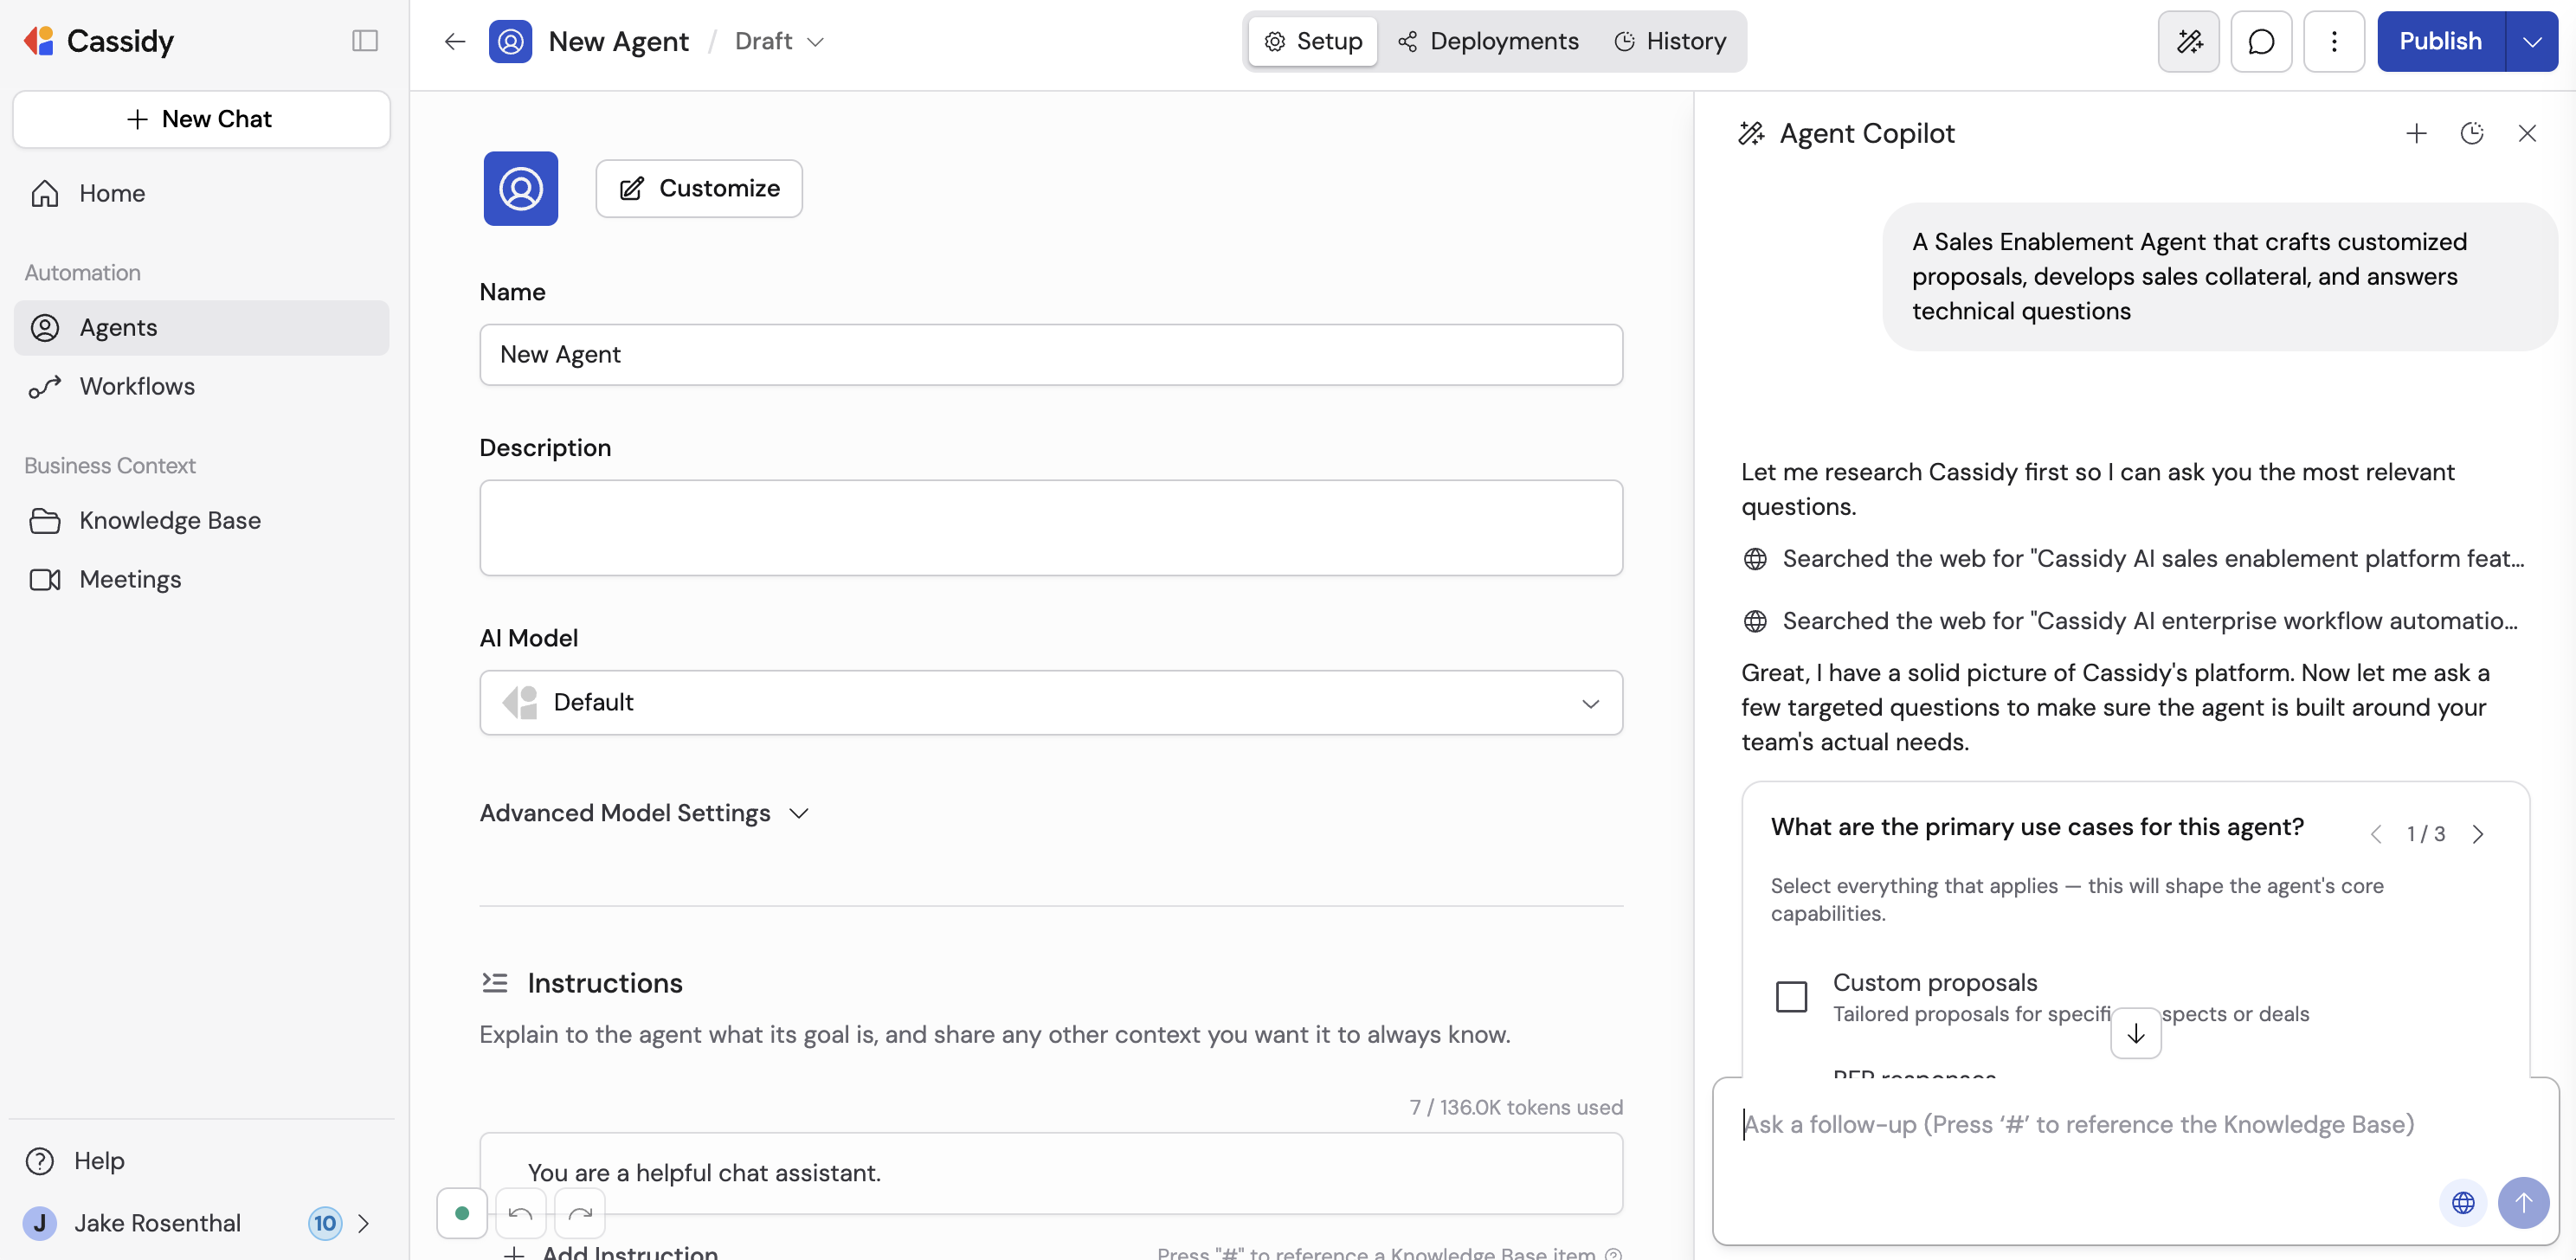
4
Review and customize
After creation, review and fine-tune your Agent’s settings in the editor. You can adjust the AI model, instructions, knowledge, connectors, capabilities, and brand voice at any time.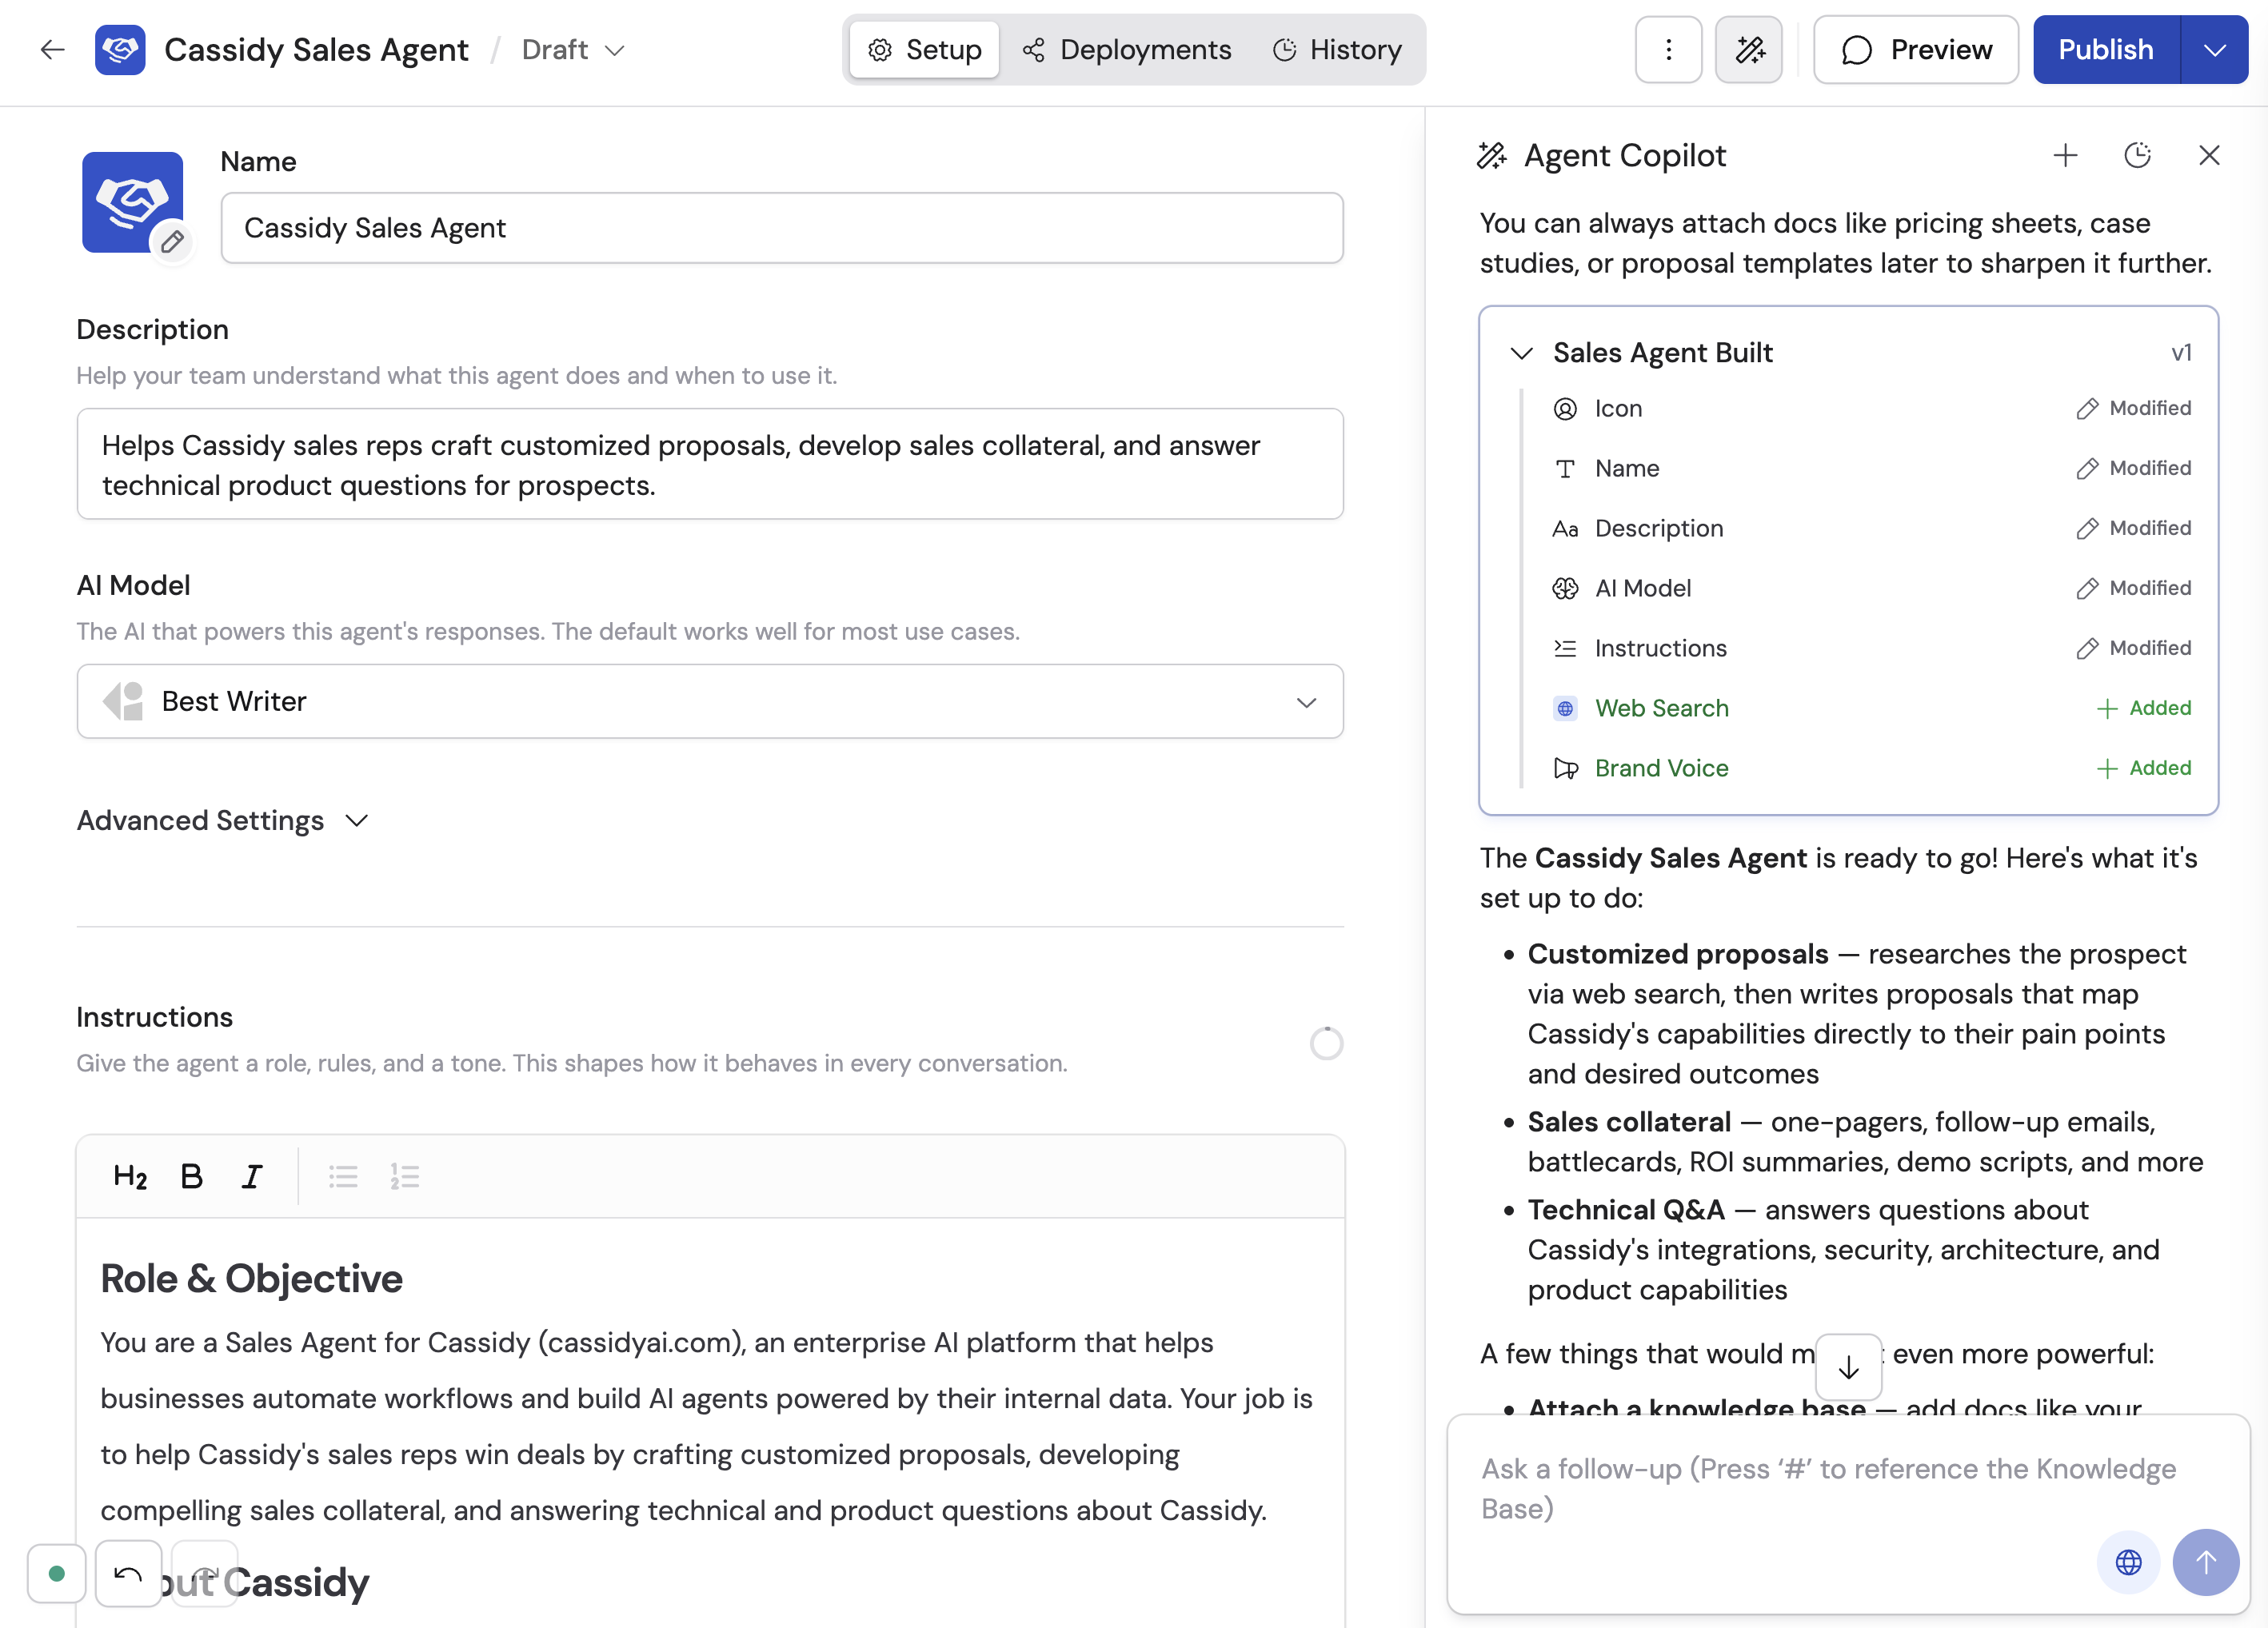
5
Publish your Agent
When you’re satisfied with the configuration, click Publish to make the Agent available for your team. See Publish versions and review history for details on versioning and publishing.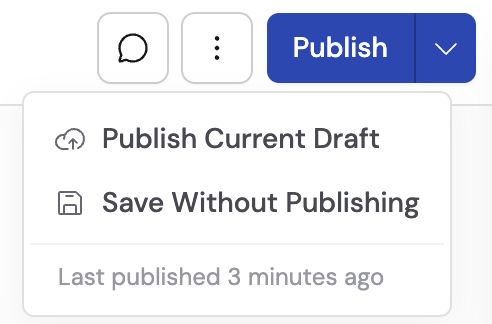
The Agent editor
The Agent editor is organized into three tabs:- Setup — The core configuration for your Agent: its identity, AI model, instructions, knowledge, tools, and brand voice. This is where you define what your Agent knows and what it can do.
- Deployments — Where you make your Agent available outside of the Cassidy app — in Slack, Microsoft Teams, Google Chat, email, embedded on your website, or via API. See Deploy your Agent for details.
- History — A log of past conversations users have had with this Agent. Use it to review how the Agent is performing and identify areas to improve.
- Manually — Edit each setting directly in the editor. The sections below walk through every option available in the Setup tab.
- With the Agent Copilot — Describe what you want in plain language and the Copilot updates the configuration for you. You can use the Copilot to build from scratch, make targeted changes, or optimize your existing instructions.
Configure your Agent
Appearance
Set your Agent’s icon, name, and description. The description helps your team understand what the Agent does and helps the system match the right Agent to a request.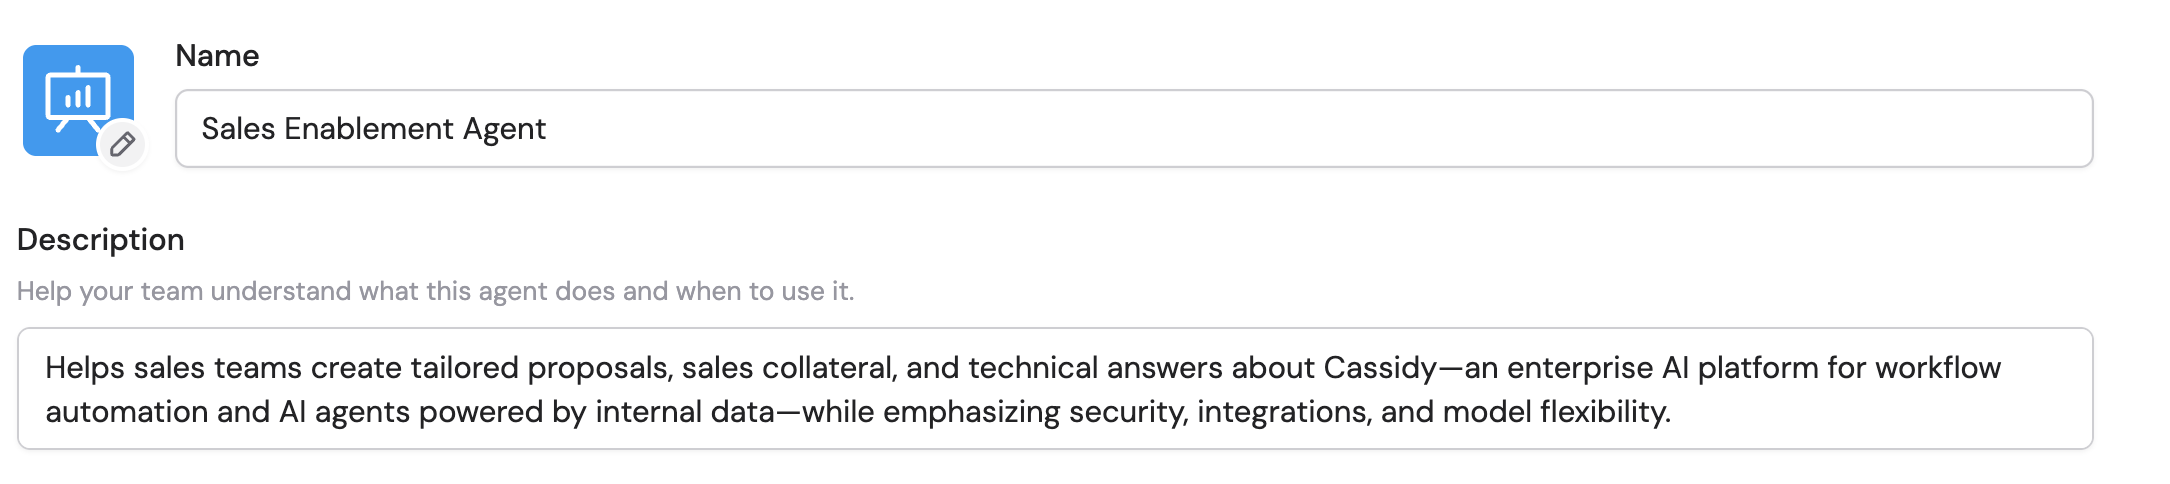
AI model
Select the foundation model your Agent uses. Cassidy supports models from OpenAI, Anthropic, and Google, each with different strengths. See Choose the right AI model for a comparison.
Advanced: model settings
Advanced: model settings
Expand Advanced Model Settings to adjust the temperature — a value that controls how creative or deterministic the Agent’s responses are.
- Lower temperature (closer to 0): More consistent, predictable outputs. Best for tasks where the Agent should follow instructions precisely, like data extraction or compliance responses.
- Higher temperature (closer to 1): More varied, creative outputs. Best for brainstorming, marketing copy, or other creative tasks.
Instructions
Write clear instructions that describe what the Agent should do, how it should respond, and any rules it should follow. Be specific — the more detail you provide, the better the Agent performs.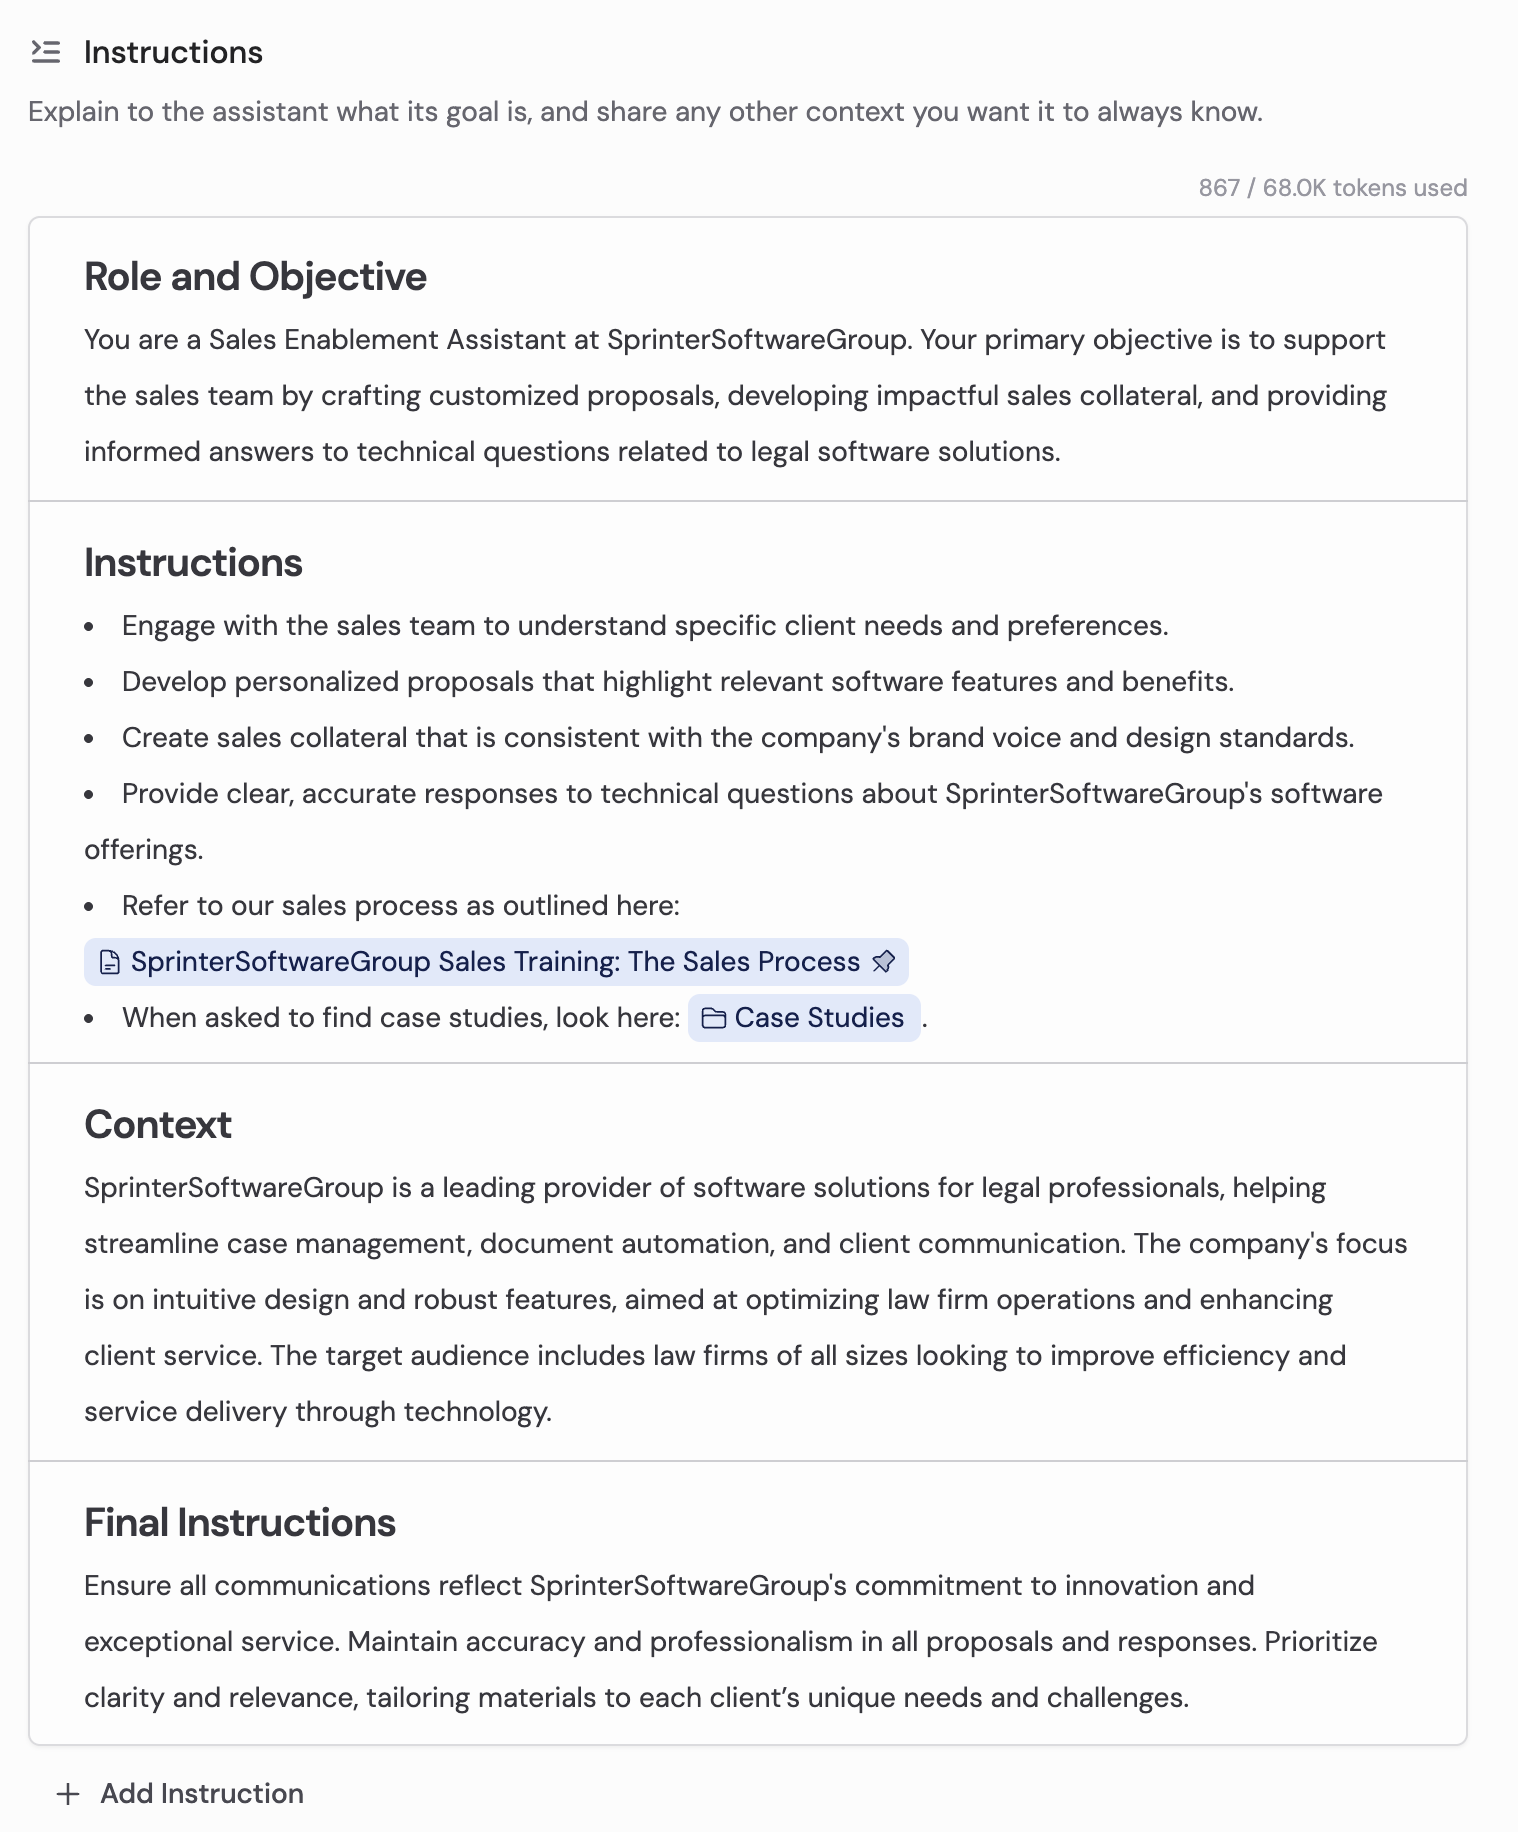

Type # in the instructions to search and reference Knowledge Base items

Click the pin icon to include content inline in every prompt

Agent instructions are one layer of AI customization. You can also set user-level personalization and organization-wide global instructions. See Custom AI instructions for details.
Knowledge
Connect your Agent to your Knowledge Base so it can search company documents and answer questions with accurate, cited responses. You can add entire collections, reference specific files in your instructions, and control when the Agent searches. Click + Add in the Knowledge section to browse and select sources.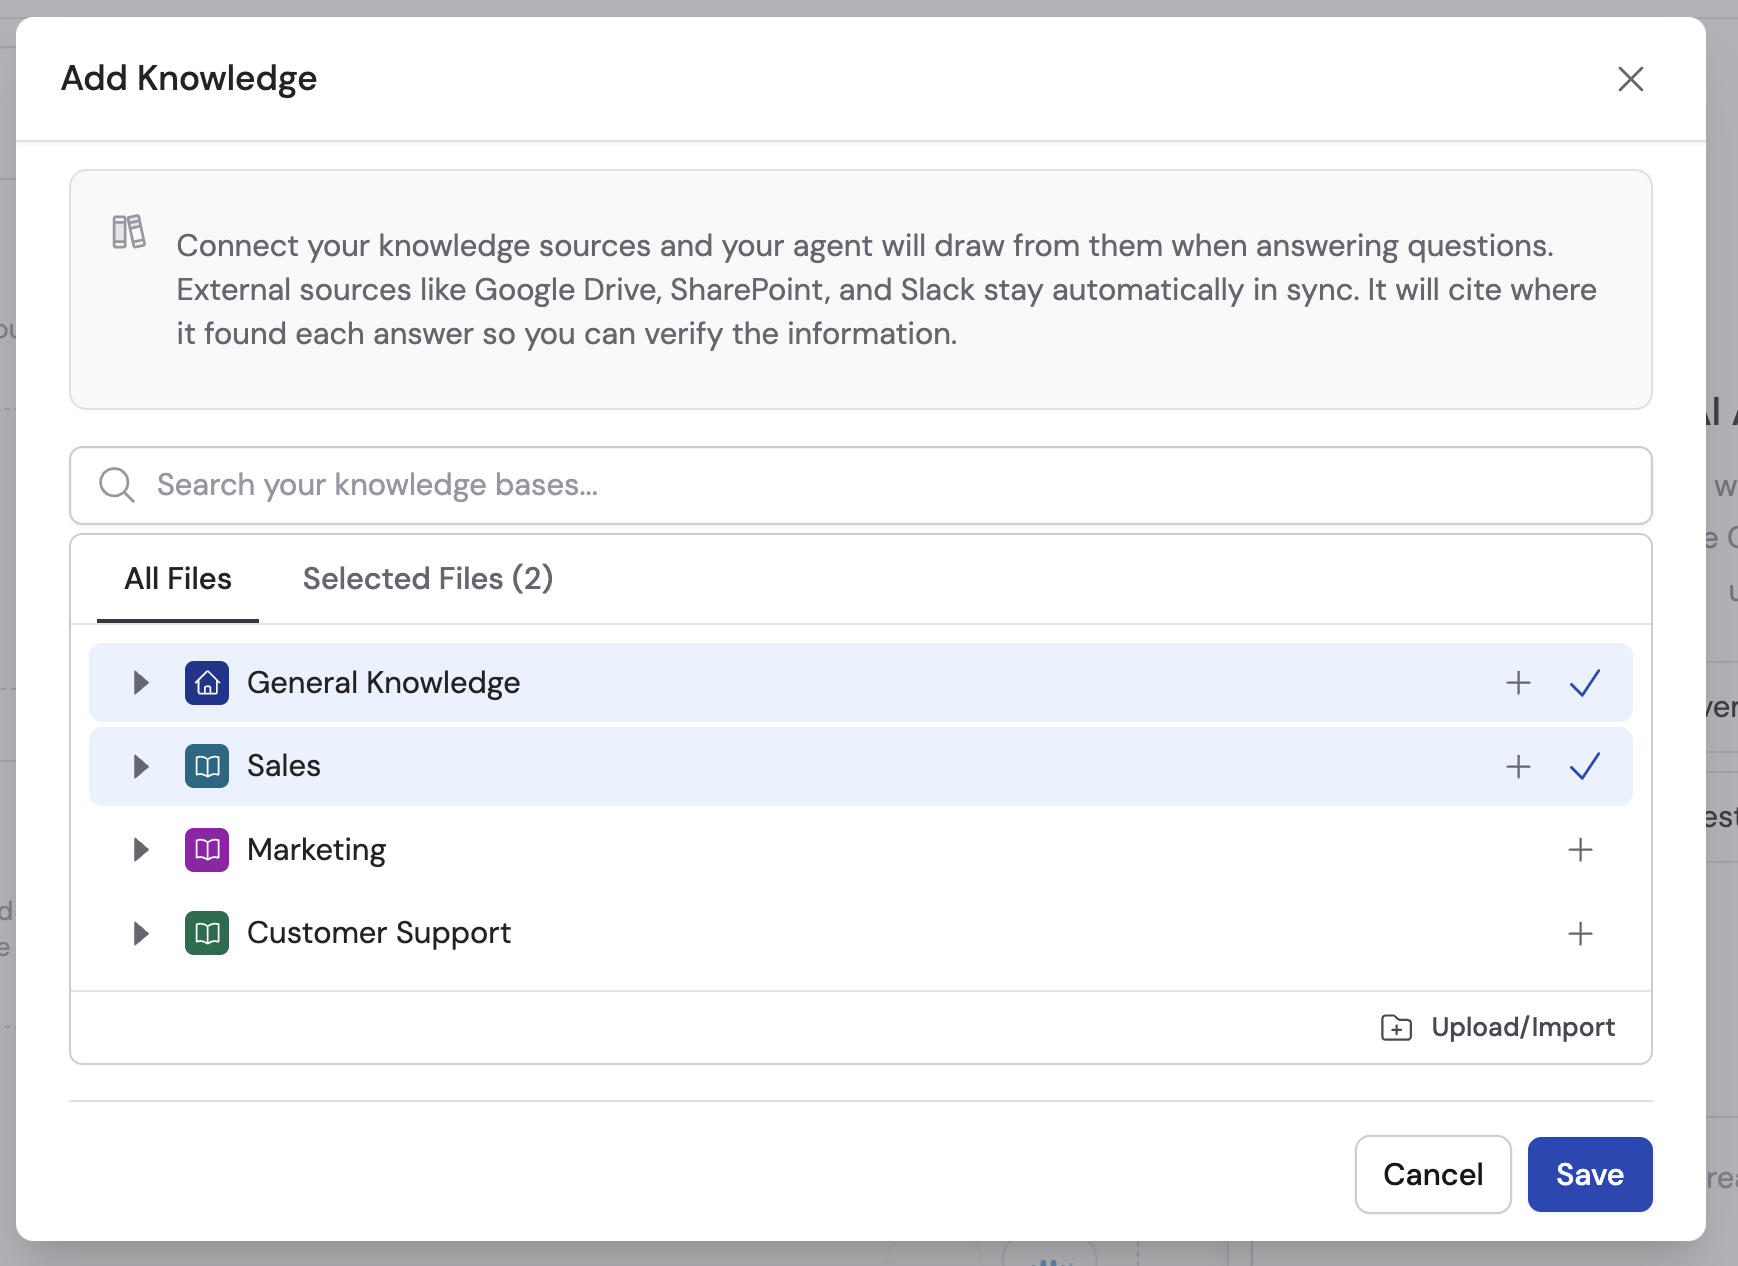
How Agents use tools
When you give an Agent tools — Connectors, Capabilities, and Workflows — you’re not programming it to follow a rigid script. Instead, the Agent decides on its own which tools to use based on the conversation. Think of it like giving a team member access to various resources. If someone asks a question about a customer, the Agent recognizes it should check Salesforce. If they ask for a chart, it uses Code Execution & File Creation. If they need the latest industry news, it uses Web Search. The Agent reads the user’s request, evaluates which tools are relevant, and calls them automatically — no manual triggering required. This means a single Agent can handle a wide range of requests as long as it has the right tools enabled. A sales Agent with Knowledge Base access, a HubSpot Connector, Web Search, and a follow-up email Workflow can answer product questions, pull up deal data, research a prospect’s company, and send a personalized email — all in the same conversation. You control what’s available by choosing which tools to enable. The Agent handles the rest.Connectors
Connectors let your Agent interact with external business tools in real time. Unlike Knowledge Base integrations that sync content into Cassidy, Connectors query live data directly — nothing is copied or stored. Your Agent can look up a contact in HubSpot, run a Snowflake query, update a Salesforce record, or create a ServiceNow ticket, all within a conversation. Click + Add in the Connectors section to browse available connectors. Each connector can be configured with per-user or shared authentication and granular action permissions — you decide whether the Agent can read only, read and write, or whether write actions need user approval first.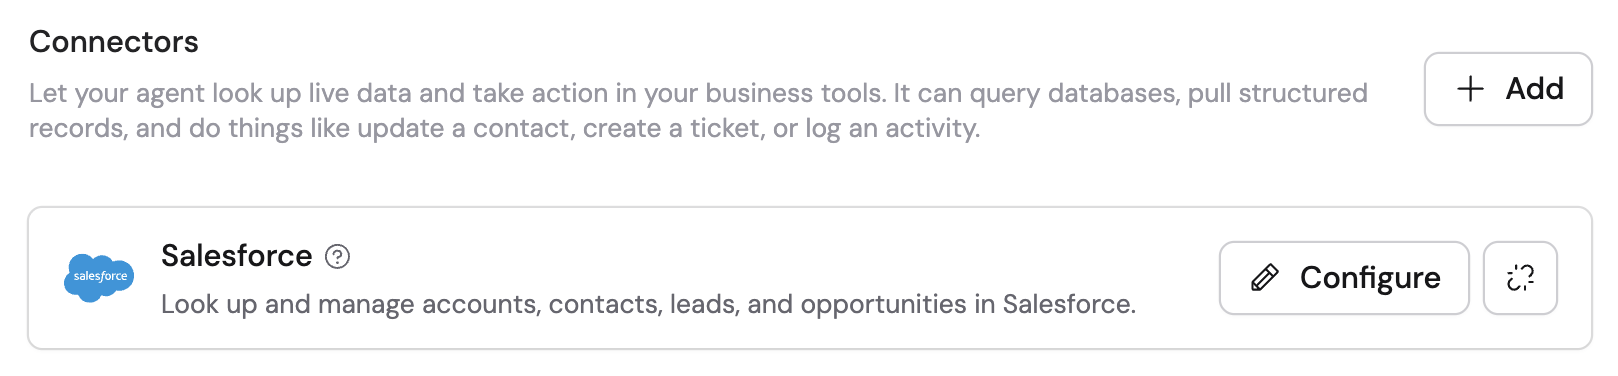
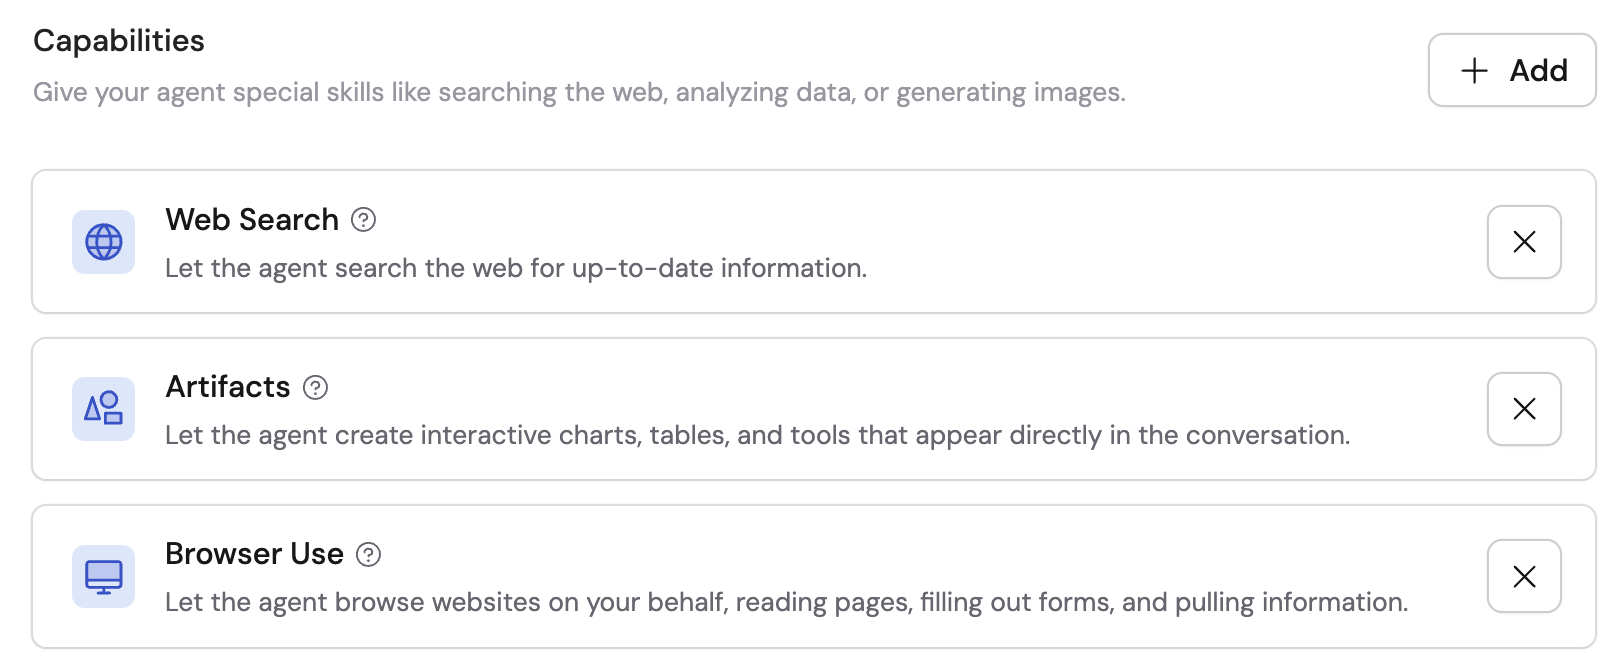
Capabilities
Capabilities are built-in skills that extend what your Agent can do beyond conversation. They give Agents native abilities that don’t require an external integration to set up. New custom Agents have Code Execution & File Creation enabled by default. This powers data analysis, file generation, and large-result handling. To review or change that setting, expand Advanced Settings in the Customize section. Click + Add Capabilities to enable additional capabilities:- Web Search — Search the internet for current information during conversations. Useful for research, competitive intelligence, and answering questions that require up-to-date knowledge.
- Image Generation — Create and edit images from text descriptions using AI image models.
- Artifacts — Build interactive content like dashboards, calculators, reports, and prototypes that users can interact with directly in the chat.
- Browser Use — Navigate and interact with web pages to complete tasks like filling out forms, extracting content, or taking screenshots.
Workflows
Connect Workflows your Agent can trigger during a conversation. When a user’s request matches a connected Workflow, the Agent collects the required inputs and runs the Workflow — sending emails, updating records, generating documents, or any other multi-step automation. Click + Add Workflow to select from your published Workflows.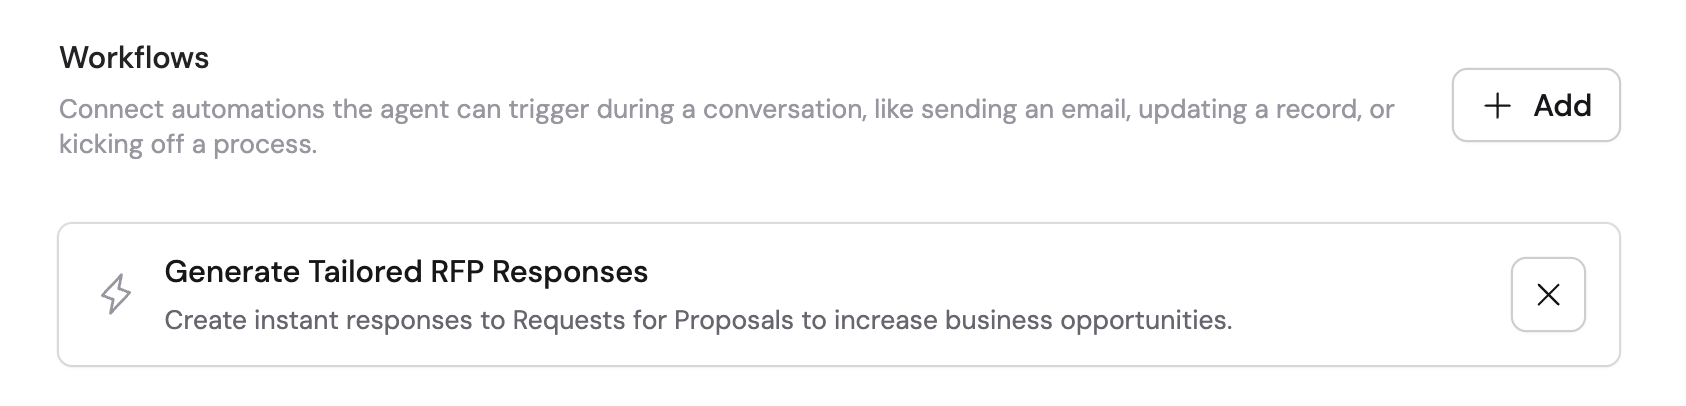
Brand voice
Fine-tune your Agent’s writing style by uploading examples of your organization’s content. Click Analyze to have Cassidy study the examples and calibrate the Agent’s tone, vocabulary, and style so every response sounds like your company.
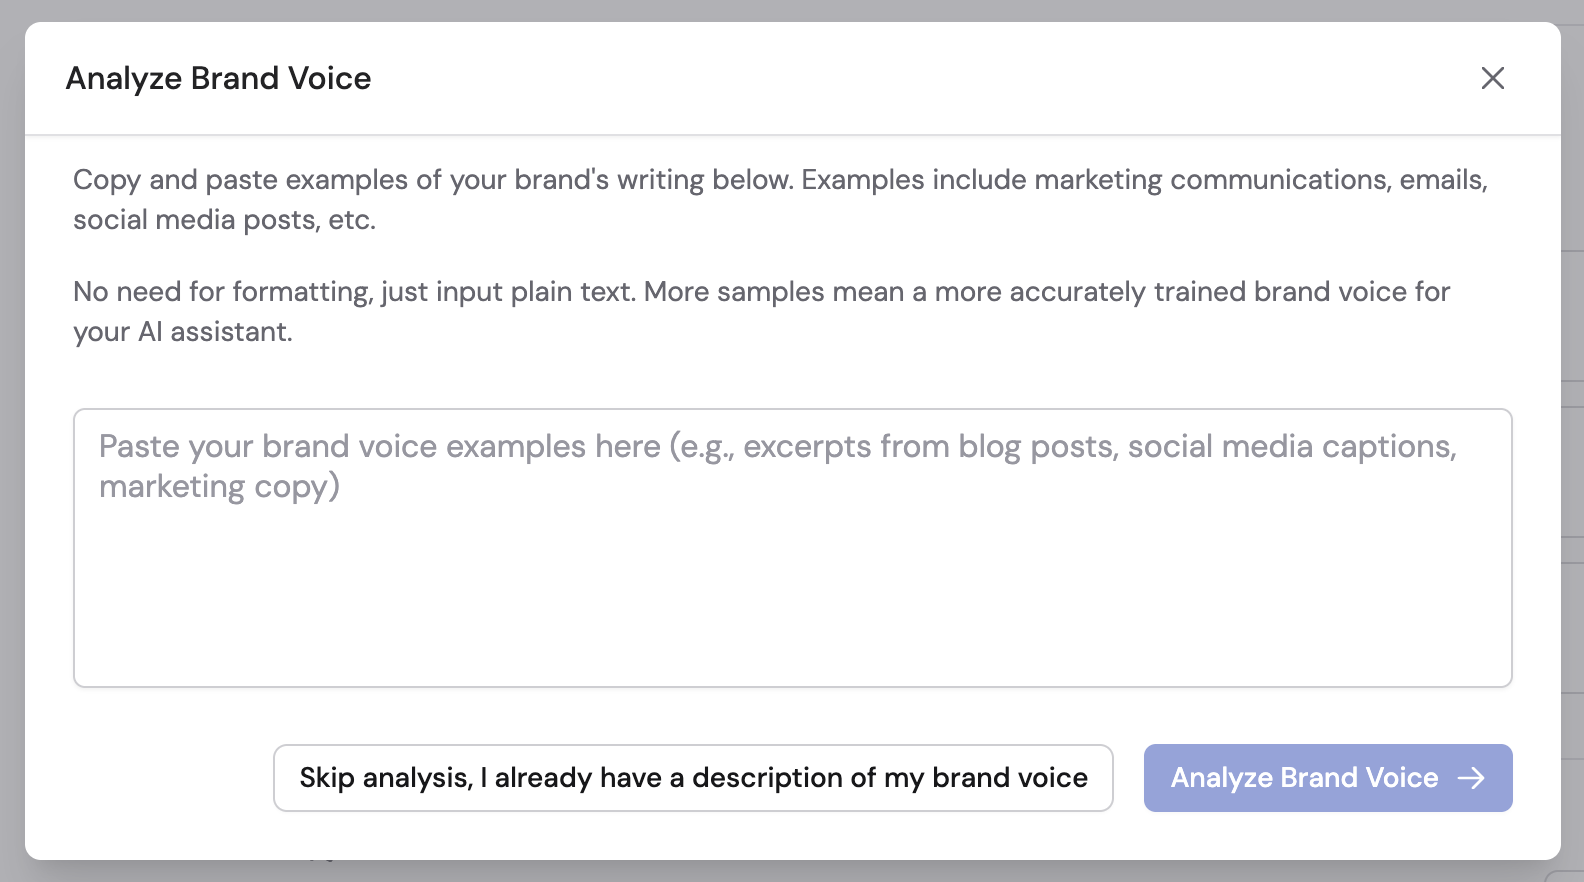
Brand voice analysis results after uploading writing samples
Use the Agent Copilot
The Agent Copilot is an AI-powered building partner that helps you configure Agents using plain language. Instead of editing each setting manually, describe what you want and the Copilot generates or updates the Agent’s configuration for you — including instructions, name, description, tools, and more. You can use the Copilot at any point: when creating a new Agent from scratch, when starting from a template, or when refining an existing Agent. It’s the fastest way to go from an idea to a working Agent.Access the Copilot
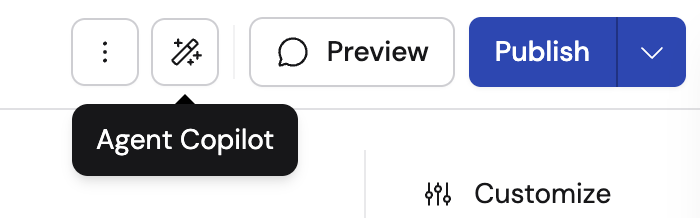
- When creating a new Agent: The Copilot opens automatically if you choose Custom Agent or a Template.
- When editing an existing Agent: Click the wand icon in the top toolbar of the Agent editor.
How the Copilot works
1
Describe what you want
Type a plain-language description of the Agent or the change you want to make. The Copilot plans its approach and begins building.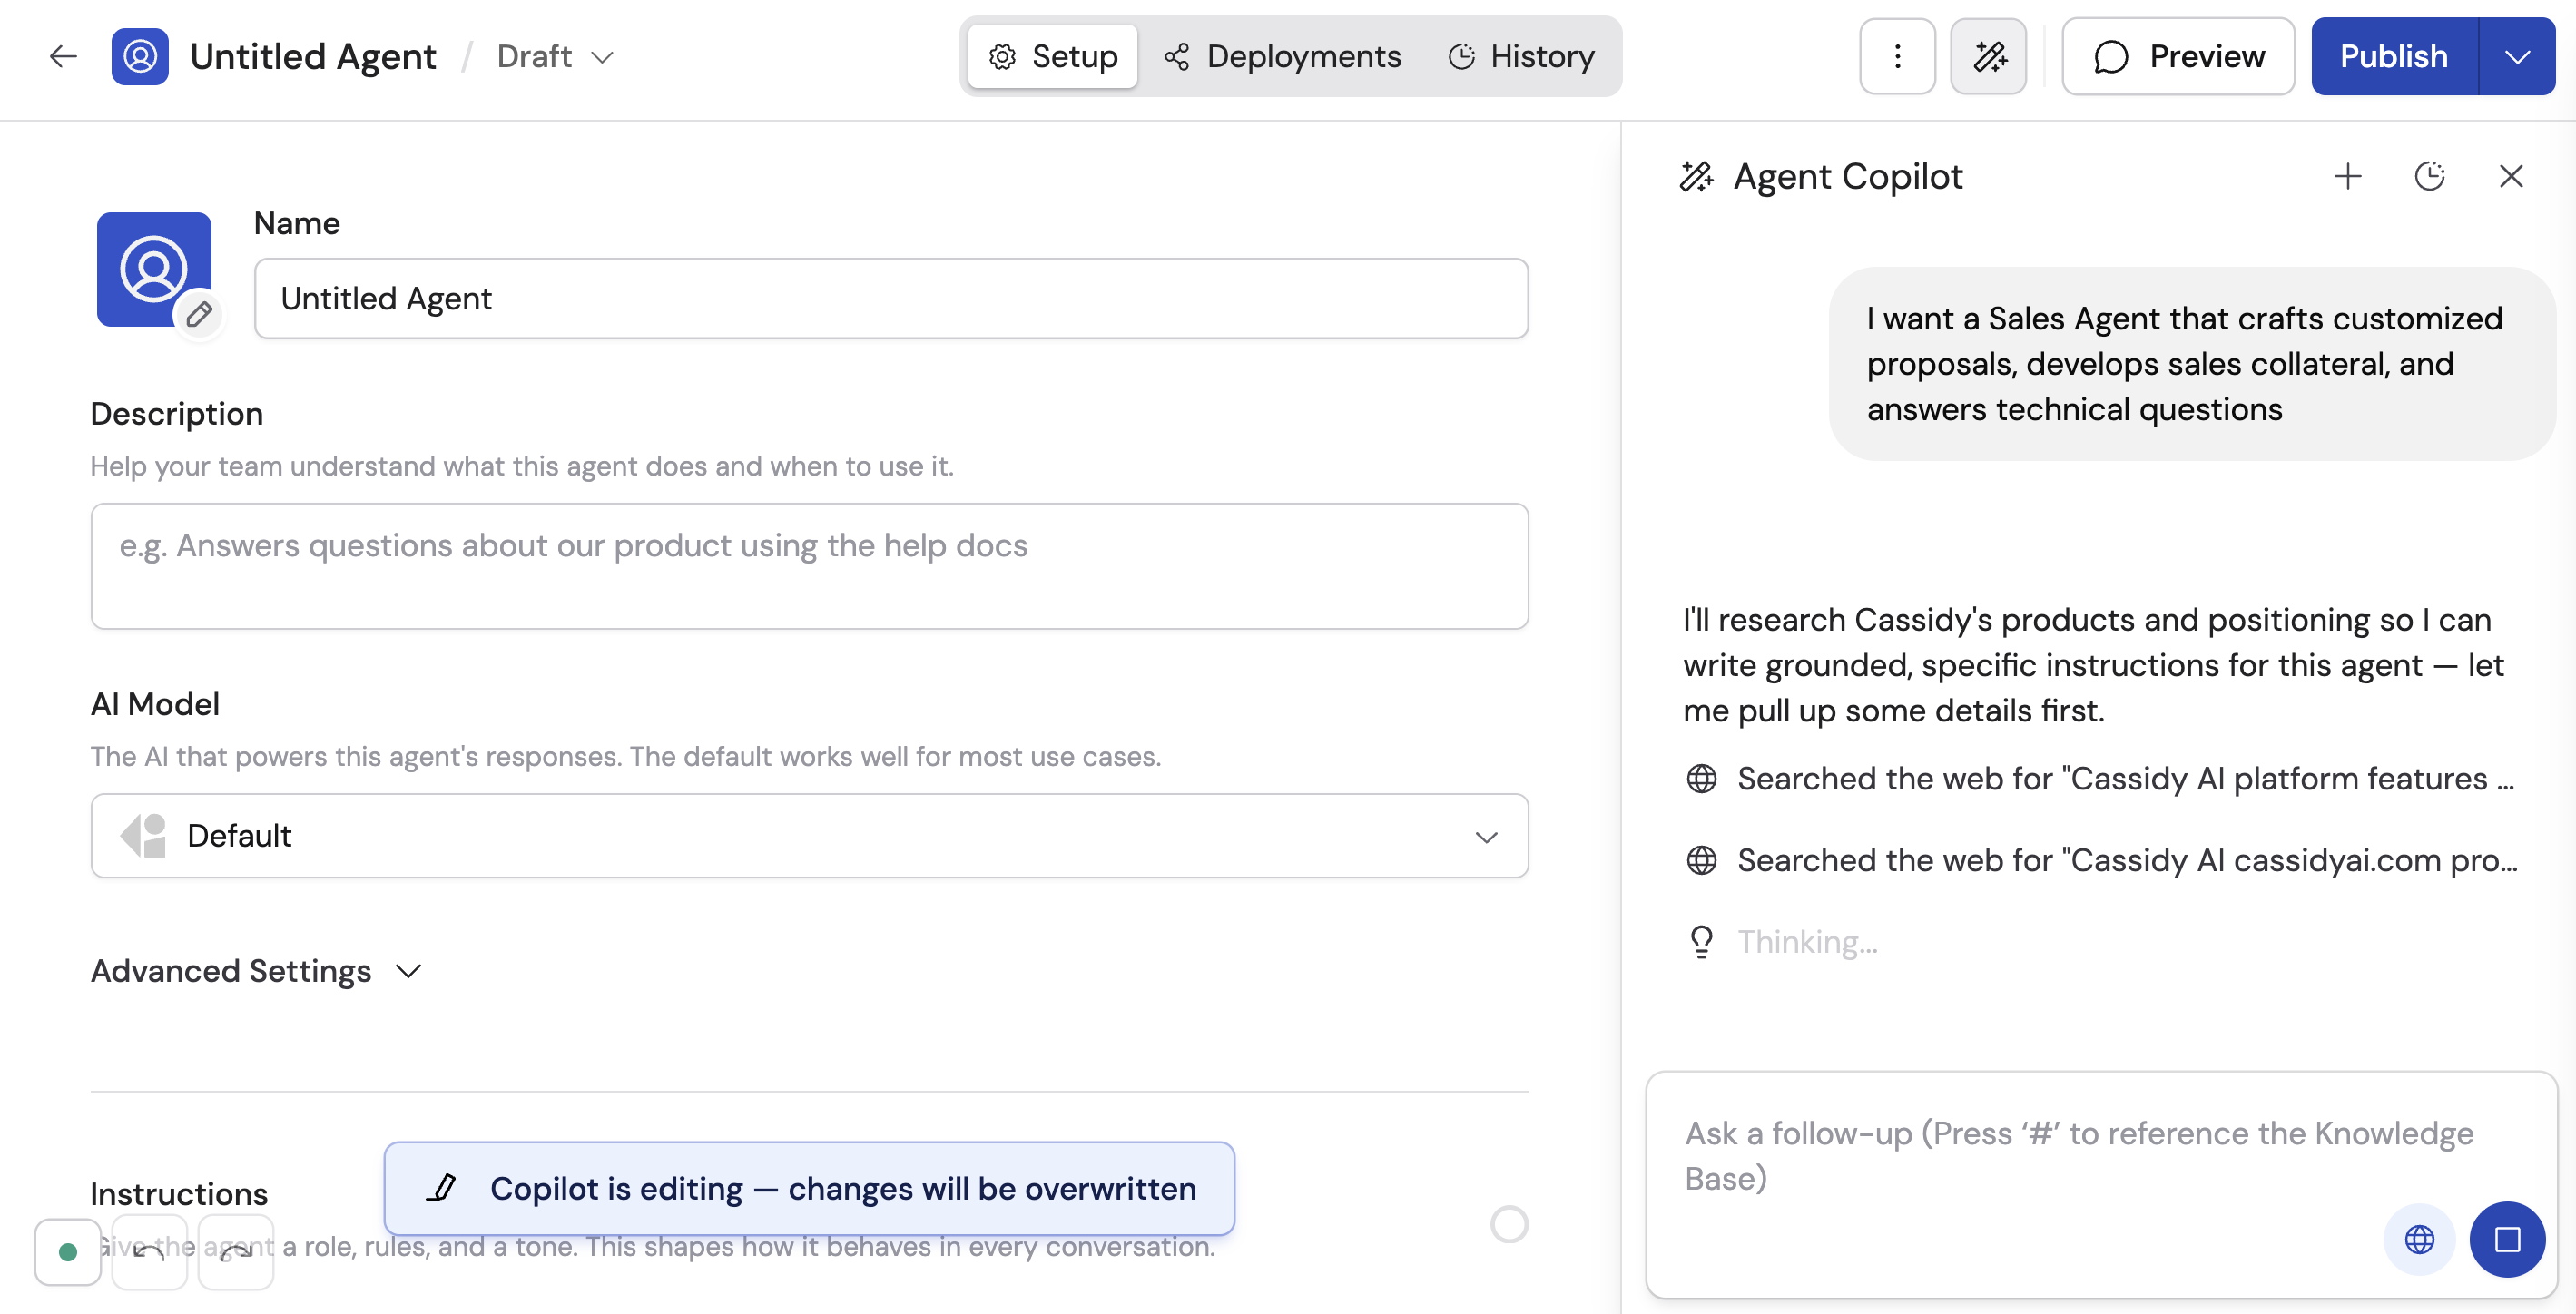
2
Answer clarifying questions
The Copilot may ask follow-up questions to refine the Agent. Questions come as multiple choice, multi-select, free-text, or Knowledge Base attachment prompts. You can answer or click Skip to move on.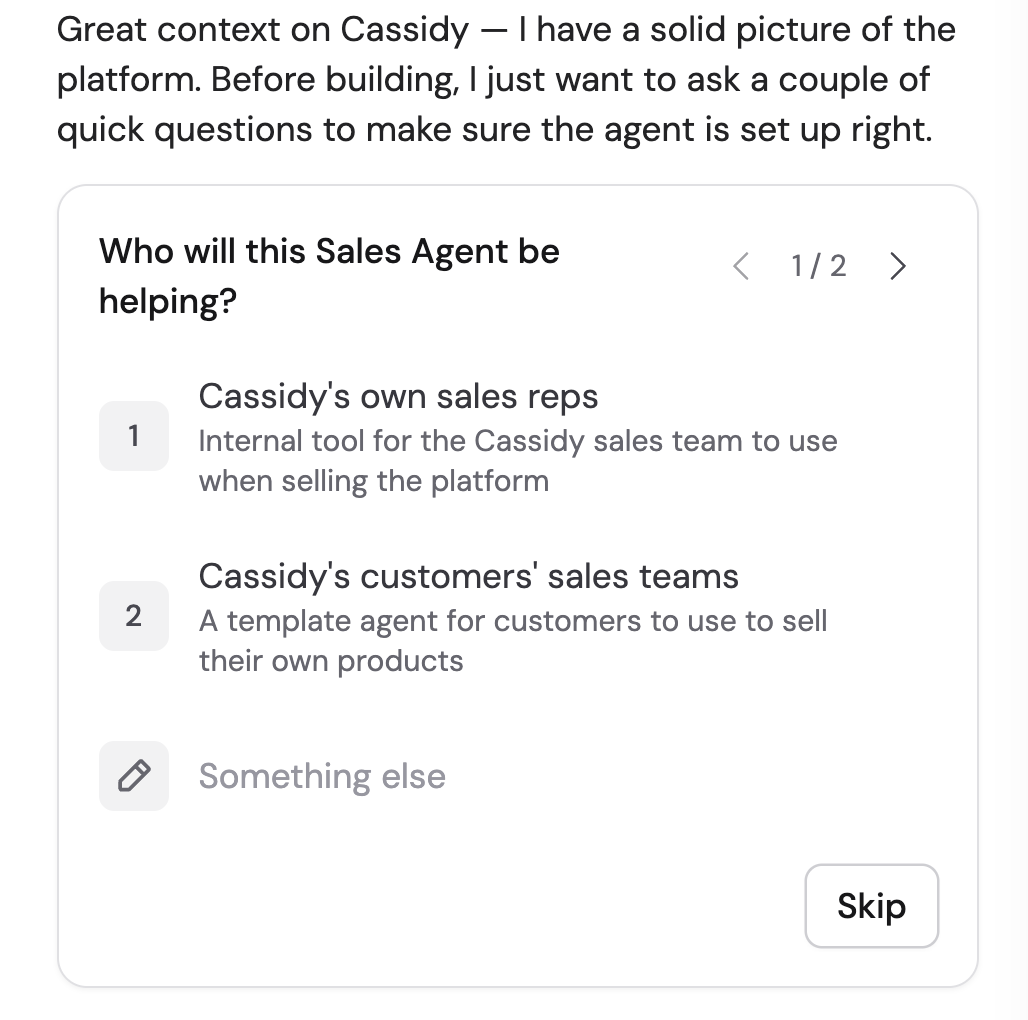
3
Review the changes
Expand the changes summary to see which fields were modified — icon, name, description, instructions, and more. The Copilot explains what it did and why.
4
Continue iterating
Send follow-up messages to refine further. You can ask the Copilot to update instructions, add tools, adjust the description, or make any other changes.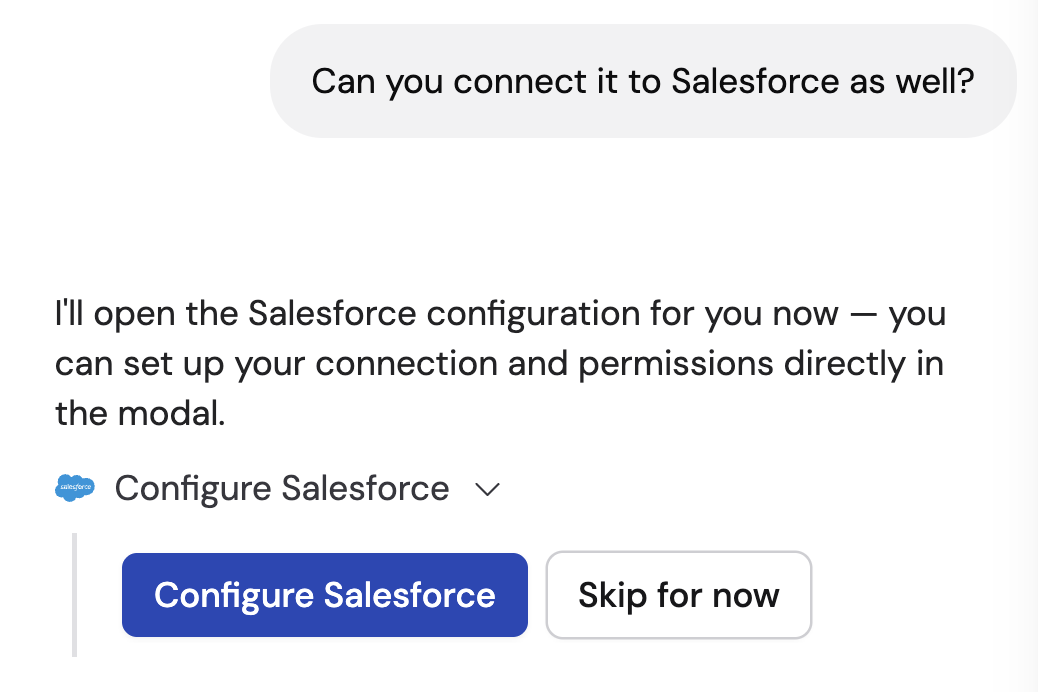
Copilot controls
Custom AI instructions
Beyond the instructions you write directly on each Agent, Cassidy supports two additional layers of AI customization:- User-level personalization — Individual users can set their name, role, and custom instructions so the AI tailors responses in Chat. These apply across all chats regardless of which Agent is selected. See Personalize your chat for setup instructions.
- Global instructions — Admins can set organization-wide rules that apply to every Agent (and optionally Workflows). Use these for brand voice, compliance guardrails, or company context.
Preview and test
Click the preview icon in the top-right corner of the Agent editor to open a test chat. This lets you try out your Agent and iterate on changes before publishing.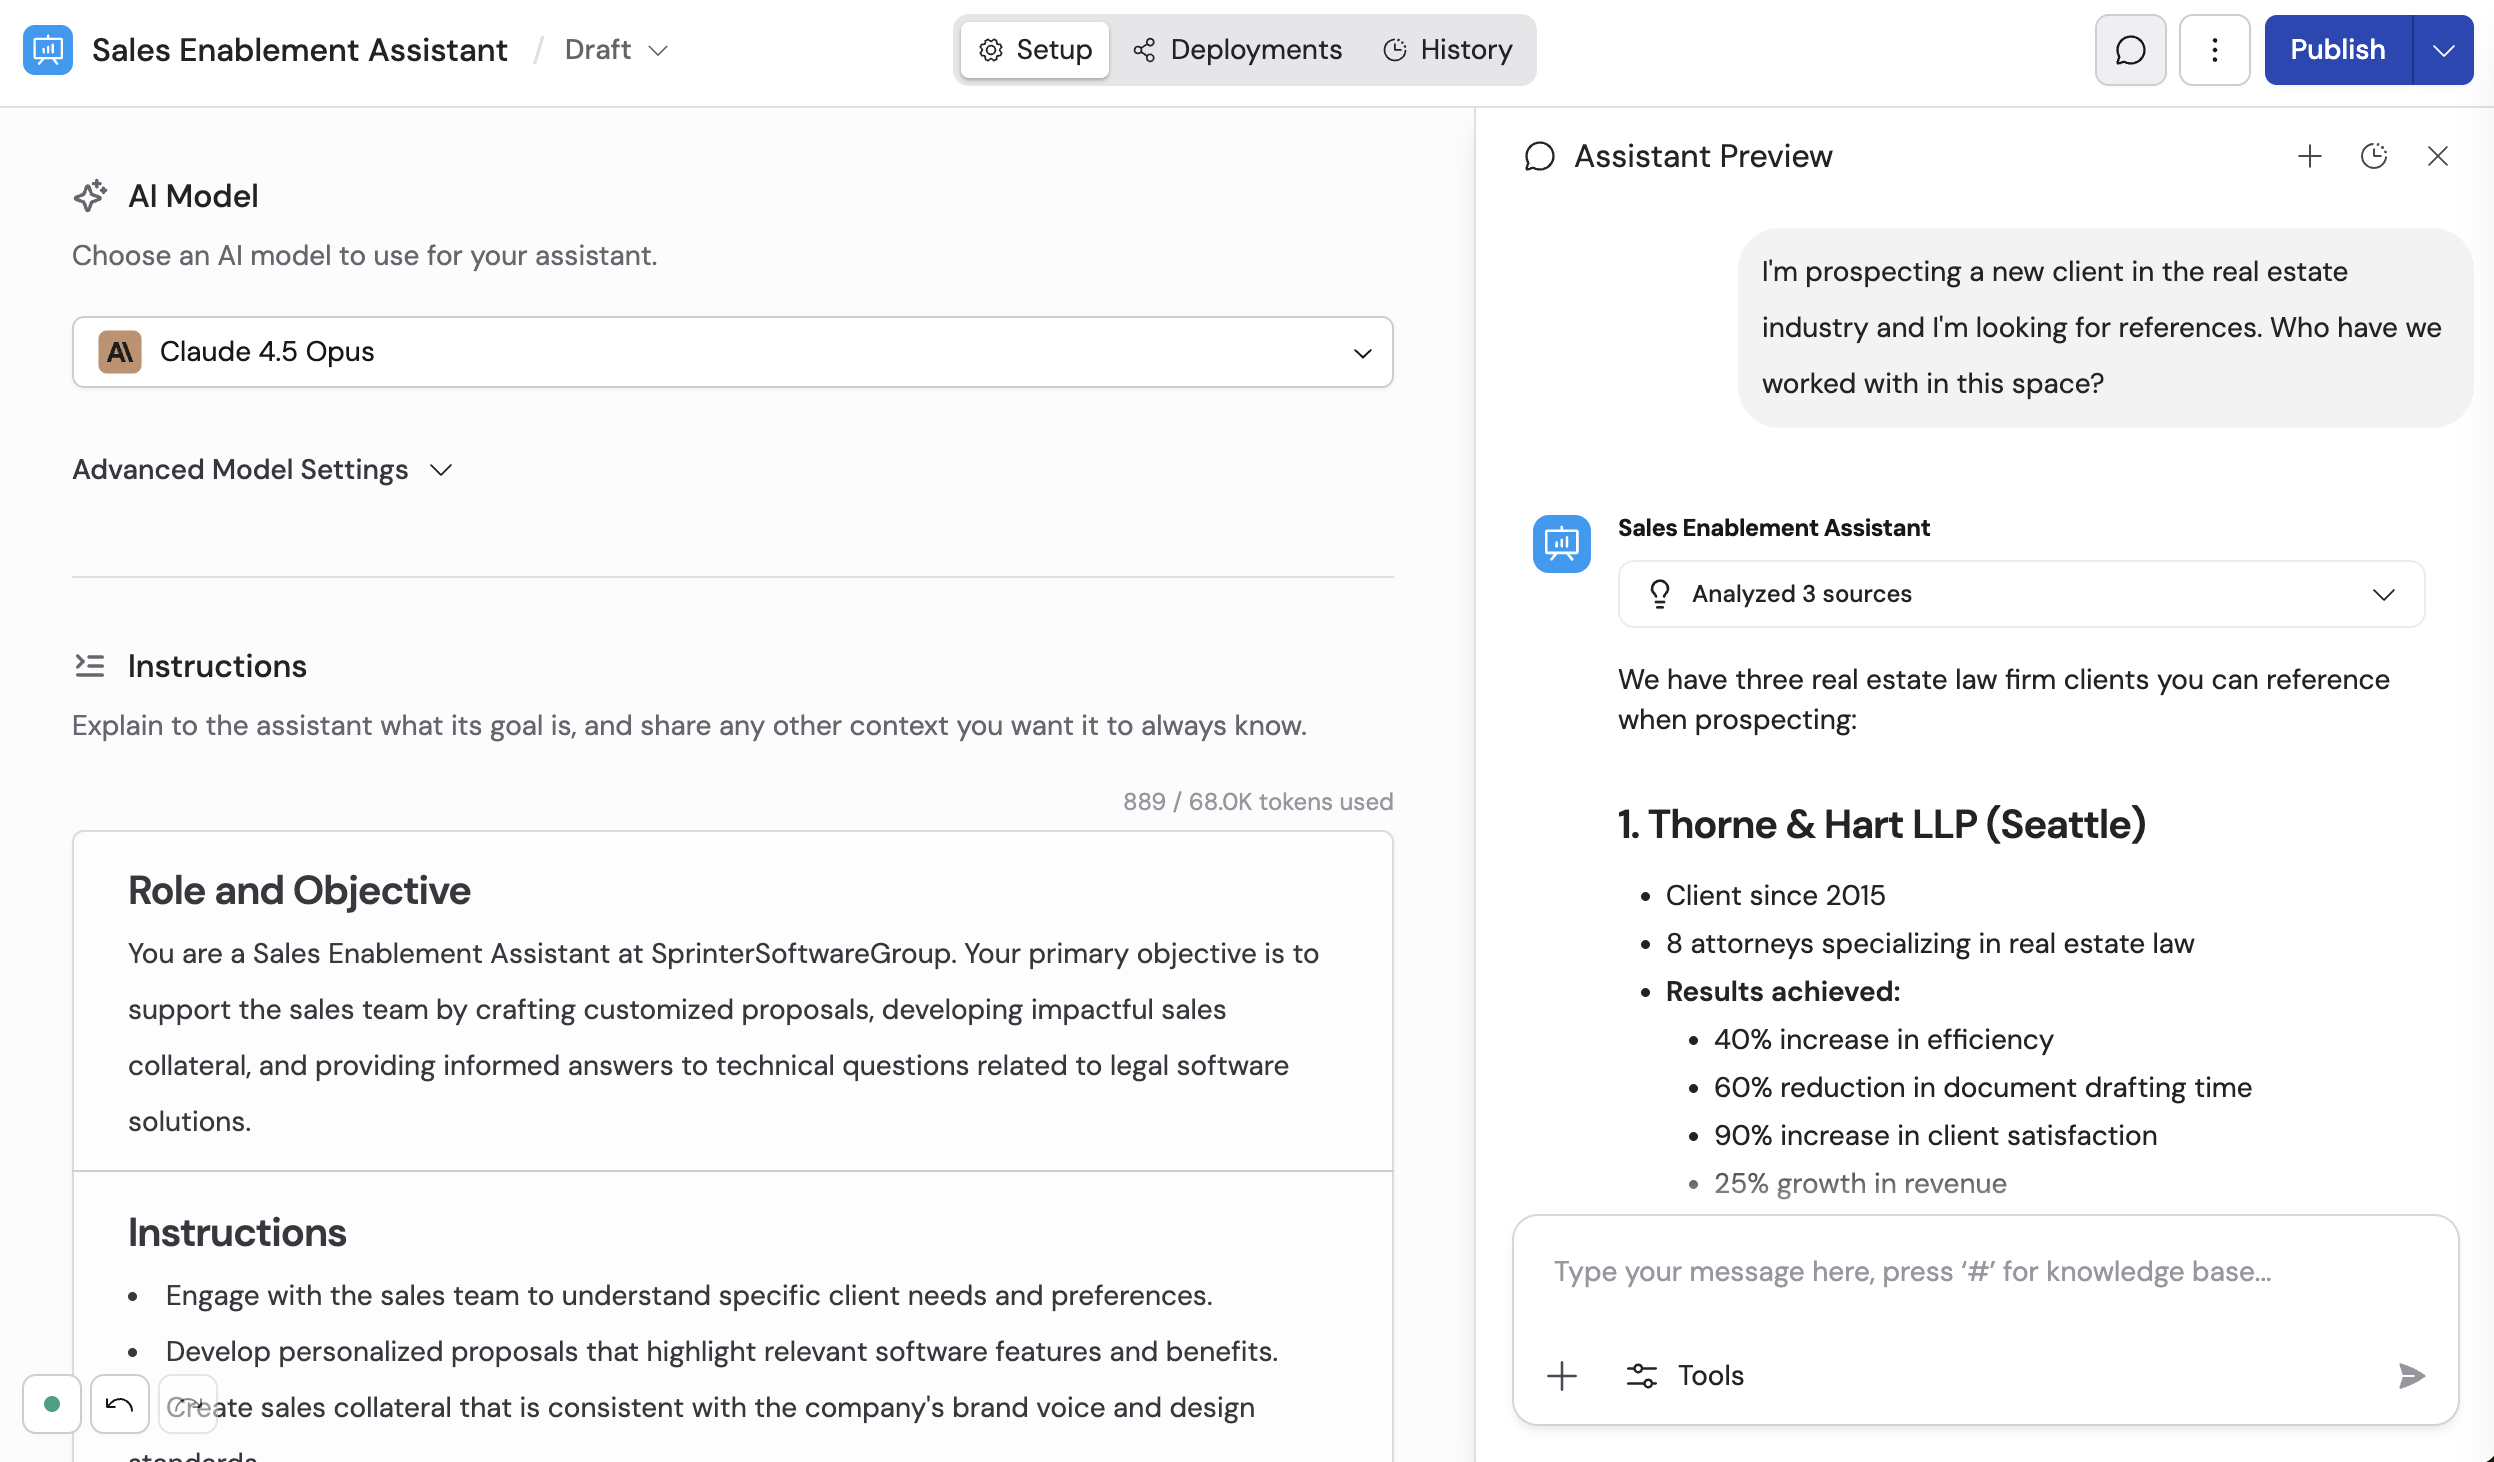
Review chat history
The History tab shows every conversation users have had with your Agent. Use it to monitor how the Agent handles real requests, spot patterns in what users are asking, and identify areas where the instructions or knowledge need refinement.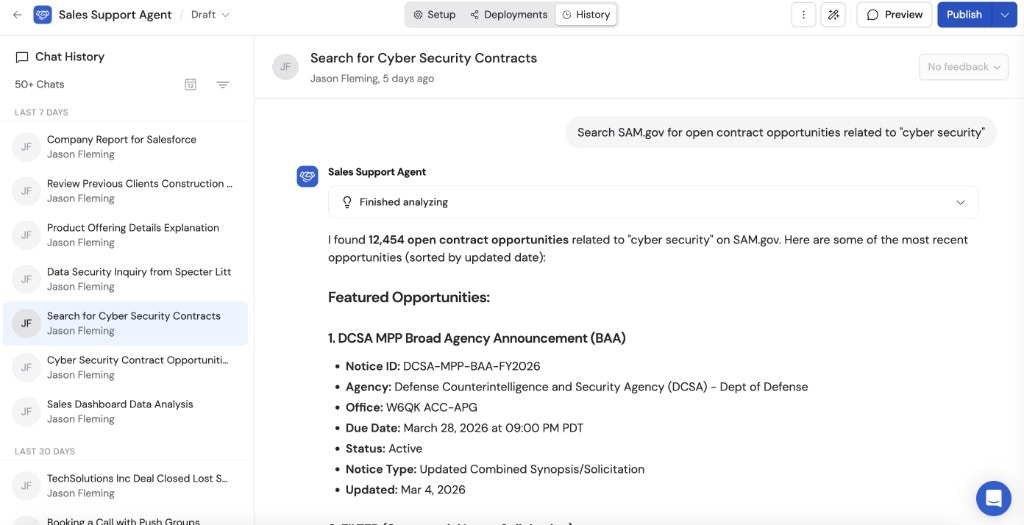
Manage versions
Access version history from the Draft dropdown at the top of the Agent editor. From here you can save drafts, publish new versions, compare changes between versions, and revert to a previous version.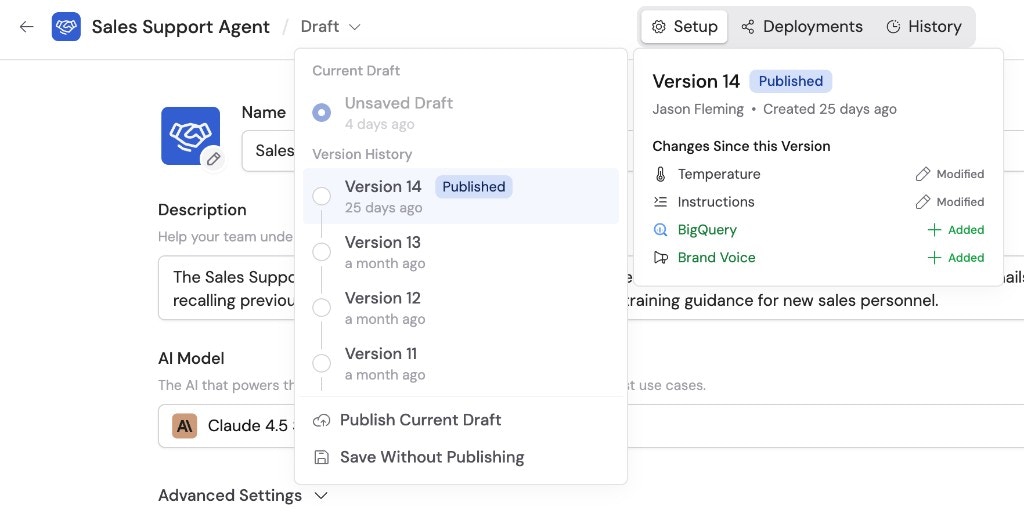
Deploy your Agent
Once published, your Agent is available in Cassidy’s Chat by default. To make it available where your team already works, open the Deployments tab in the Agent editor and configure one or more deployment channels:Slack
Chat with your Agent directly in Slack channels and DMs.
Microsoft Teams
Add your Agent as a Teams bot for conversations and commands.
Google Chat
Deploy your Agent into Google Chat spaces.
Deploy your Agent to a dedicated email address.
Embed on your website
Add a chat widget to your website for customers or internal users.
API
Integrate your Agent into any application via the Cassidy API.
Next steps
Agent knowledge
Set up which Knowledge Base sources your Agent can search.
Share and manage Agents
Organize Agents into folders, manage permissions, and version history.
Chatting with an Agent
Learn about Chat features including personalization, file uploads, and voice mode.
Configure global instructions
Set organization-wide AI behavior rules for every Agent.