Create a clip
Clips are created from the Transcript tab of any recorded meeting.Open the Transcript tab
Navigate to Meetings in the left sidebar, click the meeting, and select the Transcript tab.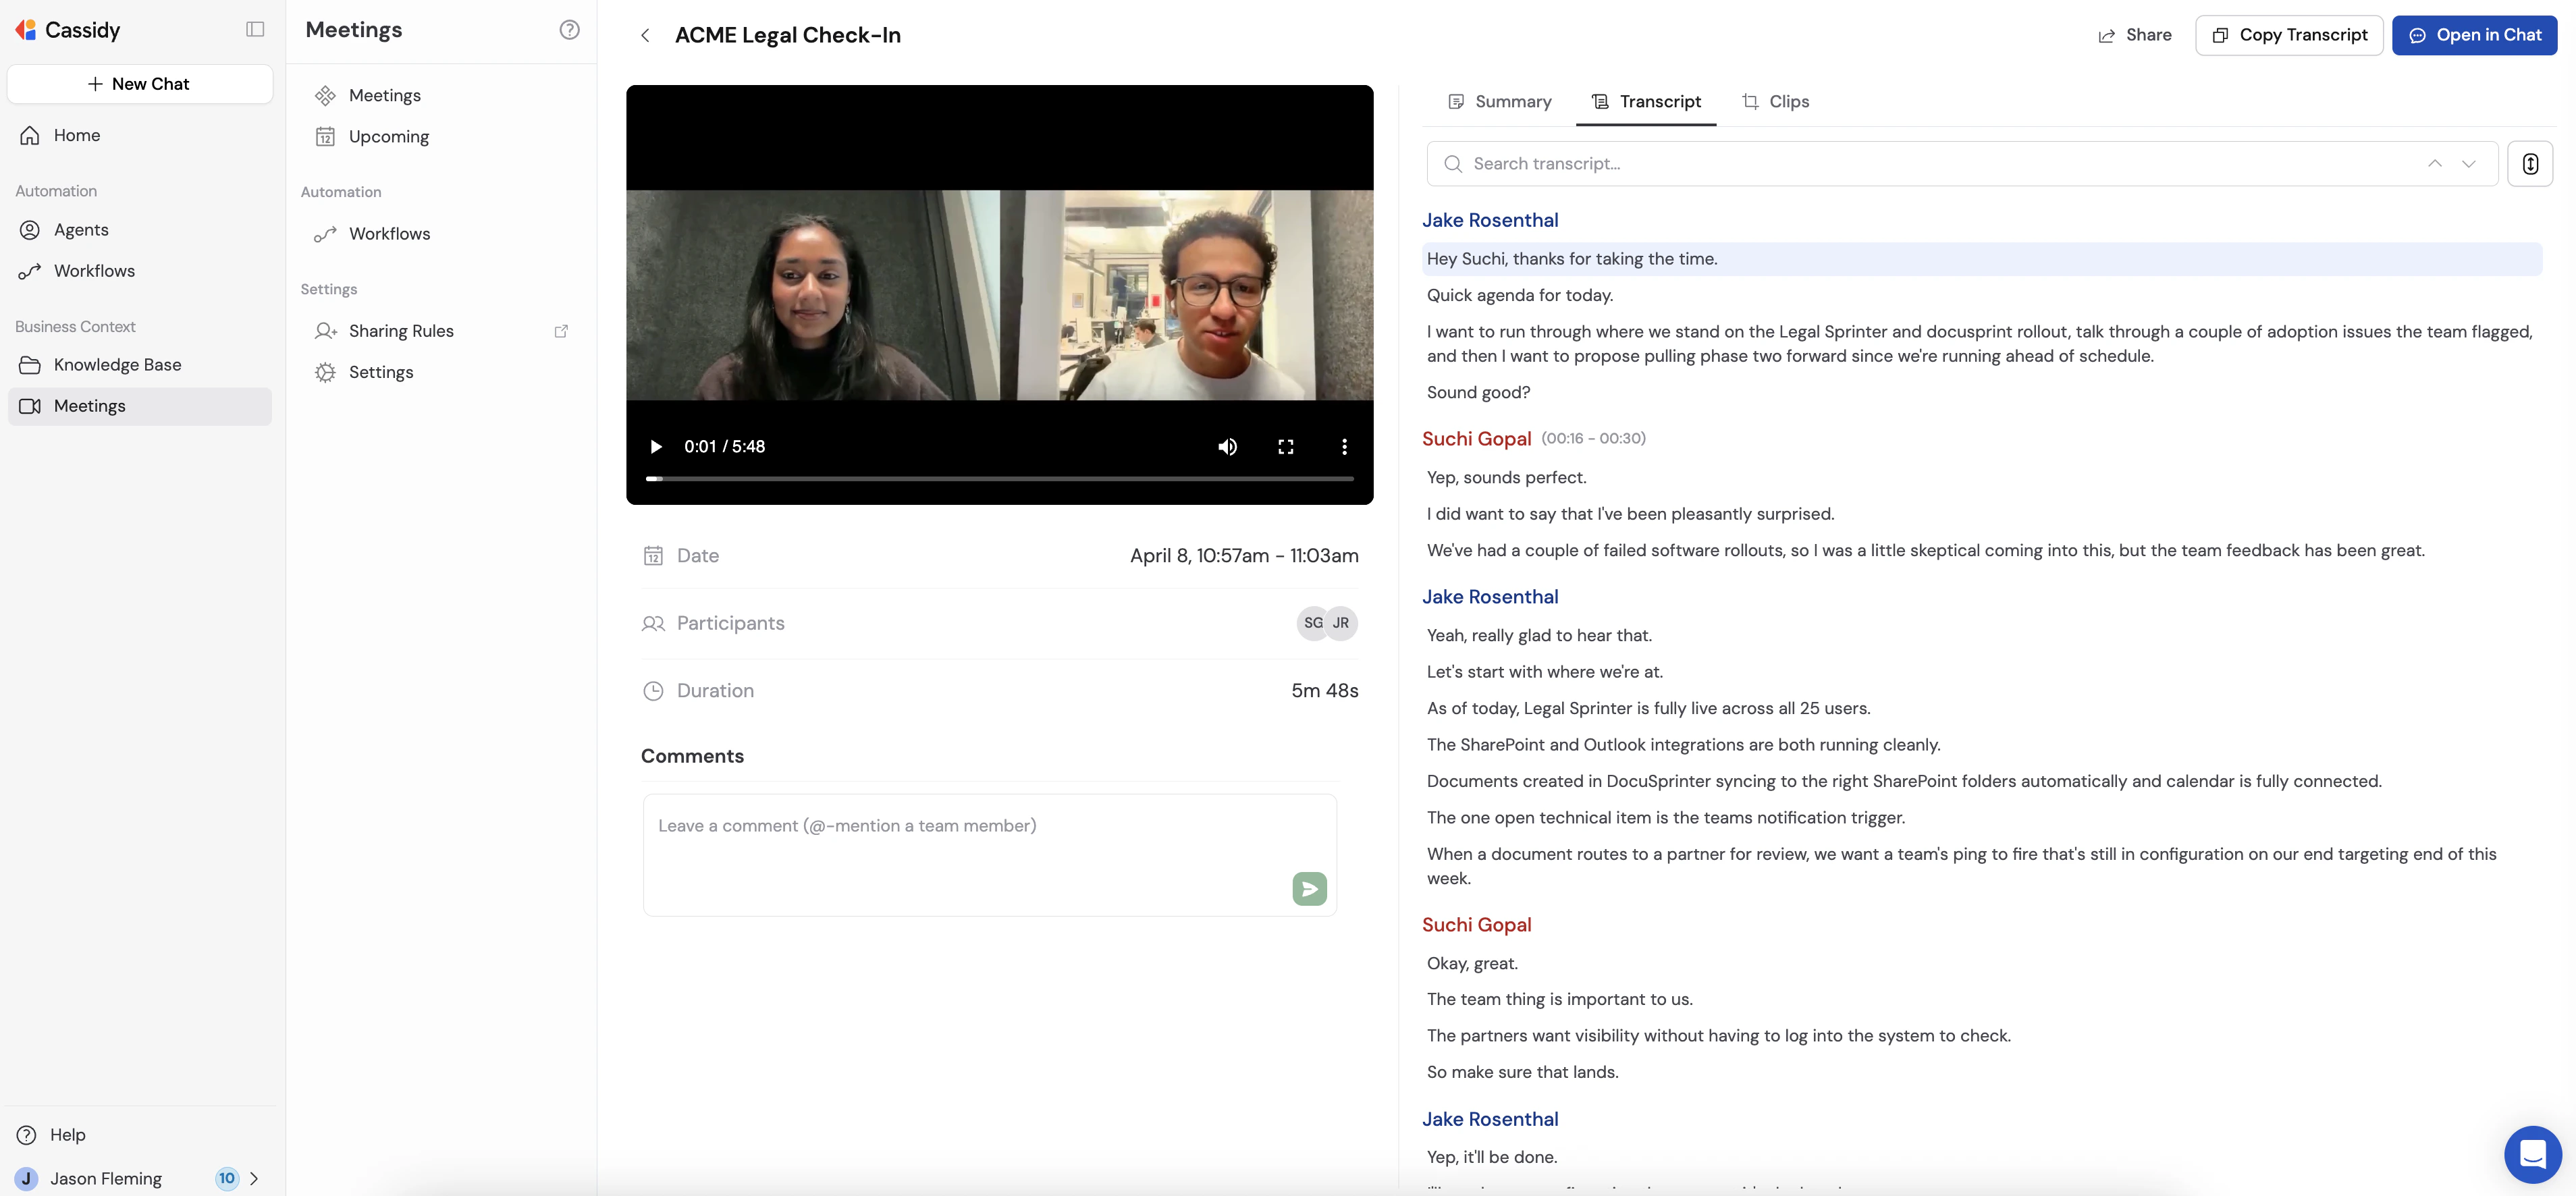
Select the transcript text you want to clip
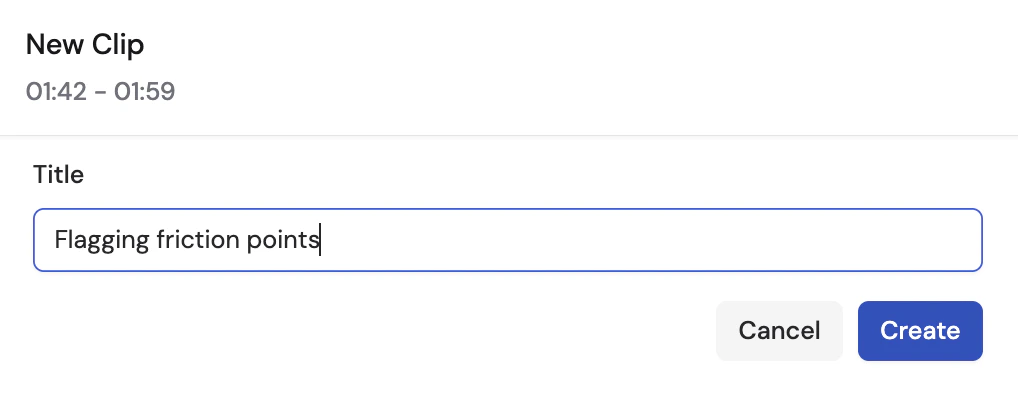
Click and drag to highlight the portion of the transcript you want to save. A popover appears above your selection with Create Clip, Comment, and Copy options.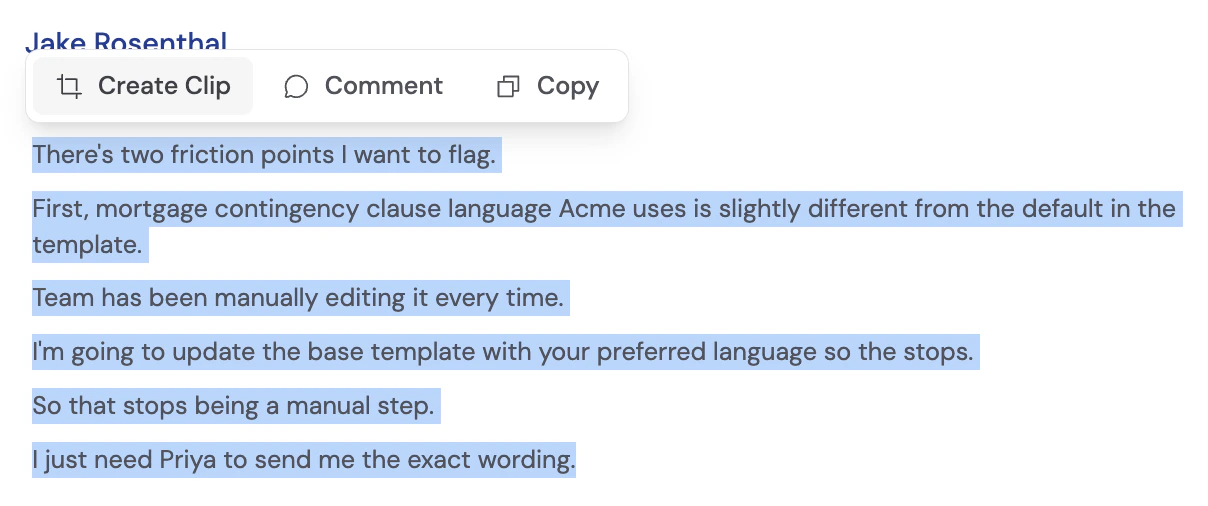
The Create Clip button is disabled until the meeting recording has finished processing. If the button is greyed out, wait a moment and try again.
View and manage clips
All clips for a meeting are listed in the Clips tab on the meeting detail page.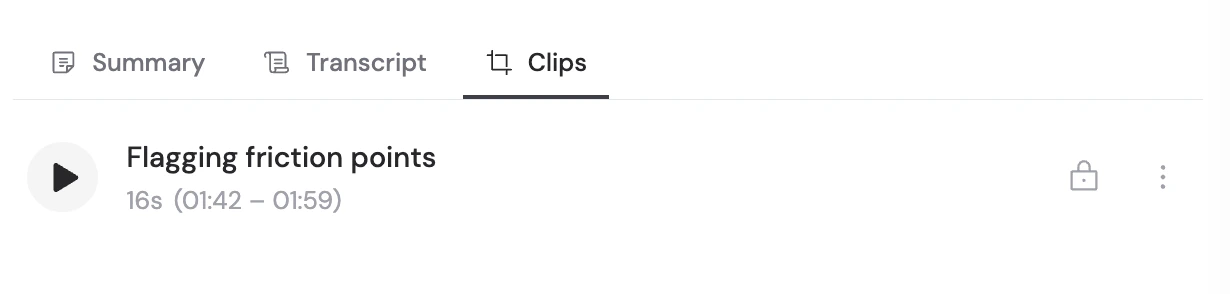
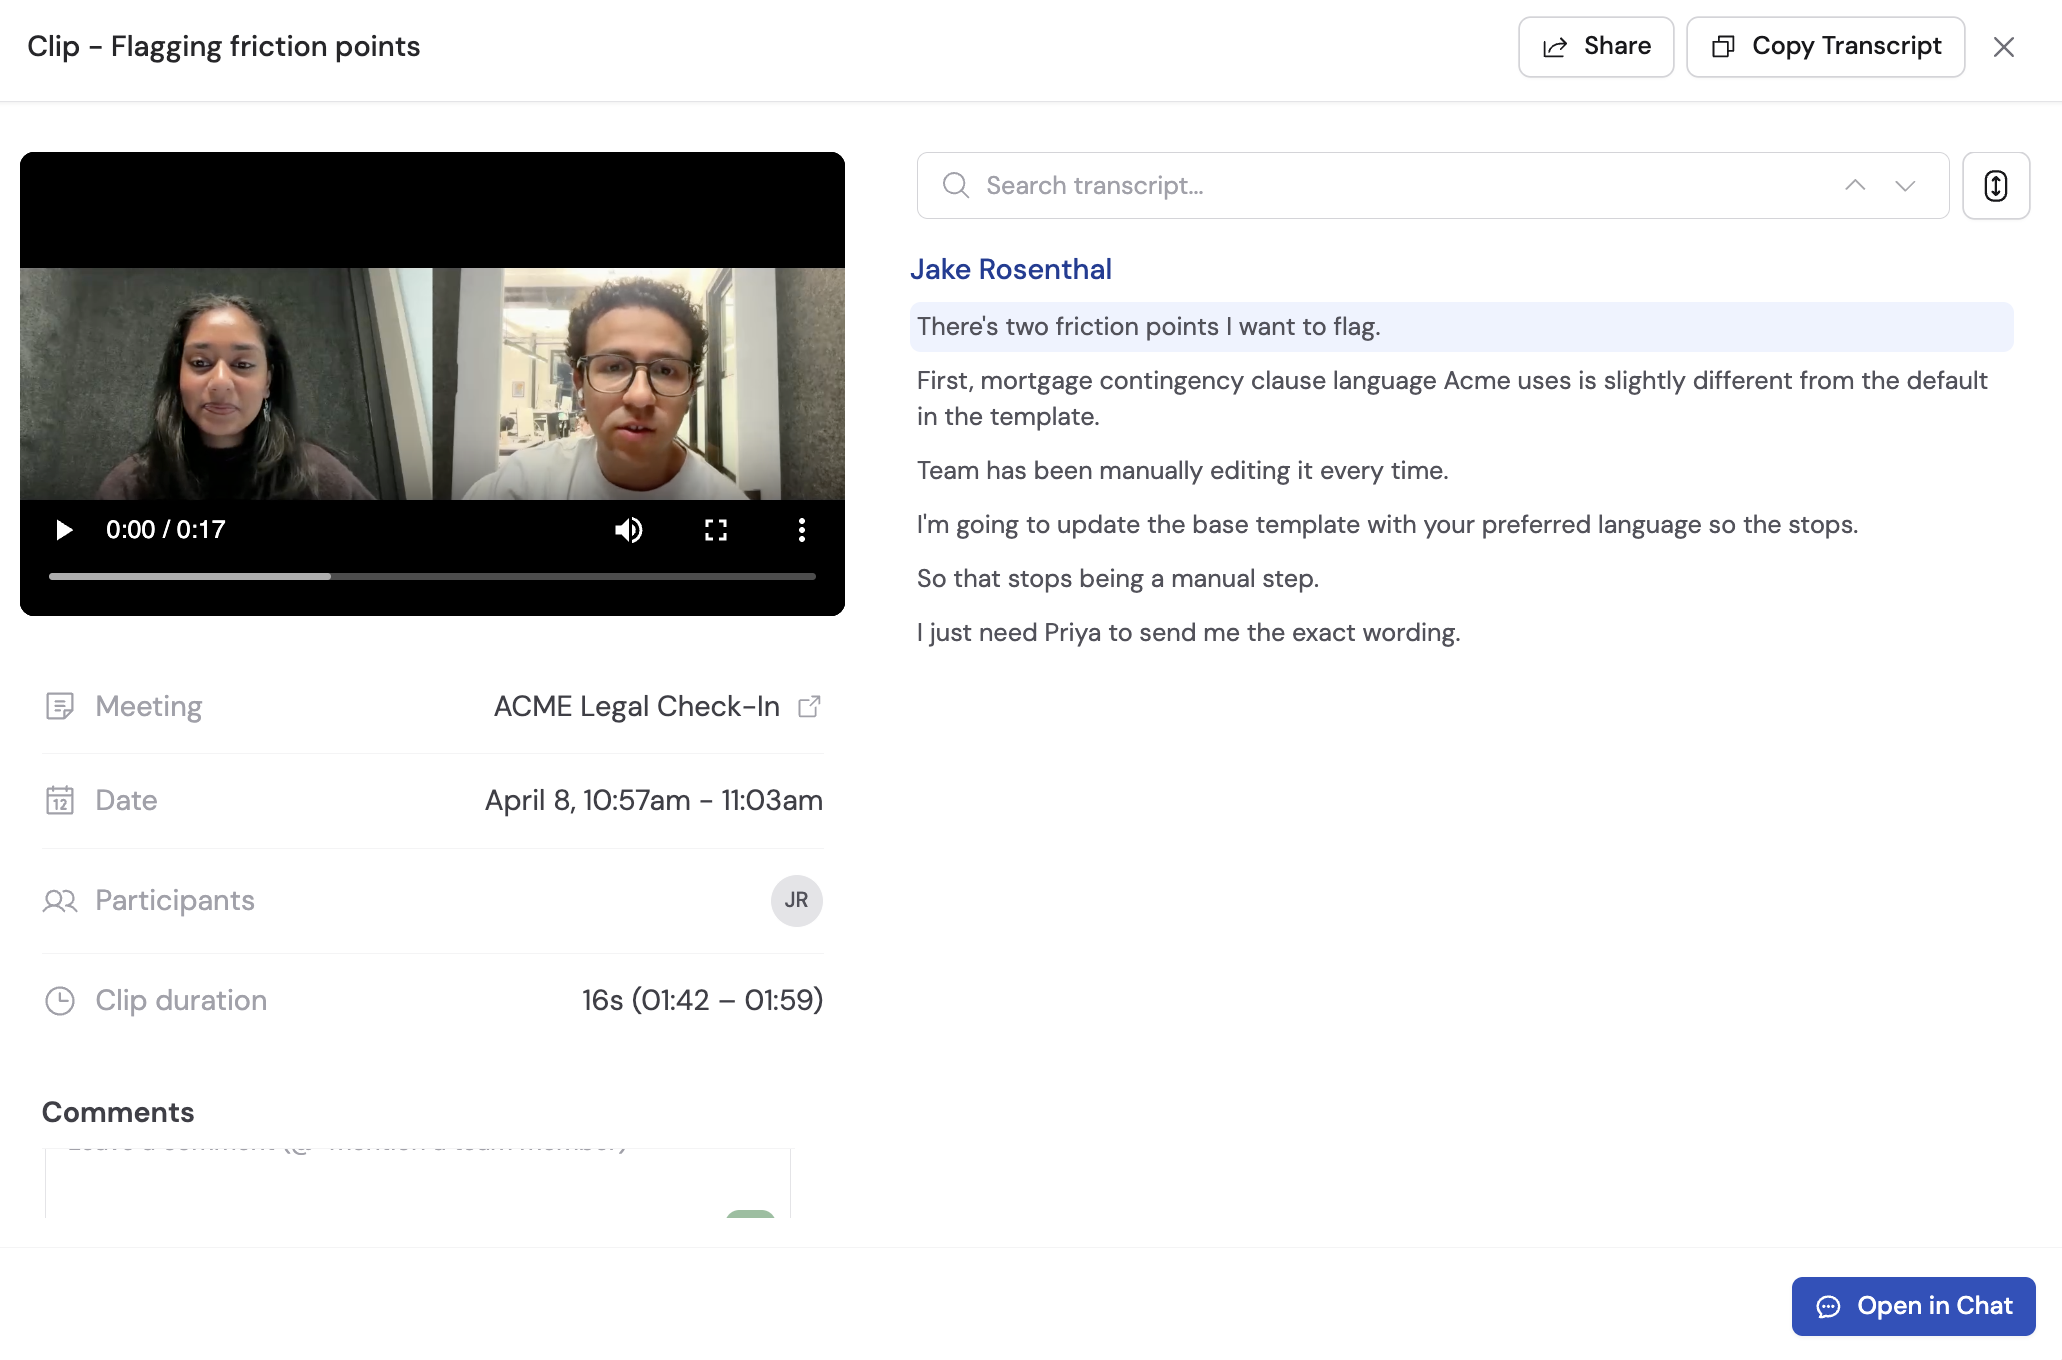
Clip viewer
The clip viewer shows the clipped video alongside the clip’s transcript. You can:- Play the video and click any transcript line to jump to that moment in the clip
- Copy the transcript using the Copy Transcript button
- Leave comments anchored to specific transcript moments (see Comments on clips)
- Share the clip with teammates or generate a public link
- Open in Chat to send the clip’s transcript directly to a Cassidy agent for questions and analysis
Rename or delete a clip
Click the … menu on any clip row to access rename and delete options.- Rename — Change the clip title
- Delete — Permanently remove the clip. This action requires confirmation and cannot be undone.
Share a clip
Clips have their own sharing settings, independent from the parent meeting.Set the access level
Choose who can access the clip: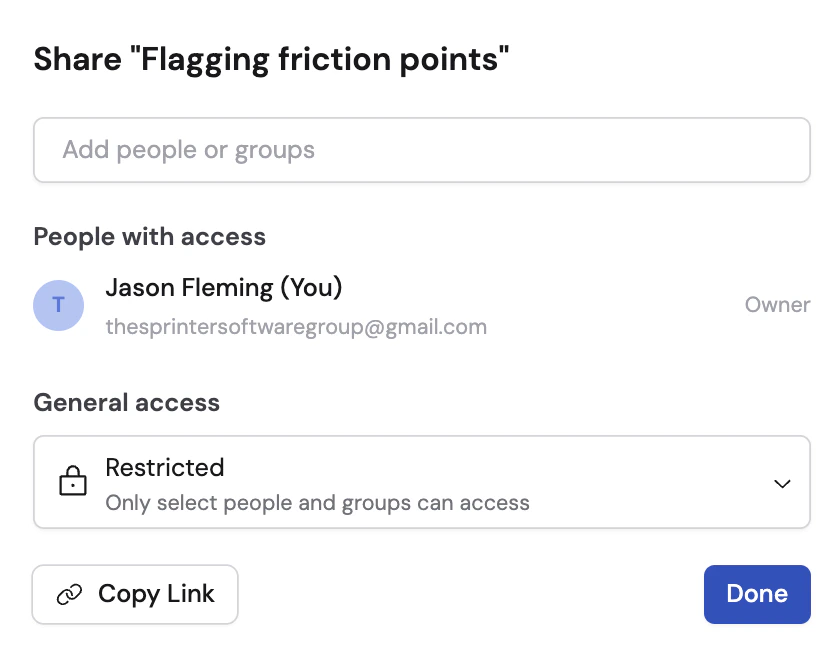
- Restricted — Only specific people or groups you add
- Team — Anyone in your organization
- Public — Anyone with the link, no Cassidy account required
Add people (for restricted access)
If you chose Restricted, search for teammates by name or email and set their permission level to Can view or Can edit.
You need Can edit permission on a clip to change its sharing settings.
Open a clip in Chat
Click Open in Chat at the bottom of the clip viewer to start a new conversation with the clip’s transcript pre-loaded. You can ask an agent to summarize the clip, extract action items, draft a follow-up, or answer any question based on what was said.Next steps
Comment on meetings
Leave notes anchored to transcript moments on clips and full meetings.
Share meetings and clips
Control access with sharing rules and permission levels.
Chat with your meetings
Ask questions across your full meeting library using the Meetings Connector.
Get started with Meetings
Connect your calendar and start recording.