Prerequisite: You need a published Workflow with a Manual trigger. The trigger’s input fields define the columns in your bulk run dataset.
Create a bulk run view
You can open Bulk Run from the Workflow’s tab bar on the Run view, or switch to the Bulk Run tab while editing the same Manual-style Workflow (next to Workflow and Interface). The Interface tab is documented in Customize the Workflow run view.1
Open the Bulk Run tab
Navigate to the Workflow you want to run in bulk and click the Bulk Run tab.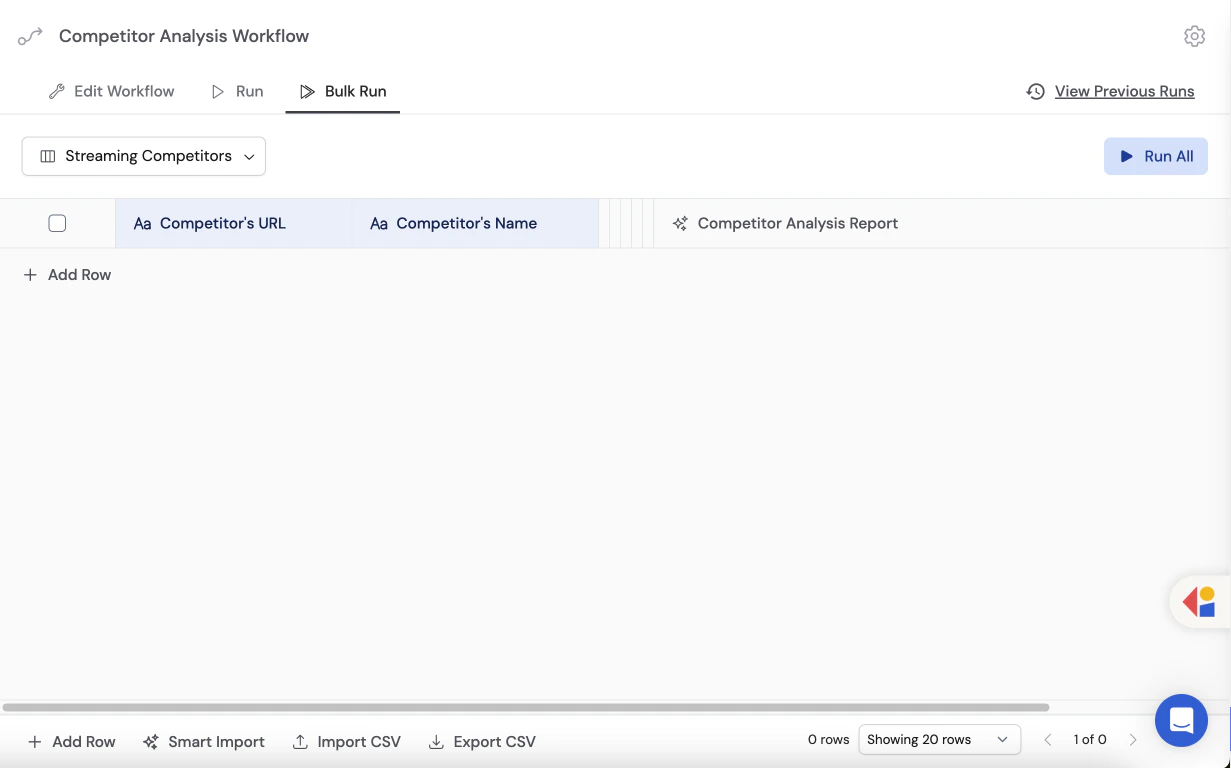
2
Create or rename a view
Click the dropdown menu and select Create New View, then give it a descriptive name (e.g., “Q1 Leads” or “Support Backlog”). You can also rename the default untitled view.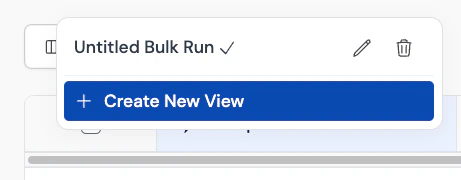
Import data
There are two ways to populate your bulk run view: CSV Import for structured tabular data, and Smart Import for unstructured files like PDFs, images, or messy spreadsheets.- CSV Import
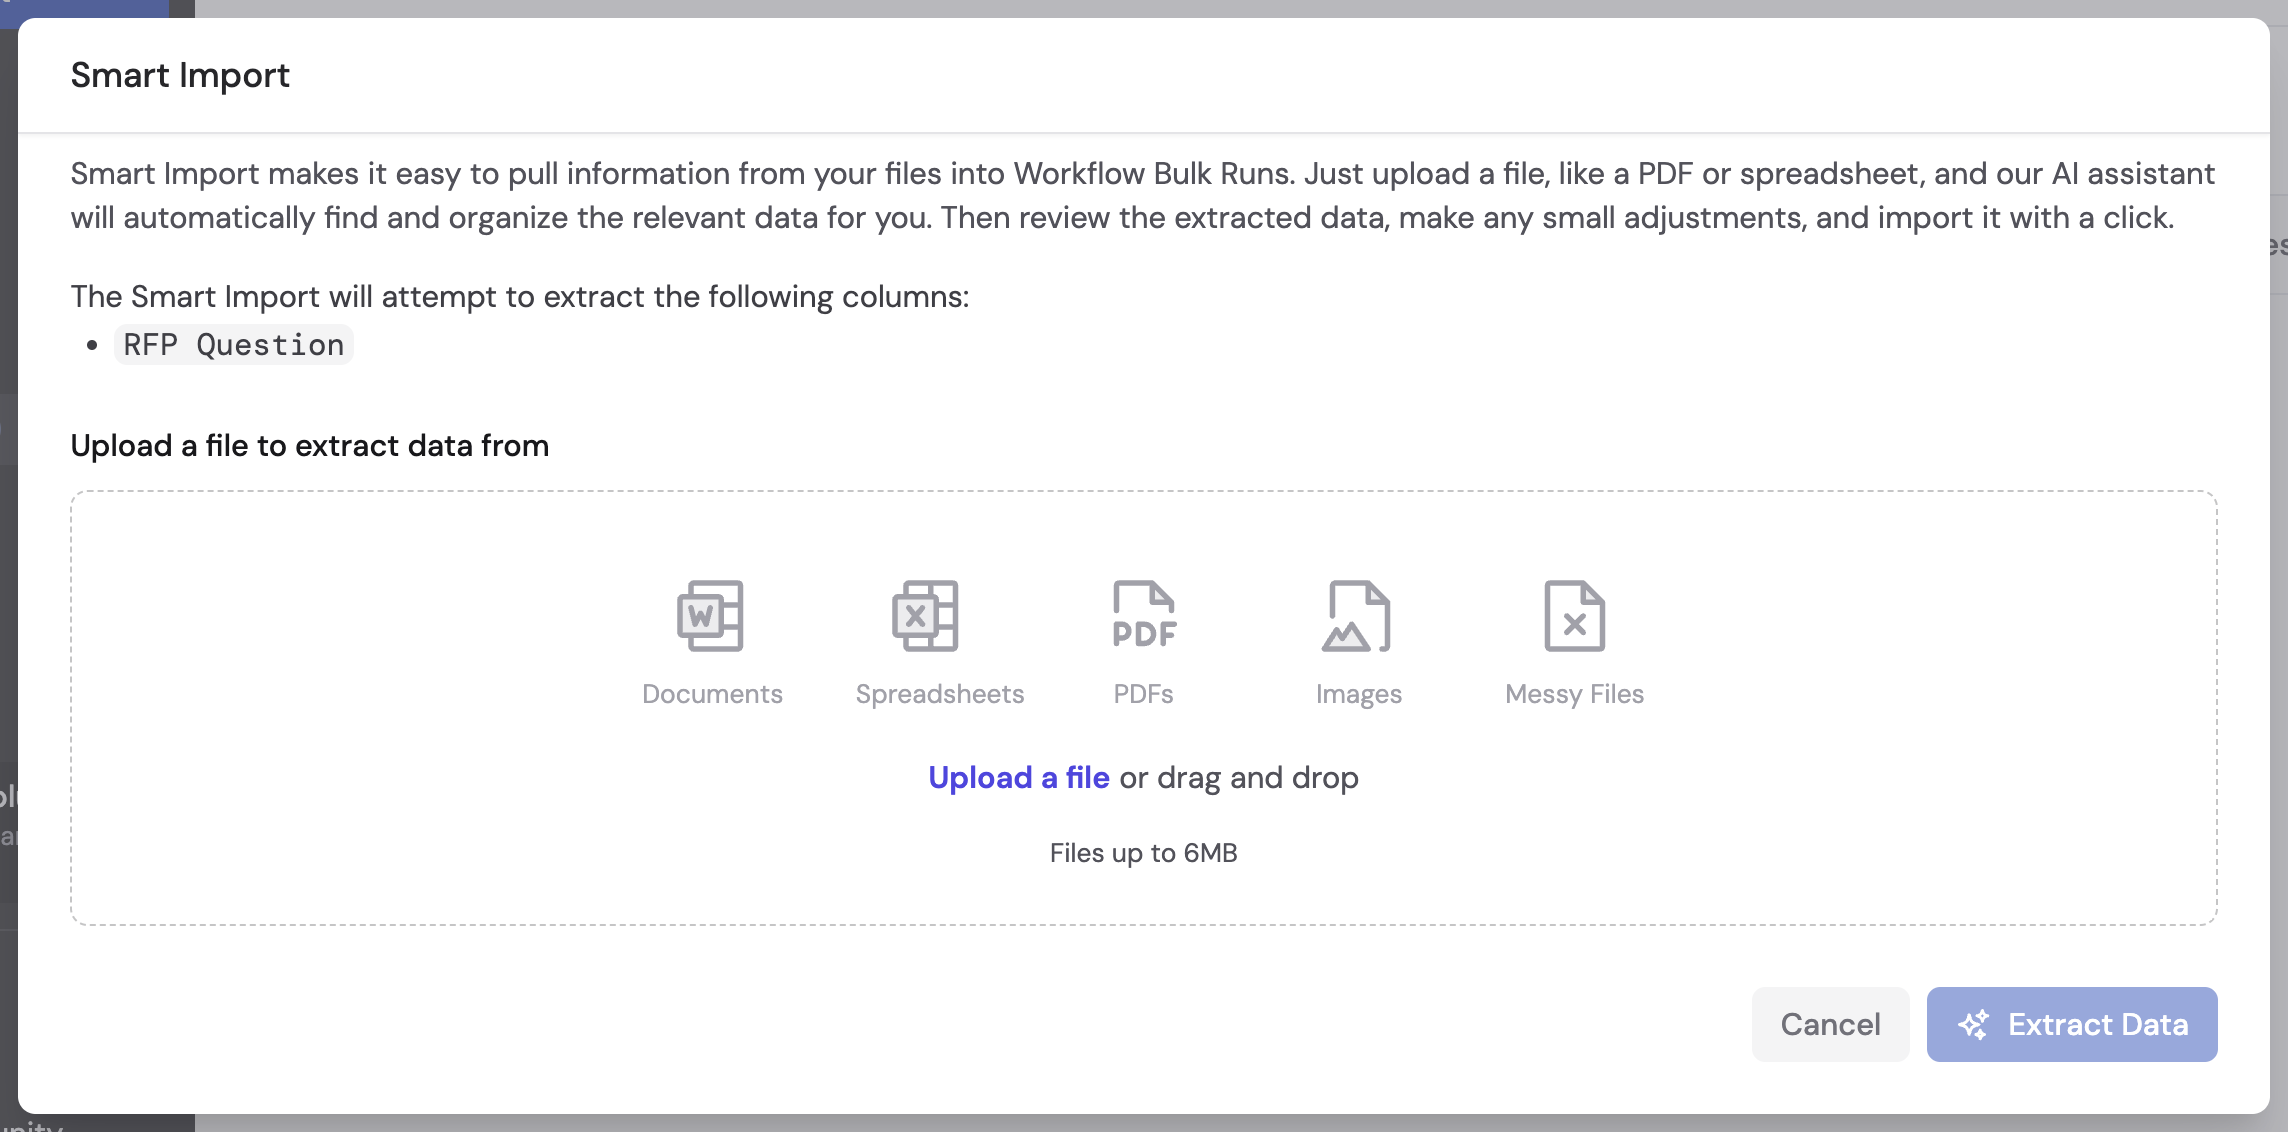
- Smart Import
Use CSV Import when your data is already organized into rows and columns.
1
Click Import CSV
At the bottom of the Bulk Run view, click the Import CSV button.
2
Upload your file
Select a CSV file from your computer or drag and drop it into the upload area.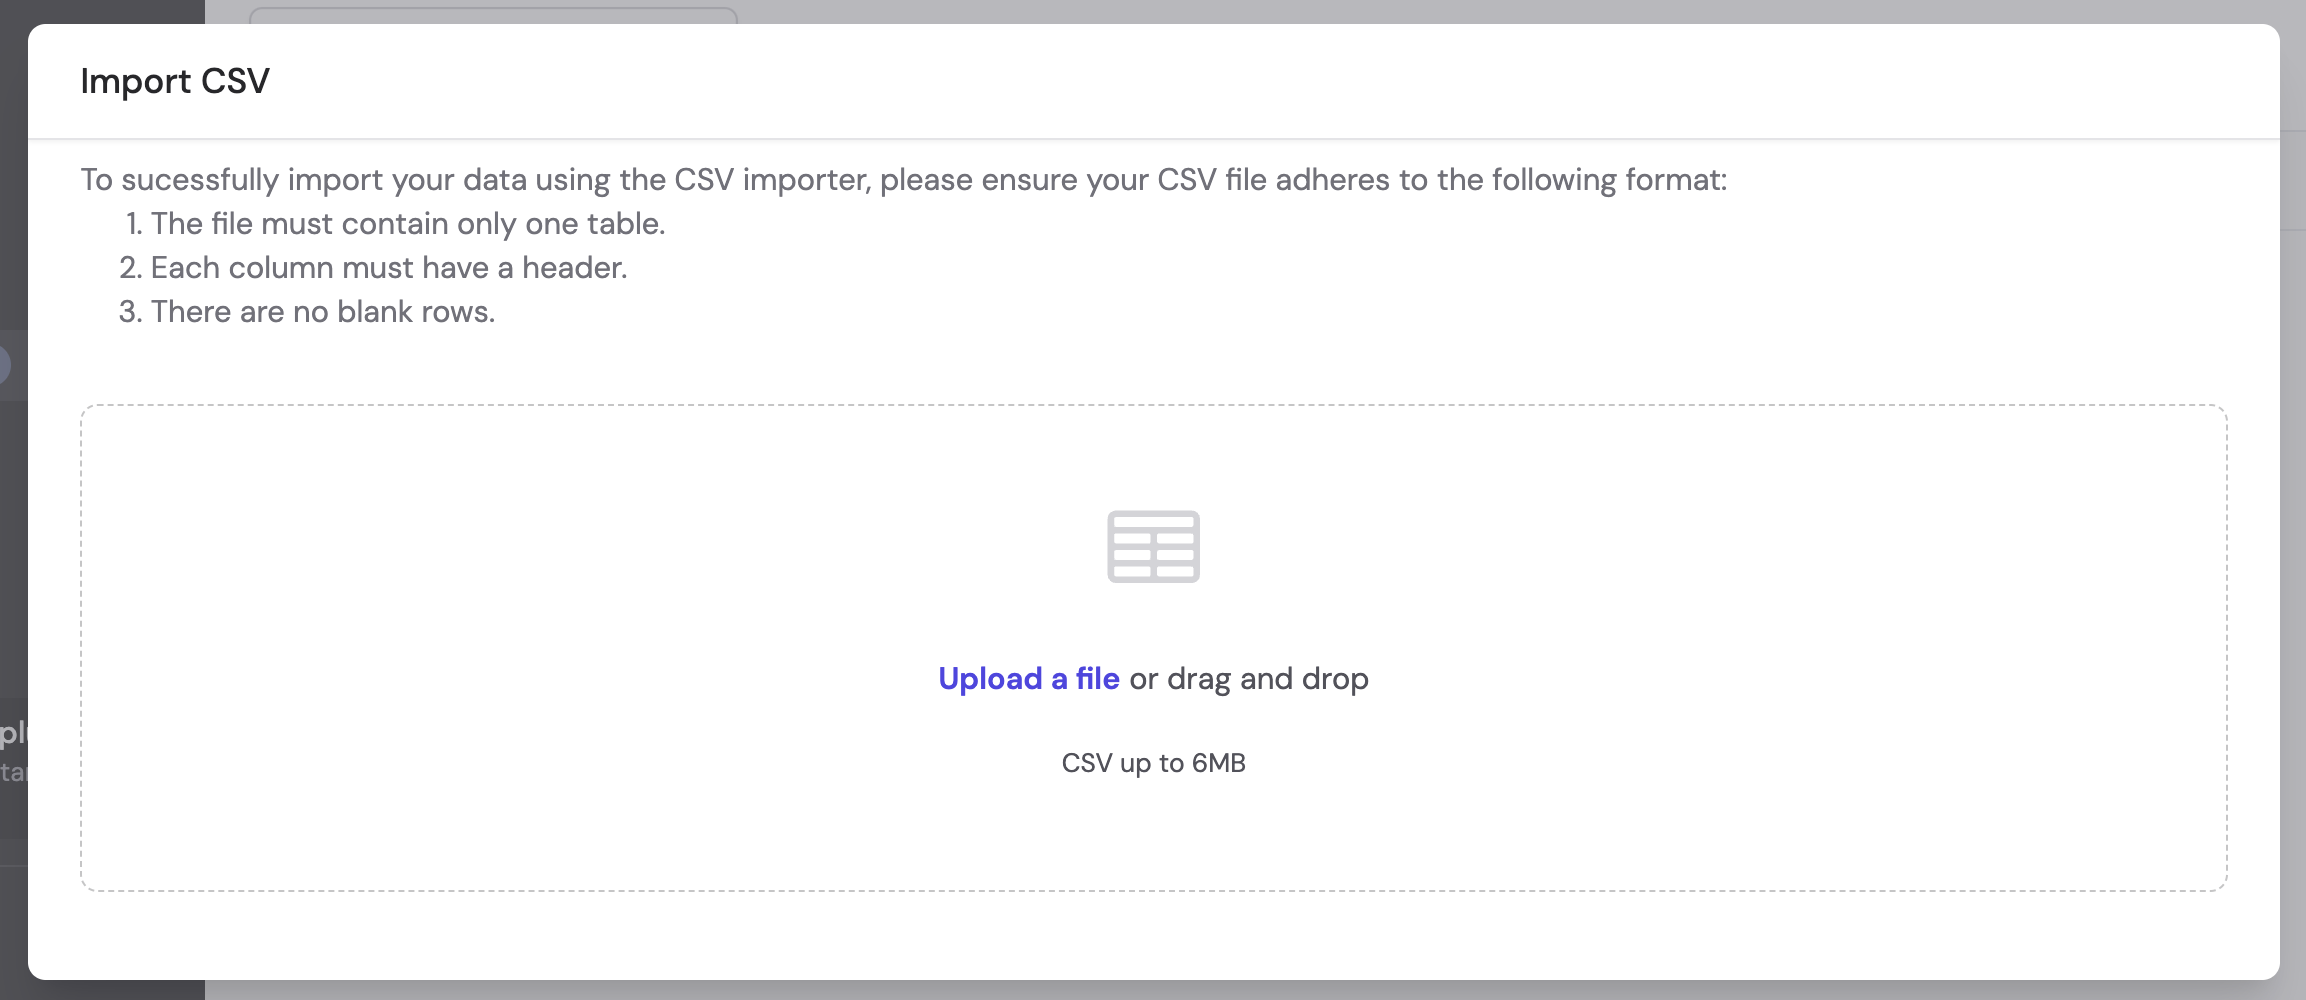
3
Map columns to variables
Cassidy maps each CSV column to the corresponding trigger input variable. Review the mappings and adjust if needed, then click Import.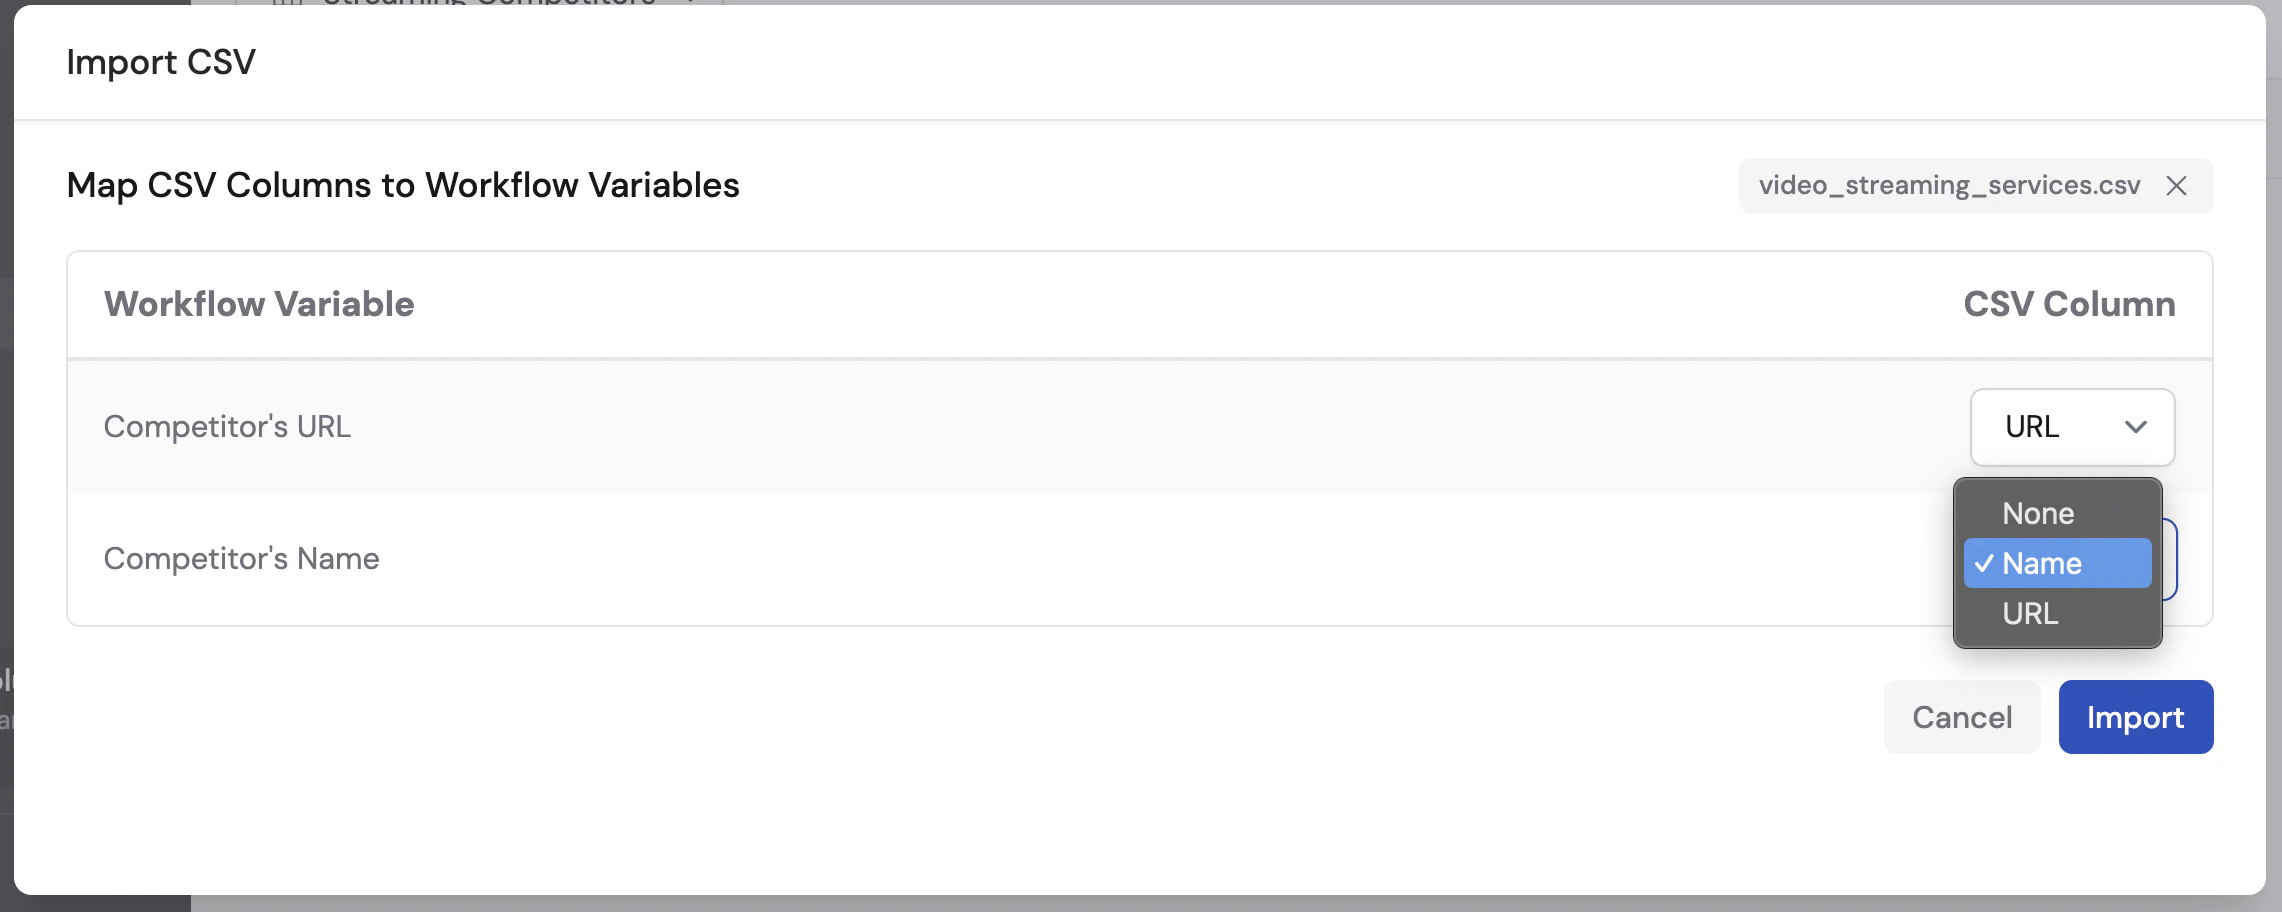
4
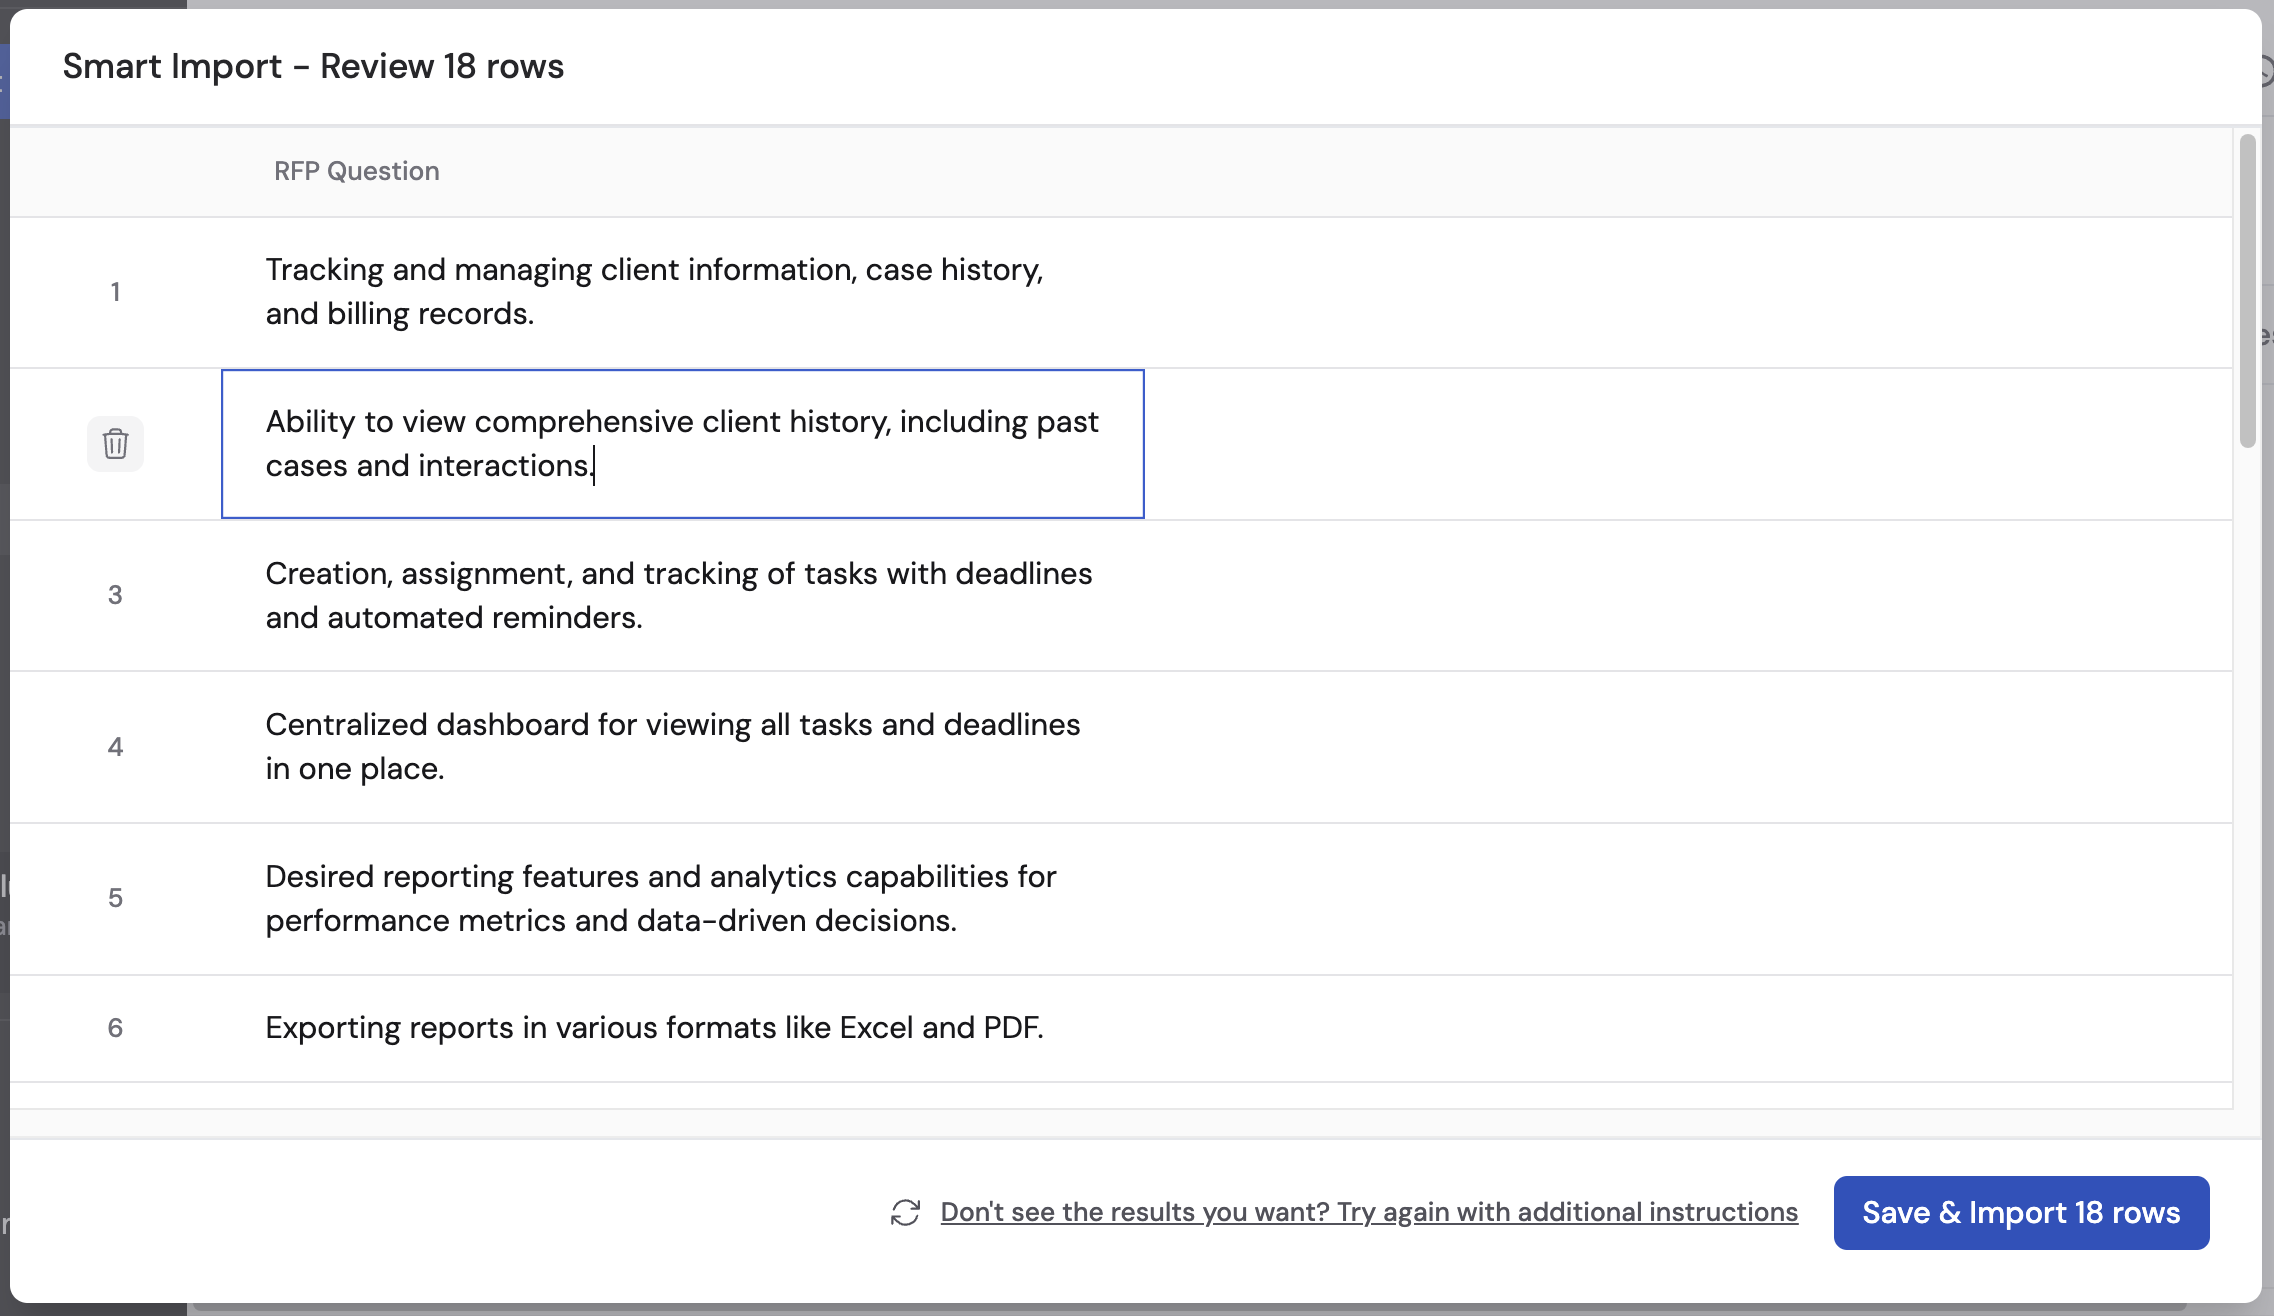
Review the imported rows
Your rows appear in the bulk run table. Verify the data looks correct before running.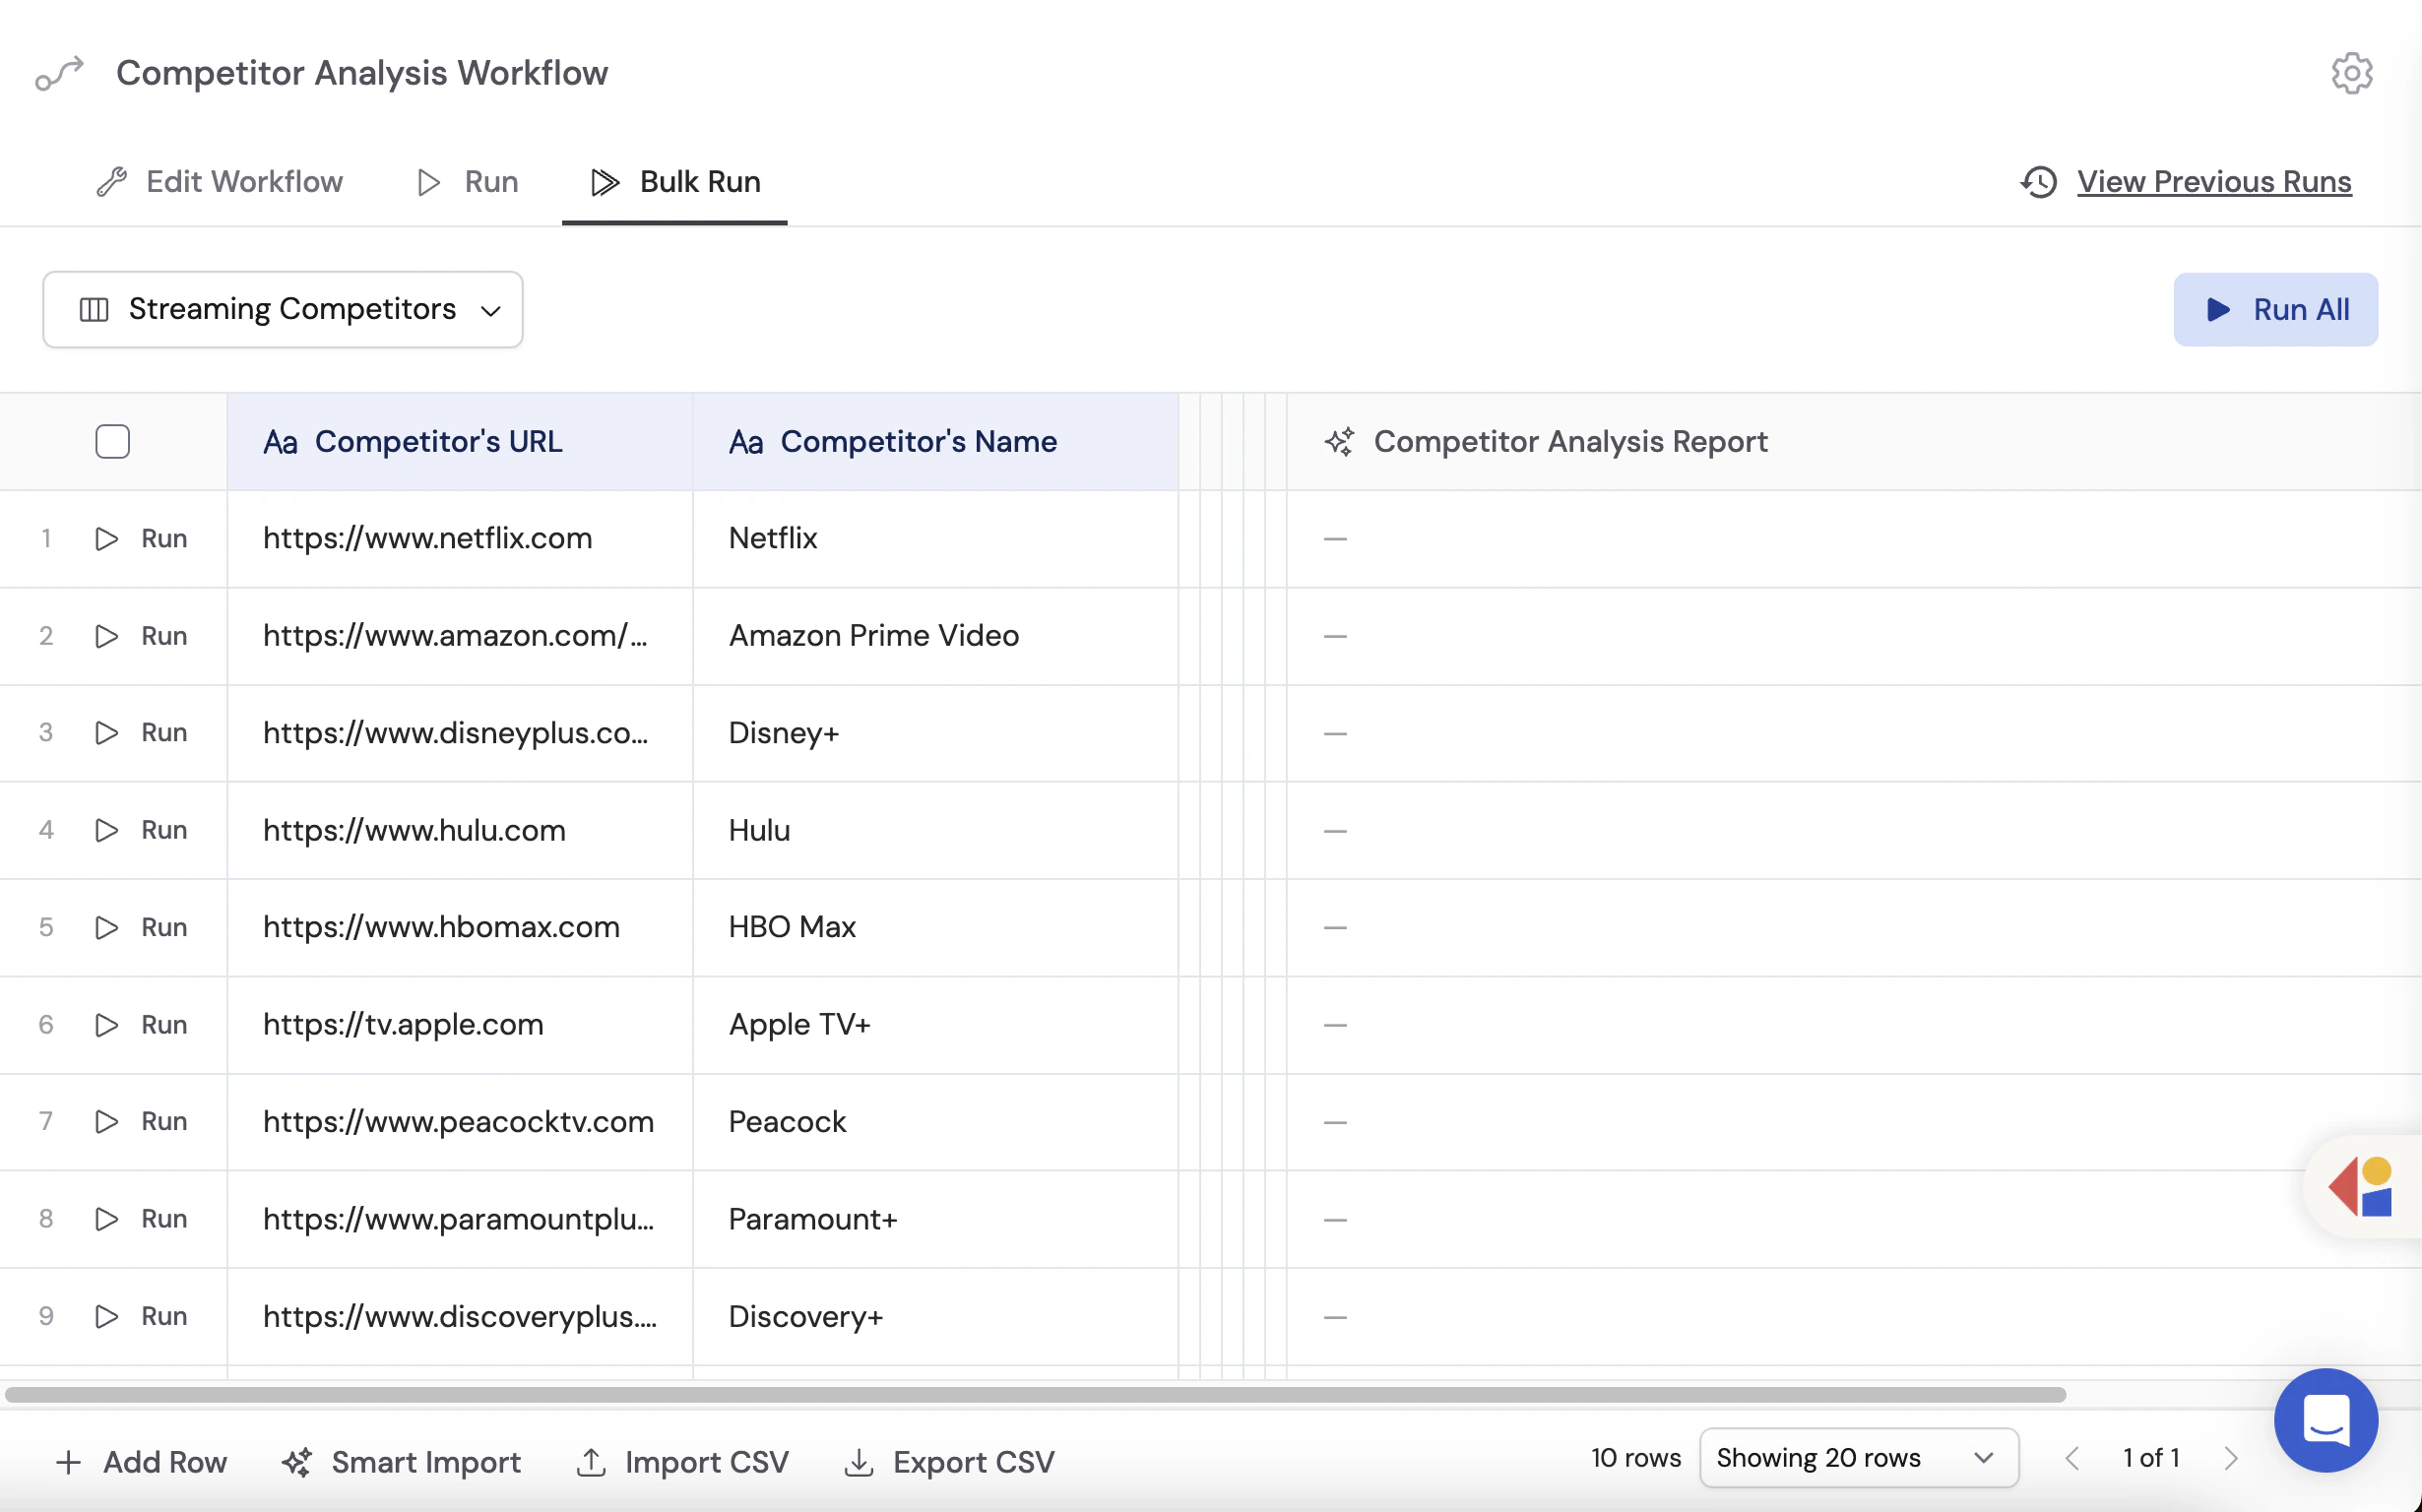
Run and monitor
1
Select rows to run
Choose individual rows by checking their boxes, or use one of the batch options: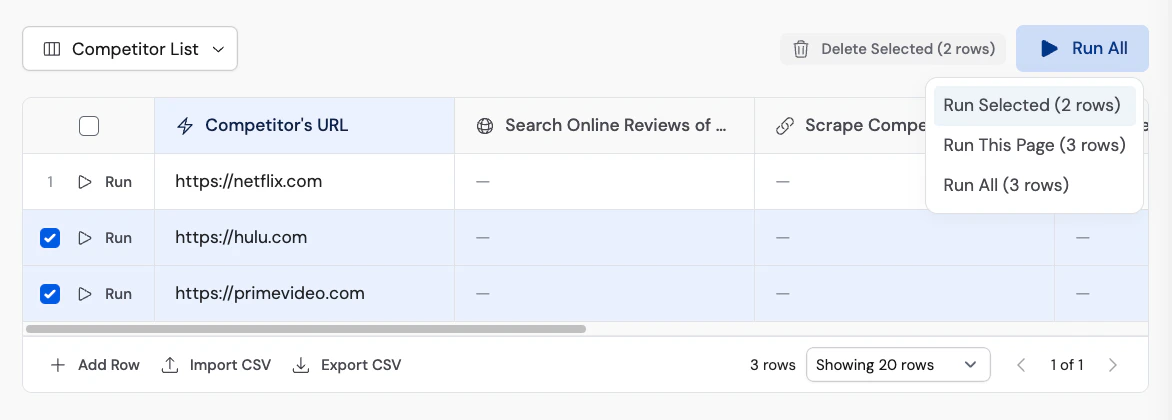
- Run All — processes every row in the view.
- Run This Page — processes only the rows visible on the current page.
2
Monitor progress
Multiple rows run simultaneously. Each row shows its status (running, completed, or failed) and the result updates in real time.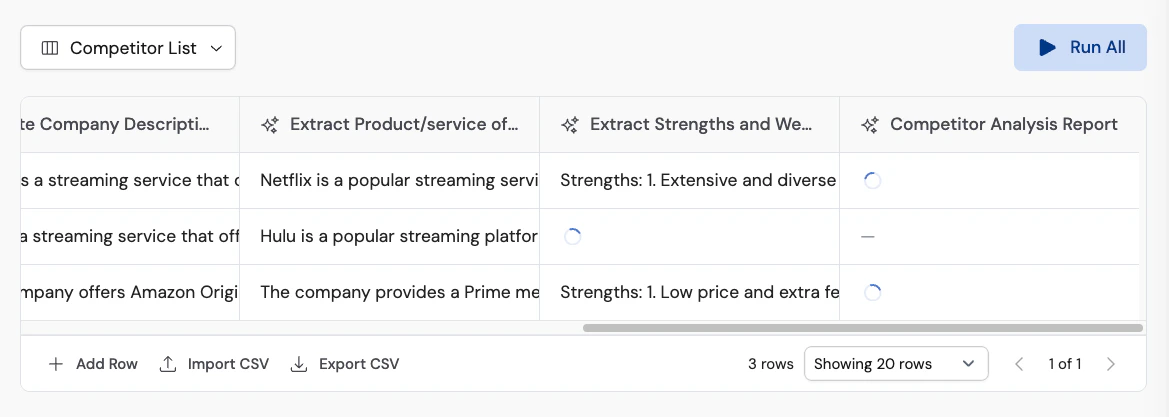
3
Export results
Once all rows have completed, click Export to download the results as a CSV file for further analysis or sharing.
Next steps
Run and test
Learn about single runs, scheduled runs, and the testing interface.
Share and deploy
Manage permissions and deploy Workflows externally.
Structured output fields
Define consistent output formats for your Workflow results.
Fallback values
Handle errors gracefully so bulk runs keep processing.