Share an individual meeting
By default, recorded meetings are shared with teammates in your organization who were invited to the meeting. Invited teammates get Can view access so they can review the recording, transcript, and summary. Organization admins can disable this default from Organization Settings → Meeting Settings by turning off Auto-share with invited teammates under Automatic Sharing.1
Open the meeting
Navigate to Meetings in the left sidebar and click the meeting you want to share.
2
Click Share
Click Share in the top right corner of the meeting detail page.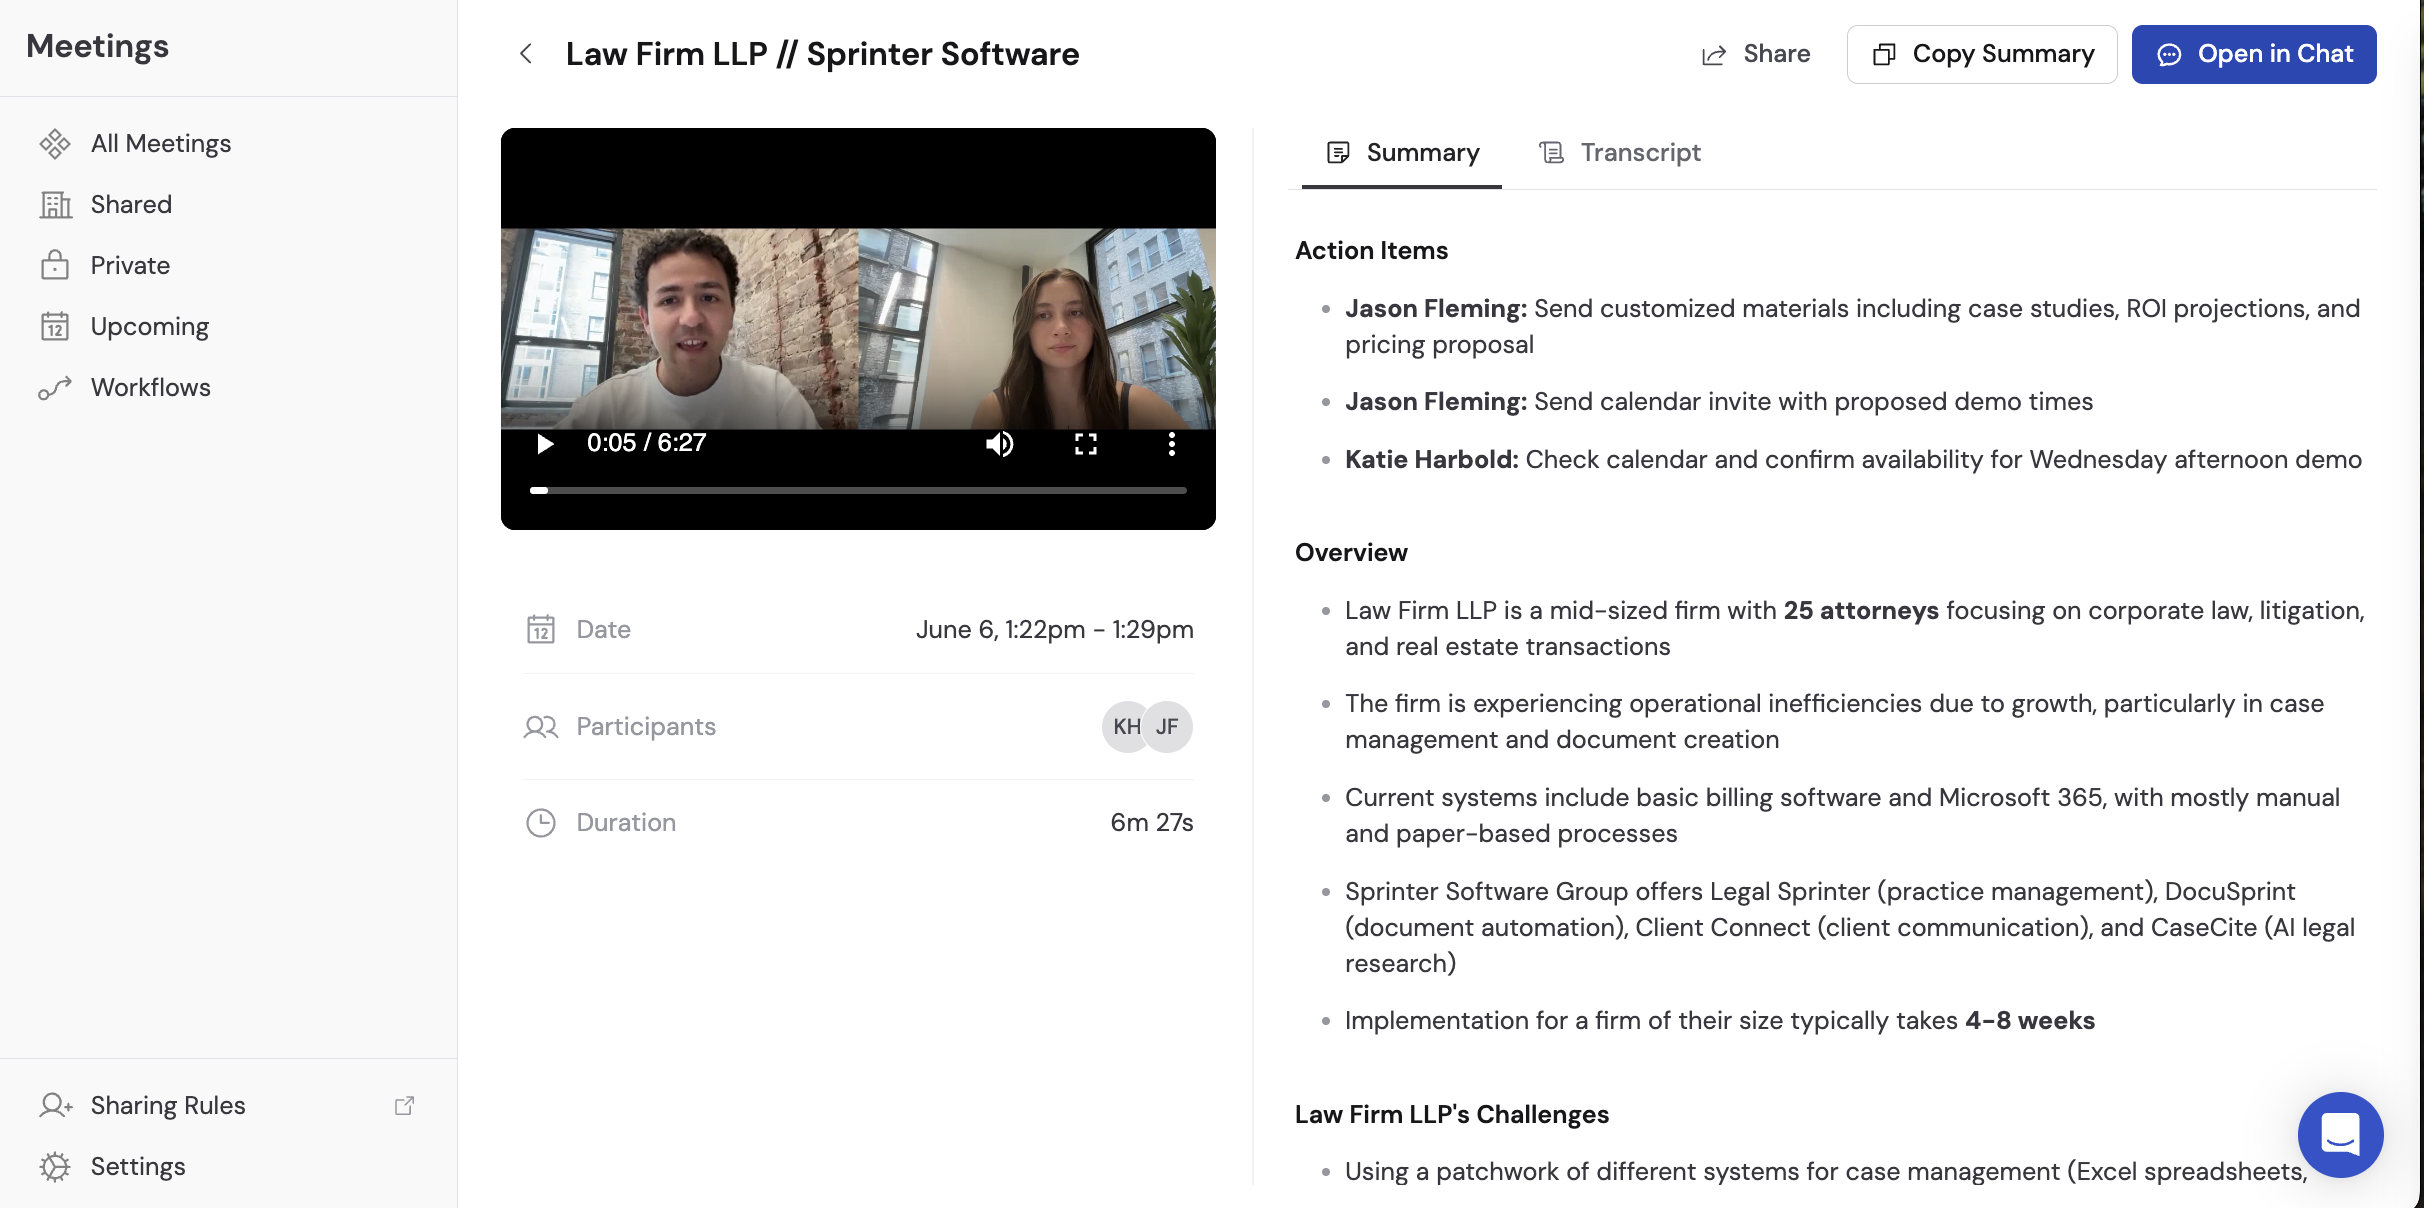
3
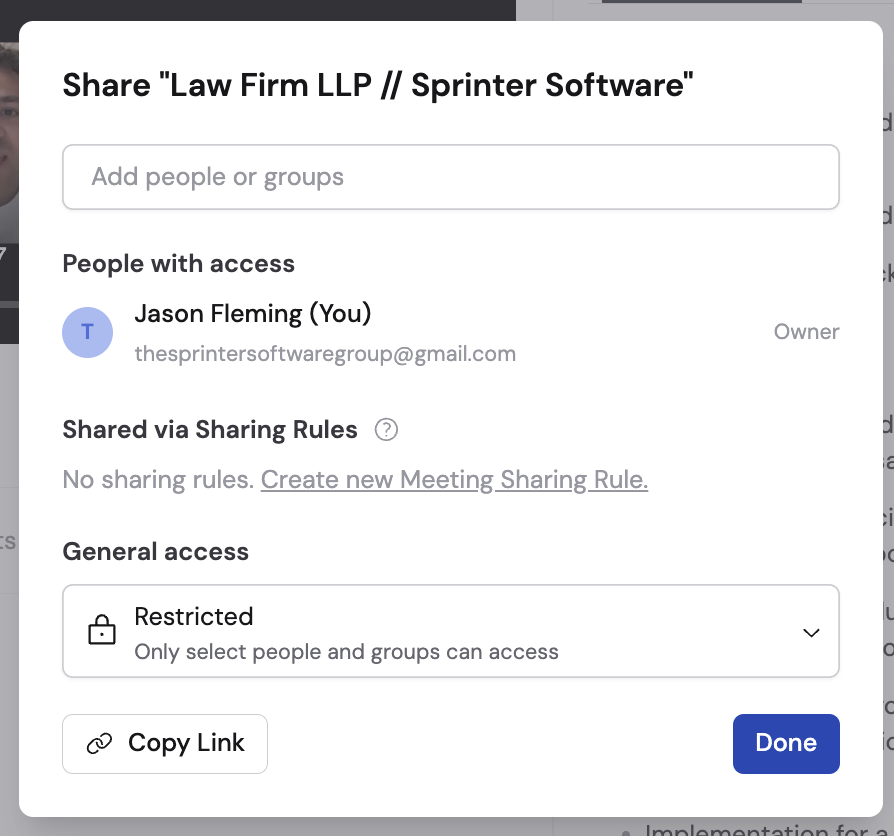
Set the access level
Choose the appropriate access level:
- Restricted — Only people and groups you explicitly add can access the meeting
- Team — Anyone in your organization can access the meeting
- Public — Anyone on the internet with the link can view the meeting
4
Add people or groups
If you selected Restricted, start typing names or email addresses to add specific people. For each person or group, set their permission level:
- Can view — Read-only access to the recording, transcript, and summary
- Can edit — Full access to modify meeting details and sharing settings
5
Create a sharing rule (optional)
Click Create new Meeting Sharing Rule to set up automated sharing based on meeting criteria. See Create sharing rules below for the full walkthrough.
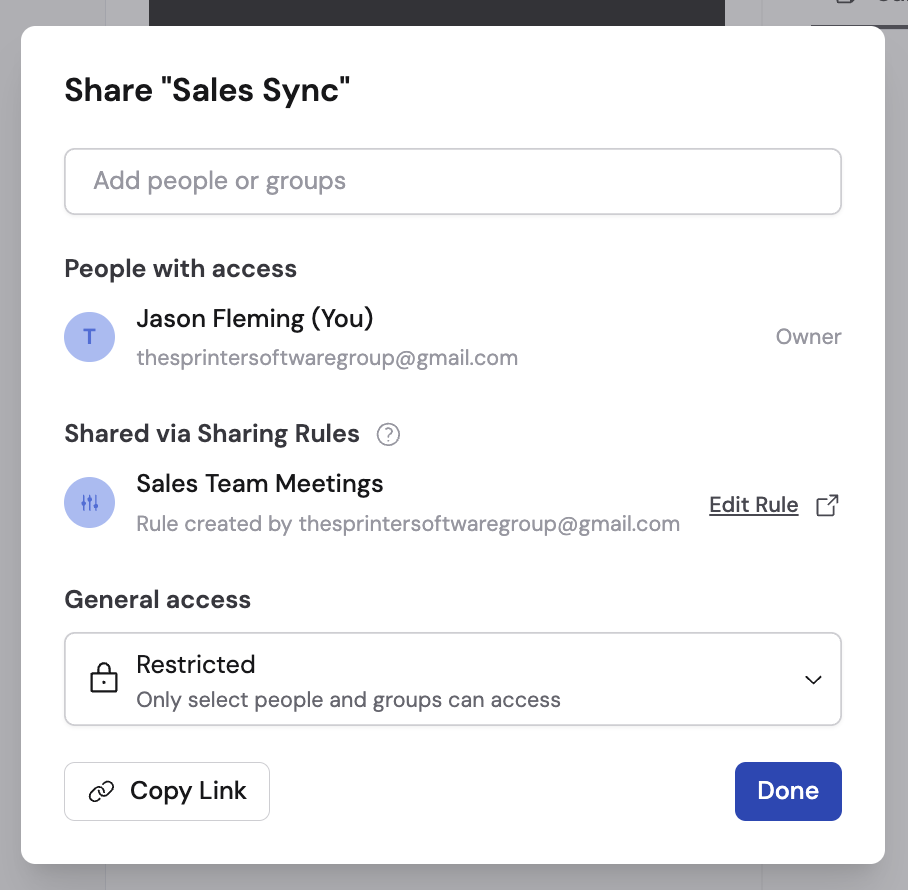
When a sharing rule applies to a meeting, it appears under Shared via Sharing Rules on the meeting’s share dialog so you can see how access was granted.
6
Copy the link (optional)
Click Copy link to share the meeting URL with anyone who has access, then click Done.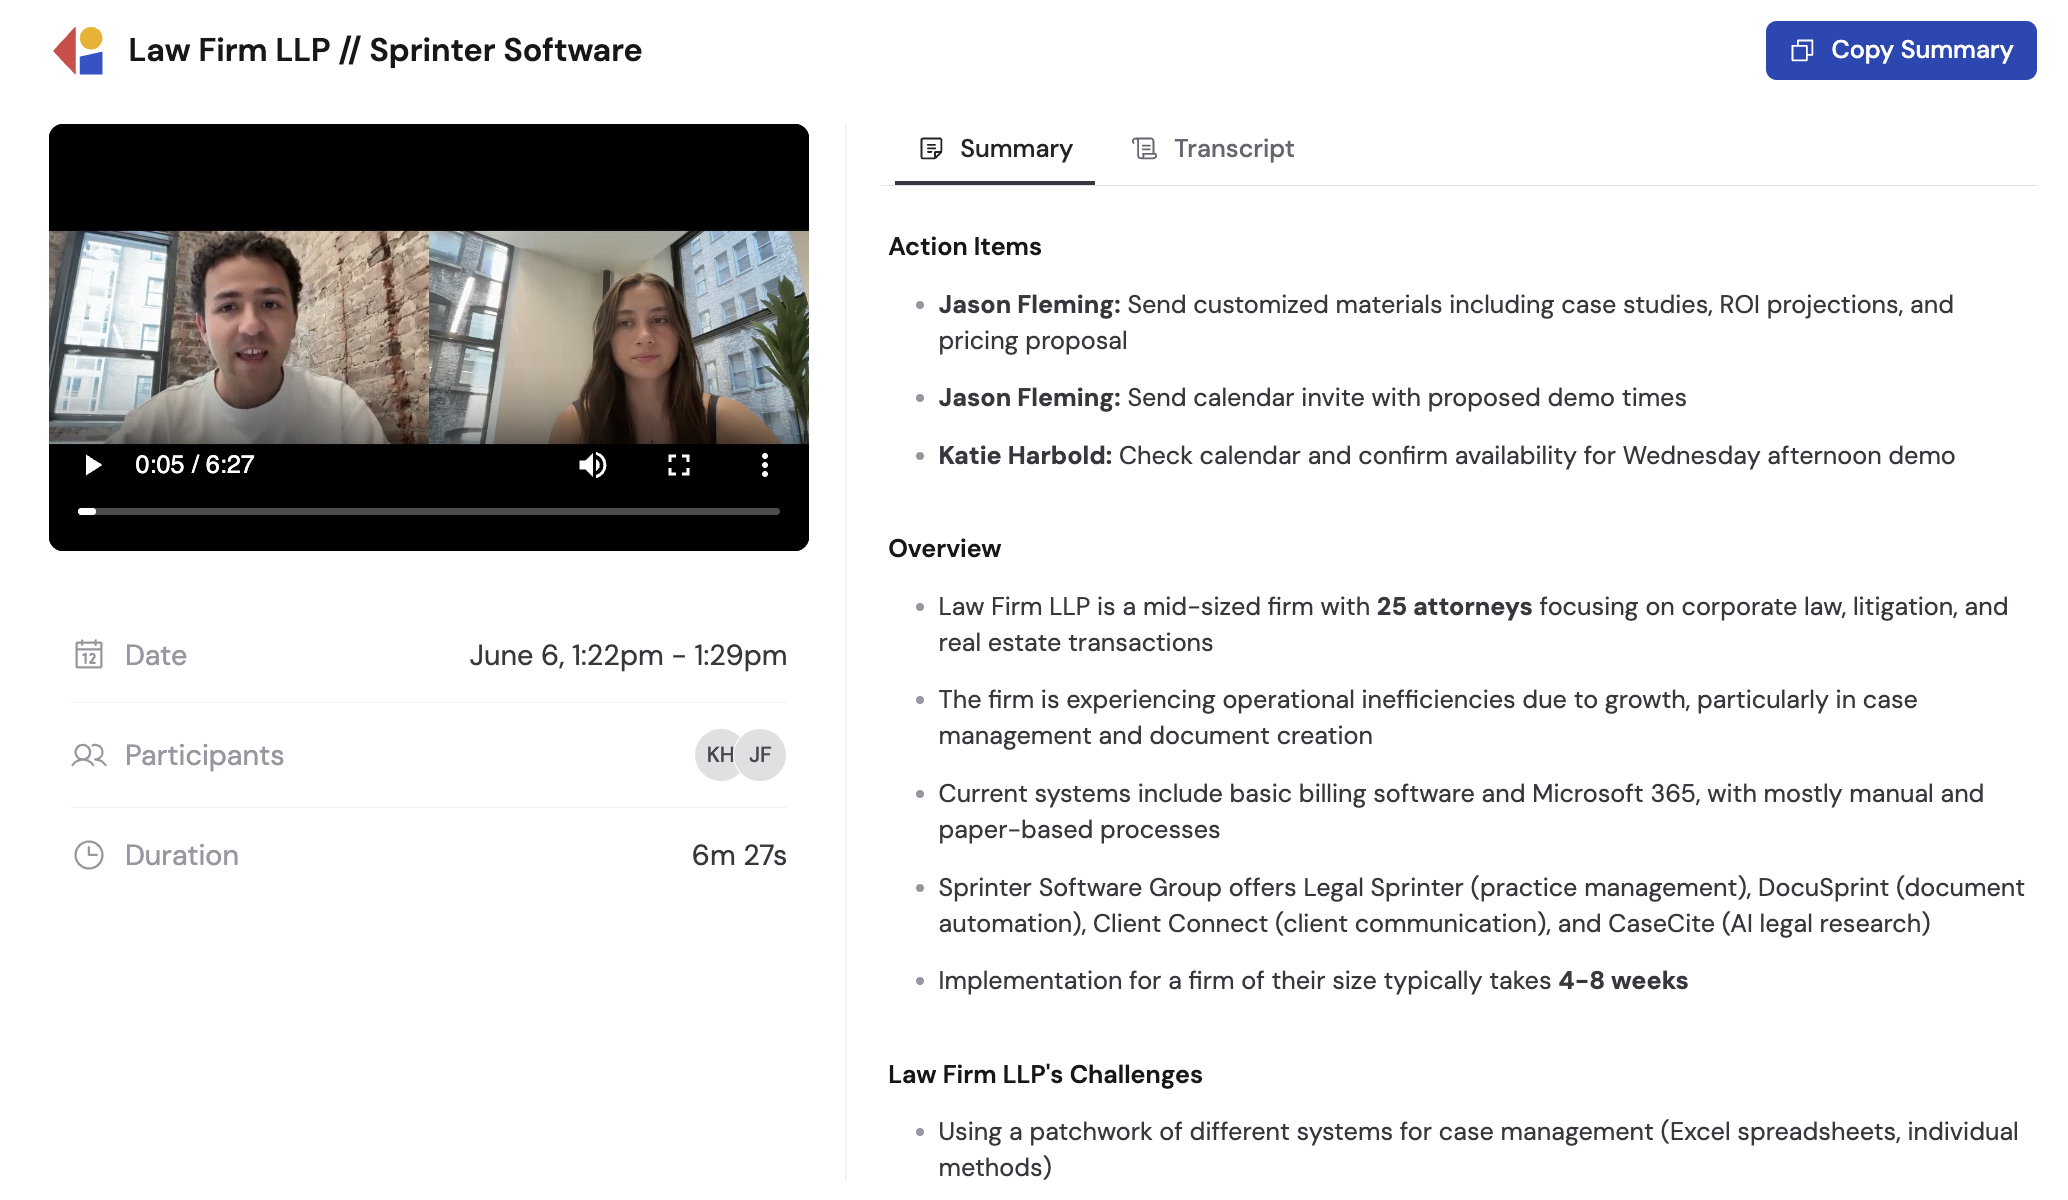
Public links open in a dedicated viewer that displays the video, details, summary, and transcript so anyone can review the meeting without a Cassidy account.
Create sharing rules
Sharing rules automatically grant access to meetings that match specific criteria. Instead of sharing each meeting manually, you can set up rules so the right people always have access to the meetings they need.1
Open sharing rules
From the Meetings page, click Sharing rules. You can also navigate to Organization Settings and click the Meeting Sharing tab.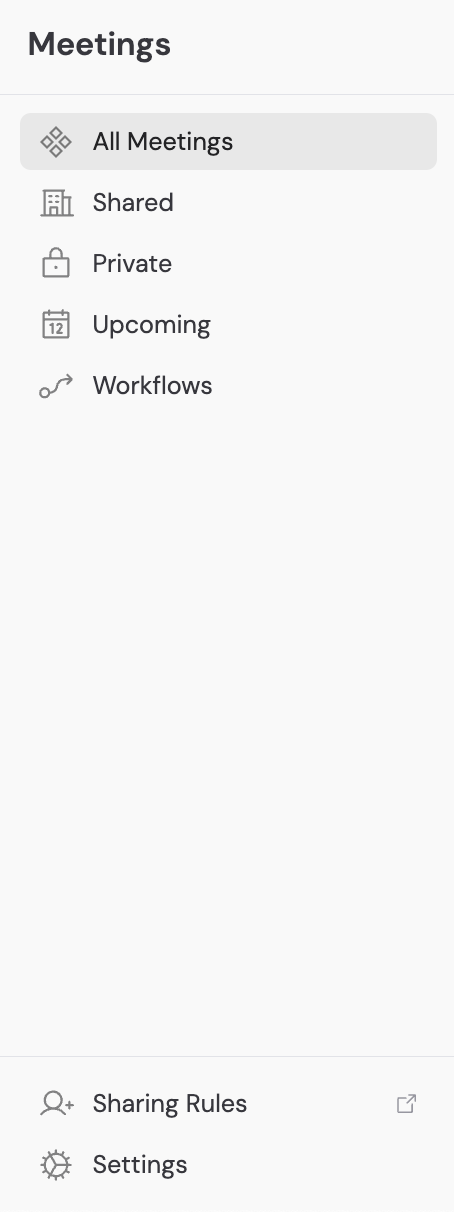
2
Add a new rule
Click Add Rule to start creating an automated sharing rule.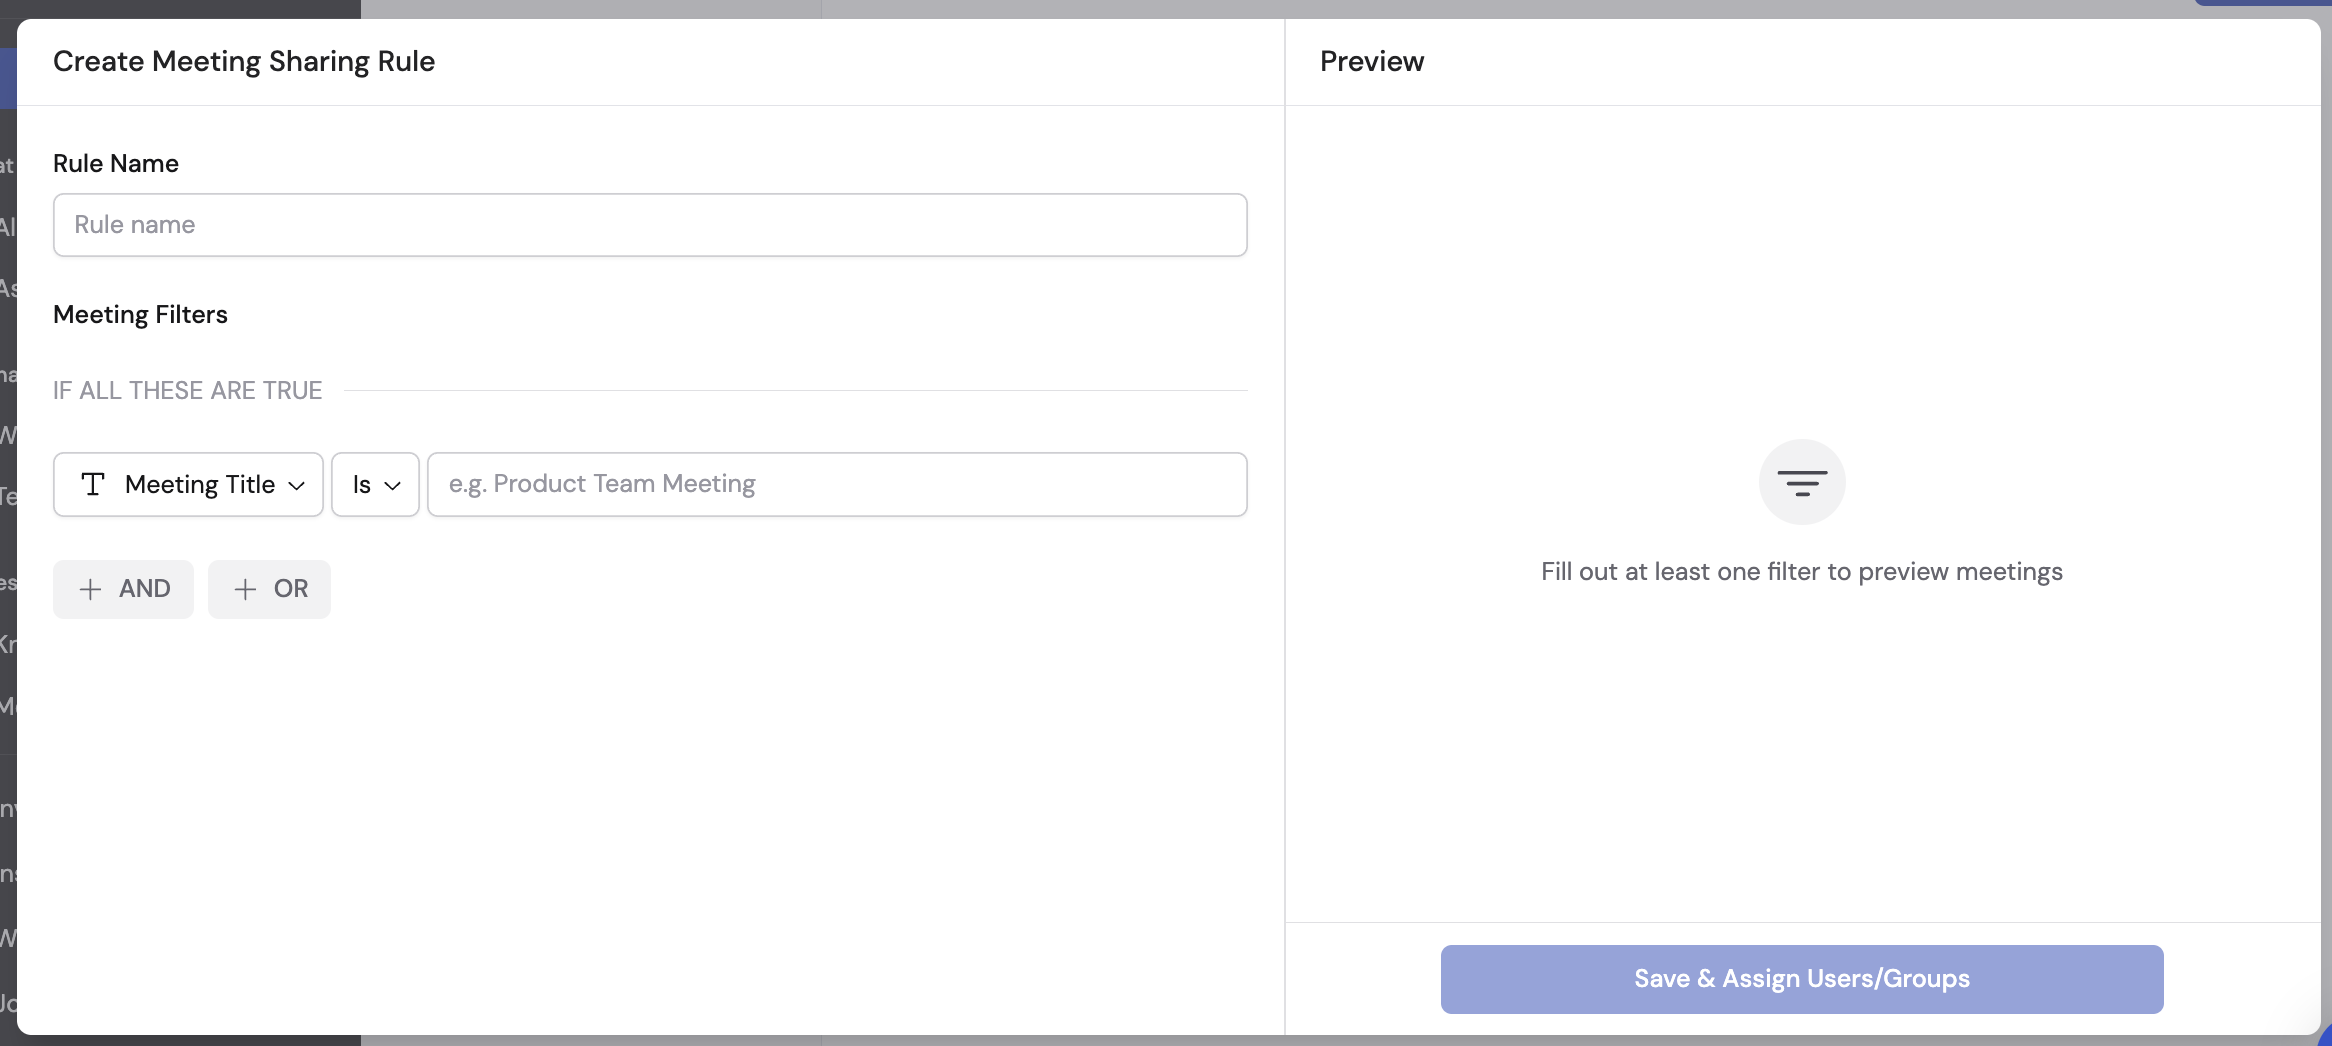
3
Name the rule
Enter a descriptive name for the rule (e.g., “Share sales calls with Sales team” or “Share all-hands with everyone”).
4
Define filter conditions
Set filters to specify which meetings this rule applies to. You can create AND/OR conditions based on: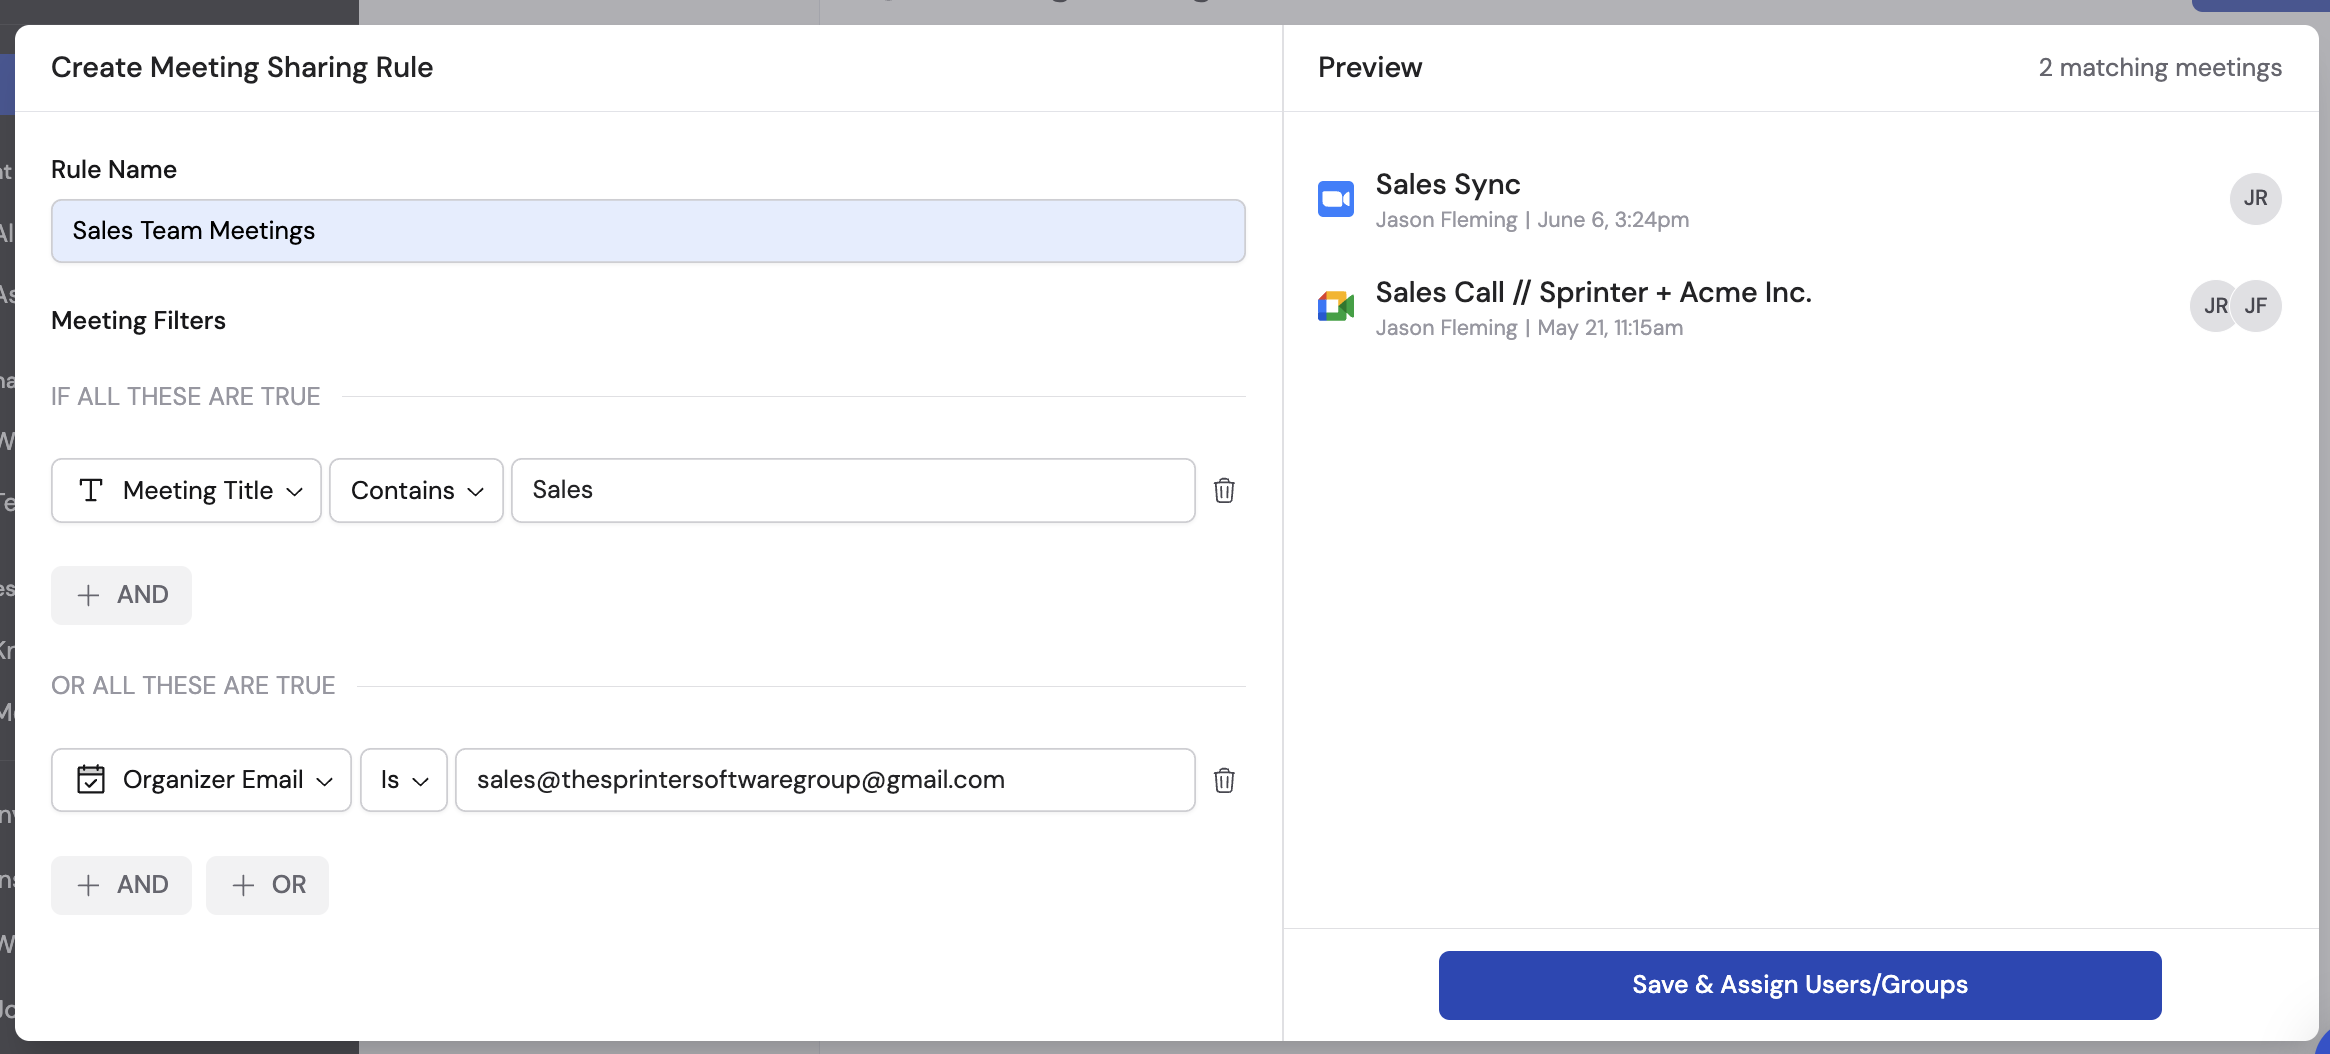
- Meeting title — Match meetings by name or keyword
- Meeting owner — Match by who recorded the meeting
- Meeting owner group — Match by the recorder’s group membership
- Organizer email — Match by calendar event organizer
- Participant names — Match by who attended
- Invitee emails — Match by who was invited
5
Save and assign access
Review the matching meetings, then click Save & Assign Users/Groups.
6
Select who gets access
Choose the people or groups who should automatically receive access to meetings matching this rule, then click Share.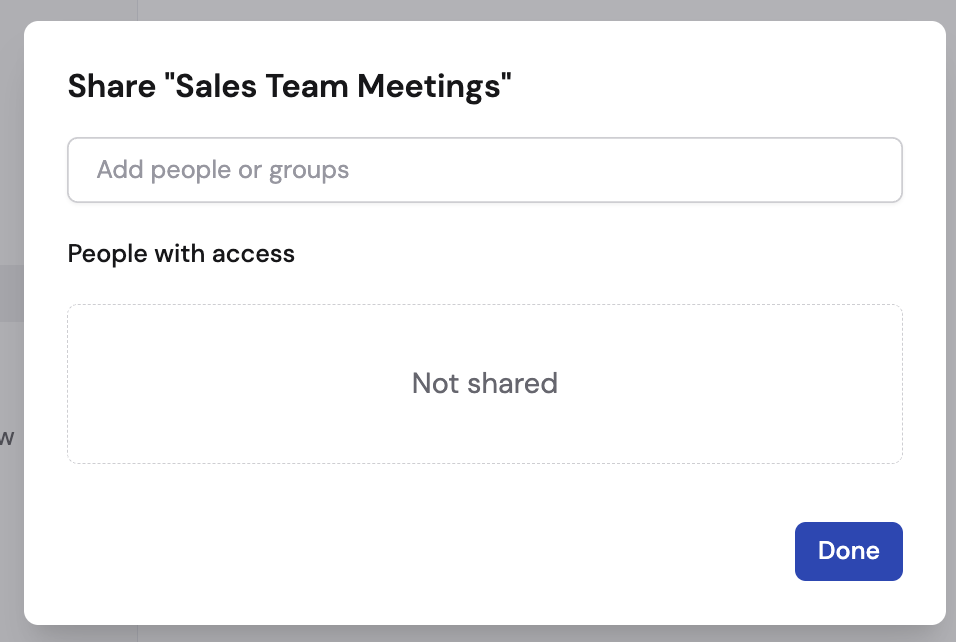

7
Finish setup
Click Done to activate the rule. Going forward, any meeting matching the rule’s filters is automatically shared with the selected people and groups.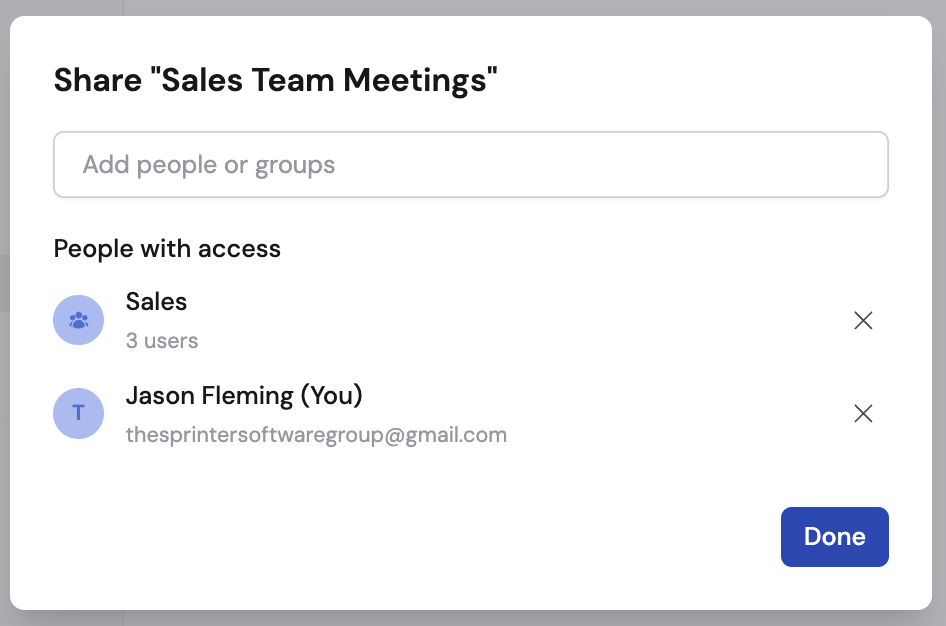
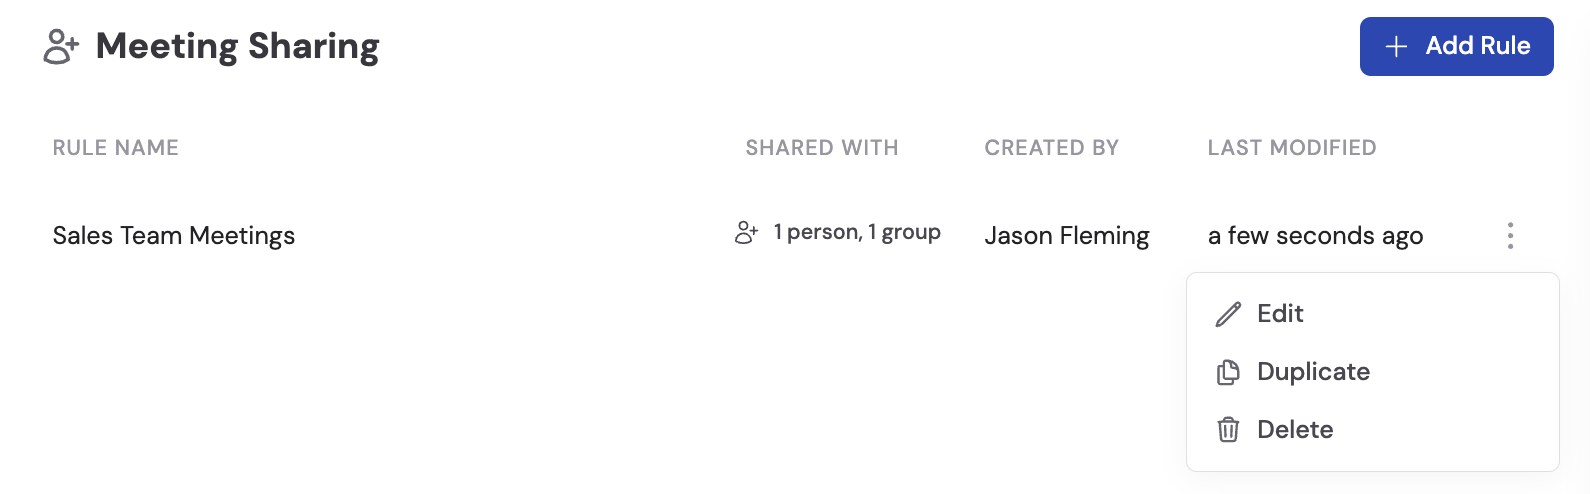
Manage existing rules
From the sharing rules page, you can manage your rules:- Edit — Update filter conditions or change who has access
- Duplicate — Create a copy to use as a starting point for a similar rule
- Delete — Remove the rule (existing access granted by the rule is not revoked)
Access levels at a glance
Next steps
Get started with Meetings
Connect your calendar and start recording.
Automate with Workflows
Trigger actions automatically when meetings end.
Add the Meetings Connector
Give Agents access to your meeting library for cross-meeting search.
Chat with your meetings
Add the Meetings Connector to an Agent and control what each user can see.
Assign roles and groups
Create groups to use with meeting sharing rules.