Adding content
All content is added from the + Add menu inside a collection or folder. To get started:- Open Knowledge Base in the sidebar
- Select the collection or folder where you want to add content
- Click + Add to see all available options
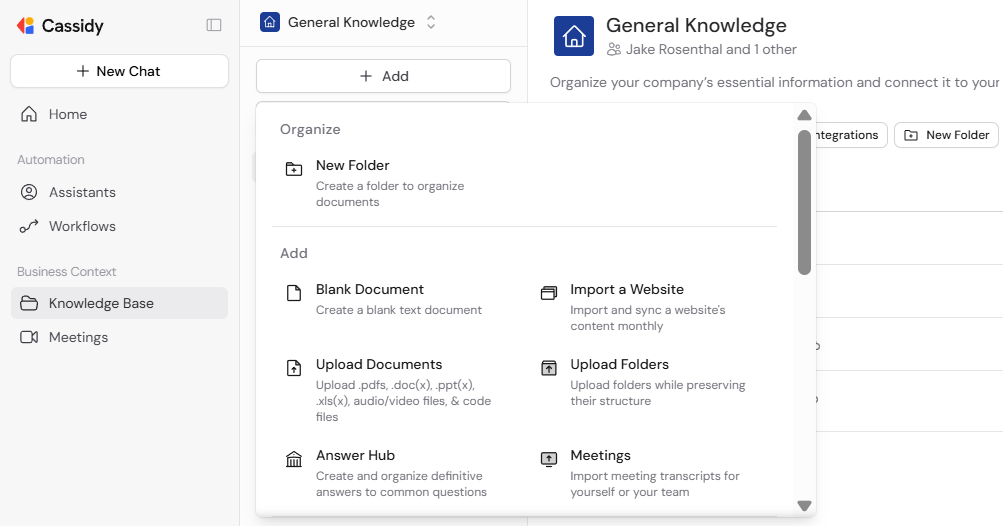
Upload documents
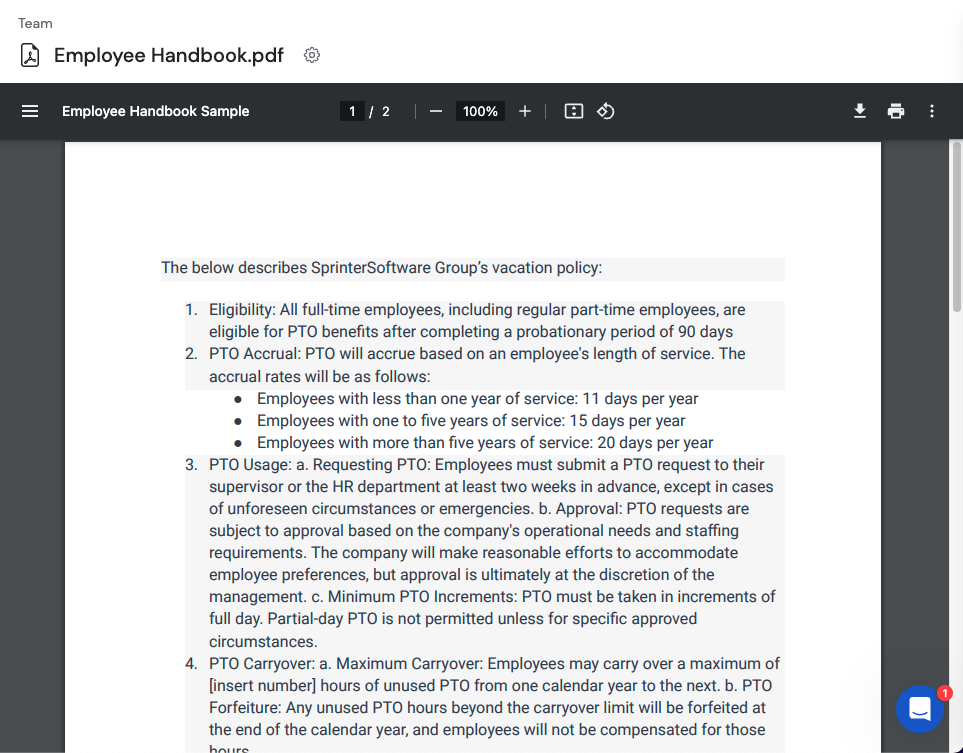
Select Upload Documents from the + Add menu, then choose files from your computer. Supported types include PDF, CSV, Excel (.xls, .xlsx), Word (.doc, .docx), PowerPoint (.pptx), text (.txt), audio and video files (automatically transcribed), and source code files (.py, .html, .js, etc.).
Create a blank document
Select Blank Document from the + Add menu. Enter the document content in the text editor and click Save.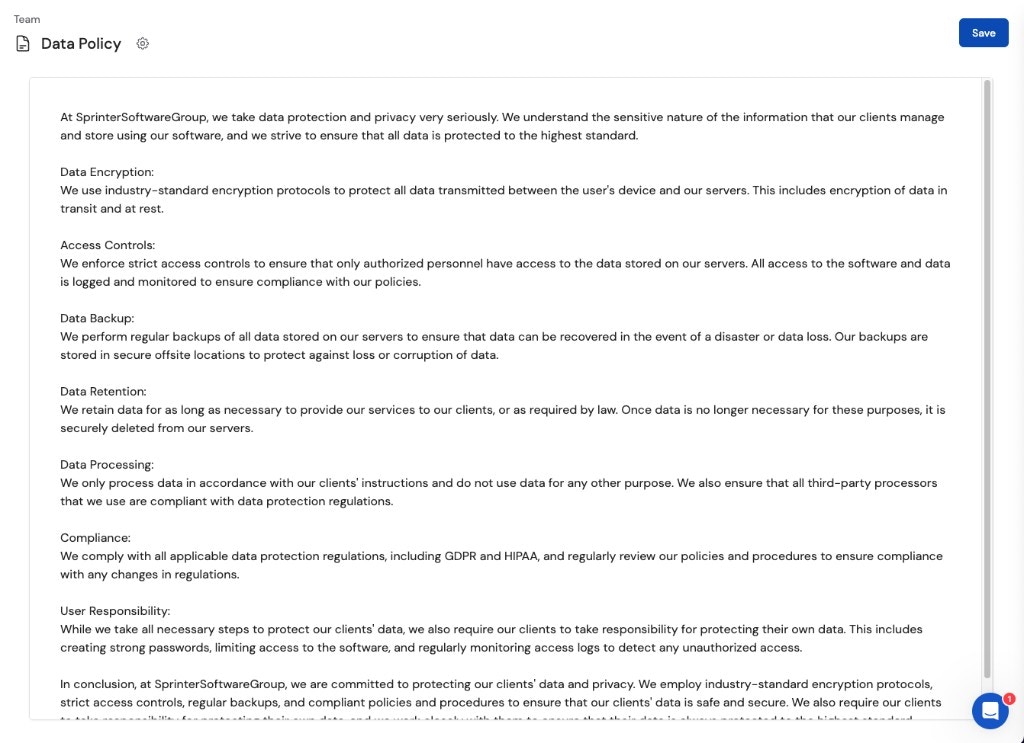
Upload folders
Select Upload Folders from the + Add menu, then choose a folder from your computer. Cassidy preserves the folder structure and all sub-folders. All supported file types within the folder are imported.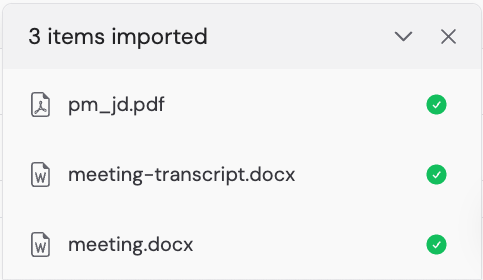
Import a website
1
Start the import
Select Import a Website from the + Add menu.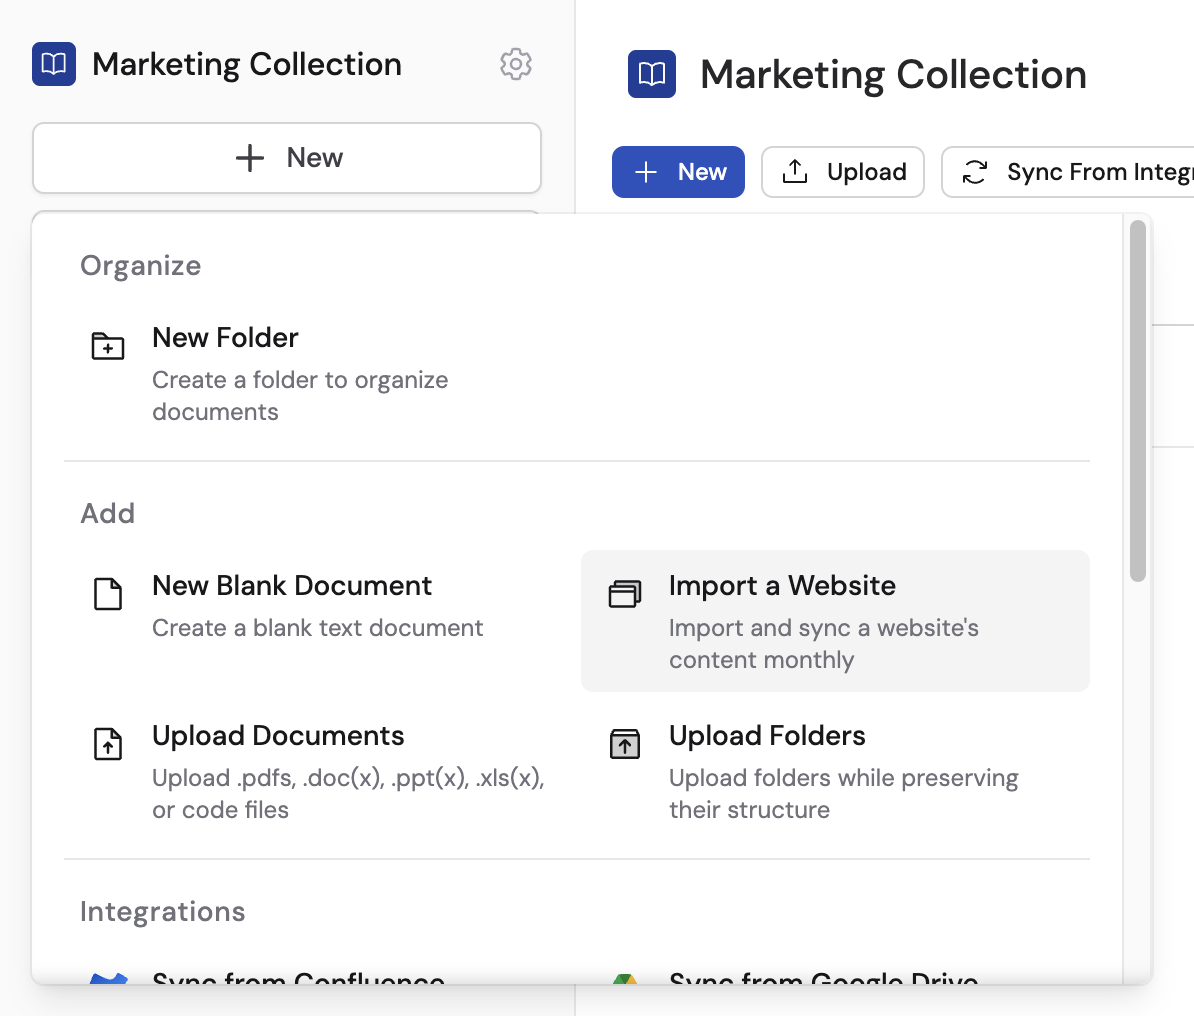
2
Configure the import
Enter the website URL in Starting URL, then choose a Crawl Mode:
- Domain — Crawls all pages within the domain (recommended for most users)
- Subdomain — Crawls all pages within the subdomain
- Page — Imports only the specific URL
- Custom (Advanced) — Uses glob patterns to target specific URL paths
3
Begin the crawl
Click Save & Begin Import. Cassidy crawls and imports the pages, showing a confirmation when complete.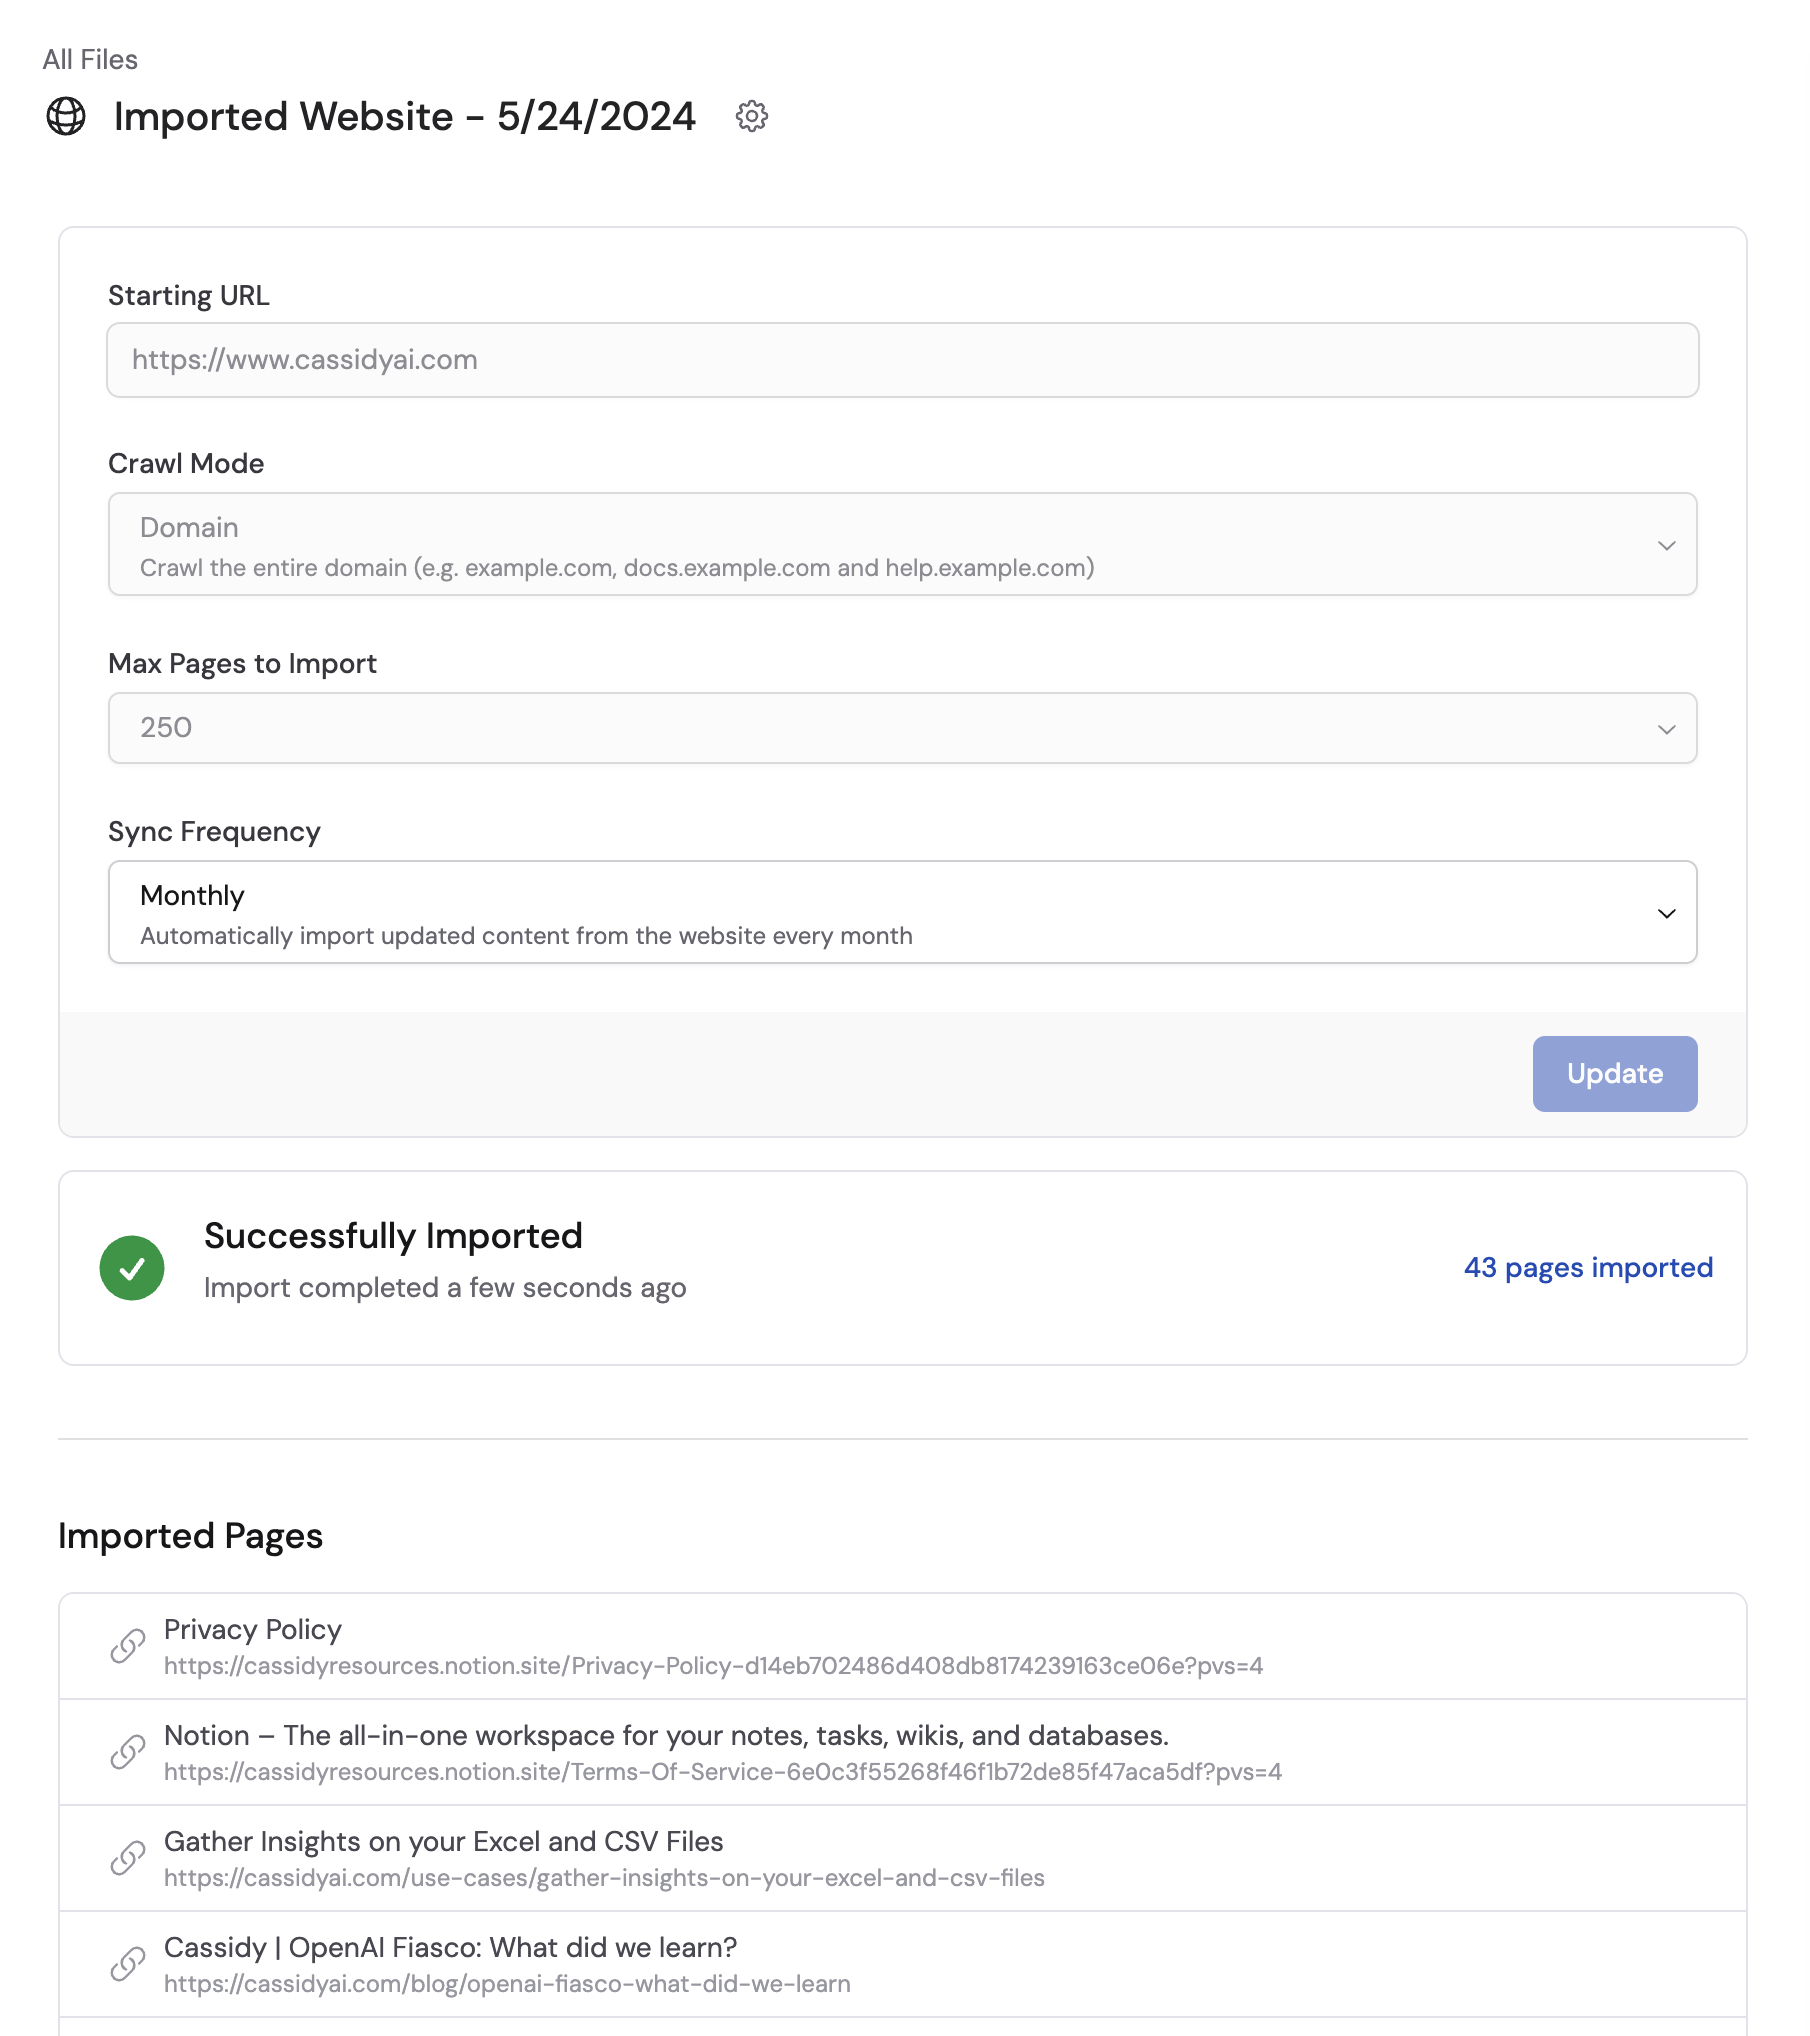
Advanced: URL glob patterns for custom crawl mode
Advanced: URL glob patterns for custom crawl mode
When using Custom (Advanced) crawl mode, you can target specific URL paths with glob patterns:
*matches any characters except/**matches any characters including/
https://example.com/docs/**— Matches all nested paths under/docs/(e.g.,/docs/getting-started,/docs/advanced/options)https://example.com/docs/*— Matches only direct children of/docs/(e.g.,/docs/introbut not/docs/intro/chapter-1)
Import from integrations
Cassidy integrates with Google Drive, OneDrive, SharePoint, Notion, Confluence, Slack, and more. Content imported from integrations syncs automatically so your Knowledge Base stays up to date.1
Choose the integration
Click + Add and choose the integration (e.g., Sync from Google Drive).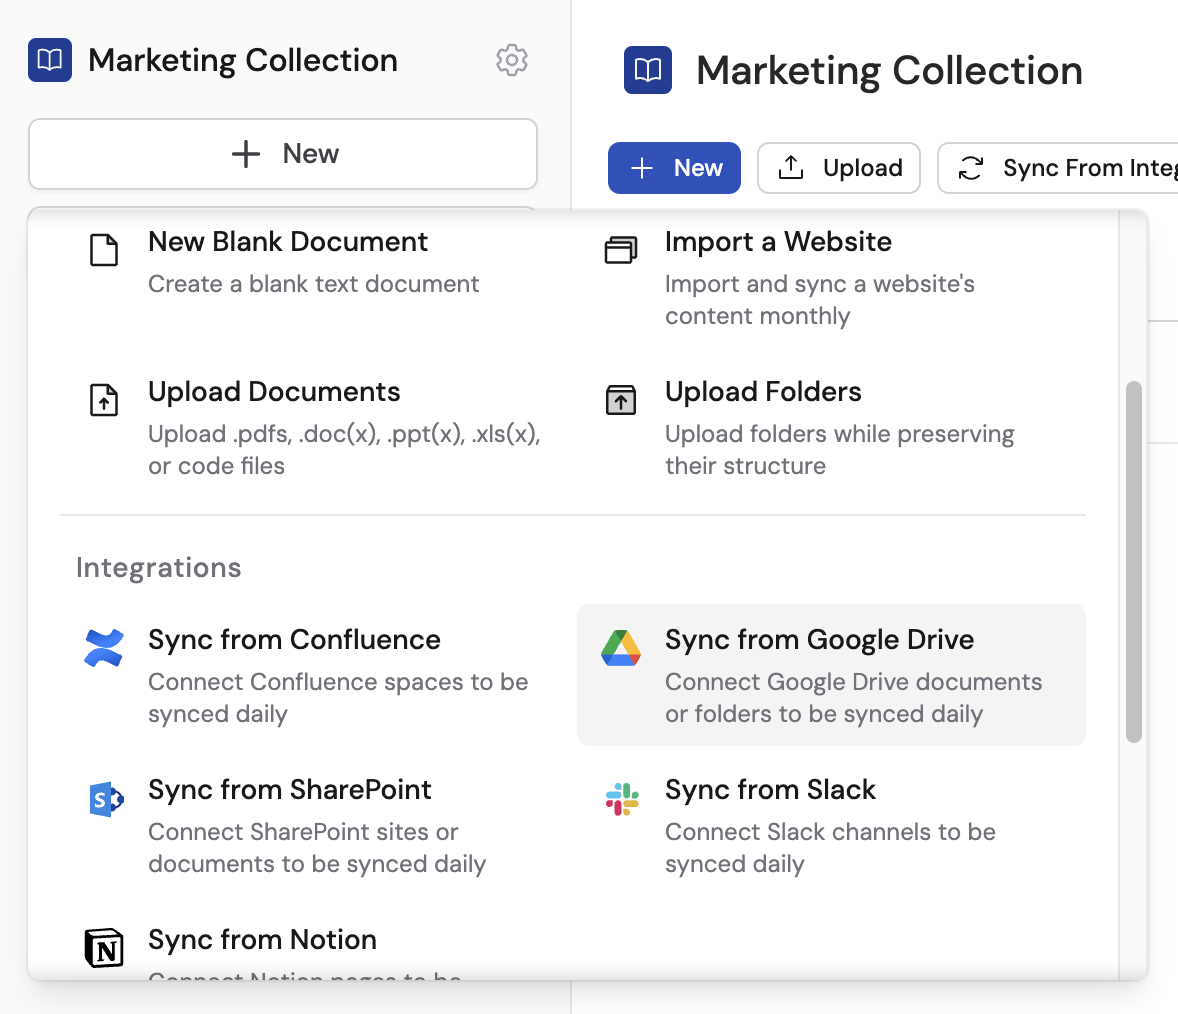
2
Connect your account
If prompted, connect your account and authorize Cassidy to access the integration.
3
Select content
Select the files or folders to import.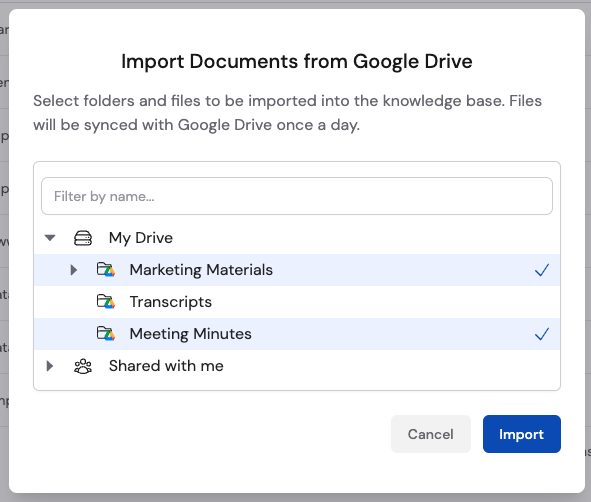
4
Import
Click Import to add the selected content to your Knowledge Base.
Integration sources sync automatically every 24 hours. Enterprise plans support more frequent syncing. Learn more about sync schedules and options.
Create an Answer Hub
Answer Hubs are curated sets of questions and answers that deliver exact responses instead of summarized search results — ideal for FAQs, product questions, or any scenario where precision matters. Select Answer Hub from the + Add menu to create one. For the full walkthrough, see Answer Hubs.Import meetings
To let an Agent answer questions across your meeting library in Chat, the typical approach is the Meetings Connector — no import step. Import meeting transcripts into the Knowledge Base when you want them in the same folders and collections as files and other sources. For a comparison of Connector vs single-meeting chat vs import, see Chat with your meetings. Select Meetings from the + Add menu to get started. For the full walkthrough, see Import meetings to your Knowledge Base.Next steps
Organize with collections and folders
Set up collections and folders and control who can access what.
Connect an integration
Browse integrations and connect your apps.
Verify documents
Confirm your content is indexed correctly.
Add Knowledge Base to an Agent
Give your Agent access to your company knowledge.