For best results with Connector queries, use a powerful, reasoning-capable model. Cassidy supports models from OpenAI, Anthropic, and Google — see Choose the right AI model for current recommendations.
Set up the HubSpot Connector
1
Select your Agent
Navigate to Agents, find the Agent you want to configure, click … and select Edit.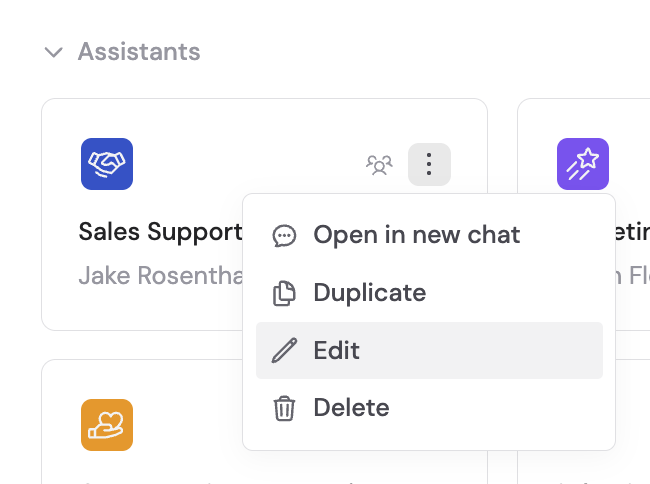
2
Navigate to Connectors
In the Setup tab, scroll to the Connectors section.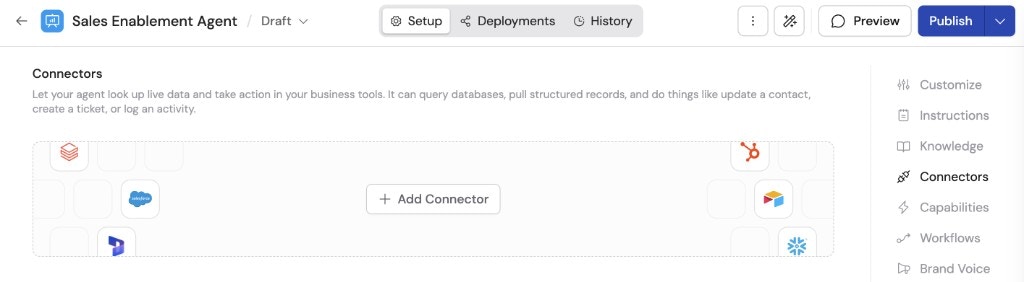
3
Add HubSpot
Click + Add Connector and click + Add on the HubSpot option.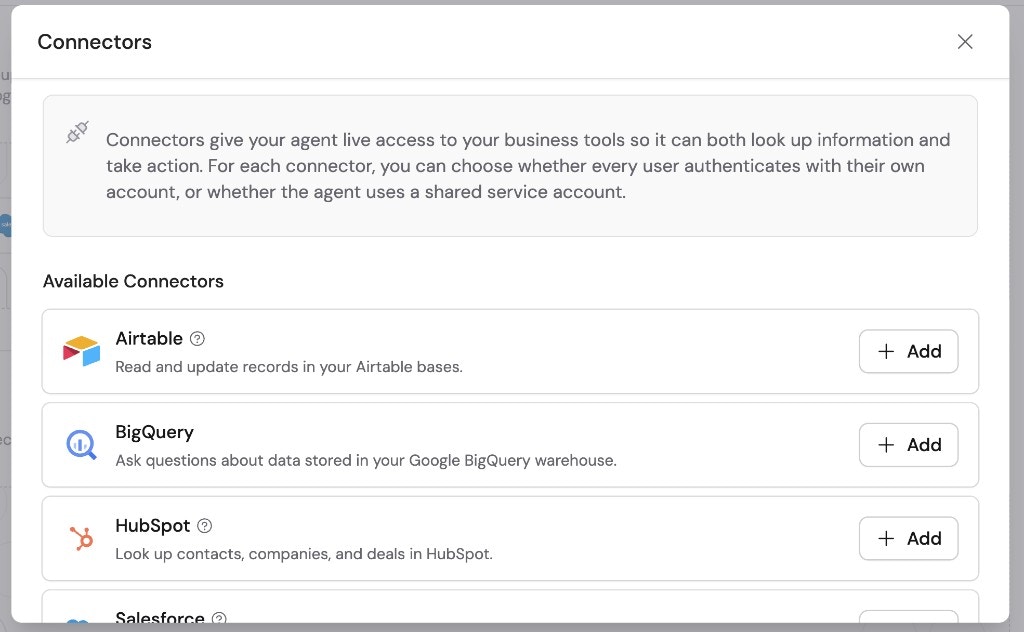
4
Choose a connection method
Select how users will authenticate with HubSpot: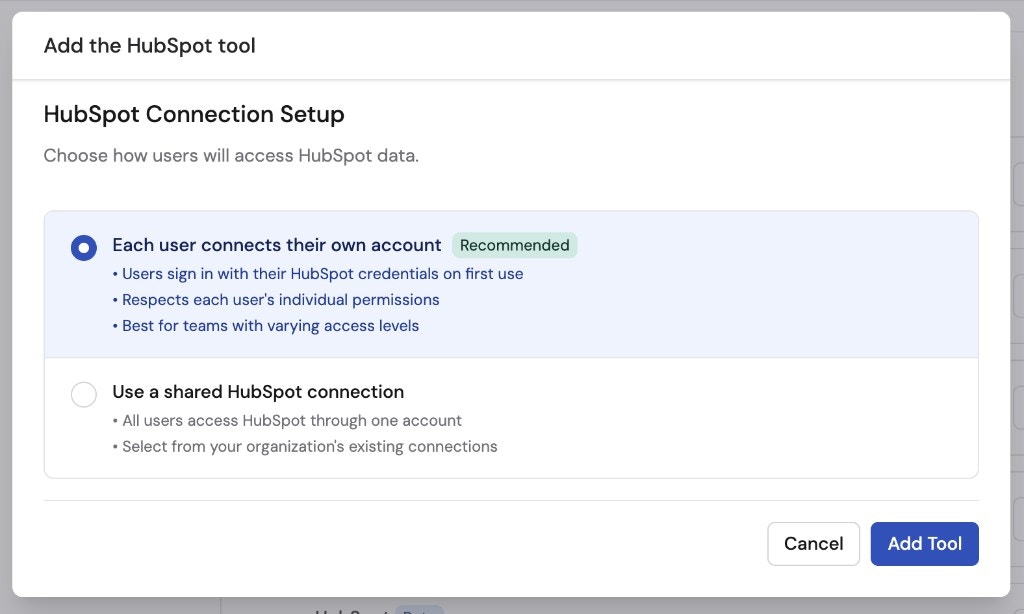
- Each user connects their own account (recommended) — Users sign in with their HubSpot credentials on first use. Respects each user’s individual permissions. Best for teams with varying access levels.
- Use a shared HubSpot connection — All users access HubSpot through one account using your organization’s existing connections.
5
Set up a shared connection (if selected)
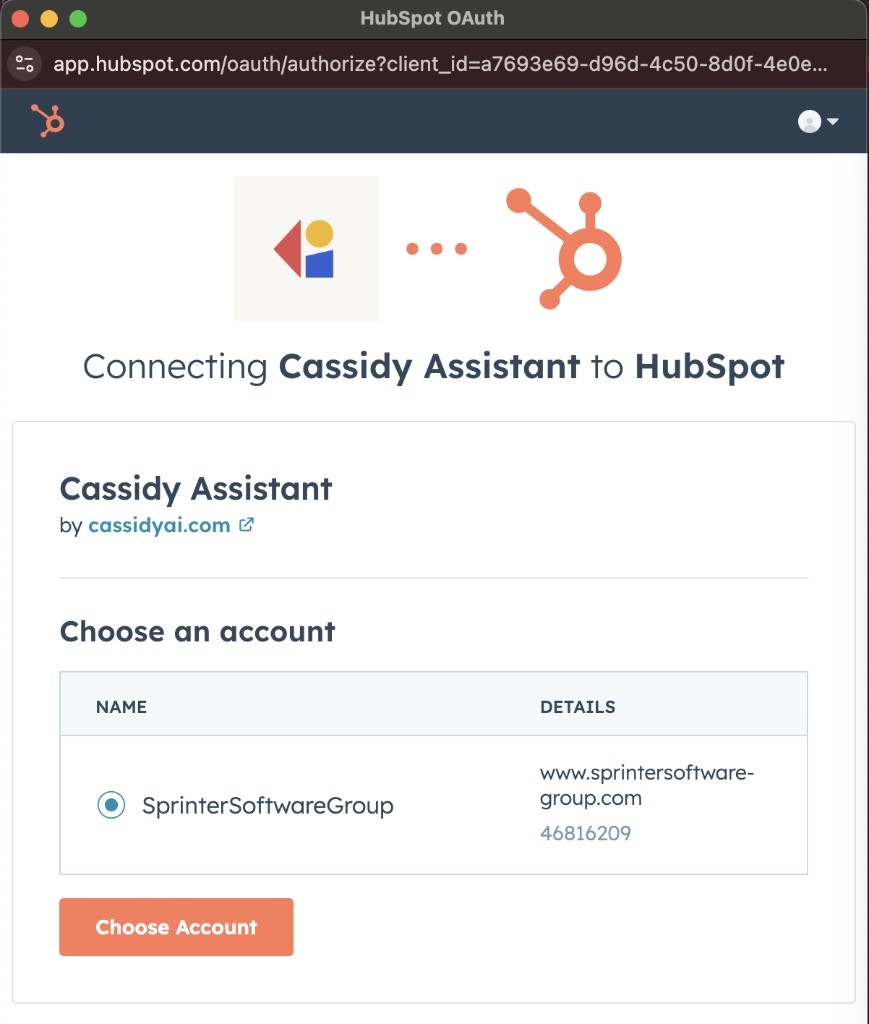
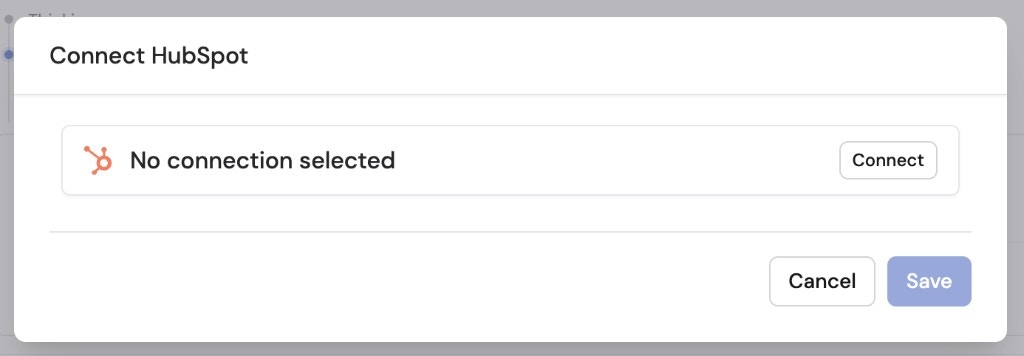
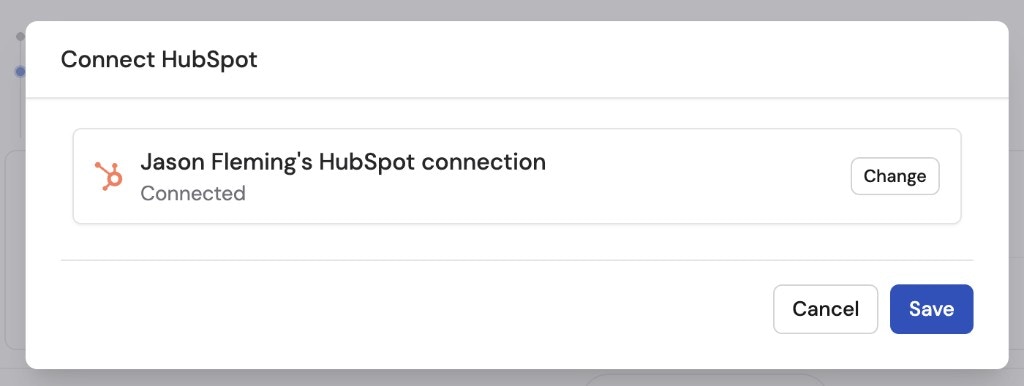
If you chose Use a shared HubSpot connection, click Connect to sign in. You’ll be redirected to HubSpot to select your account and accept the access request.
6
Save the Connector
Once connected, click Save to complete the setup.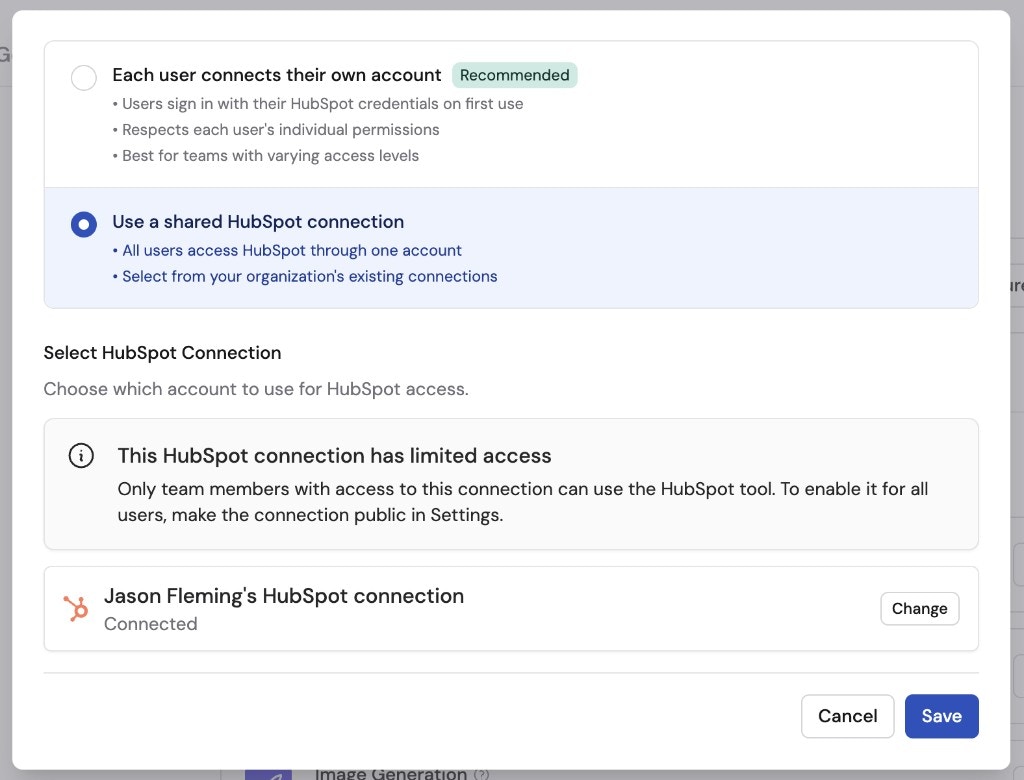
7
Start a chat
Navigate to Chat and select the Agent with the HubSpot Connector enabled.If you chose Each user connects their own account, users are prompted to connect their HubSpot account from within the chat the first time they use the Connector. Click Connect when prompted.
8
Query HubSpot data
Your Agent can now access HubSpot data to answer questions about contacts, deals, companies, and other CRM records directly in the conversation.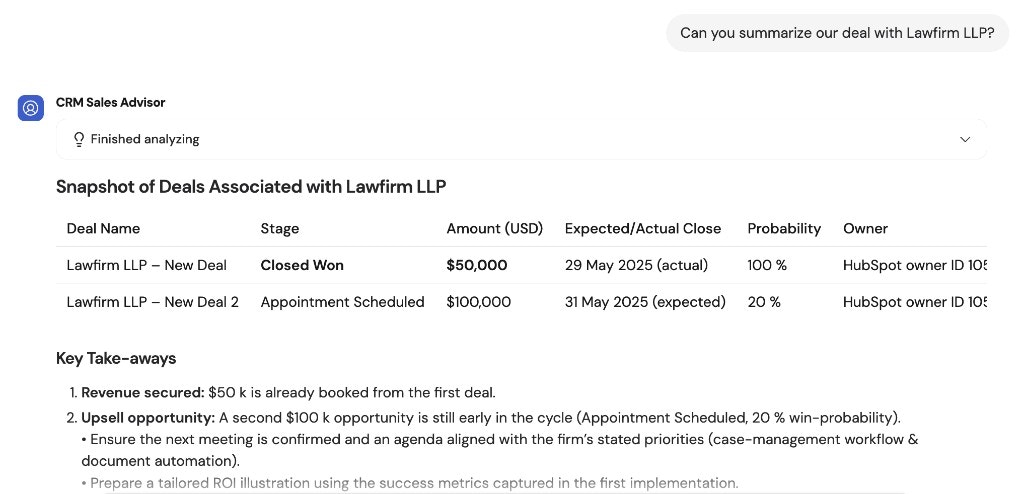
Next steps
Use HubSpot in Workflows
Trigger Workflows from record changes and push AI-generated results back to your CRM.
Explore all Connectors
Learn about other Connectors available for your Agents.