Add the Salesforce Connector
1
Select your Agent
Navigate to Agents, find the Agent you want to configure, click … and select Edit.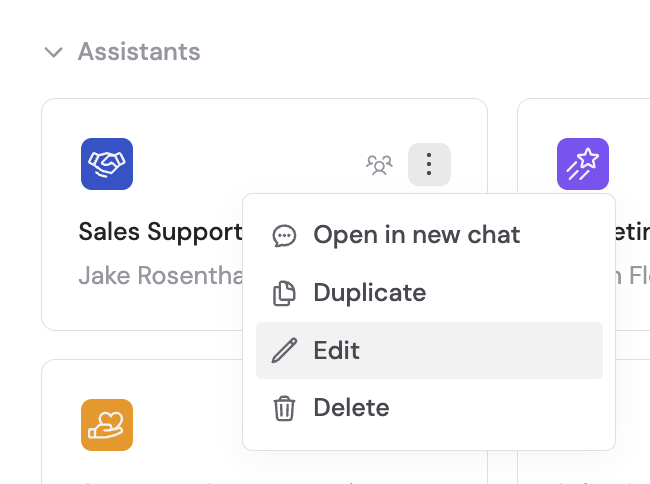
2
Open the Connectors section
In the Agent editor, go to the Setup tab and scroll to the Connectors section.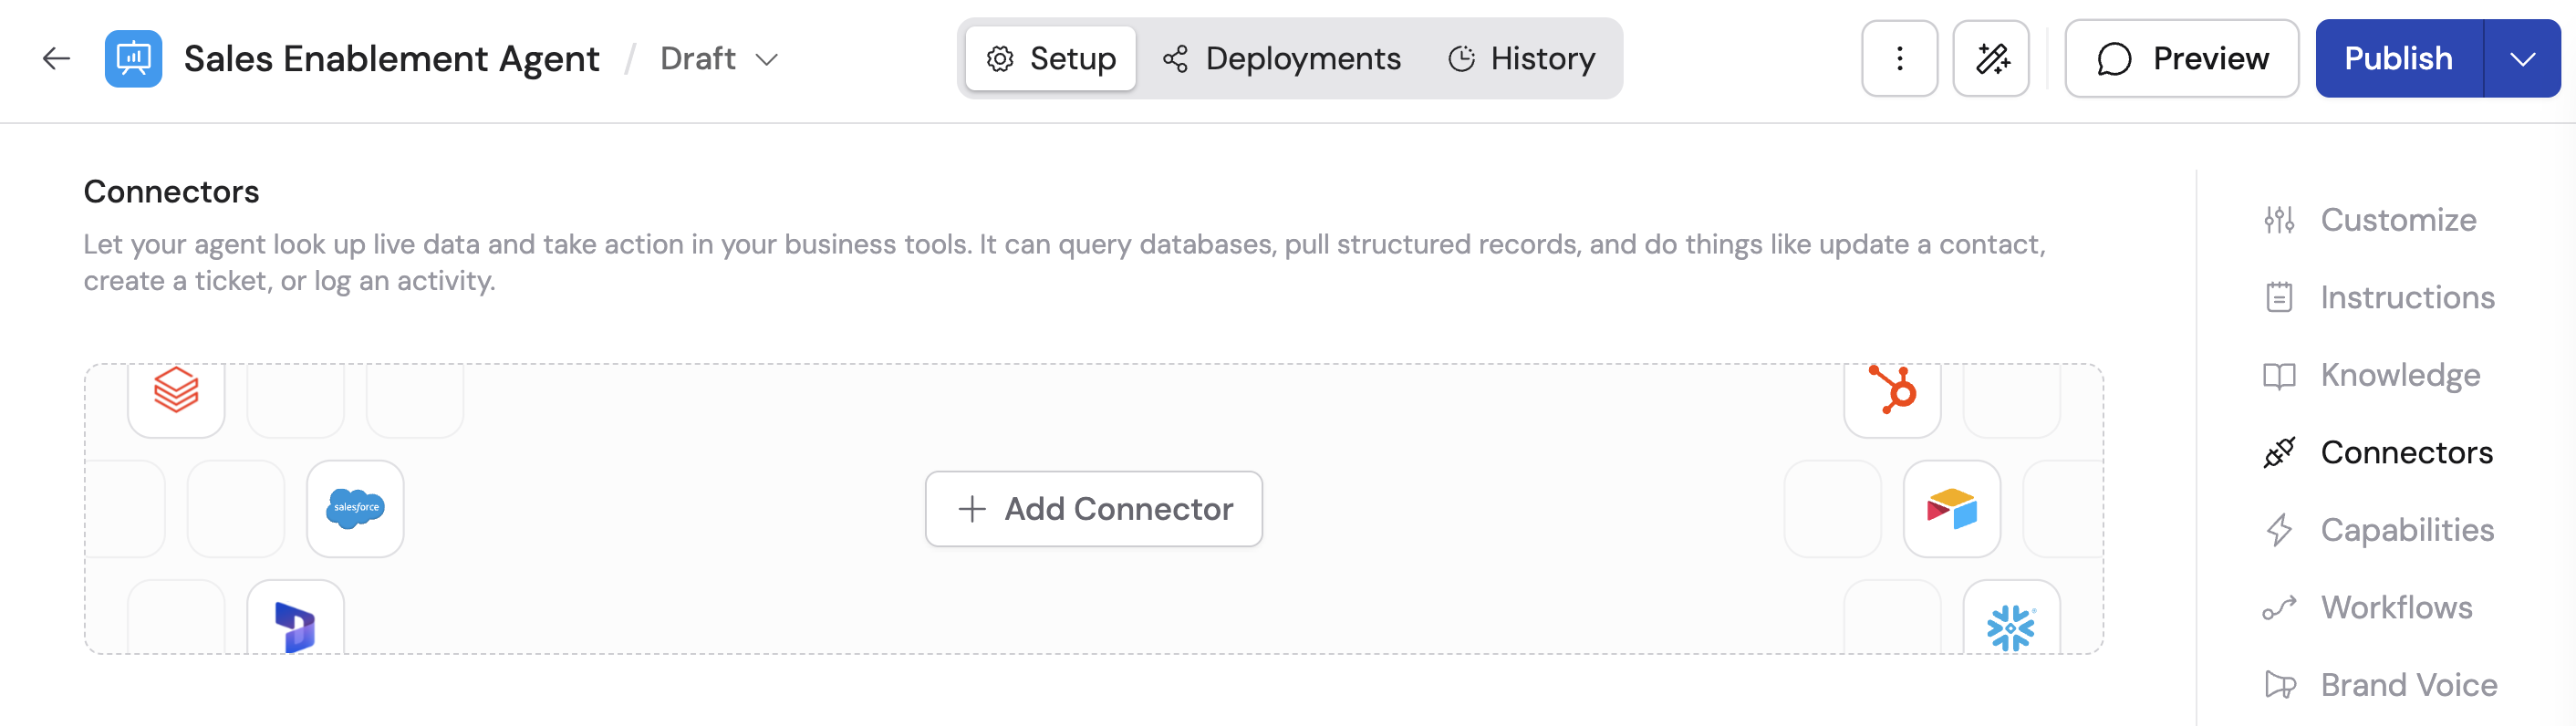
3
Add Salesforce
Click + Add Connector and then click + Add on the Salesforce option.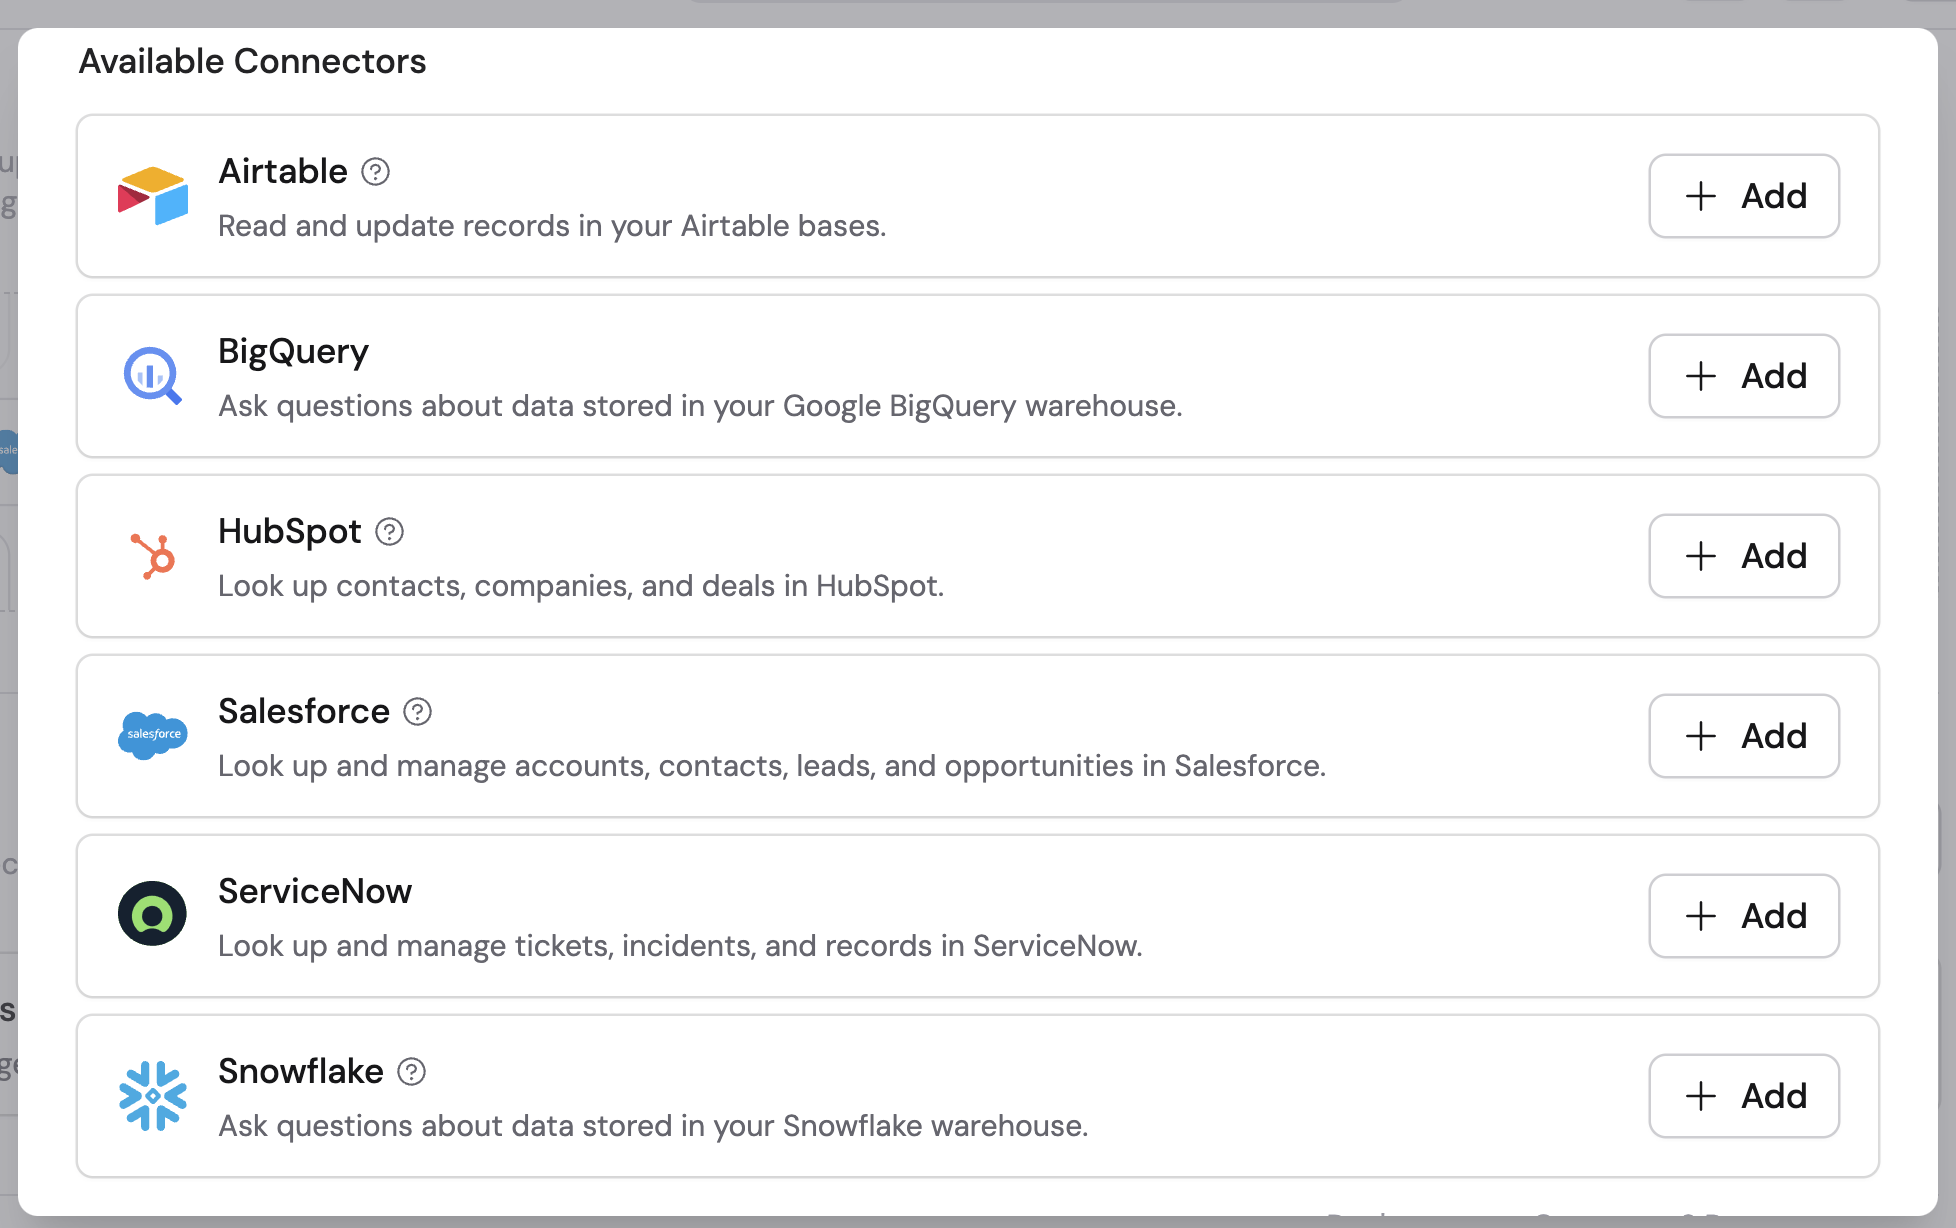
4
Choose your connection method
Select how users authenticate with Salesforce: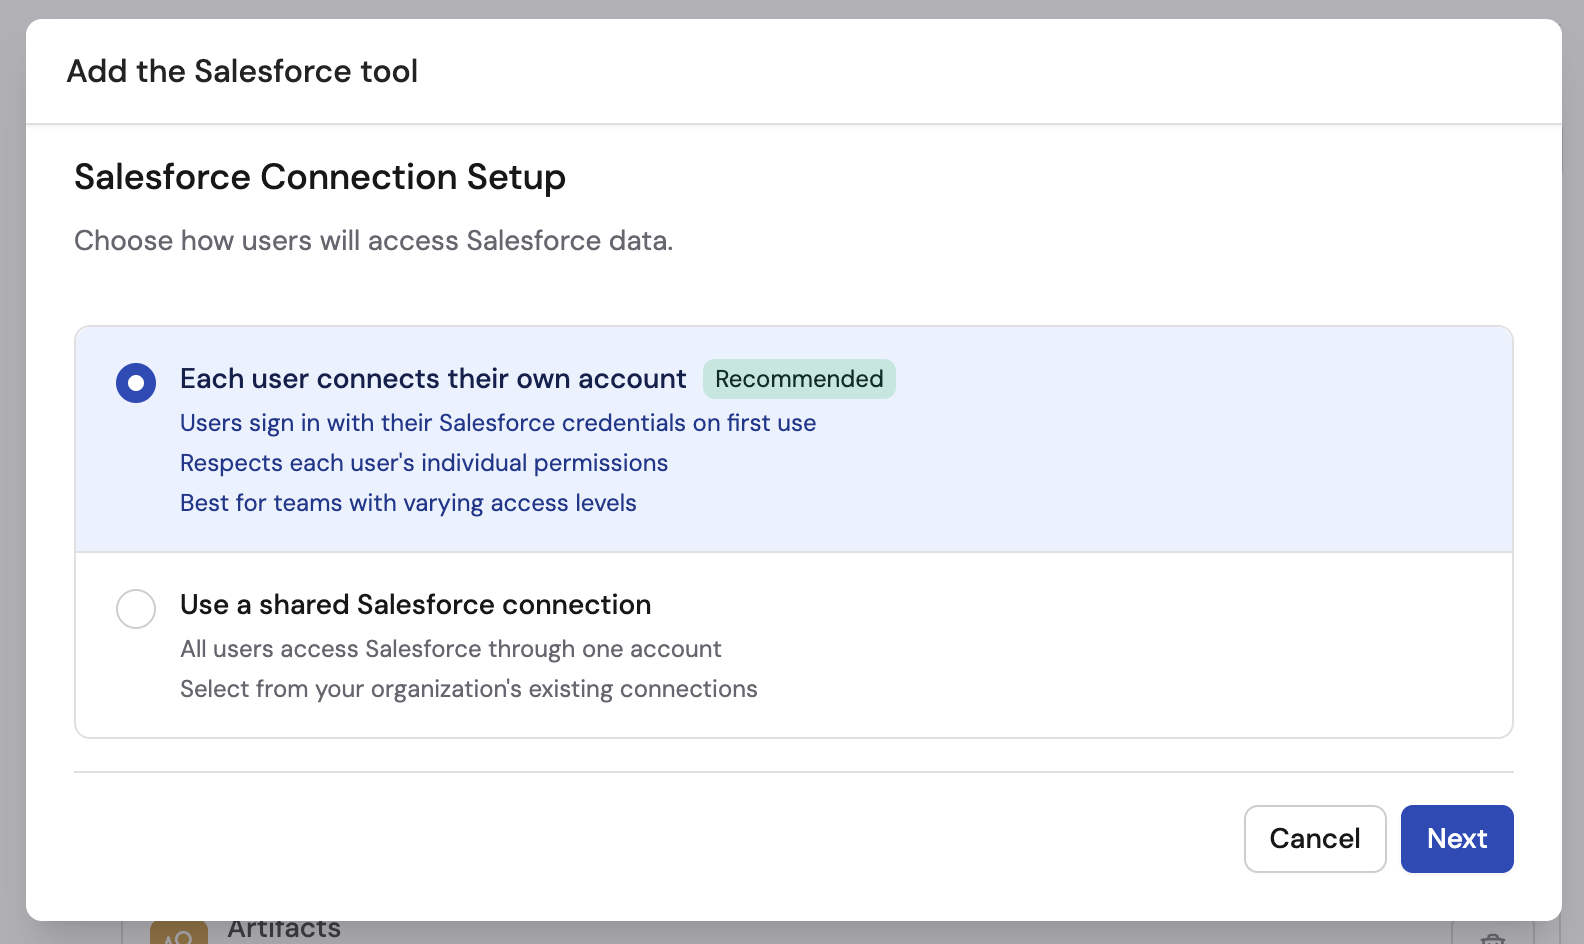
- Each user connects their own account (recommended) — Each team member connects their personal Salesforce account. The Agent can only access what each user has permission to see in Salesforce.
- Use a shared Salesforce connection — Connect a dedicated service account that all users share. This gives centralized control over what data the Agent can access. Only workspace admins can set up shared connections.
5
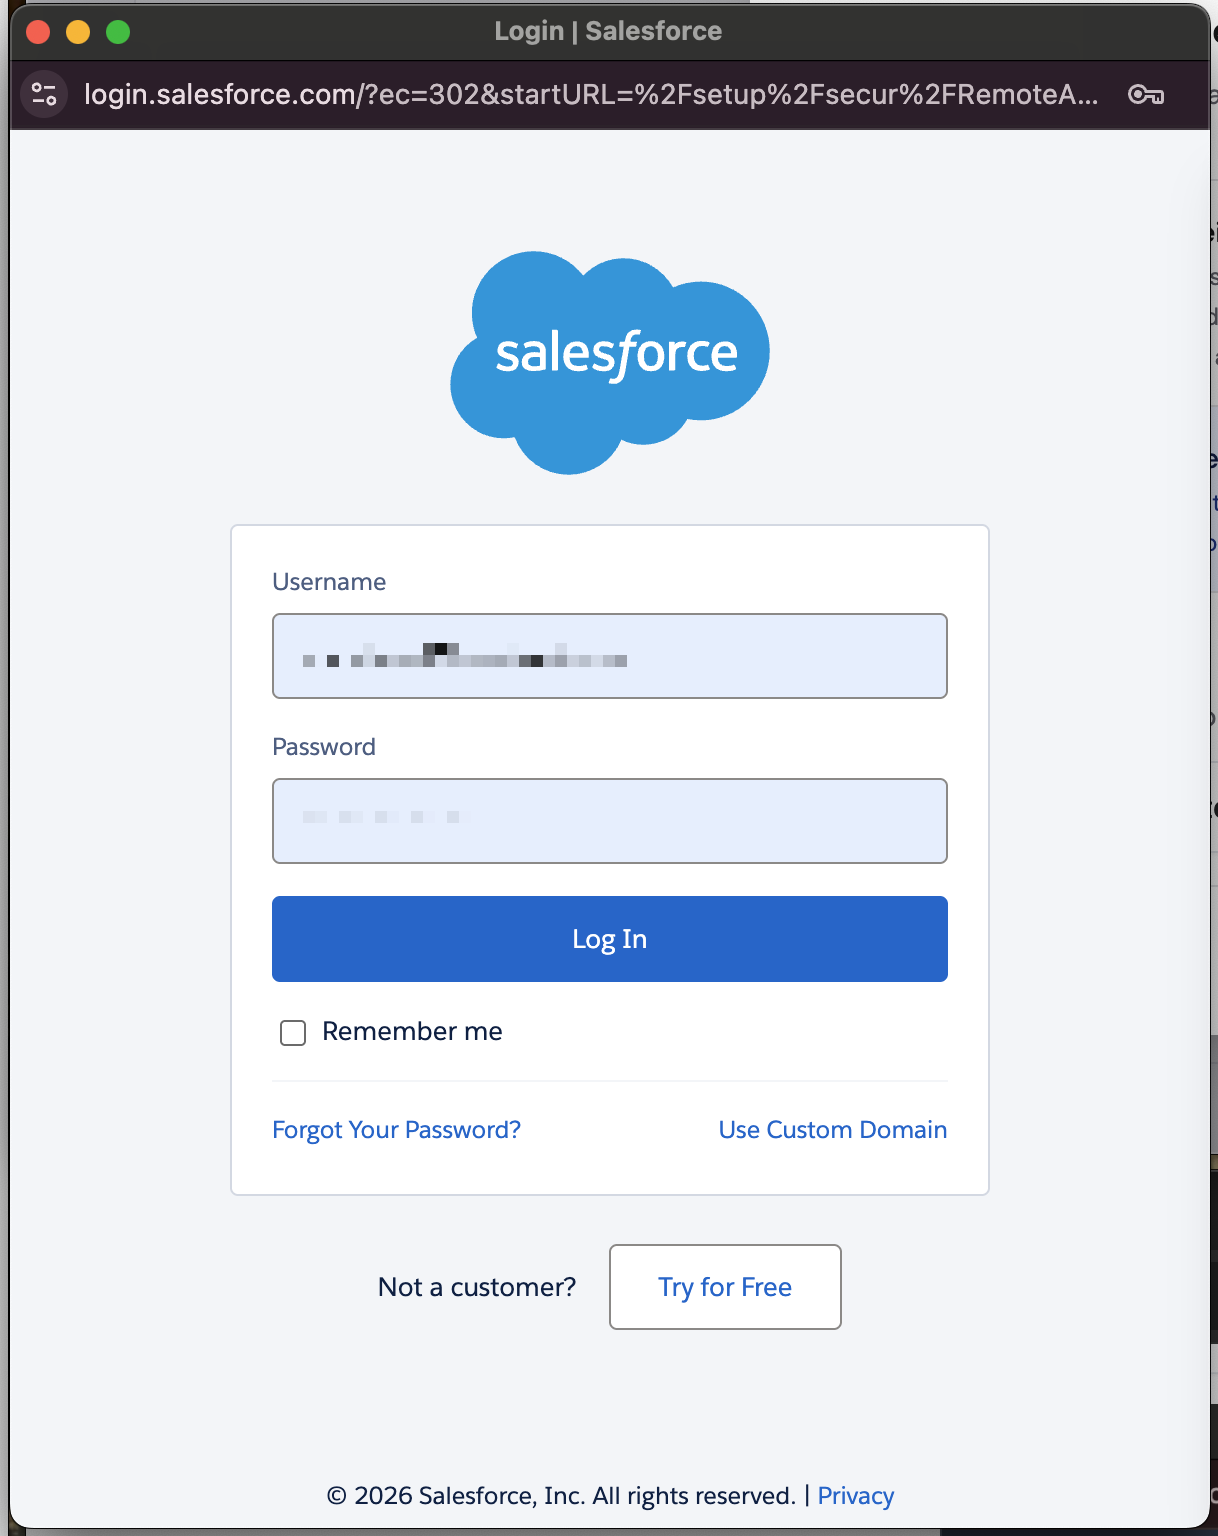
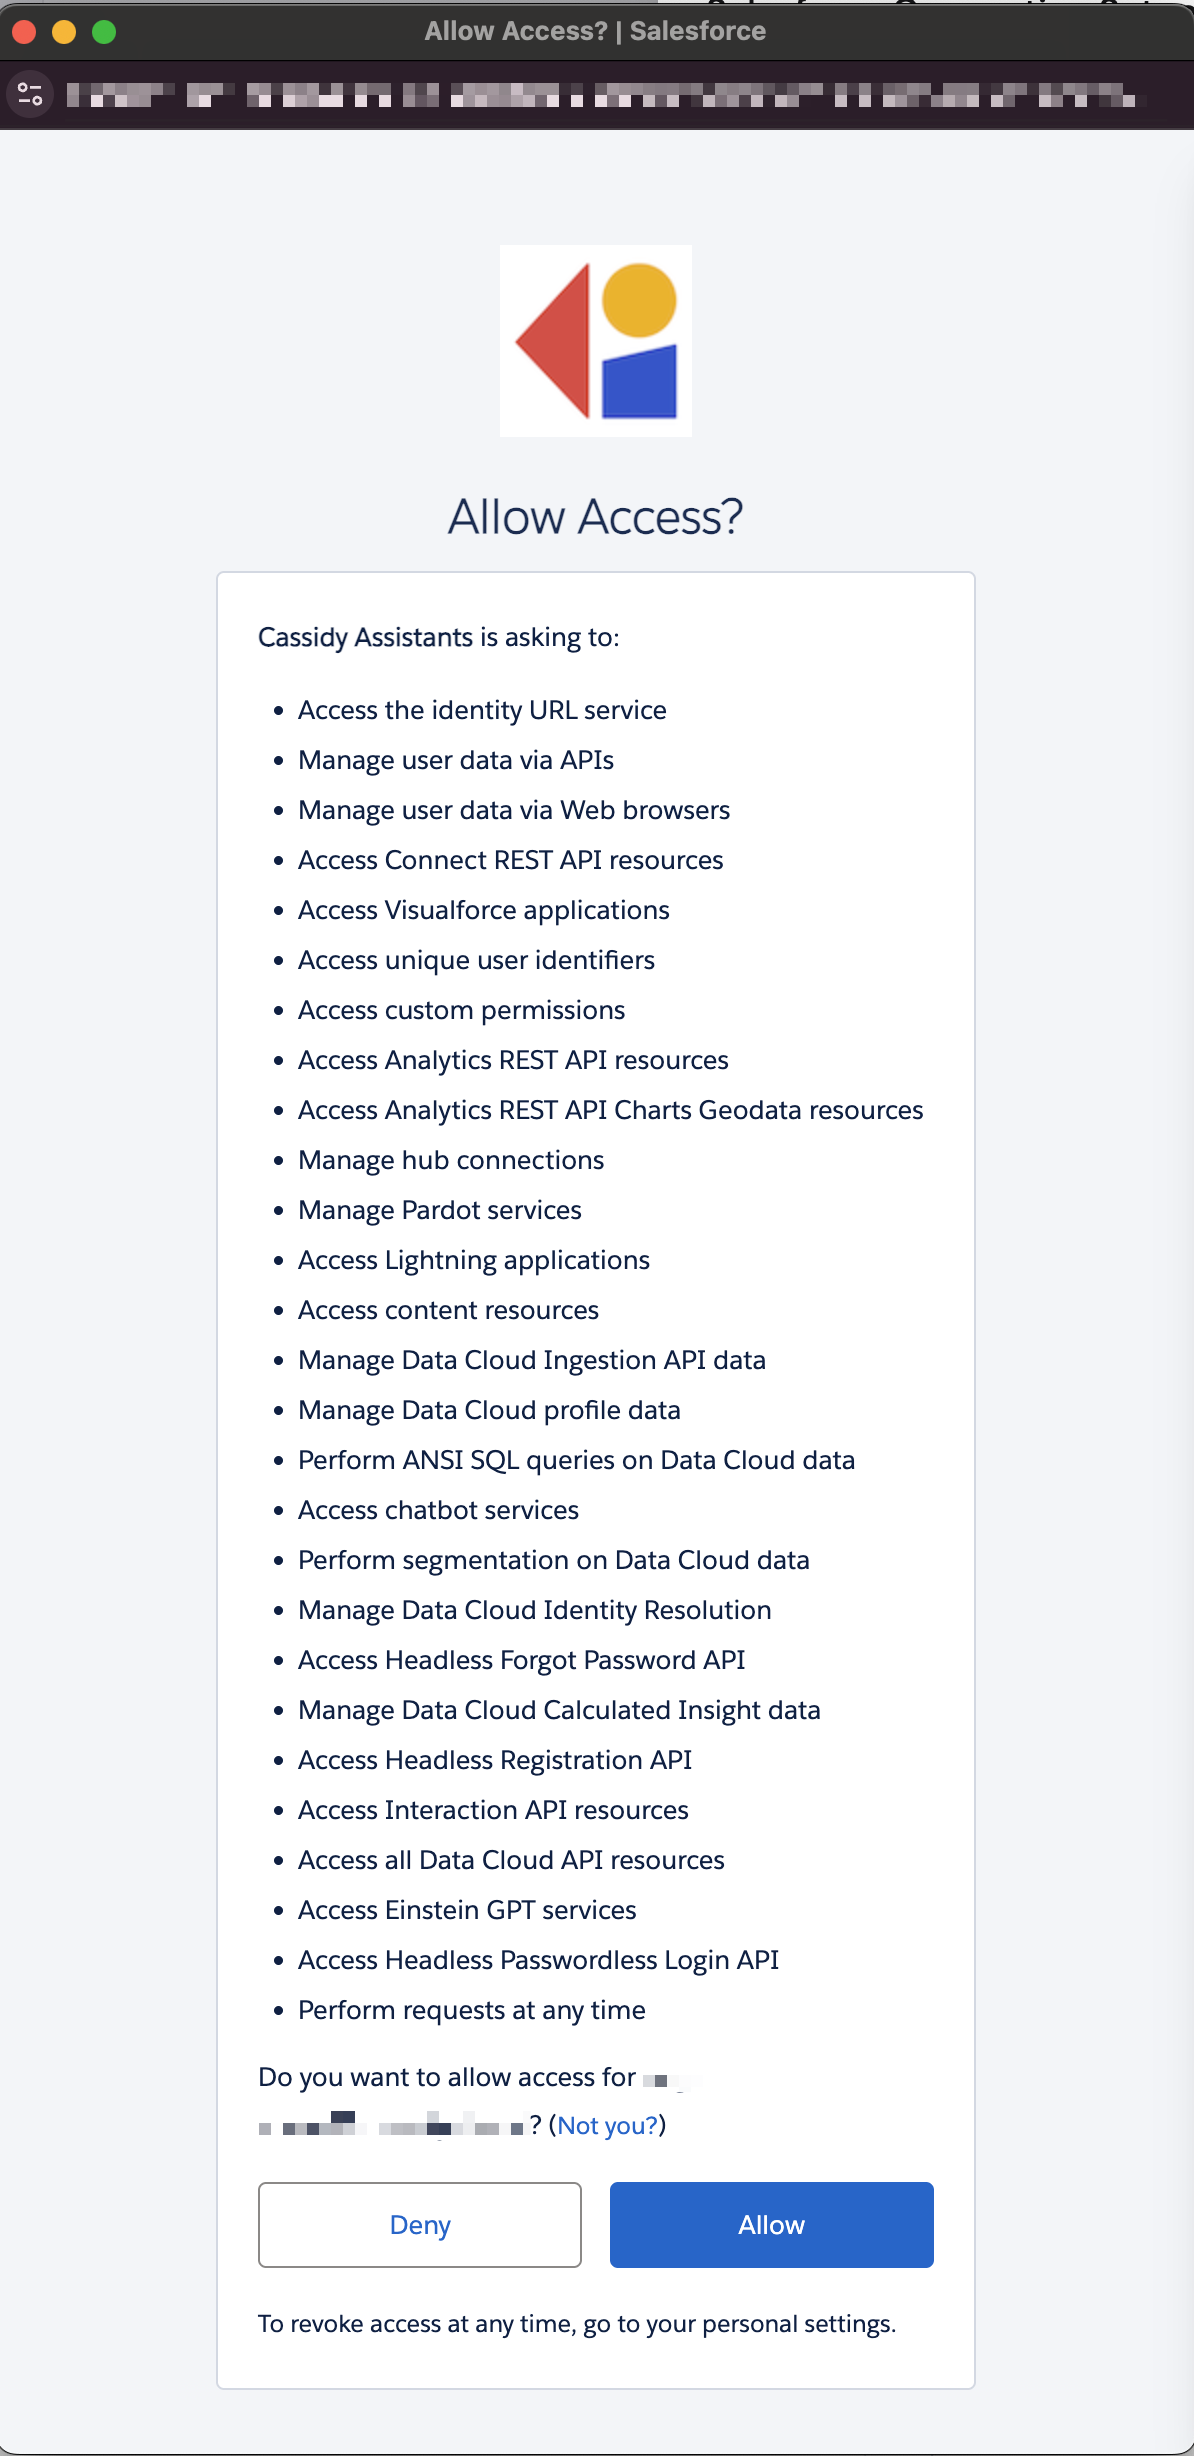
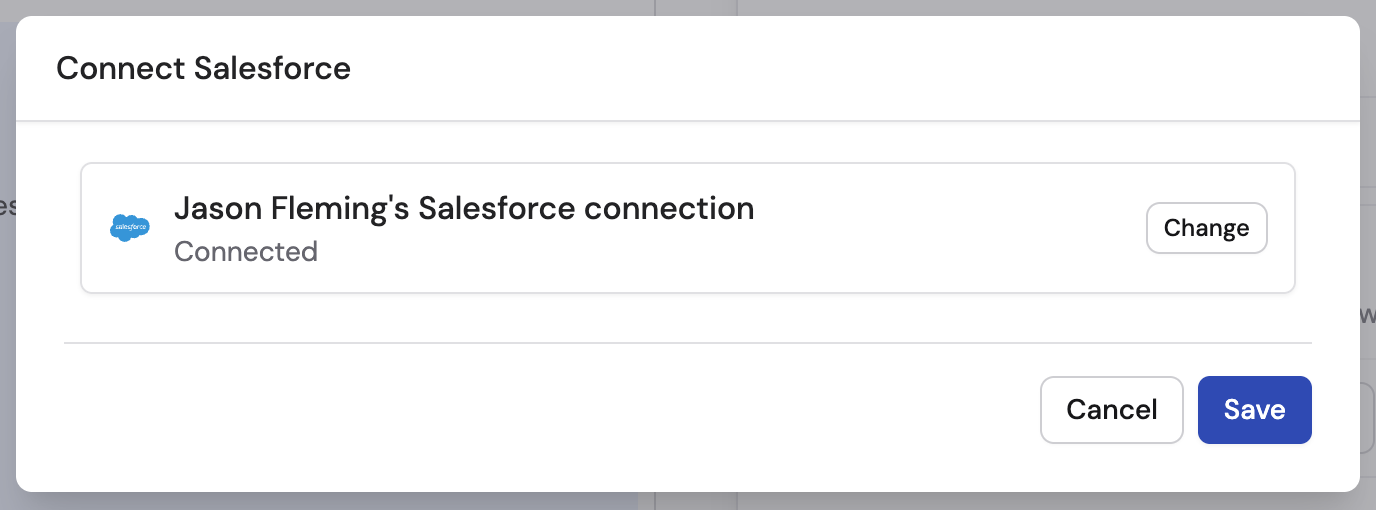
Set up a shared connection (if selected)
If you chose the shared option, click Connect to sign in with the service account and accept the access request.
6
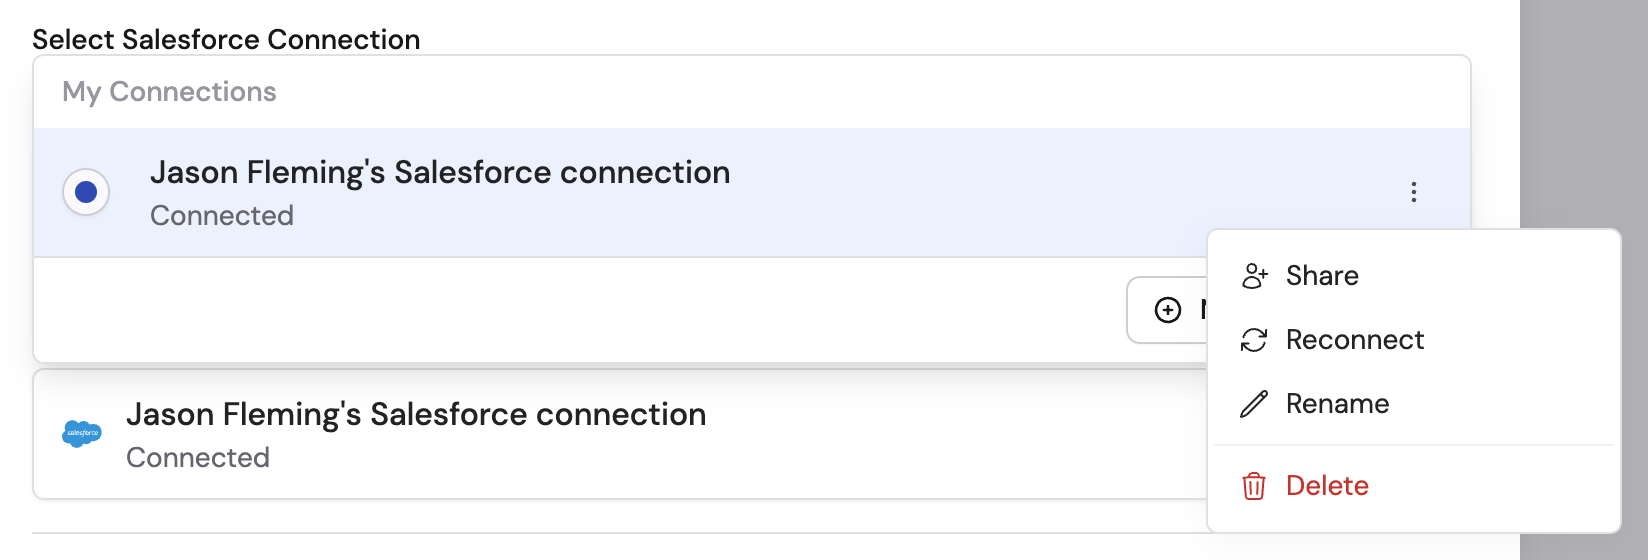
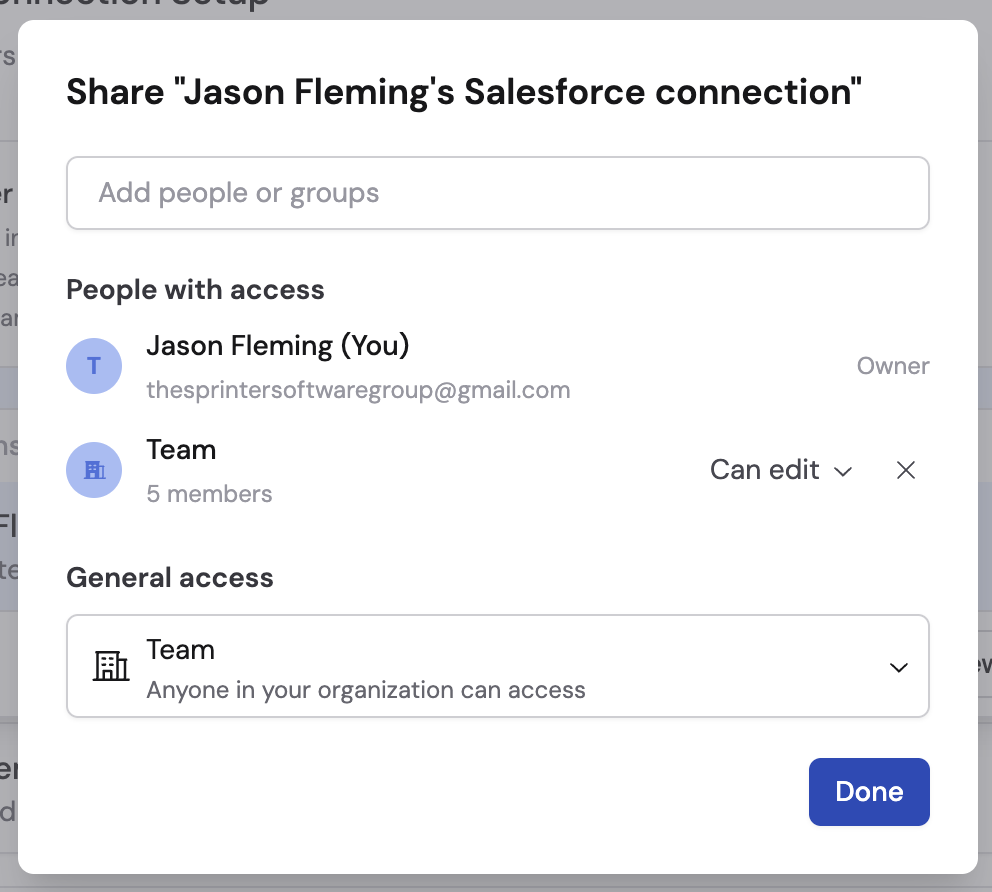
Share the connection with your team (optional)
To share the connection with other team members, click Change next to the newly added connection, then click the … menu and select Share.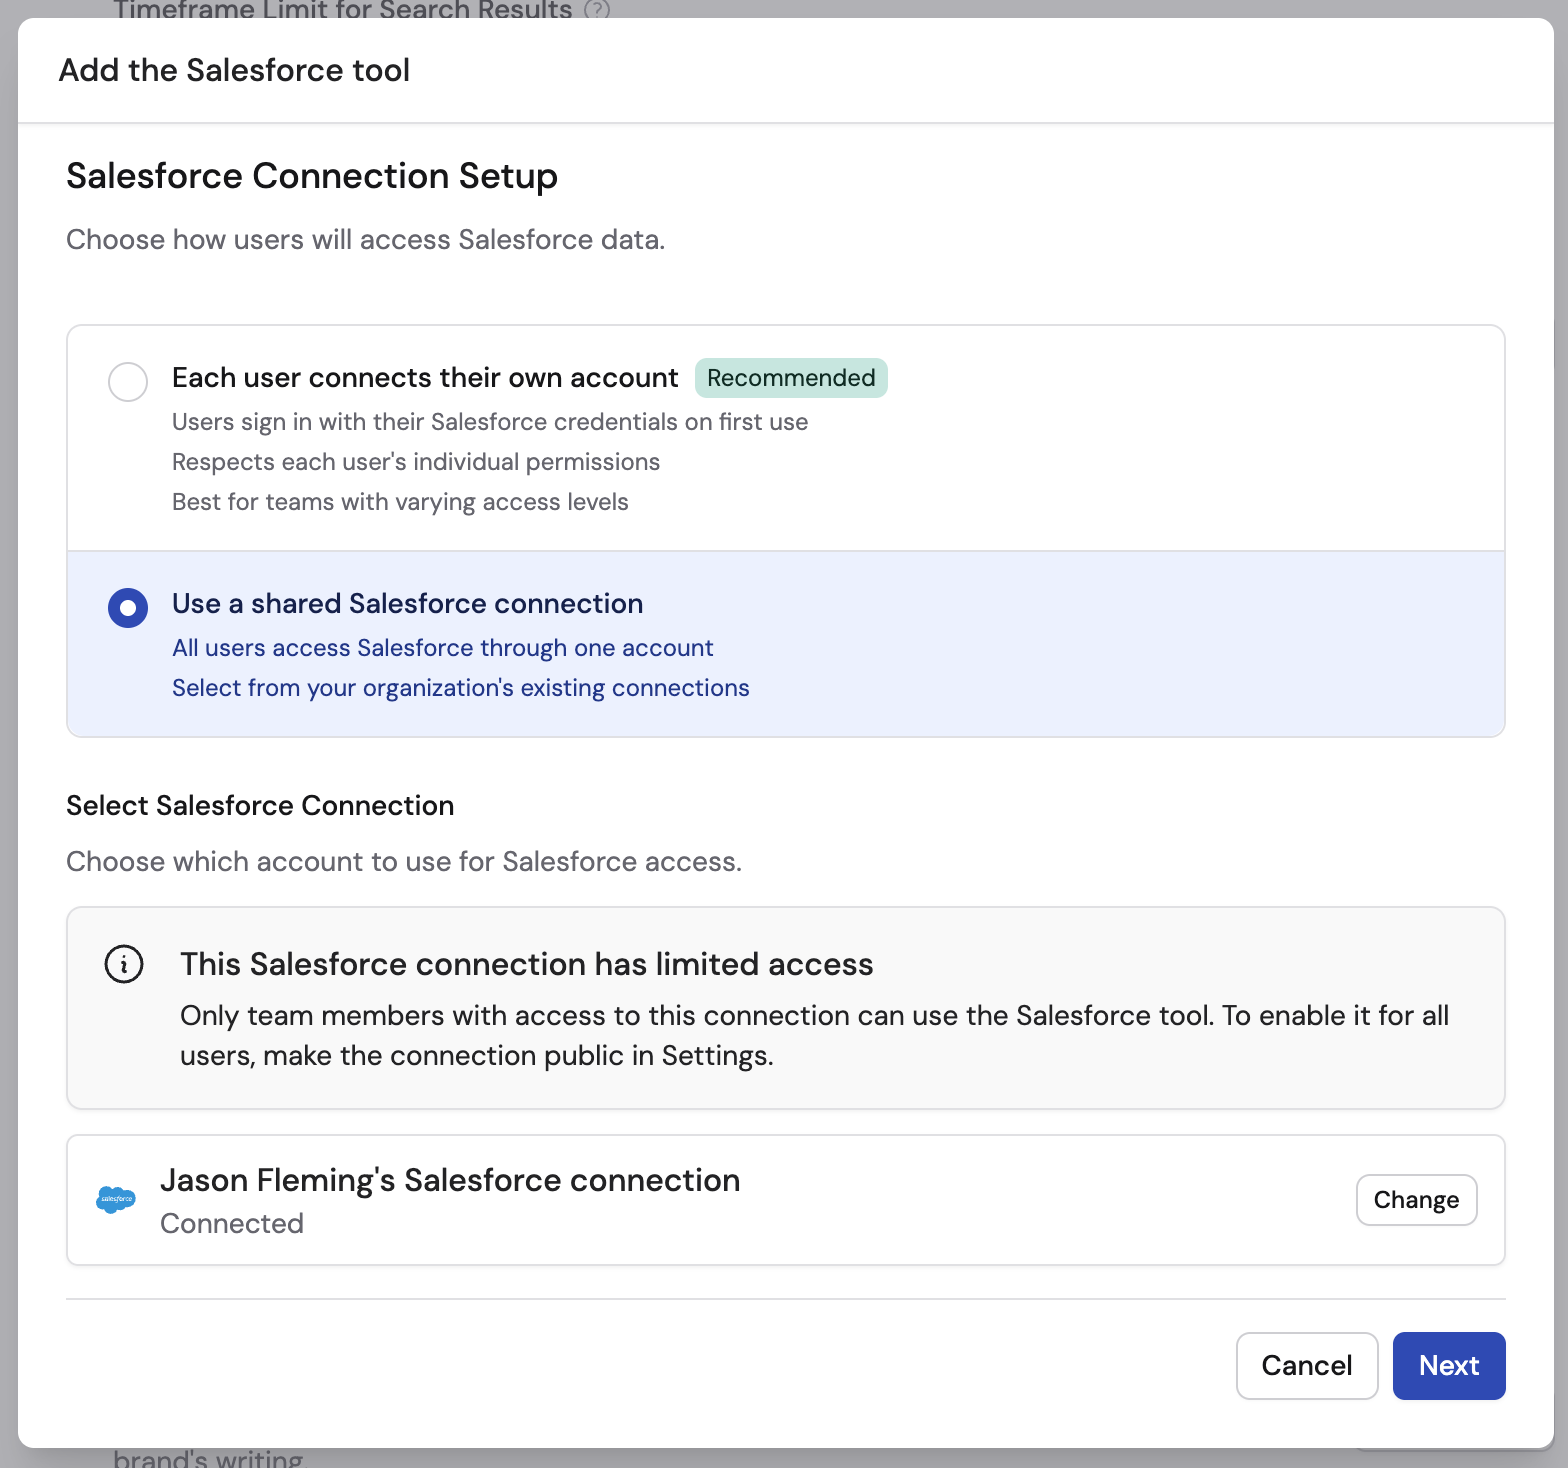
7
Configure tool permissions
Set permissions for each Salesforce action type. Every action is a separate tool that you control individually: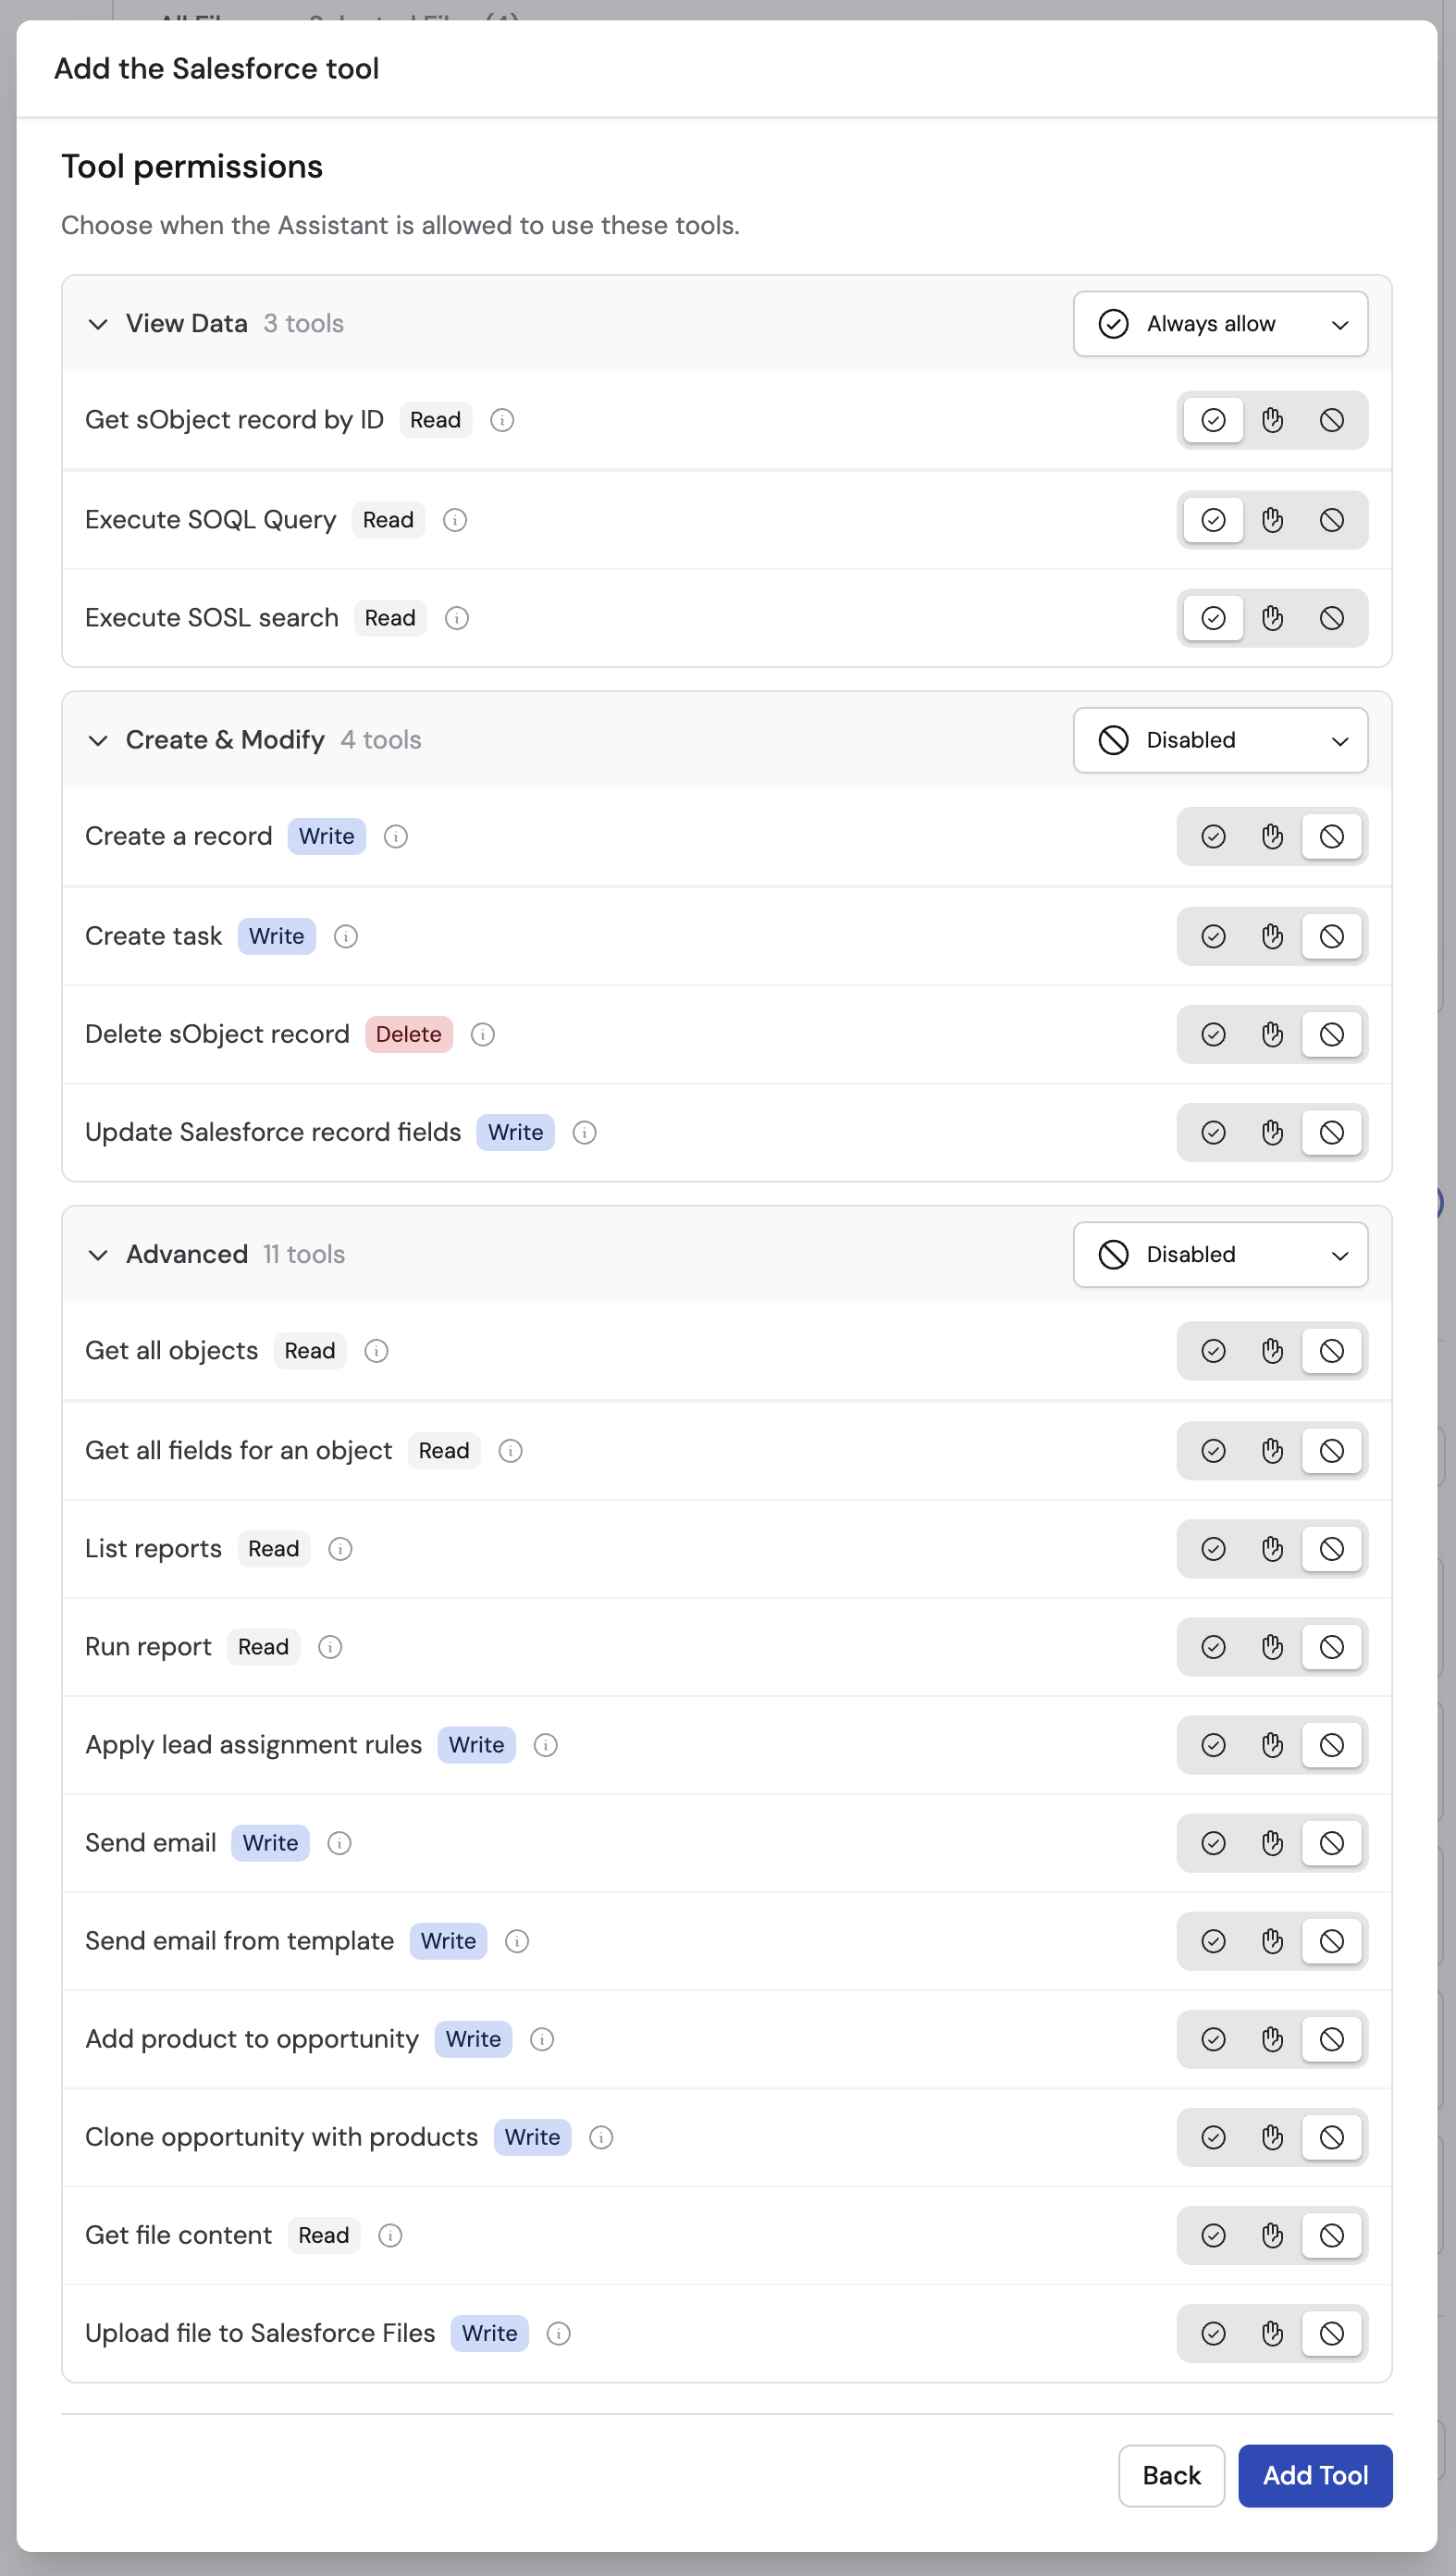
- Always Allow — The Agent performs the action automatically when needed
- Needs Approval — The Agent asks the user for permission before taking the action
- Disabled — The Agent cannot perform the action
8
Start a conversation
Navigate to Chat and select the Agent with the Salesforce Connector enabled.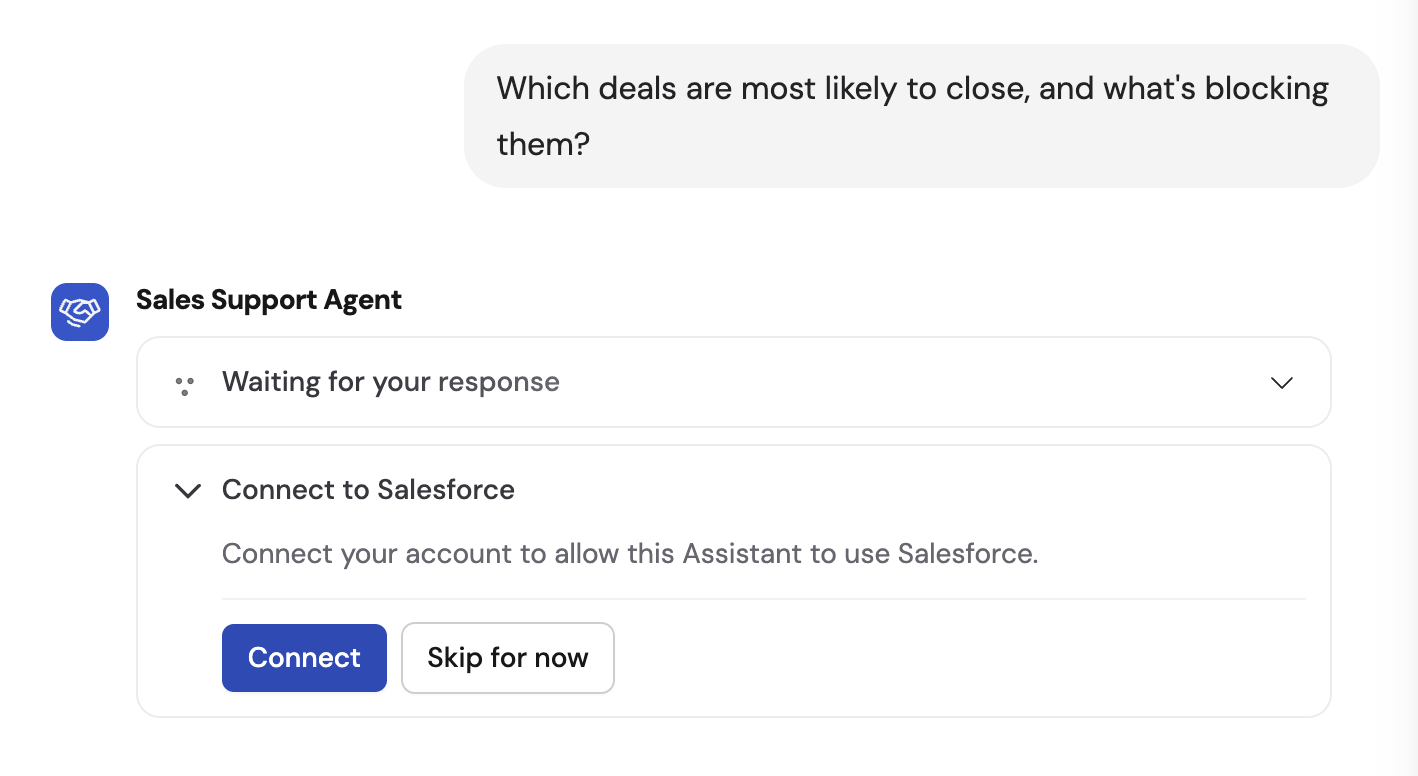
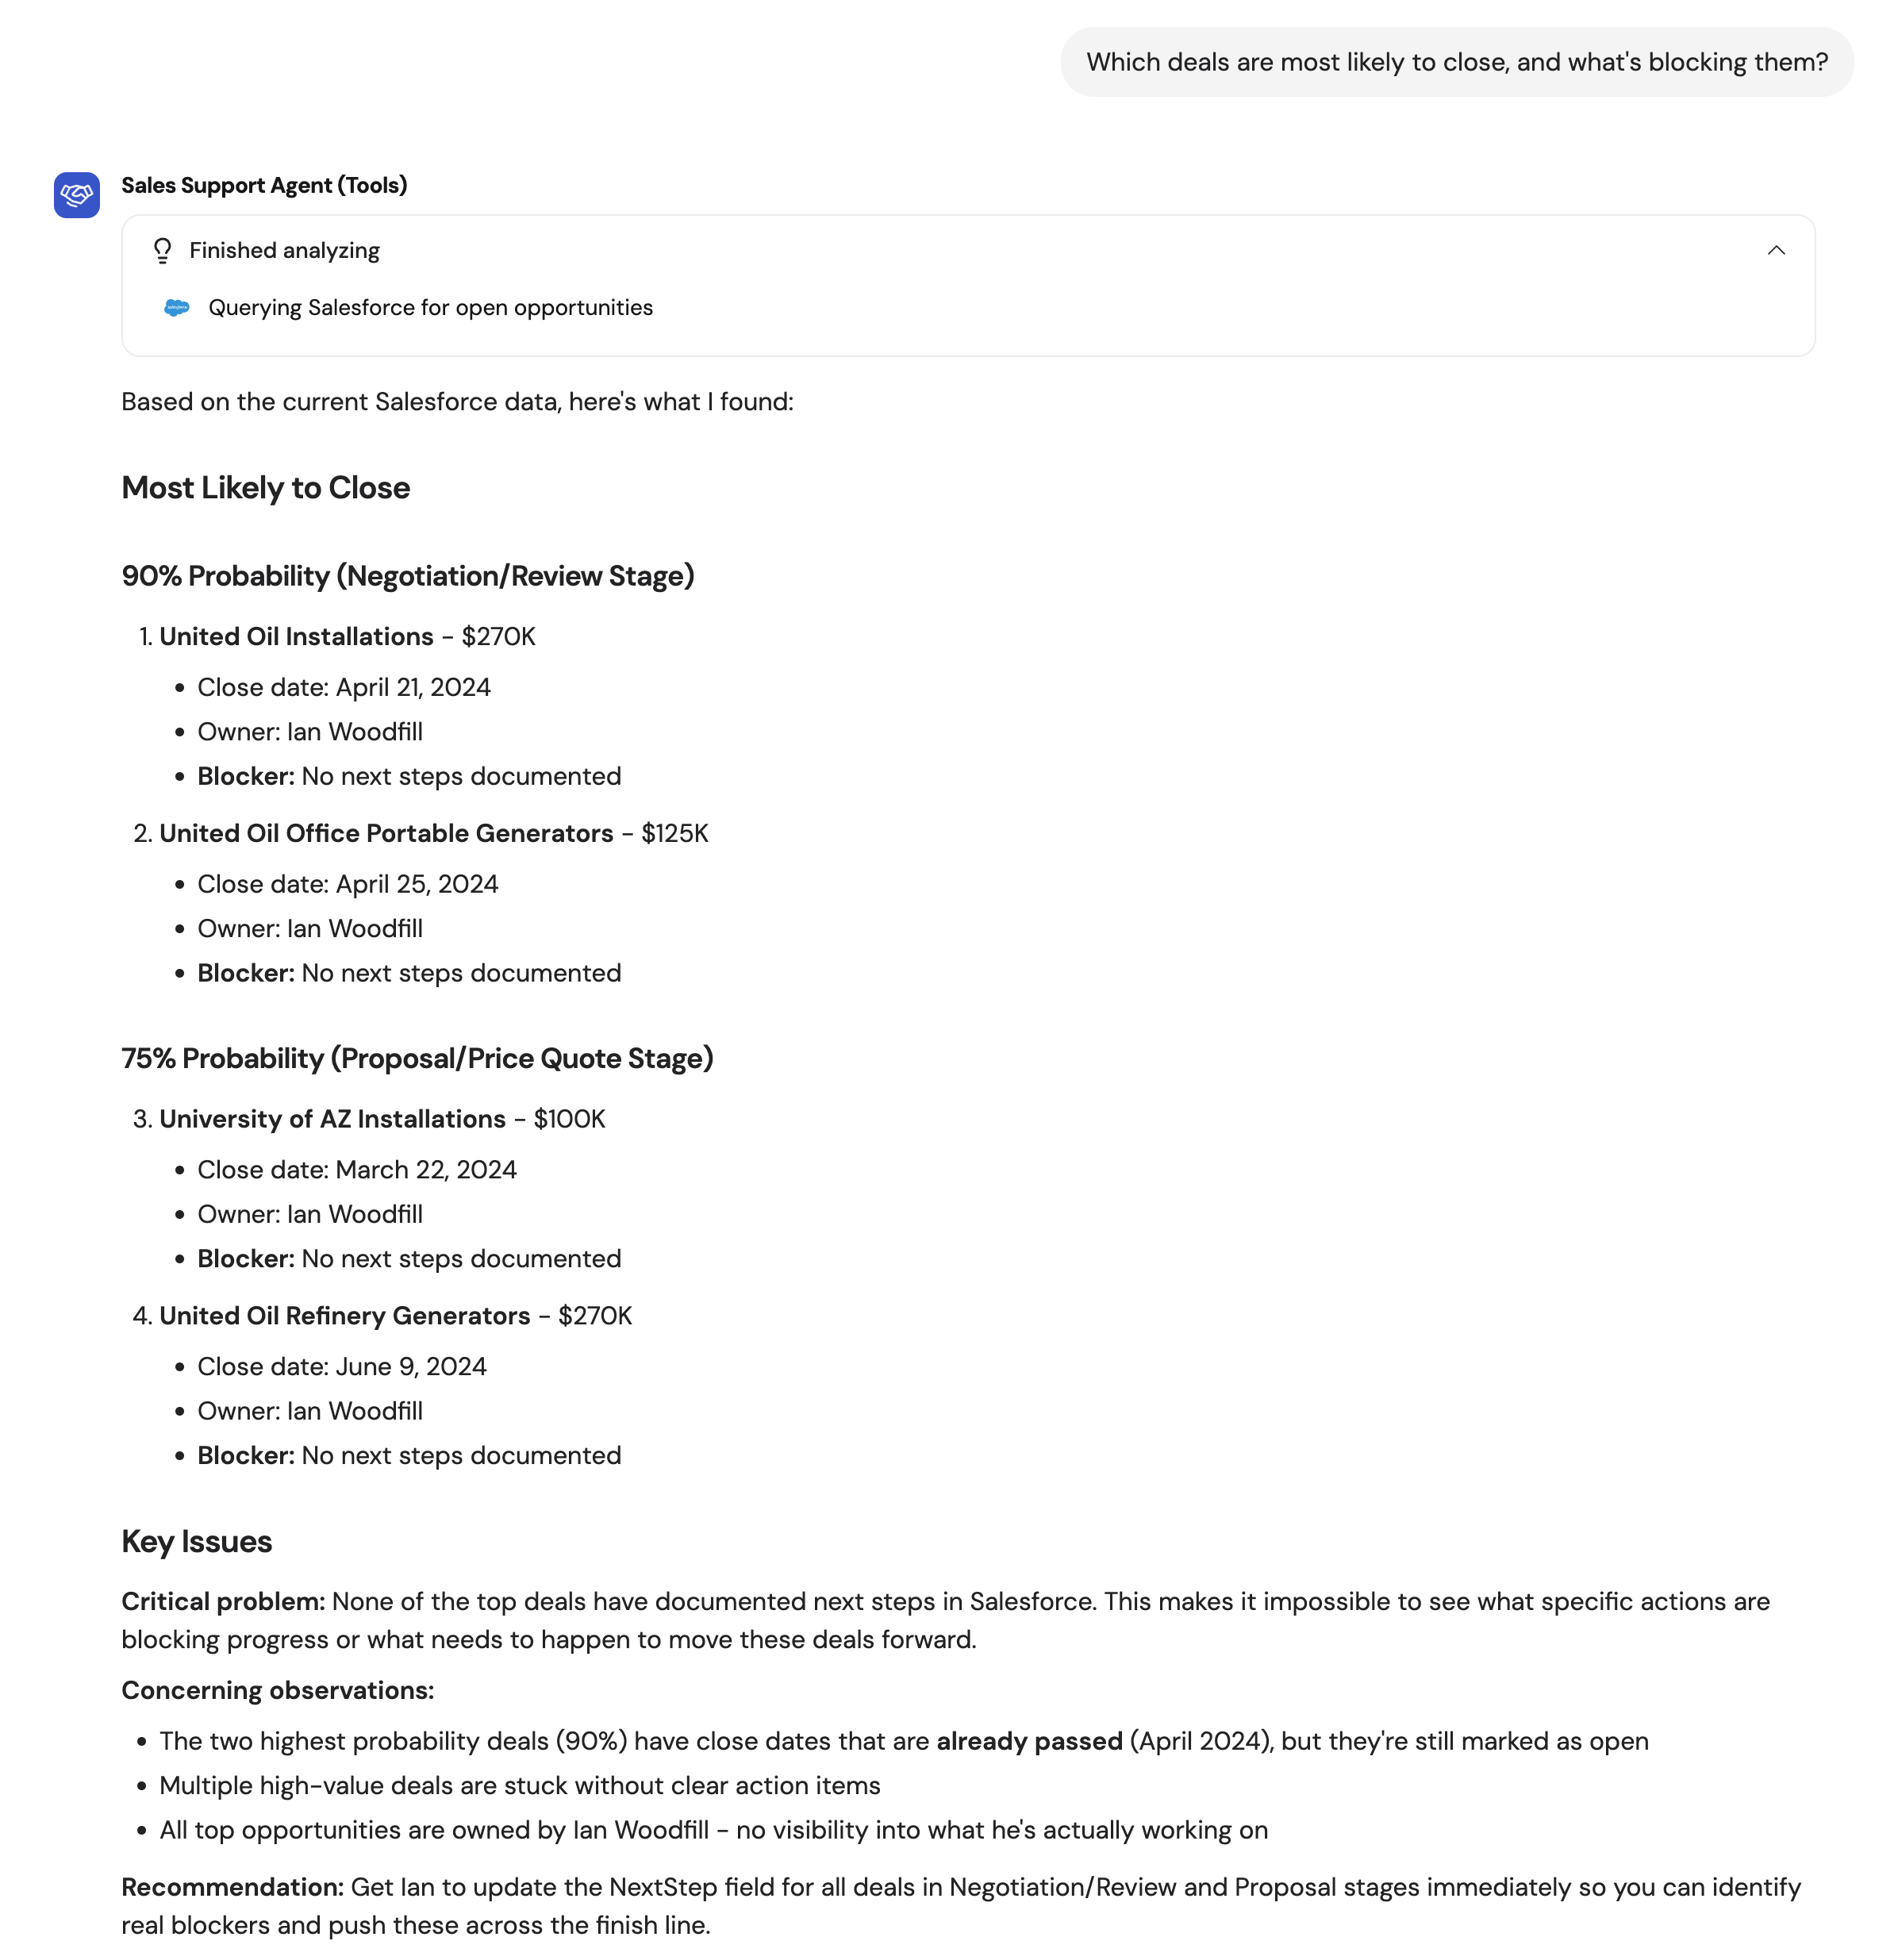
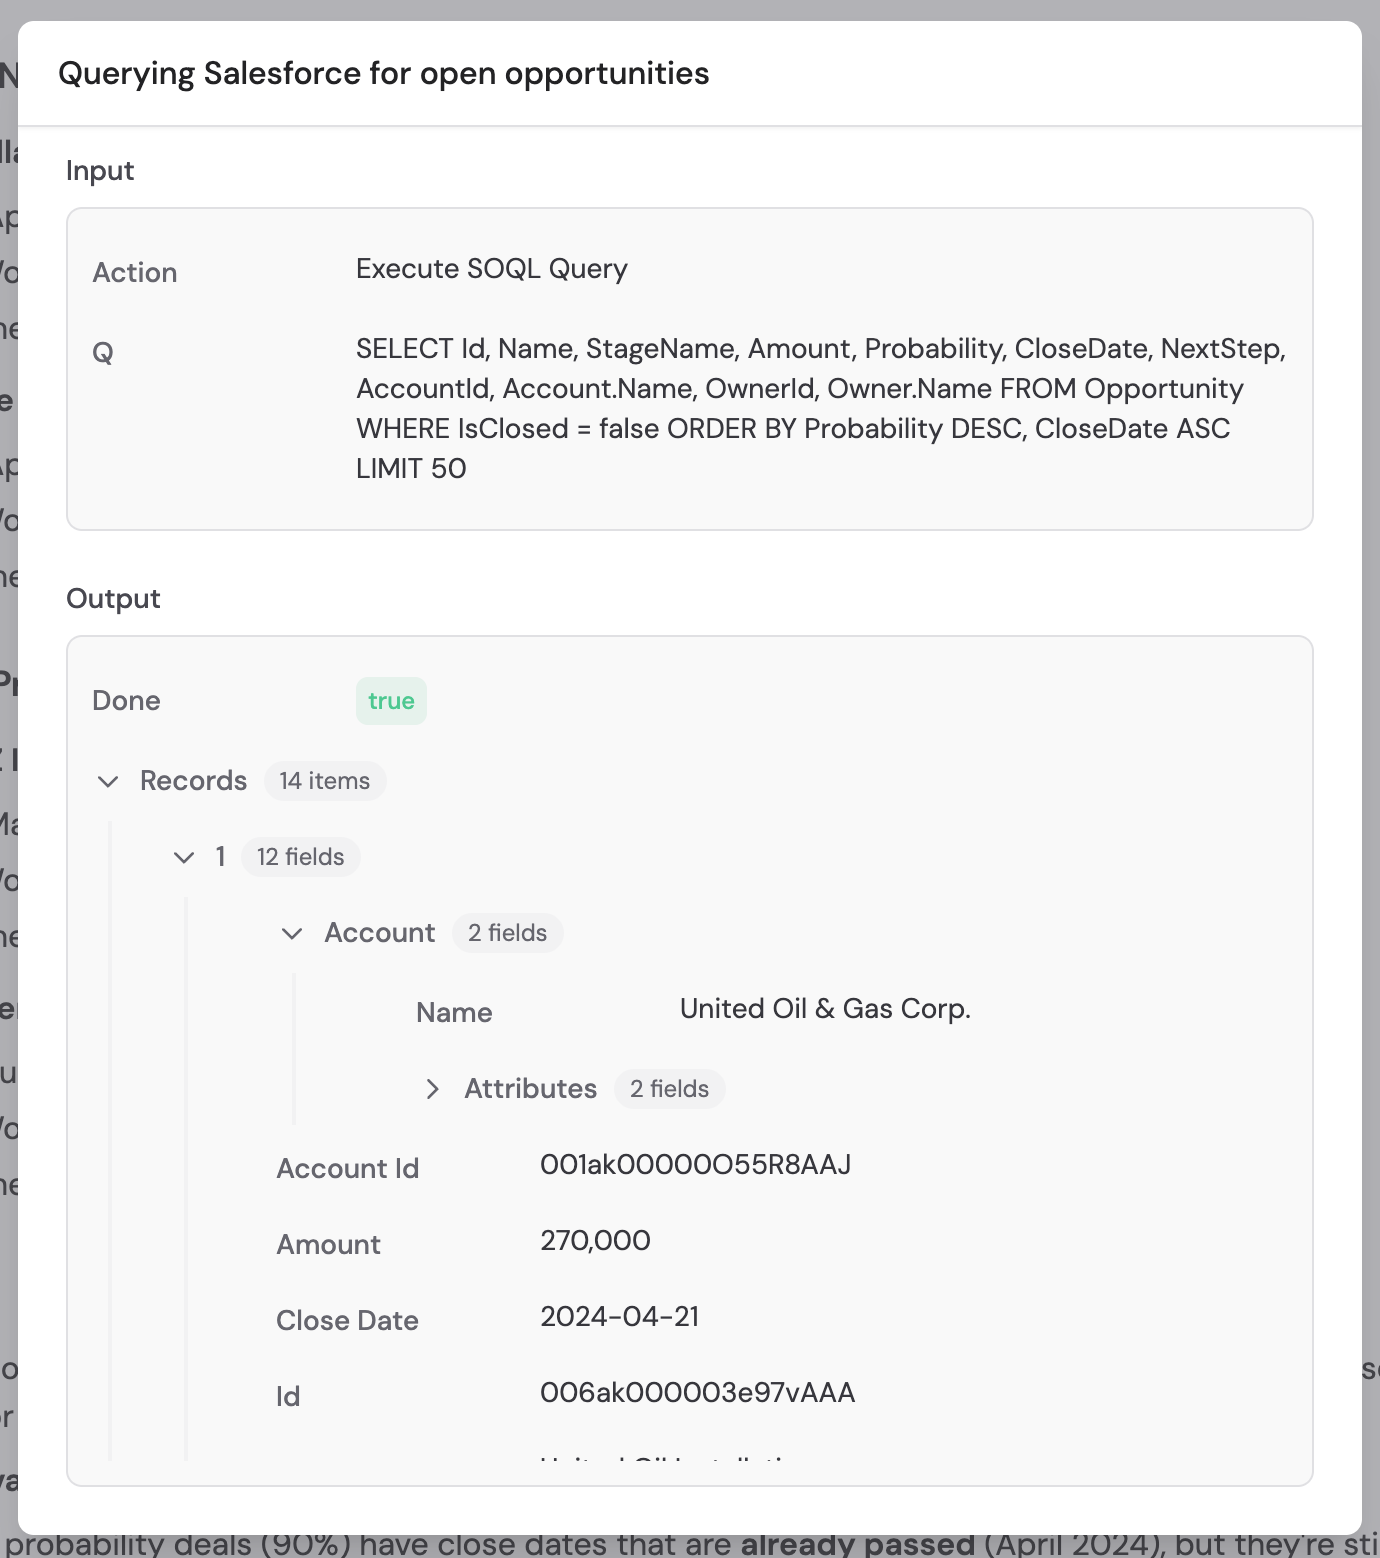
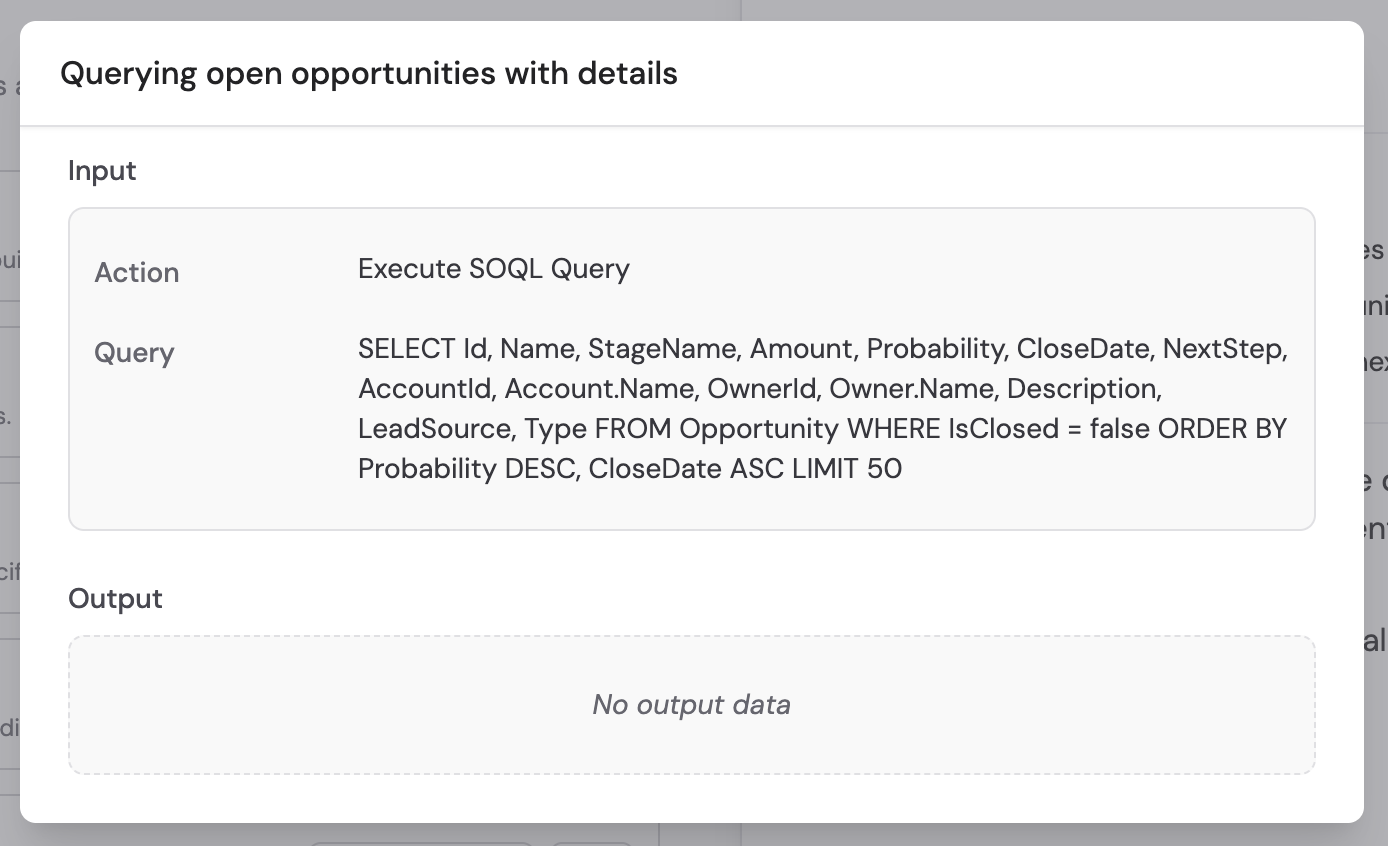
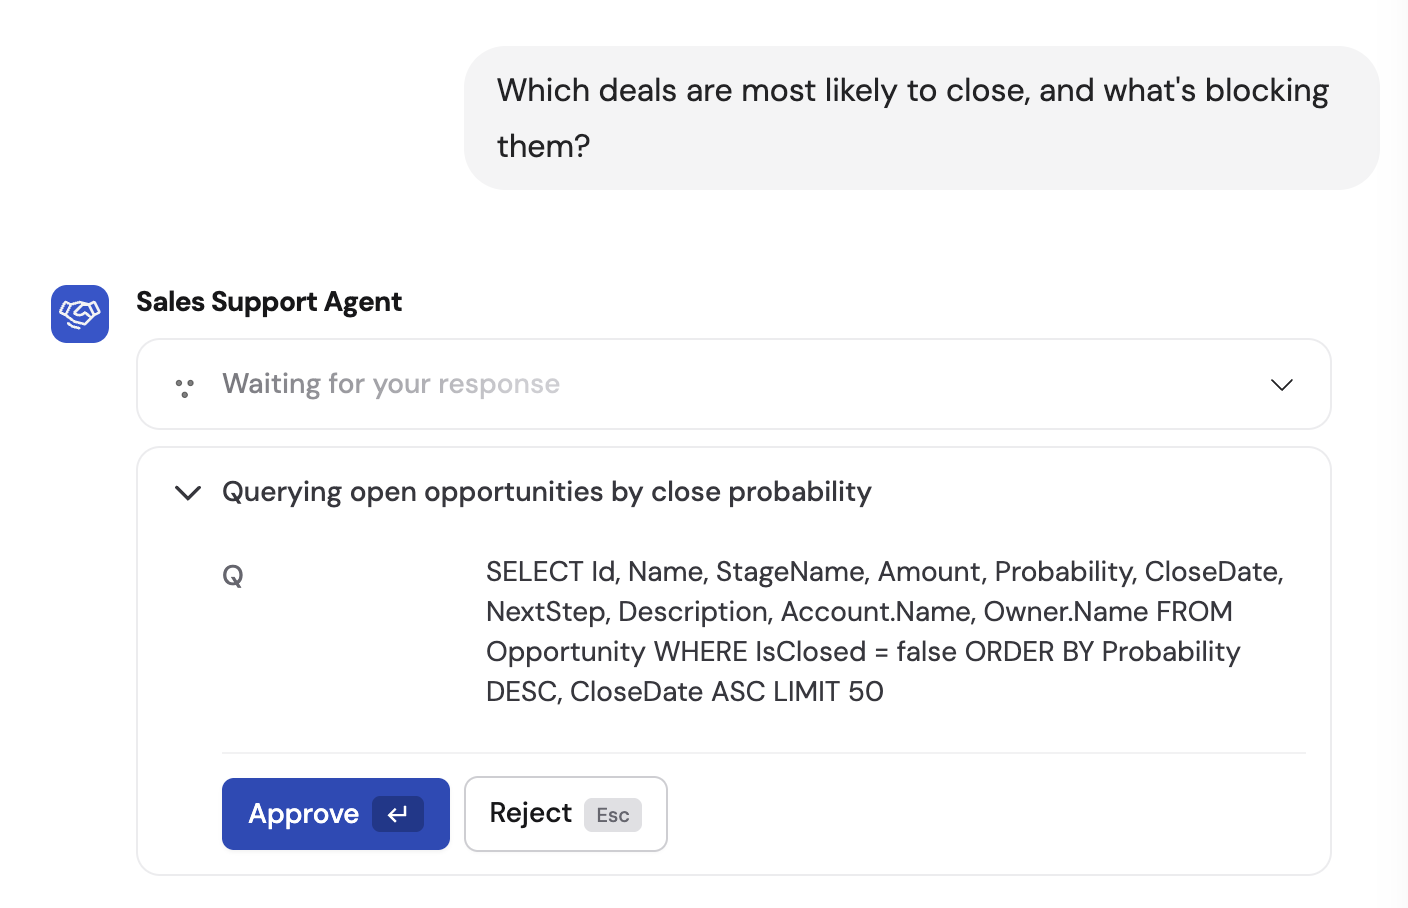
Monitor Salesforce actions
When an Agent uses the Salesforce Connector during a conversation, you can review what happened by expanding the Analyzed Sources dropdown and clicking any Salesforce step.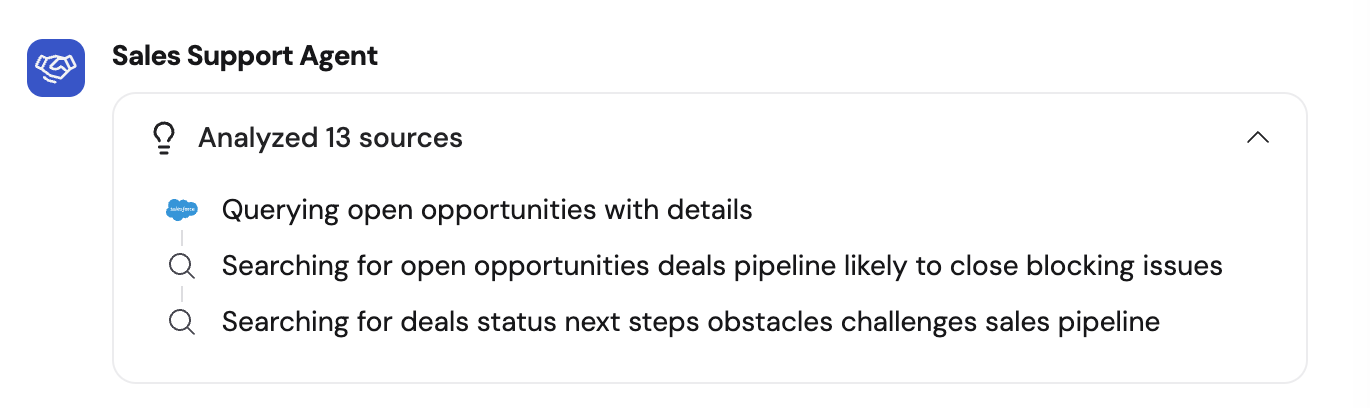
Data security
- Permission-based access — The Agent can only access what the connected Salesforce account has permission to see
- Auditability — All queries and actions are logged in your Agent’s activity history
- Service account control — Using a service account lets you define exactly what objects, fields, and records are accessible
- No data stored — Salesforce data is accessed in real time and never copied or stored in Cassidy
Advanced: OAuth scopes
Advanced: OAuth scopes
This integration uses standard Salesforce OAuth scopes (
full and refresh_token) to securely access your data. If your organization requires custom scopes, contact support@cassidyai.com.Troubleshooting: OAuth connection error
Troubleshooting: OAuth connection error
If you see an OAuth error like 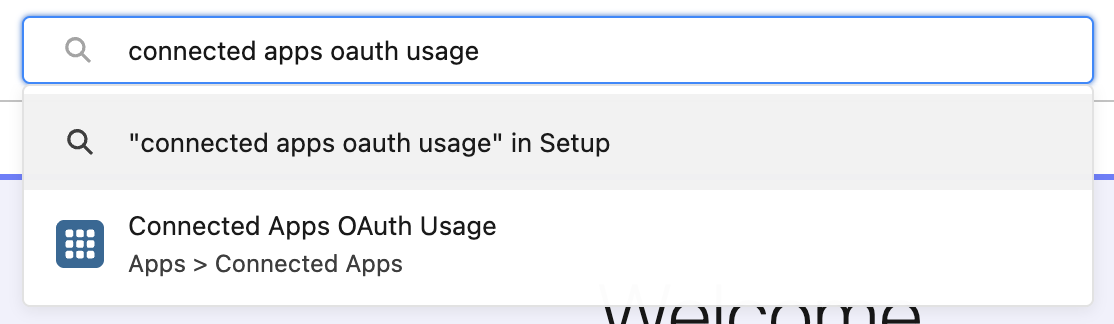
OAUTH_APPROVAL_ERROR_GENERIC, follow these steps:- Have an authorized user connect first — Ask a user with the Approve Uninstalled Connected Apps permission in Salesforce to connect. Users with the System Administrator profile have this permission by default.
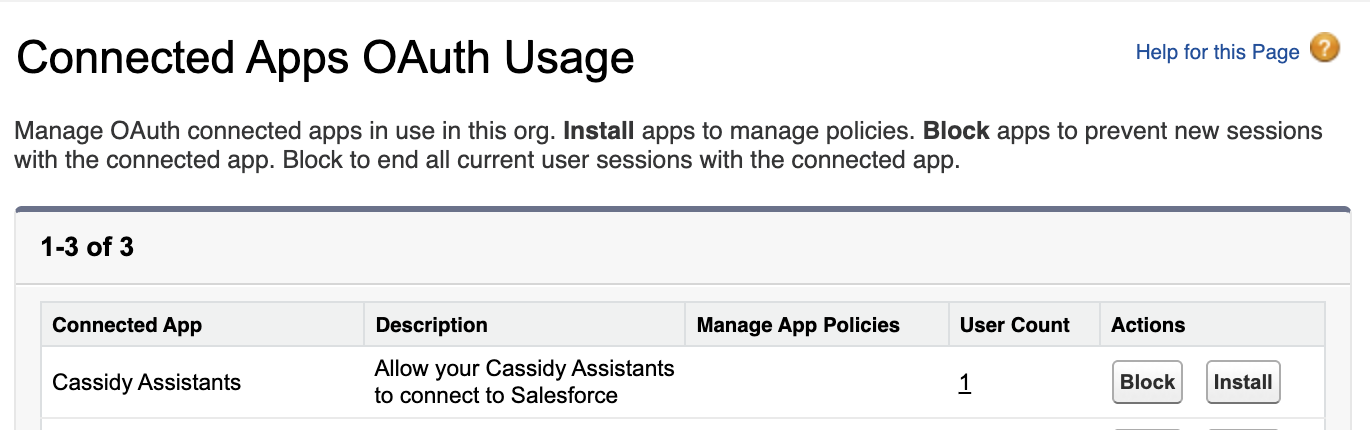
- Install the Cassidy app in Salesforce — Once the authorized connection is made, your Salesforce admin should:
- Go to the Connected Apps OAuth Usage page in Salesforce Setup
- Find the Cassidy Assistants app
- Click Install
Next steps
Knowledge Base
Set up your Knowledge Base for AI-powered context across Agents and Workflows.
Salesforce for Workflows
Automate Salesforce record changes with Workflow triggers and actions.