

1
Add a Manual trigger
Create a new Workflow with a Manual trigger, or change an existing Workflow’s trigger type to Manual.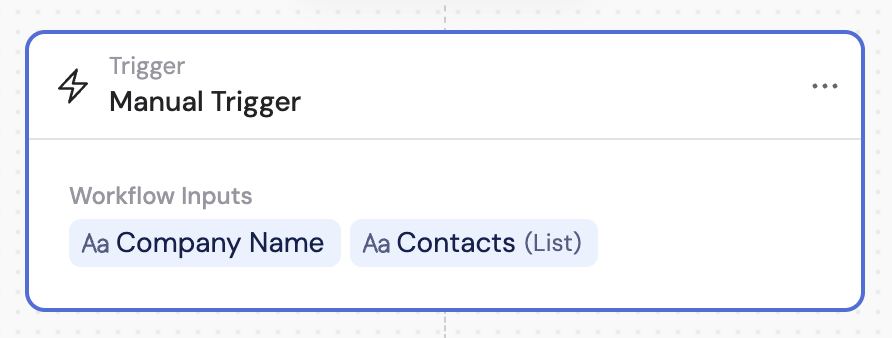
2
Add input fields
Click + Add to create input fields for your Manual trigger. Input fields let you provide data that the rest of the Workflow can reference.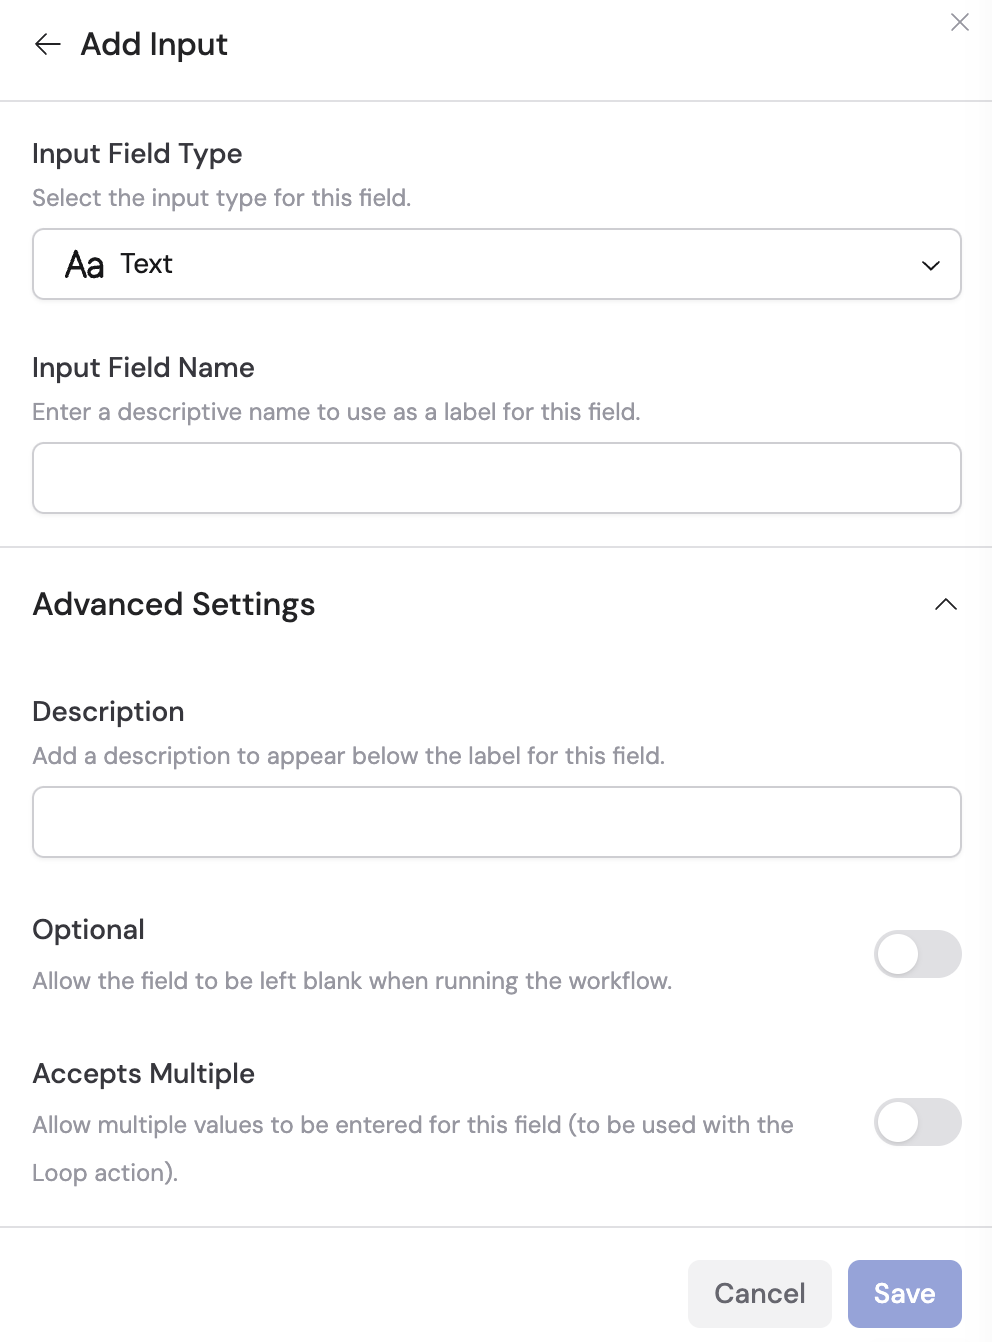
3
Choose the input field type
Select the type that matches your data: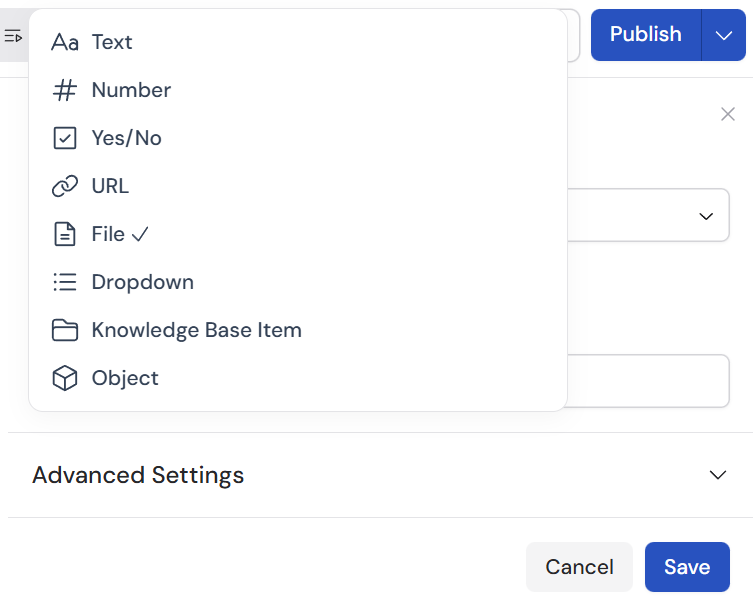
4
Name your input fields
Give each field a descriptive name so it’s easy to reference later as a variable in other actions.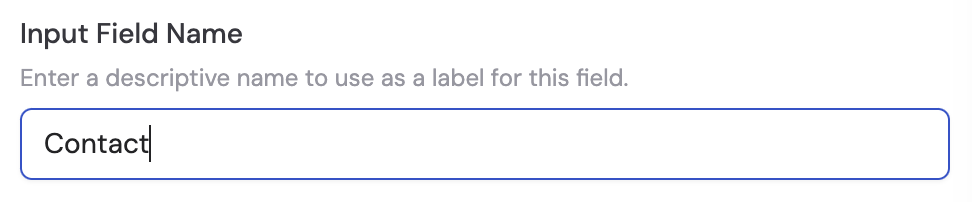
5
Configure advanced settings
Expand the field settings to access additional options: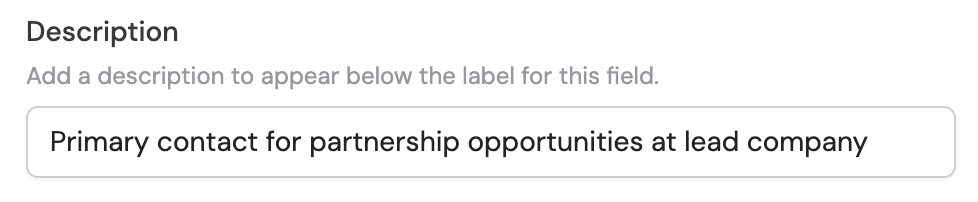
- Description — Add context or instructions for the person running the Workflow
- Optional — Toggle on if the Workflow should proceed even when this field is left empty
- Accepts Multiple — Allow multiple values for the same field (useful for lists of URLs or files)
6
Reorder and manage fields
Drag input fields to reorder them. Click the pencil icon to edit a field, or the trash icon to remove it.