Secret keys are used in Send API Request and Run Code actions within Workflows. They’re ideal for connecting to external APIs that require authentication.
Create a secret key
1
Open a Workflow action that supports secret keys
In the Workflow builder, add or open a Send API Request or Run Code action.
2
Start creating a key
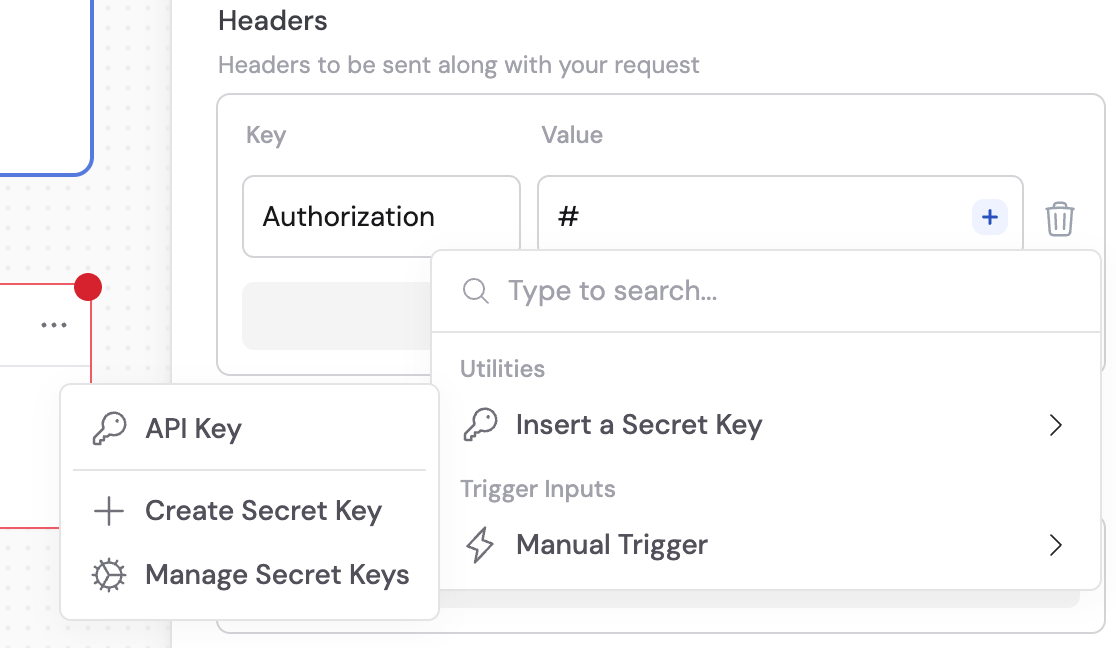
In the action’s value field (e.g., a header value or code variable), click the + button next to the field. Hover over Insert a Secret Key, then click Create Secret Key.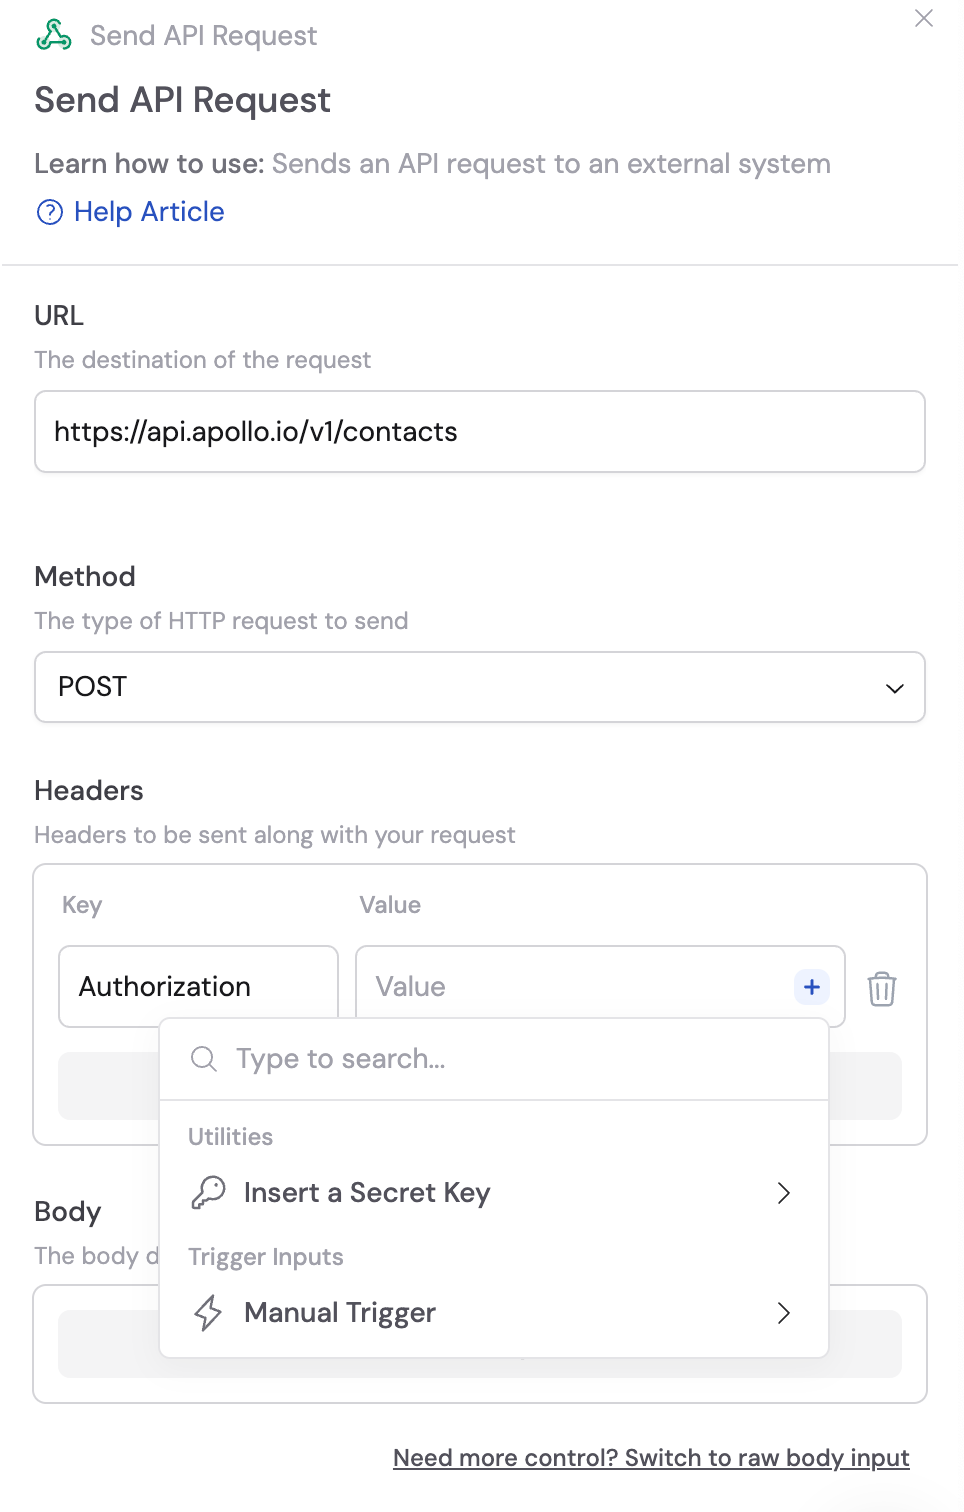

3
Enter key details
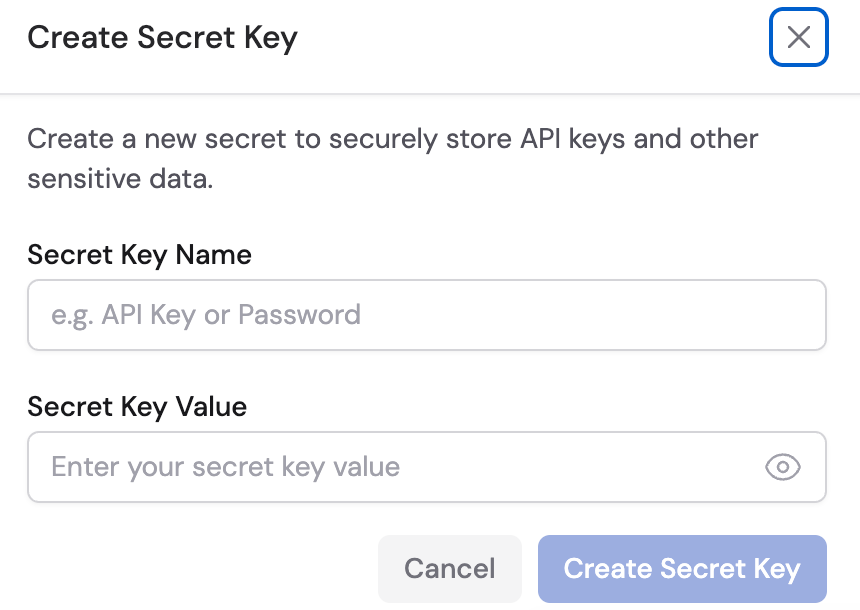
Fill in the following: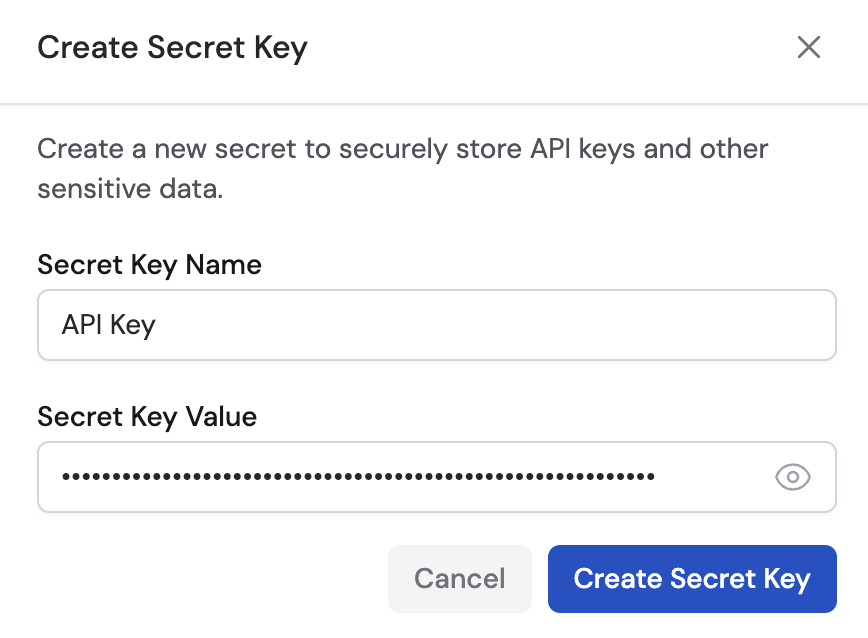
- Name — A descriptive label for the key (e.g., “Stripe API Key”, “HubSpot Token”).
- Value — The actual secret value (API key, password, etc.). This will be encrypted and hidden after creation.
4
Set access permissions
Choose who can use this secret key: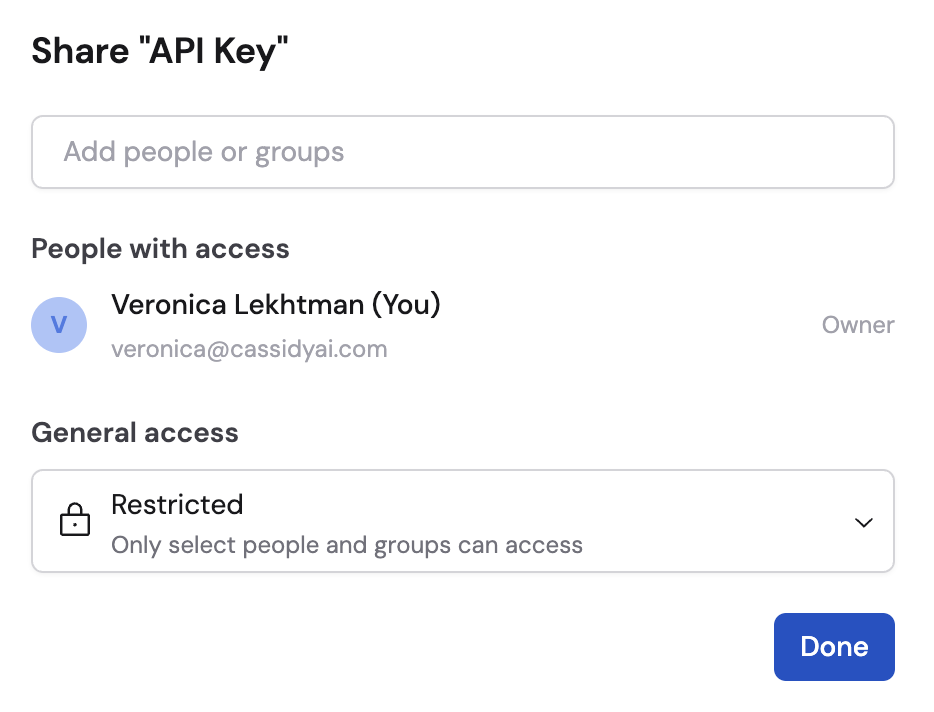
- Team — Everyone in your organization can use this key in their Workflows.
- Restricted — Only specific people or groups can use the key. Click Add People/Groups to select who has access.
- Use — Can reference the key in Workflow actions
- Manage — Can update or delete the key
5
Save
Click Create. The key is now stored securely and available for use.
Your secret key is created. It appears in the secret key picker and can be inserted into any supported Workflow action.
Use a secret key in a Workflow
Once created, you can insert a secret key into any Send API Request or Run Code action:- Click the + button next to the value field.
- Hover over Insert a Secret Key.
- Select the key from the list.
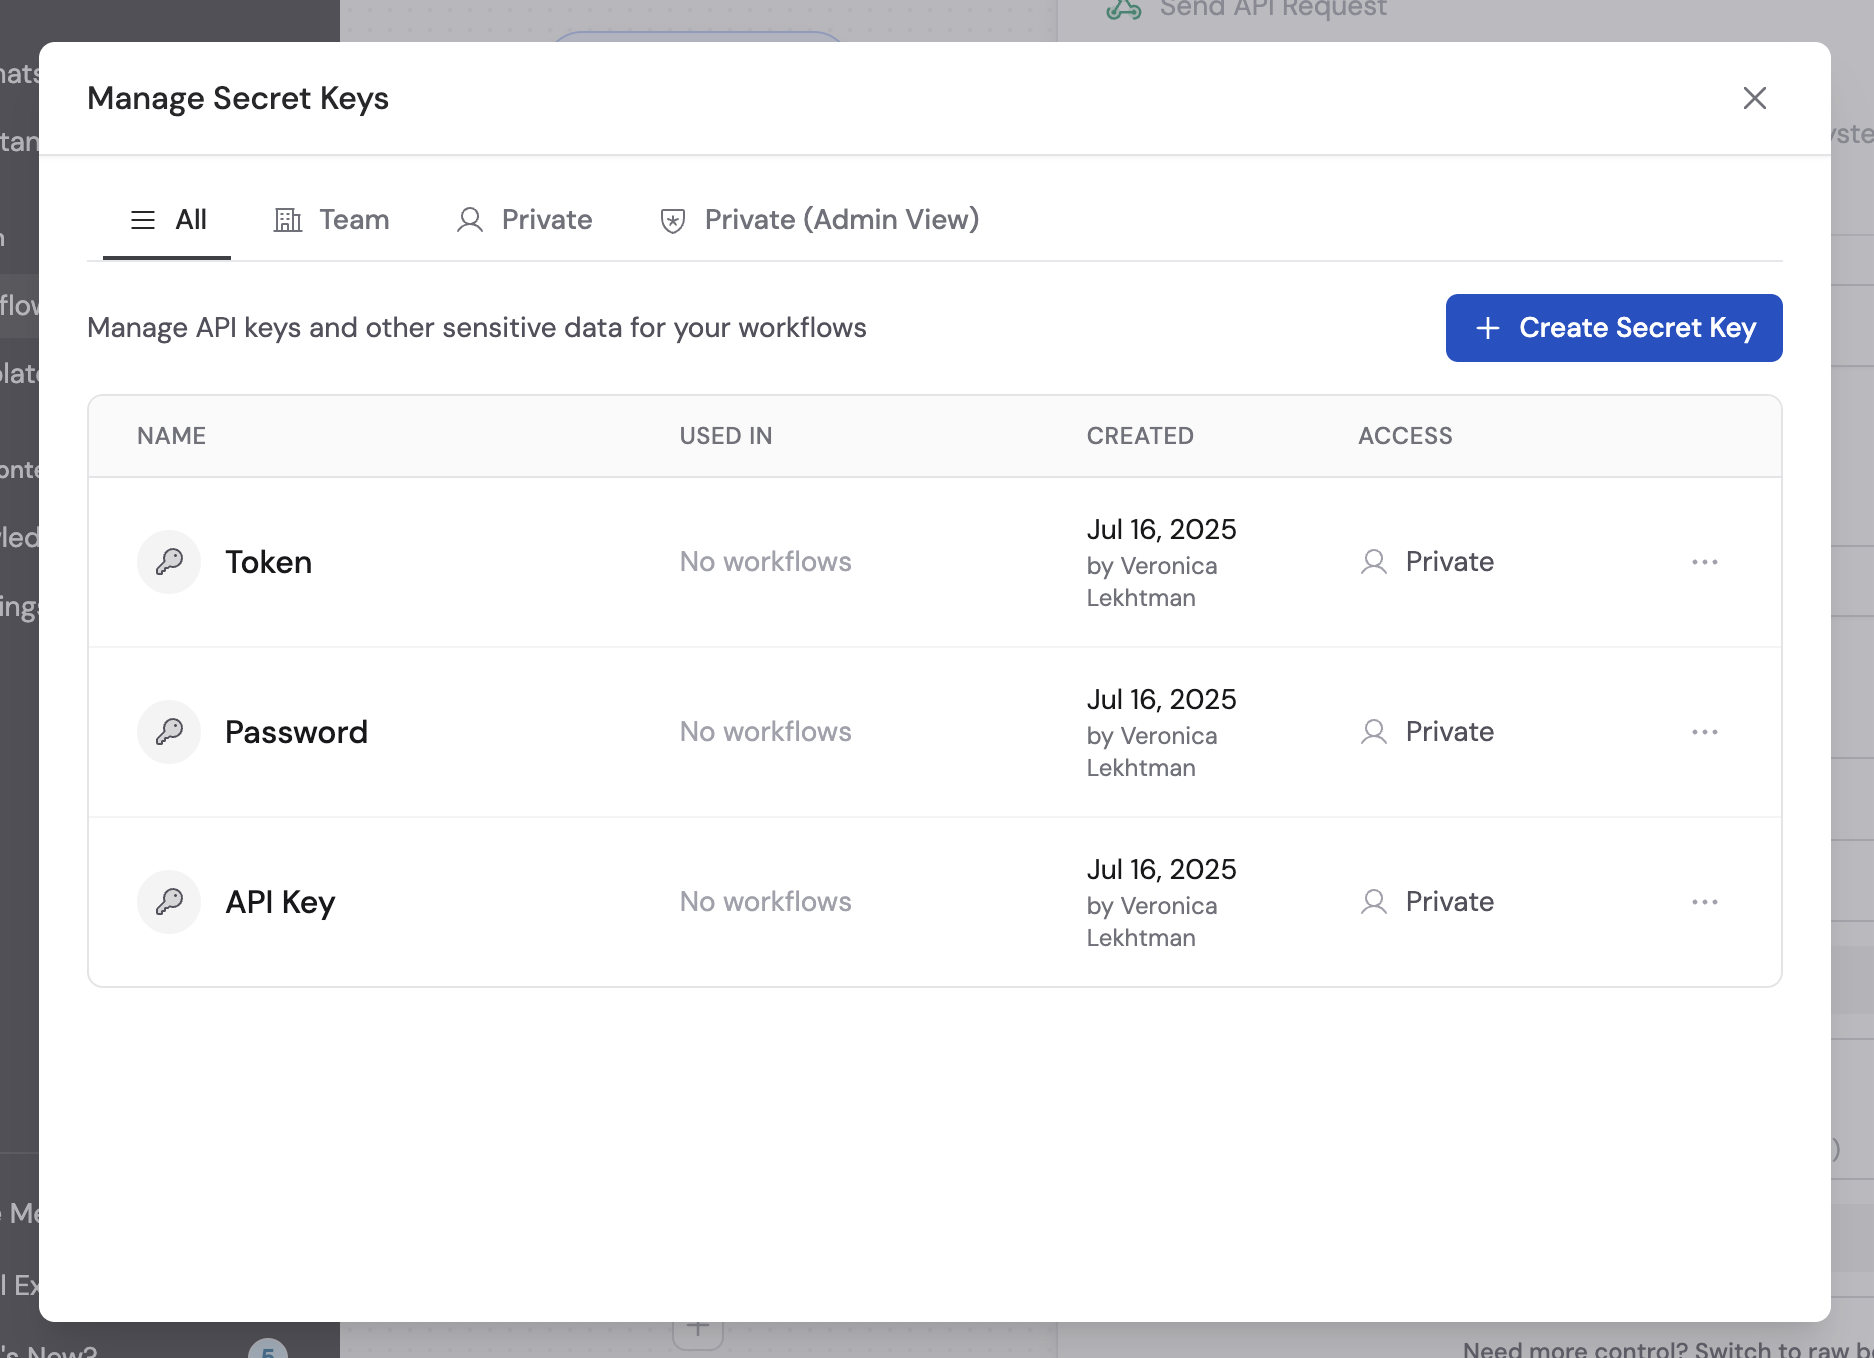
Manage existing keys
To view, update, or delete your secret keys:- In any Workflow action that supports secret keys, click the + button and select Manage Secret Keys.
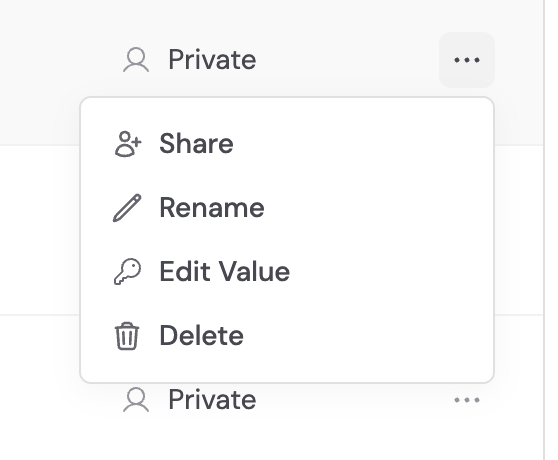
- From the management panel, you can:
- Rename a key
- Update the value (you’ll need to enter the new value — the old one can’t be retrieved)
- Change access permissions
- Delete a key
Next steps
Build a Workflow
Create Workflows that use secret keys for API authentication.
Assign roles and groups
Set up groups to control who can access restricted secret keys.