Set up the action
1
Add the action
While editing a Workflow, click the + button between existing blocks. Select Add Label to Microsoft Outlook Message from the action list.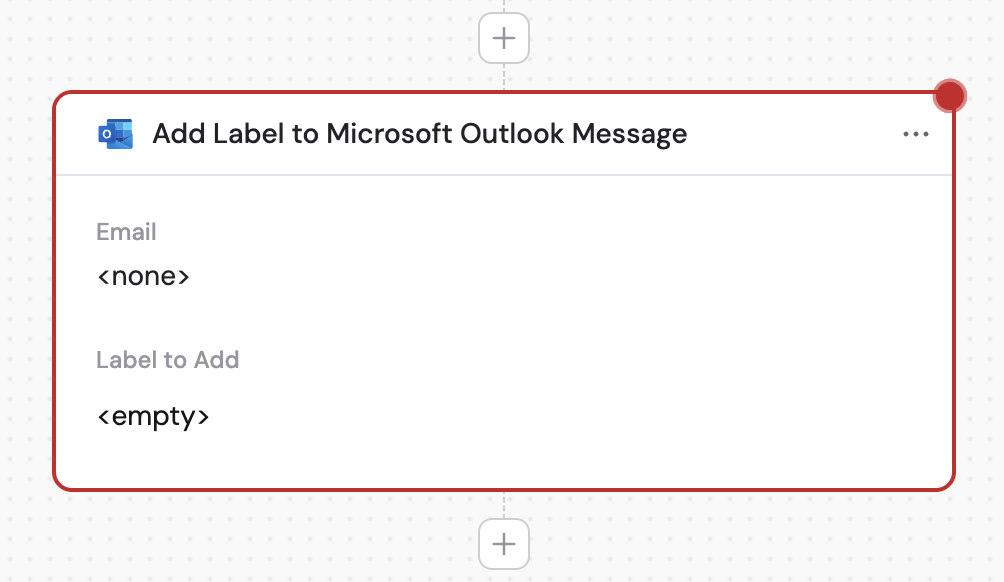
2
Rename the action (optional)
Click the action name to give it a more descriptive label for easier reference.
3
Connect your Outlook account
If you haven’t already, connect your Microsoft Outlook account to Cassidy.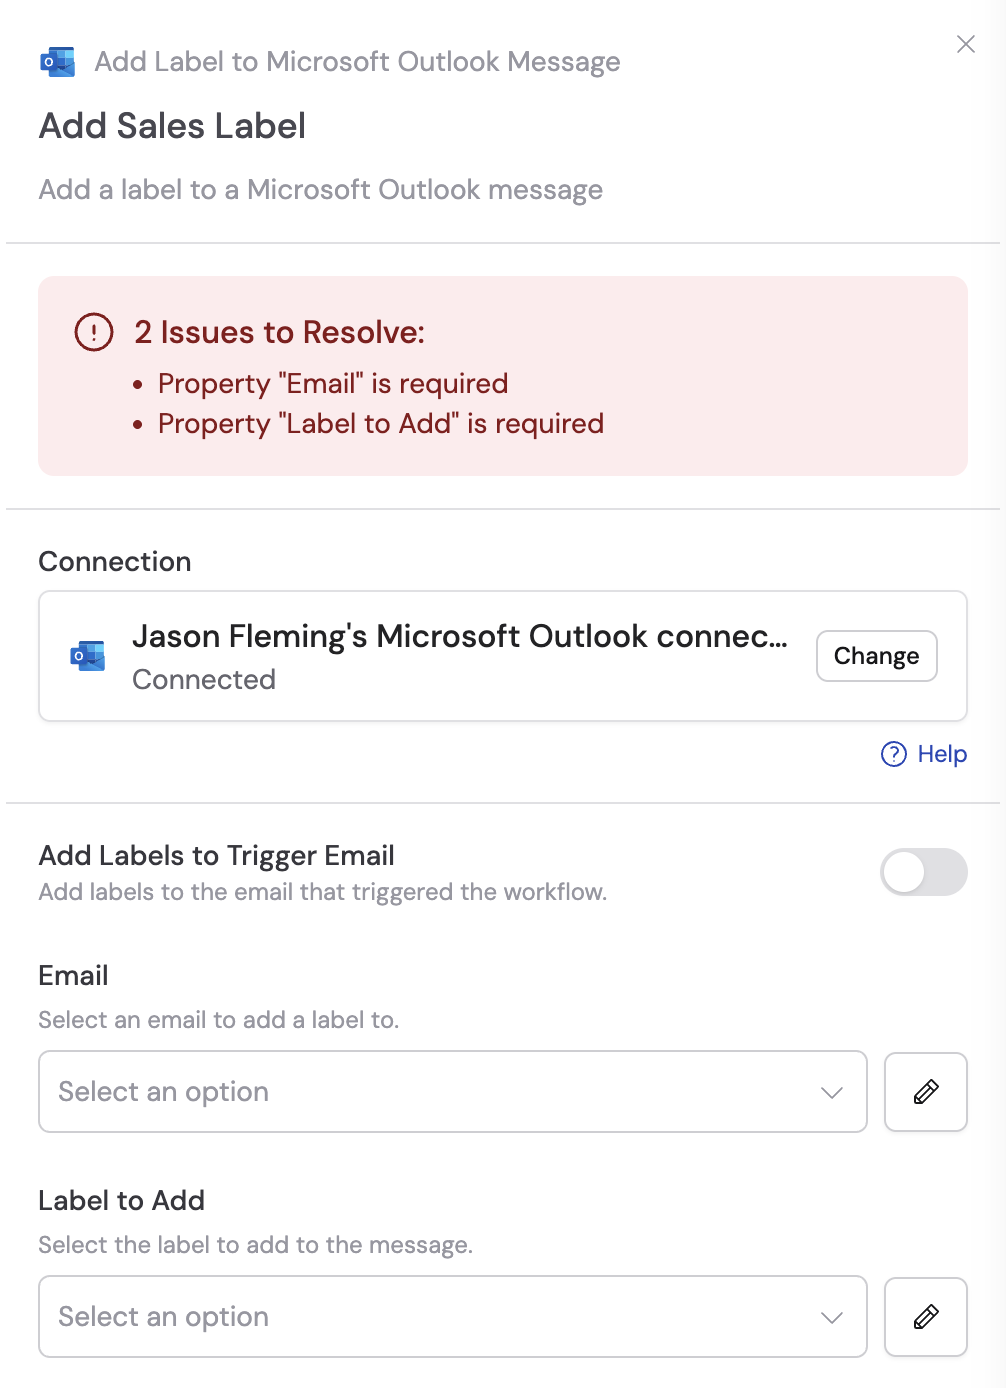
4
Toggle on add label to trigger email (optional)
If you’re using this action with the New Email Received in Microsoft Outlook trigger, enable Add Label to Trigger Email to automatically apply labels to the email that started the Workflow.
5
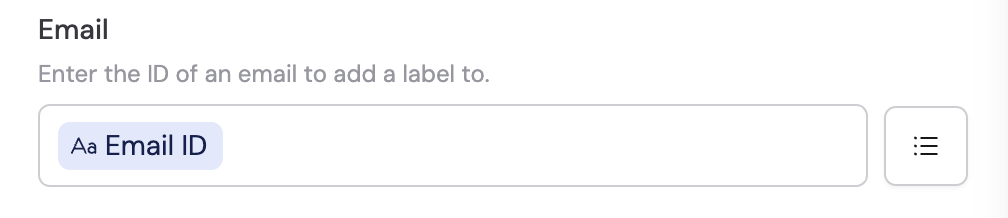
Enter the email (optional)
Enter an email ID manually, use a variable from previous steps (such as the message ID from a trigger), or click the list icon to search and select an email from the trigger.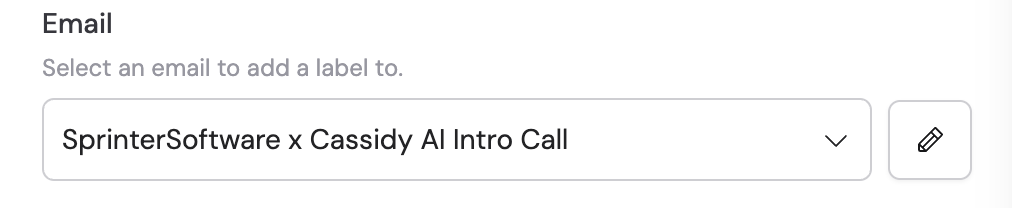
6
Enter labels to add
Search for and select existing Microsoft Outlook labels, or click the pencil icon to manually enter label names. You can add multiple labels to organize your emails effectively.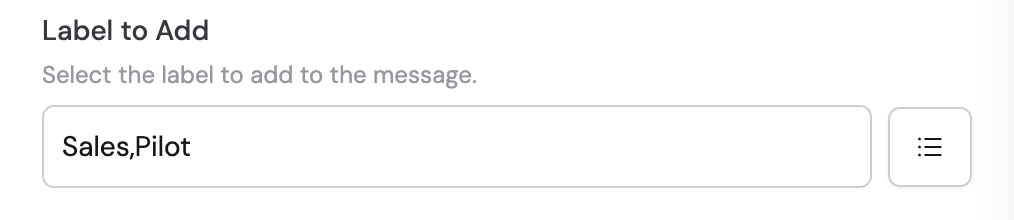
Related
New email trigger
Trigger a Workflow when a new email is received.
Send email with Outlook
Send an email from a Workflow.
Reply to email with Outlook
Reply to an existing email thread from a Workflow.
Outlook for Workflows
See all Outlook Workflow triggers and actions.