1
Add a Zapier trigger
Create a new Workflow with a Zapier Trigger, or change an existing Workflow’s trigger type to Zapier Trigger.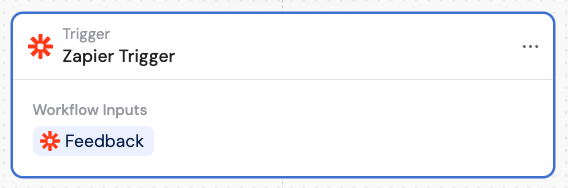
2
Click Finish Setup on Zapier
In the Zapier Trigger block, click Finish Setup on Zapier. This redirects you to Zapier where you can log in or sign up and complete the setup.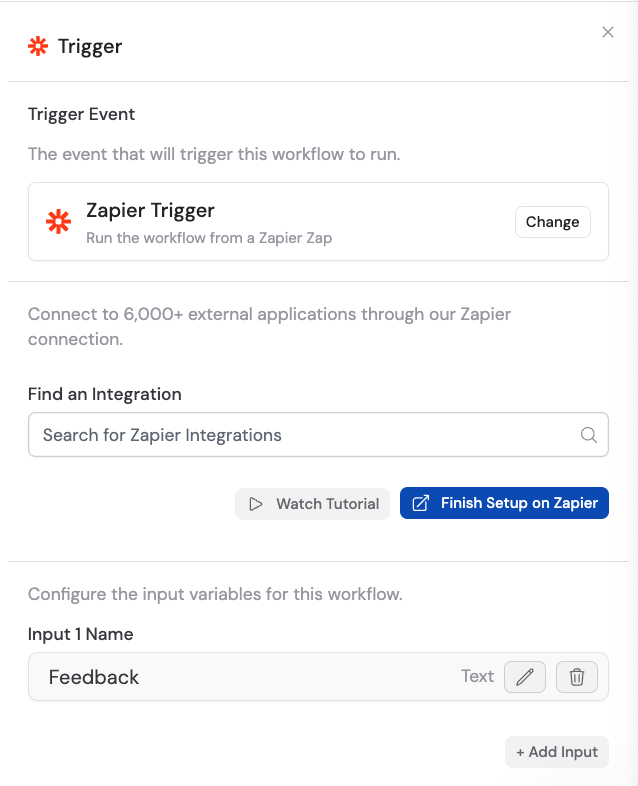
3
Create a Zap
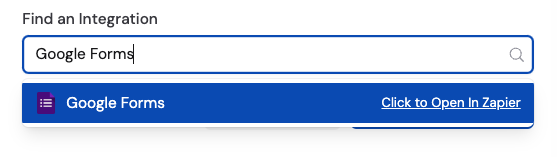
In Zapier, create a new Zap. Choose a trigger event for your Zap (for example, “New Form Response in Google Forms”). Then for the action step, select Run Workflow in Cassidy.
4
Map the input fields
In the Zapier action step, map the input fields of your Cassidy Zapier Trigger to the corresponding data from your Zap trigger event.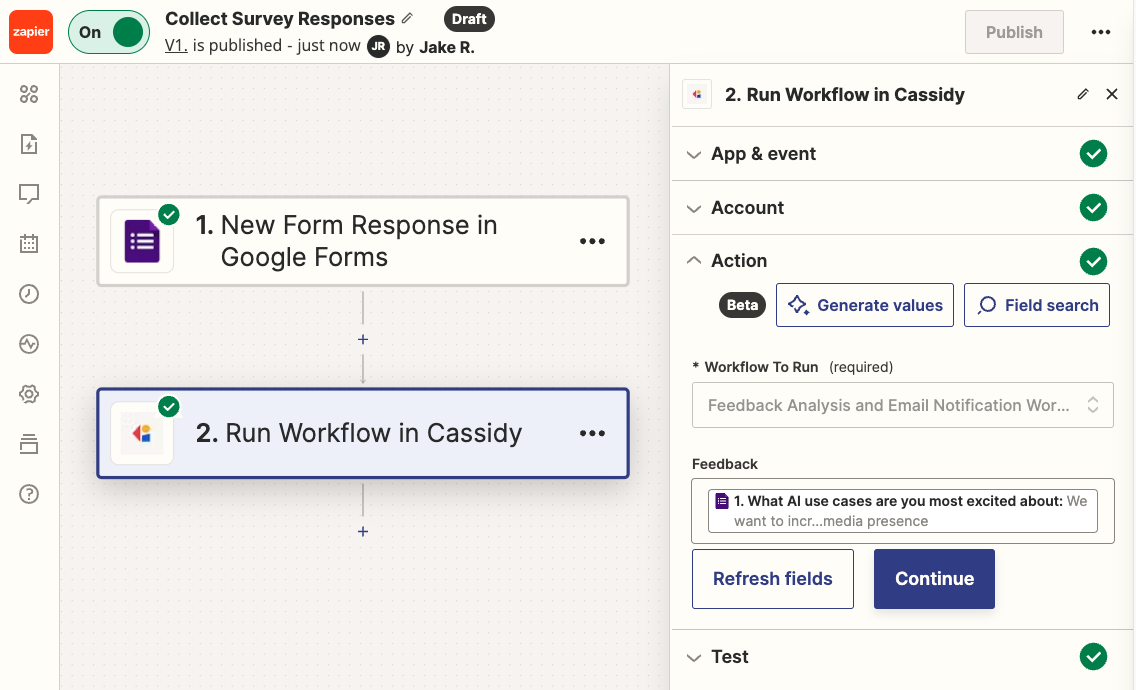
5
Publish and activate the Zap
Click Publish to save and activate your Zap. Make sure it’s turned on so it triggers your Cassidy Workflow when the specified event occurs.
6
Configure the rest of your Workflow
Back in Cassidy, use the inputs from Zapier in the rest of your Workflow. The Workflow automatically runs when triggered by the Zap.