1
Add the action
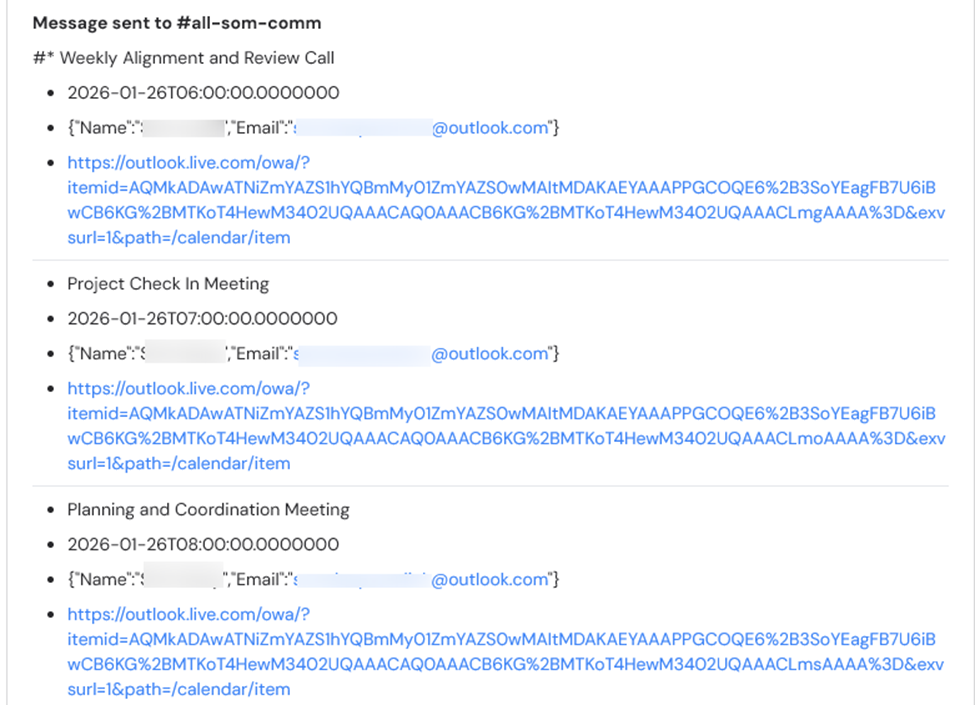
In the Workflow builder, click the + button between existing blocks. Select Get Microsoft Outlook Calendar Events from the action list.
2
Connect Microsoft Outlook
If you haven’t already, connect your Microsoft Outlook account to Cassidy by clicking Connect and following the on-screen instructions.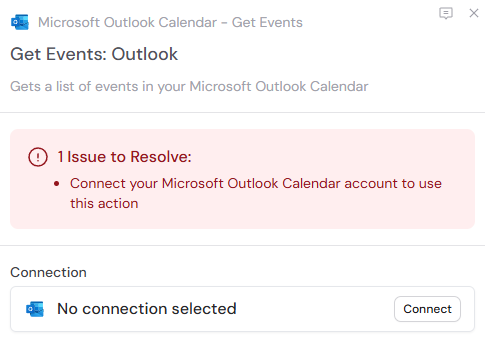
3
Rename the action (optional)
Click the action name to enter a more descriptive label, making it easier to reference later.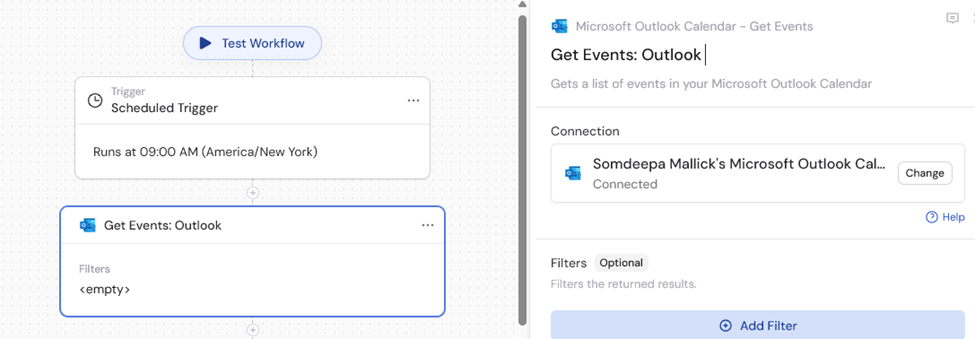
4
Configure filters (optional)
Use Filters to narrow which events are returned. You can filter by: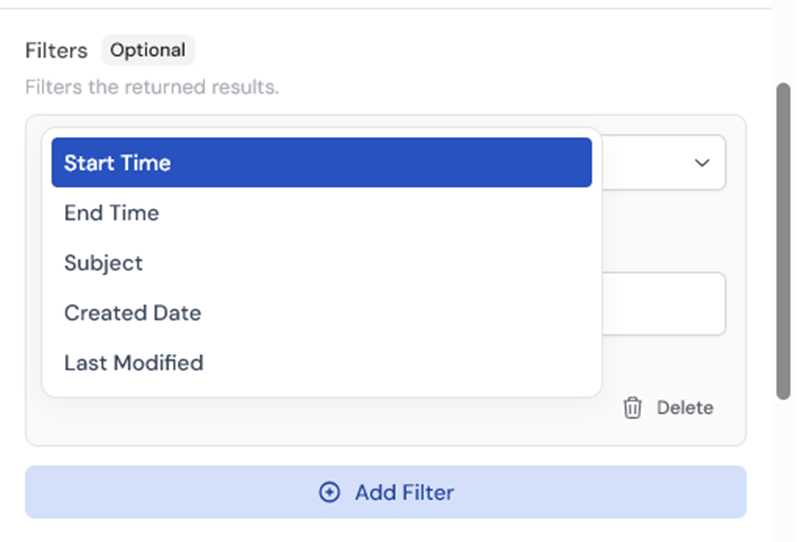
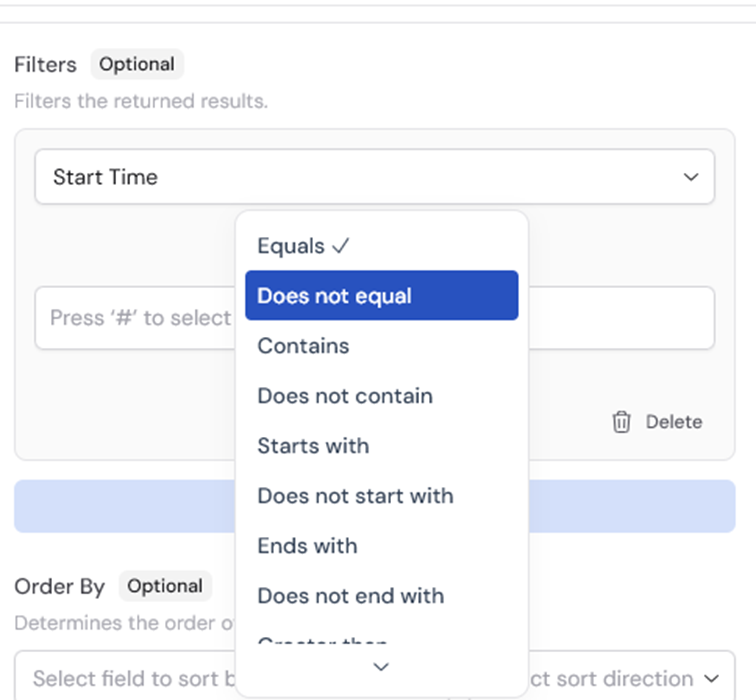
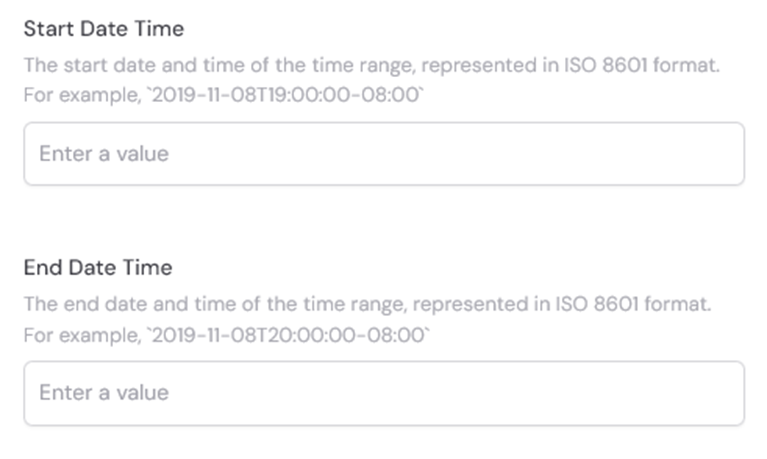
- Start time — specify when events should begin
- End time — specify when events should end
- Subject — filter events by title or subject keywords
- Created date — filter by when the event was created
- Last modified — filter by when the event was last updated
5
Configure order by (optional)
Determine the order of results by selecting a field to sort by and choosing the sort direction (ascending or descending).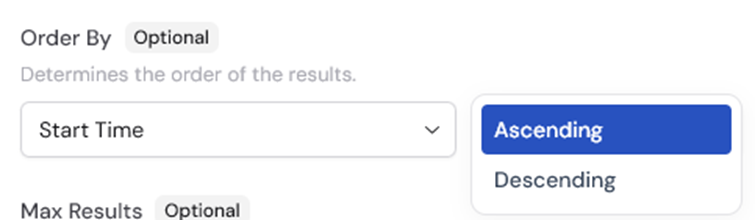
6
Set max results (optional)
Specify the maximum number of results to return. This helps manage performance and limits the output to a specific number of events.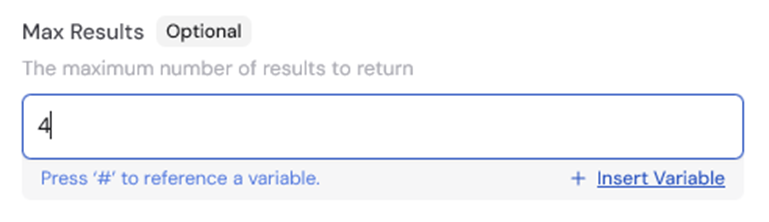
7
Toggle include recurring (optional)
Choose whether to include recurring events in the results. When enabled, the action returns both one-time and recurring calendar events.
8
Reference the event variables
After running the Workflow once, use the action outputs in later steps by pressing # and selecting fields from the event list. Available variables: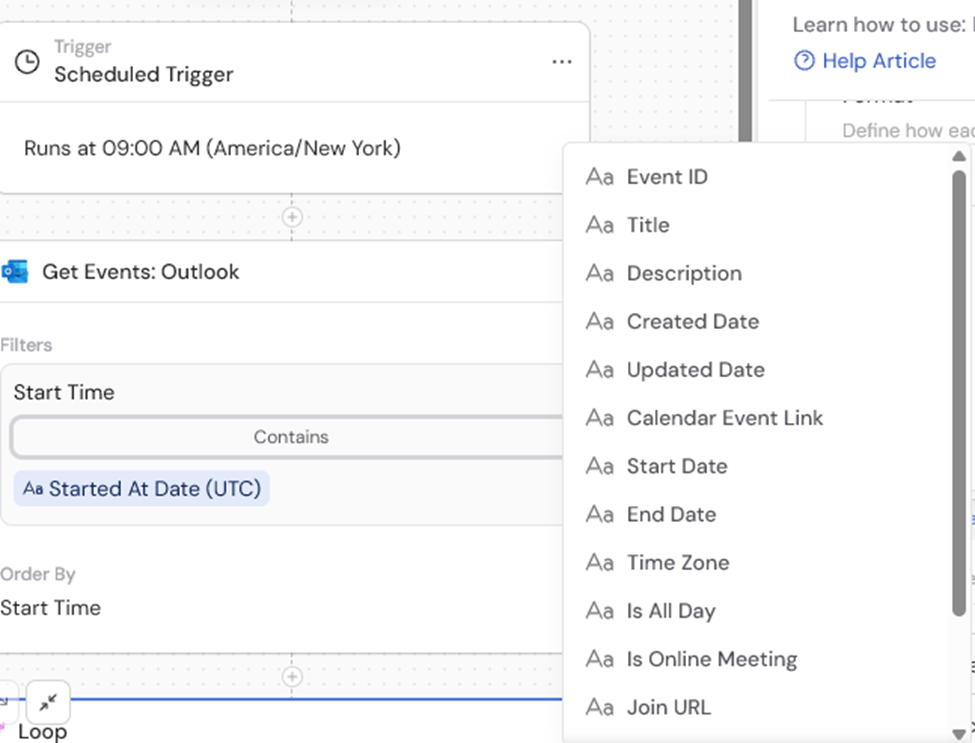
- Event ID — unique identifier of the calendar event
- Title — title or subject of the calendar event
- Description — description or body content of the calendar event
- Created Date — when the calendar event was created
- Updated Date — when the calendar event was last modified
- Calendar Event Link — direct link to view the event in Outlook
- Start Date — start date and time of the event
- End Date — end date and time of the event
- Time Zone — time zone for the event
- Is All Day — whether the event is an all-day event
- Is Online Meeting — whether the event includes an online meeting
- Join URL — meeting link if it’s an online meeting
- Location — physical location of the event
- Organizer — details about who organized the event (name and email)
- Attendees — list of people invited to the event
9
Use a Loop to process events
Because this action returns a list, add a Loop after it when you want to run follow-up steps once per event. Learn more about using Loops.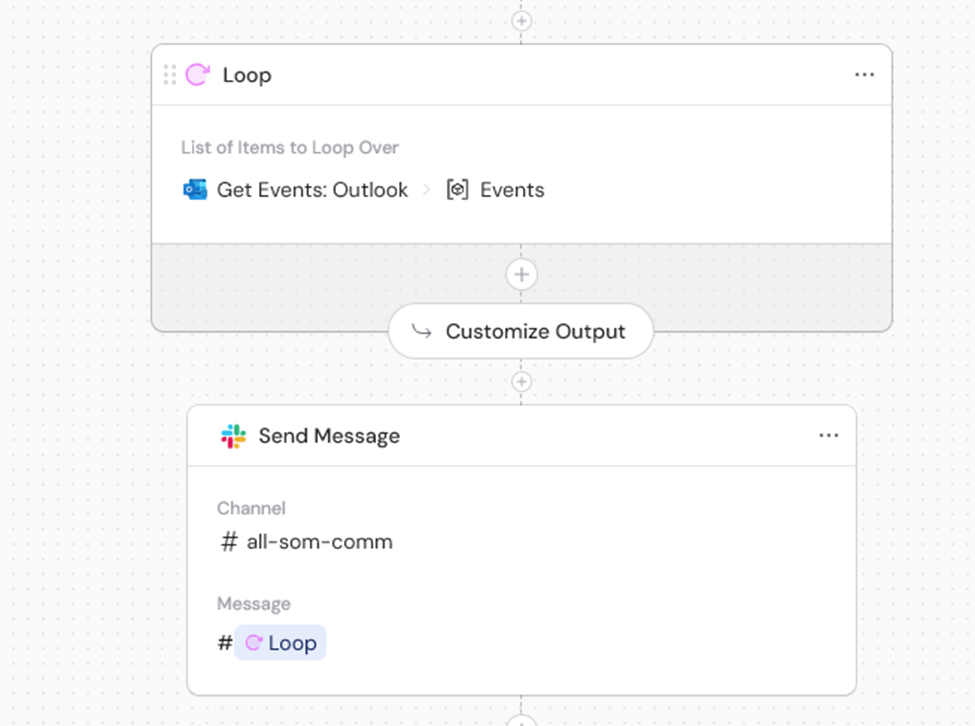
Example: daily meetings summary
Set up a Workflow that checks your daily meetings and sends you a summary each morning.1
Add a Scheduled trigger
Set it to run daily at 9 AM to automatically check your meetings each morning.
2
Add a Get Microsoft Outlook Calendar Events action
Configure filters to retrieve today’s events by setting appropriate start and end time filters.
3
Add a Loop action
Loop through each event returned by the Get Calendar Events action.
4
Inside the Loop, add a Generate Text action
Use the event’s title, description, start time, and attendee information to create a brief summary for each meeting.
5
After the Loop, add a Send Slack Message action
Combine all the meeting summaries and send them to yourself in Slack to review your day’s schedule.