1
Add the action
In the Workflow builder, click + between blocks and select Wait/Delay from the action library.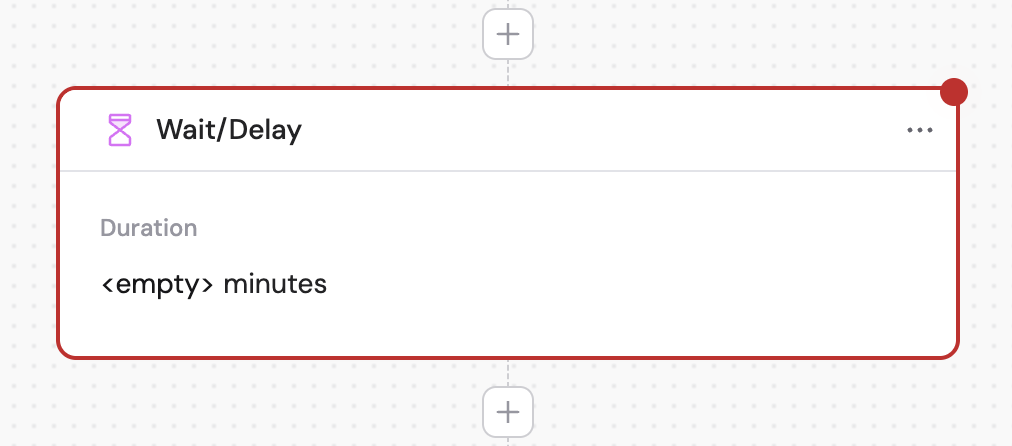

2
Select the wait mode
Choose between two wait options:
- Wait for a specific duration — Pause the Workflow for a set amount of time
- Wait until a specific date and time — Pause the Workflow until a particular date and time is reached
3
Configure duration settings
If you selected Wait for a specific duration: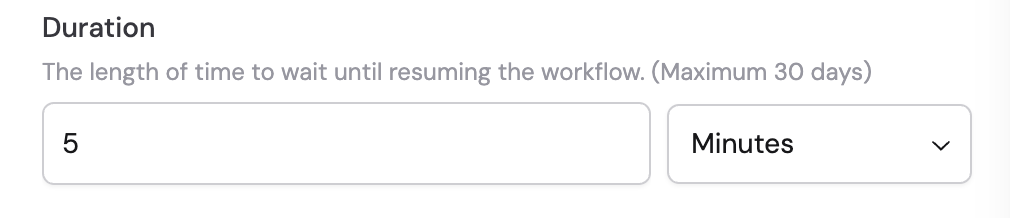
- Duration — Enter a number or reference a variable from previous steps using #
- Unit — Choose the time unit from the dropdown: seconds, minutes, or hours
4
Configure date and time settings
If you selected Wait until a specific date and time: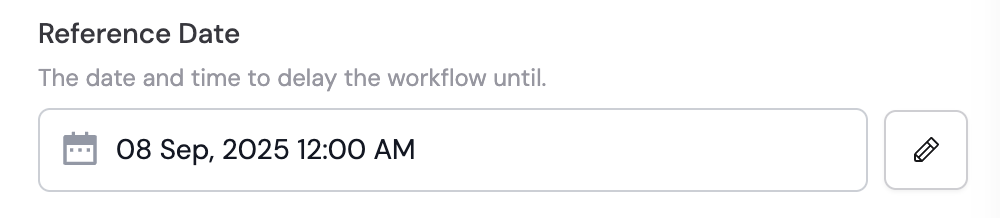
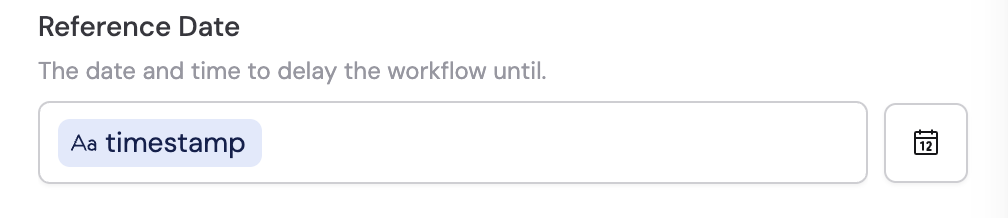
- Reference Date — Select the target date using the date picker, or click the pencil icon to enter it directly. You can reference variables from previous steps or the trigger using #.
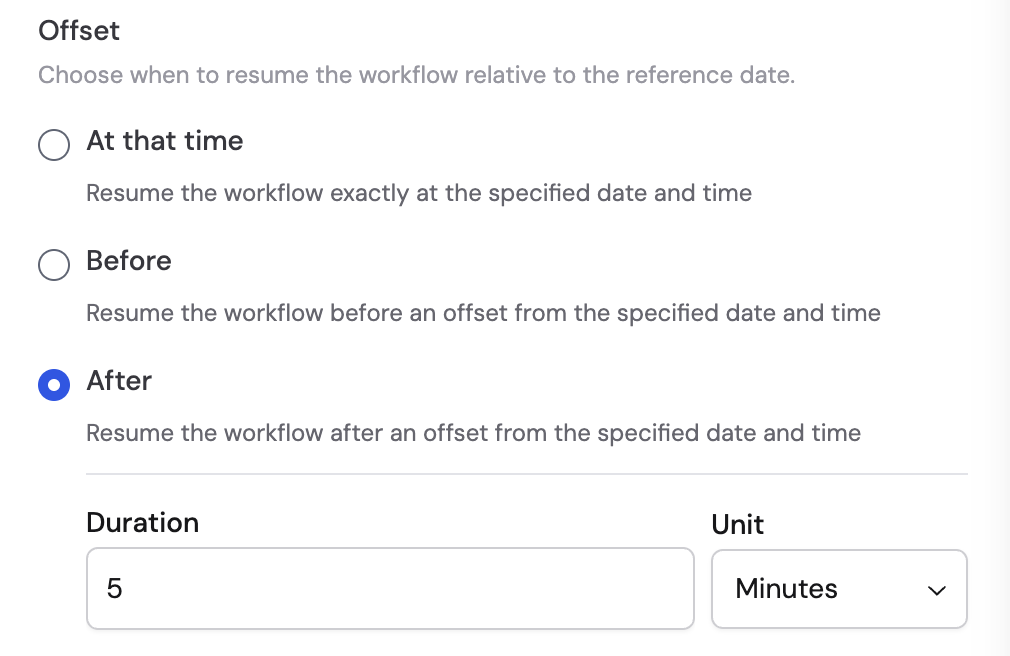
- Offset — Choose when to resume the Workflow relative to the reference date:
- At that time — Resume exactly at the specified date and time
- Before — Resume a set amount of time before the reference date
- After — Resume a set amount of time after the reference date